Windows Server 2019 is developed to be one of the most influential organization-level operating systems with better capabilities than its predecessors, as it focuses on pillars such as hybrid environments, cloud and security..
We know that Windows Server is made up of a series of roles and features that make it unique; and something that as administrators we must take into account is that, regardless of the type of organization, we must have a centralized point where users can access to carry out administrative actions such as uploading or downloading documents, creating new folders and more, this obviously with the respective permissions that are required based on the profile of the users.
The most practical and useful way to achieve this is through the shared folders , which are created with the objective of having a central medium where access is defined for domain users and there, from the client computers, they can access to Share various items for other users..
TechnoWikis will explain how we can create a shared folder in Windows Server 2019 and thus manage from a single site all the options for sharing files and elements .
1. How to create shared folder in Windows Server 2019 through File Explorer
Step 1
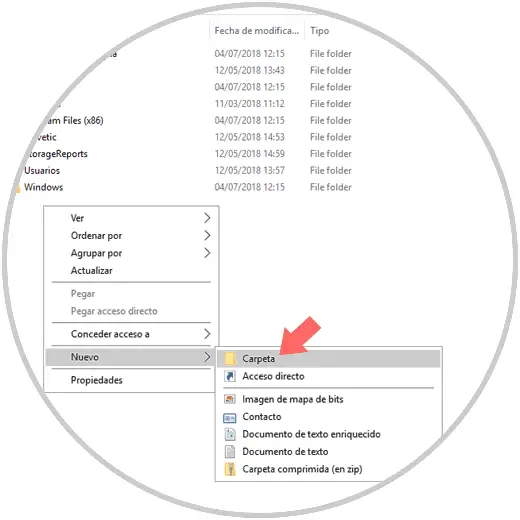
The first step will be to create the folder that we are going to share. To do this we will go to the unit where it is to be created, right-click somewhere free and select the "New" / "Folder" option. We assign the desired name to our folder.
Step 2
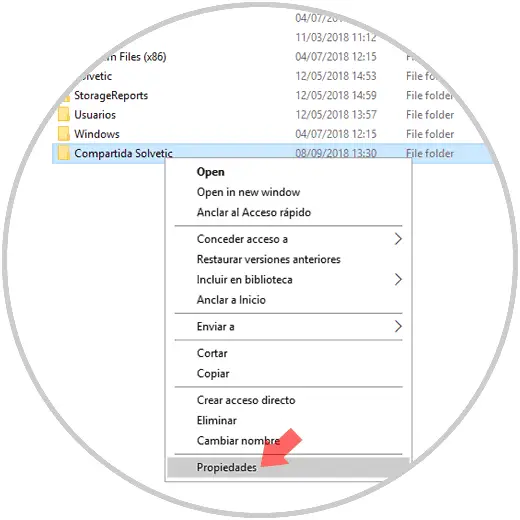
Now we will right click on the created folder and select the "Properties" option:
Step 3
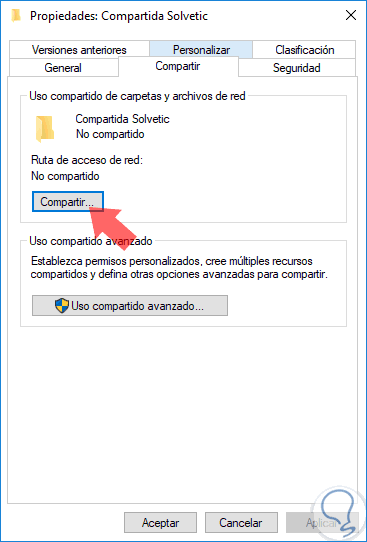
In the displayed window we will go to the "Share" tab where we will see the following. There we click on the "Share" button.
Step 4
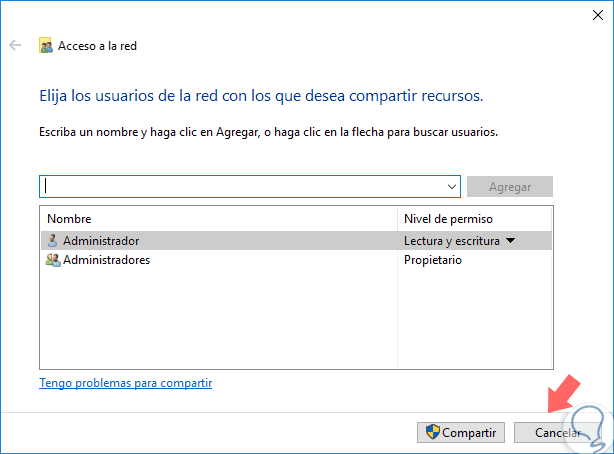
The following window will be displayed. There we can select the users who will have access to the shared folder with their respective permissions. In this case, click on "Cancel" and click on the "Advanced sharing" button.
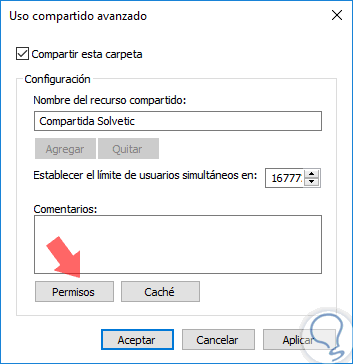
Step 5
In the displayed window we will do the following:
- Check the "Share this folder" box.
- We define the name of the shared folder (If we wish).
- We can set the limit of users who can access simultaneously. Windows Server 2019 sets 16777 users by default.
- We can manage the access permissions to the share.
- Click on the "Permissions" button.
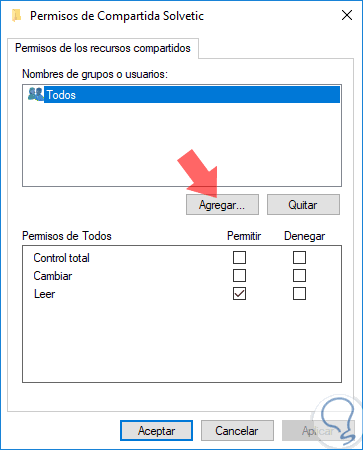
Step 6
Clicking on the "Permissions" button will display the following. There, by default, are all users with read-only permission, that is, they will not have privileges to make changes to the items hosted in the shared folder.
Click on the "Add" button.
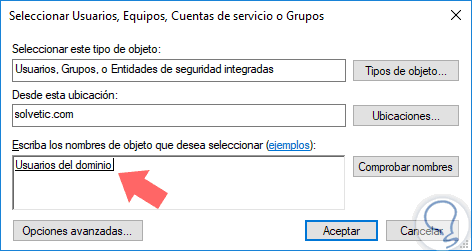
Step 7
In the pop-up window we can add both groups and specific users. For example, we can add the group "Domain users" so that all users in the local domain have access to that shared folder, click "Accept" to add it.
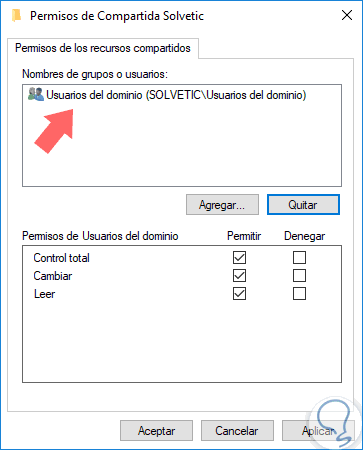
Step 8
We can define the permissions that these users will have in the folder, in the same way, we can delete the group "All" to improve the security of access to the shared item. Once this is configured, click on the "Apply and Accept" button to save the changes and we will see the path that has been assigned to the shared folder.
Step 9
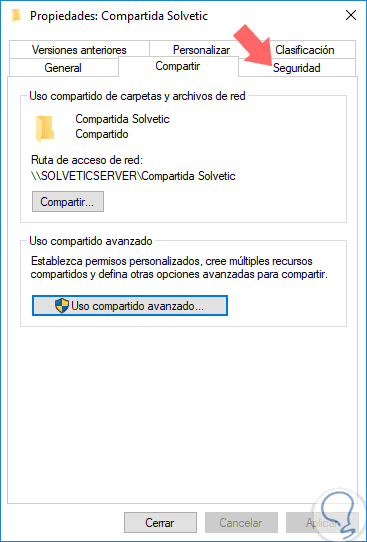
There we will now go to the "Security" tab where we will see the following:
Step 10
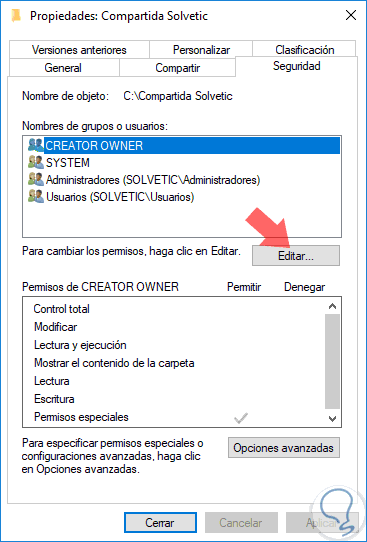
There we click on the "Edit" button.
Step 11
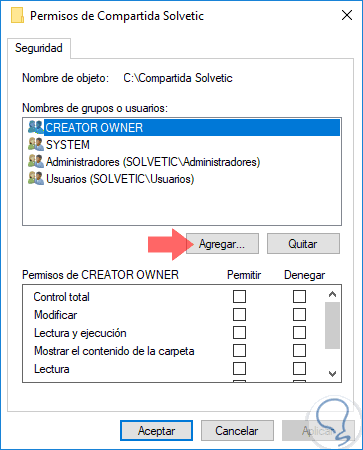
The following will be displayed. Click on the "Add" button.
Step 12
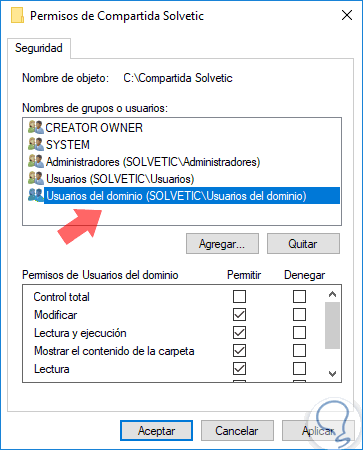
In the pop-up window again select the group "Domain Users" and assign the respective permissions, in this case "Modify". Click on the "Apply and Accept" button again to save the changes.
Step 13
To verify that our folder is being visible in the domain, we access the "File Explorer" of Windows Server 2019 and go to the "Network" section or in the address bar enter the domain path, in this case:
\\ SOLVETICSERVER
We will see there the shared folder:
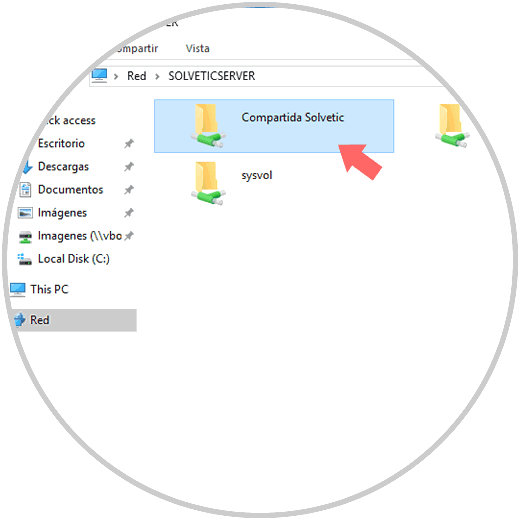
This way a folder has been shared through File Explorer in Windows Server 2019..

Login Join up!