To stay up to date, remember to subscribe to our YouTube channel!
SUBSCRIBE ON YOUTUBE
Screen Saver is a classic feature of Windows operating systems that many users use on a daily basis. This functionality has several advantages that can improve both the aesthetics and the performance of your computer, also influencing the personalization of your equipment. A benefit of using a screen saver is to prevent the so-called "screen burn" or "burn-in" when we have an image static on the monitor for too long. With the screen saver we can prevent ghost images from being generated and improve the quality of life of the monitor..
In addition, activating the Windows screen saver helps us to save energy since we will prevent the screen from being fully active for long periods. If you also want to personalize your equipment, the use of the screen saver will be very useful. If you see that Windows screen saver does not appear, in this tutorial we show you different options to repair it.
1 Repair Windows Screen Saver from Power Options
Step 1
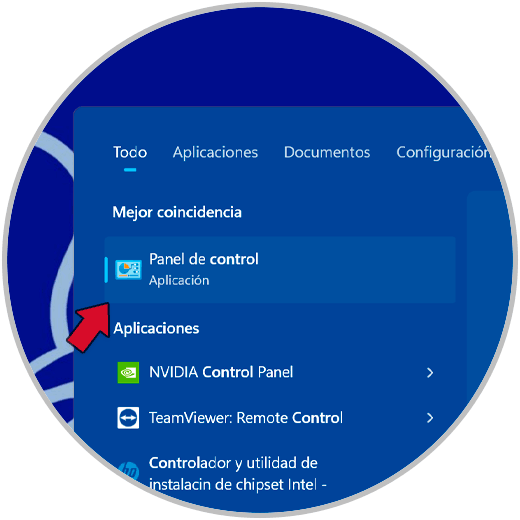
The first thing will be to open the Control Panel. To do this, click on the start search engine and put the word "control" to find it. Then click on it to open it.
Step 2
Next, use the search box in this window to search for the word “energy”. Then, in the results, click on the "Power Options" category.

Step 3
Here, we will look at the currently active power plan. Then, we will click on the option next to “Change plan settings”.

Step 4
In the next window we will click on the option "Restore the default settings of this plan".

step 5
Finally, we confirm the task by clicking on "Yes" in the notice that appears.

2 Repair Windows screen saver with Troubleshooter
Step 1
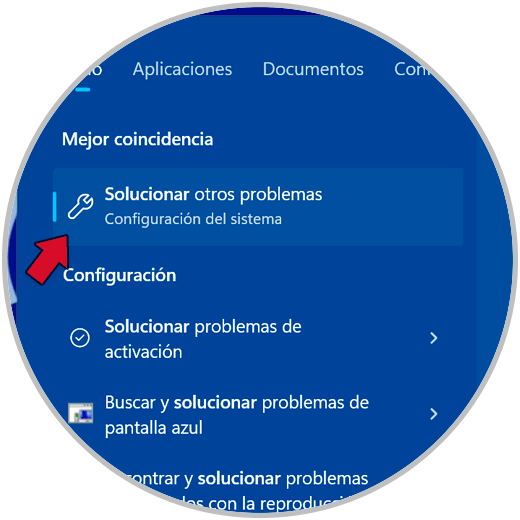
We begin by opening the start browser. Then we will use the word “fix” to find the option to “Fix other problems”. We click on it.
Step 2
Then, we will look for the "Energy" option. To the right of the option, click on the "Run" action.

Step 3
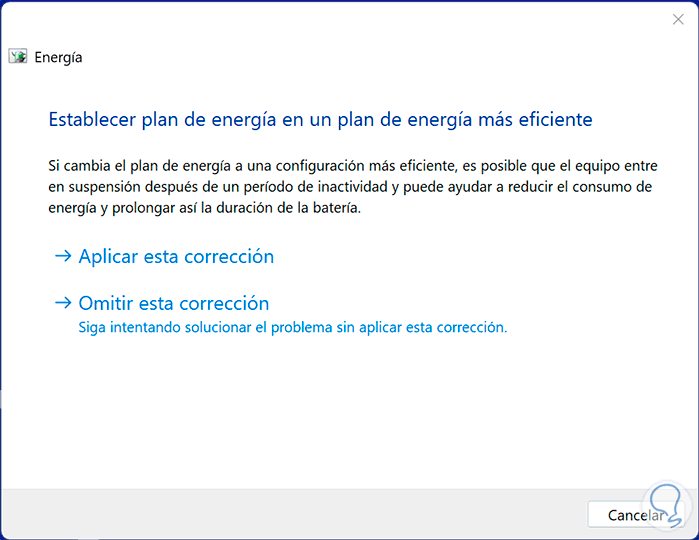
The panel of the automatic troubleshooting process will open. It will suggest possible options to repair the problem that we can apply to repair the screen saver.
3 Repair Windows screen saver when changing its settings
Step 1
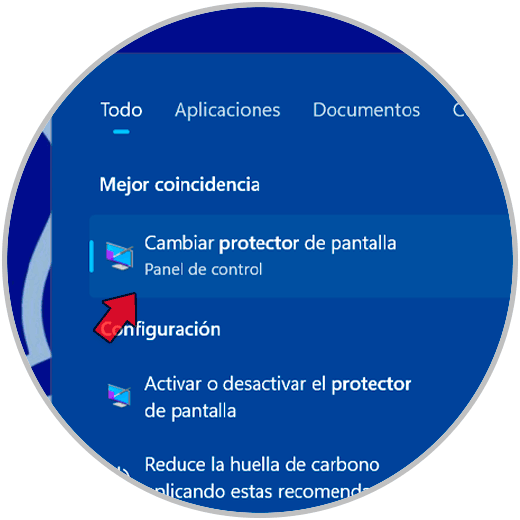
To begin, we go to the start search engine and use the word “Saver” to find and click on the “Change screen saver” option.
Step 2
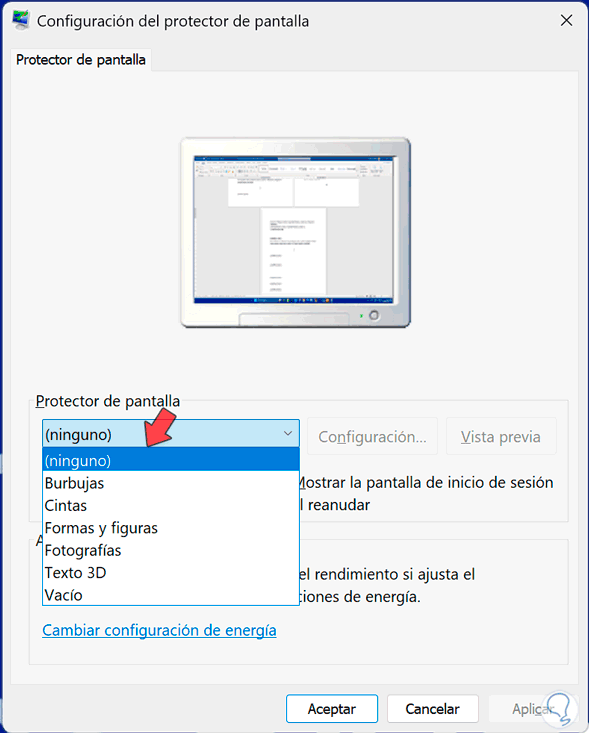
In this window we will see different configuration options for the screen saver. We are going to click on the list of drop-down options and here you can choose the option you want. If you select "none" the protector will not appear, so it may be the reason why it is not activated.
Choose the option you prefer and apply the changes to see if the screen saver is now displayed..
4 Repair Windows screen saver with CMD
Step 1
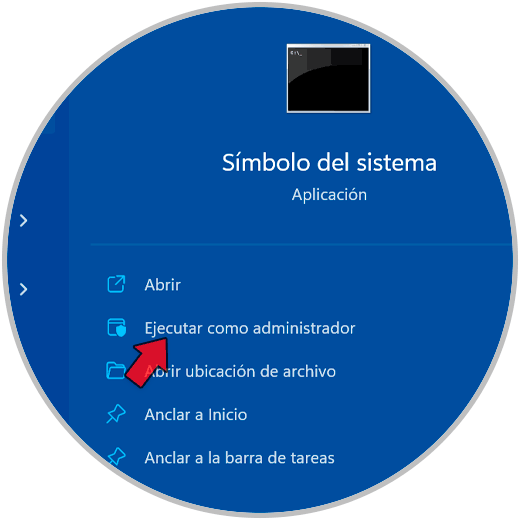
We will start by opening CMD from the start browser and clicking on the “Run as administrator” option.
Step 2
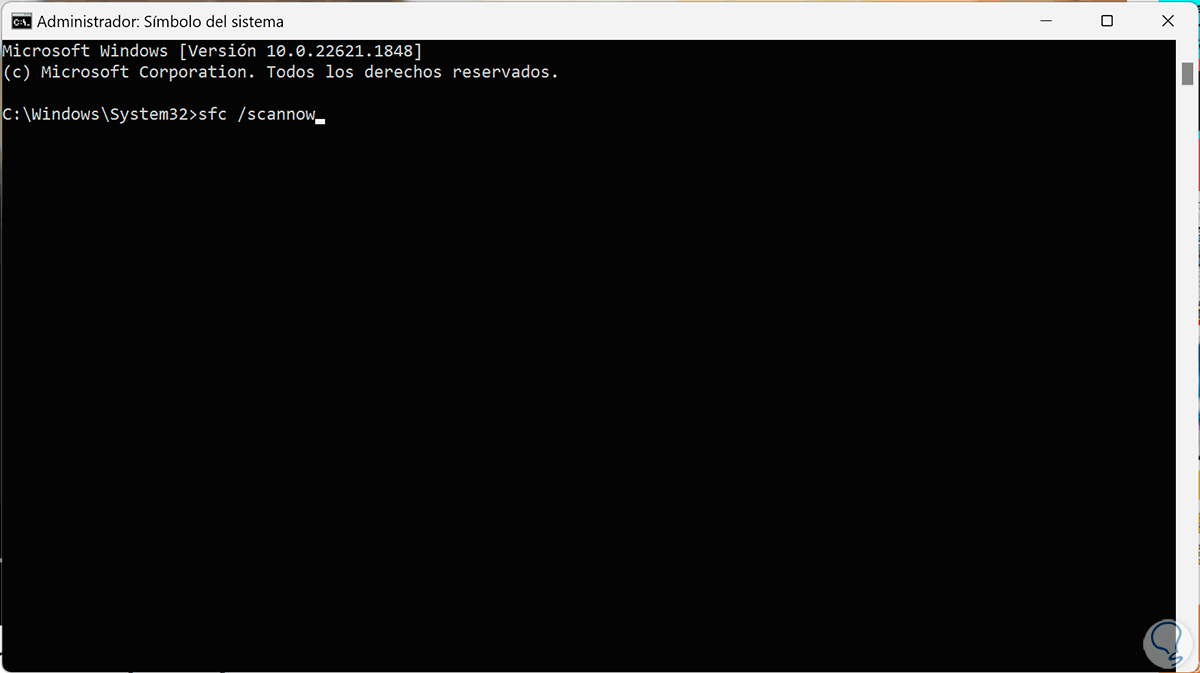
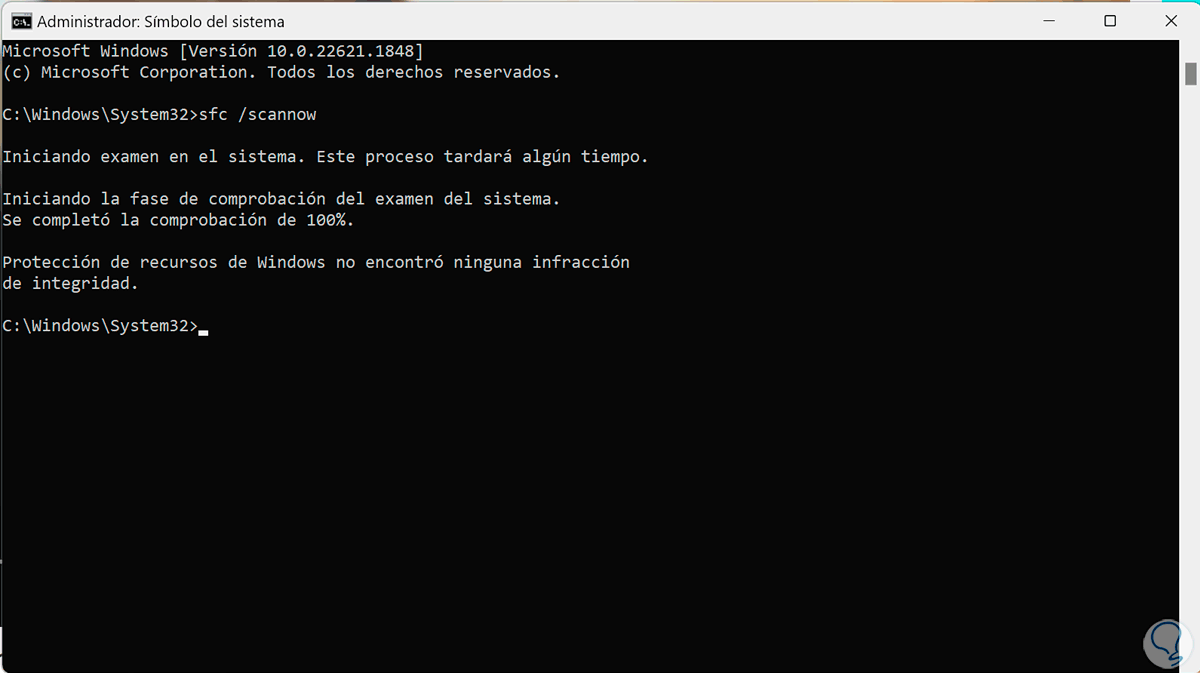
Now we are going to write the following command that you see on the screen to do a file system scan and check if everything is fine. Press the “Enter” key to run it.
sfc /scannow
Step 3
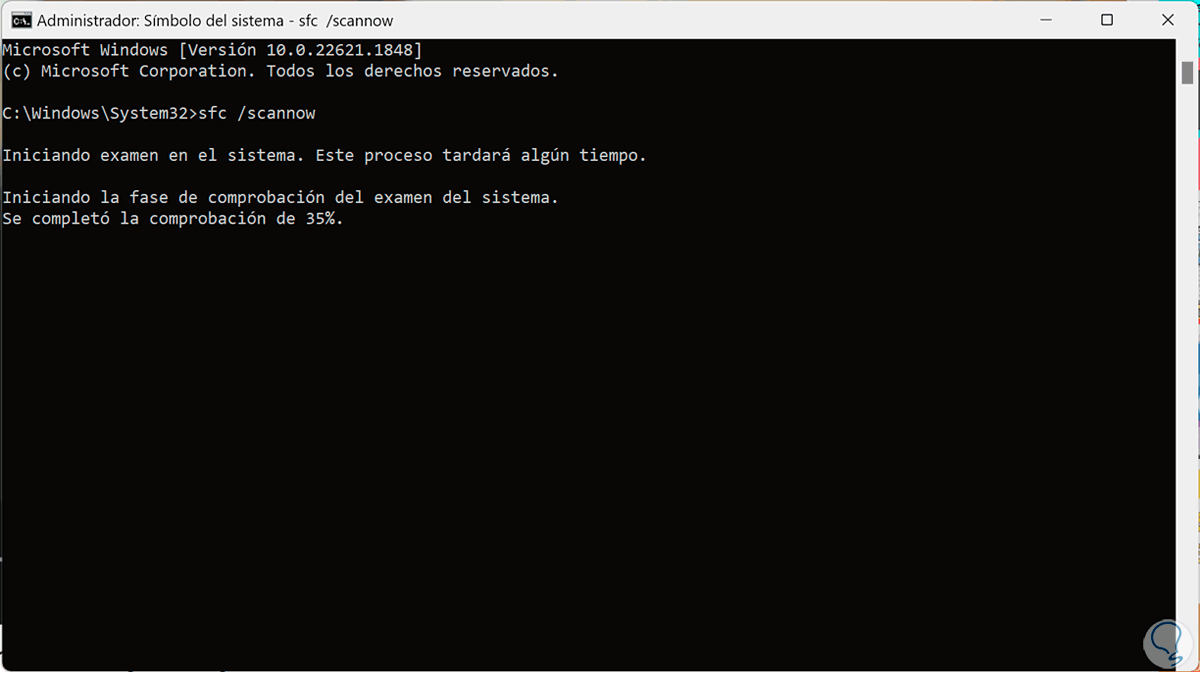
The process will start and will take a few minutes.
Step 4
We wait for the process to finish to check if we have some kind of error or not.
5 Repair Windows screen saver by configuring mouse
Step 1
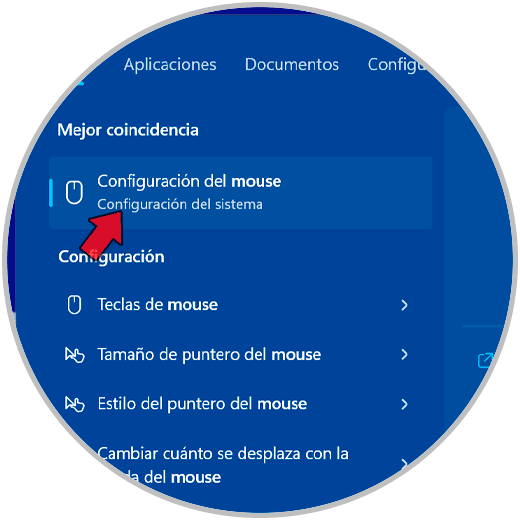
To begin, we open the start browser and look for the "Mouse Settings" option. Click on it to open it.
Step 2
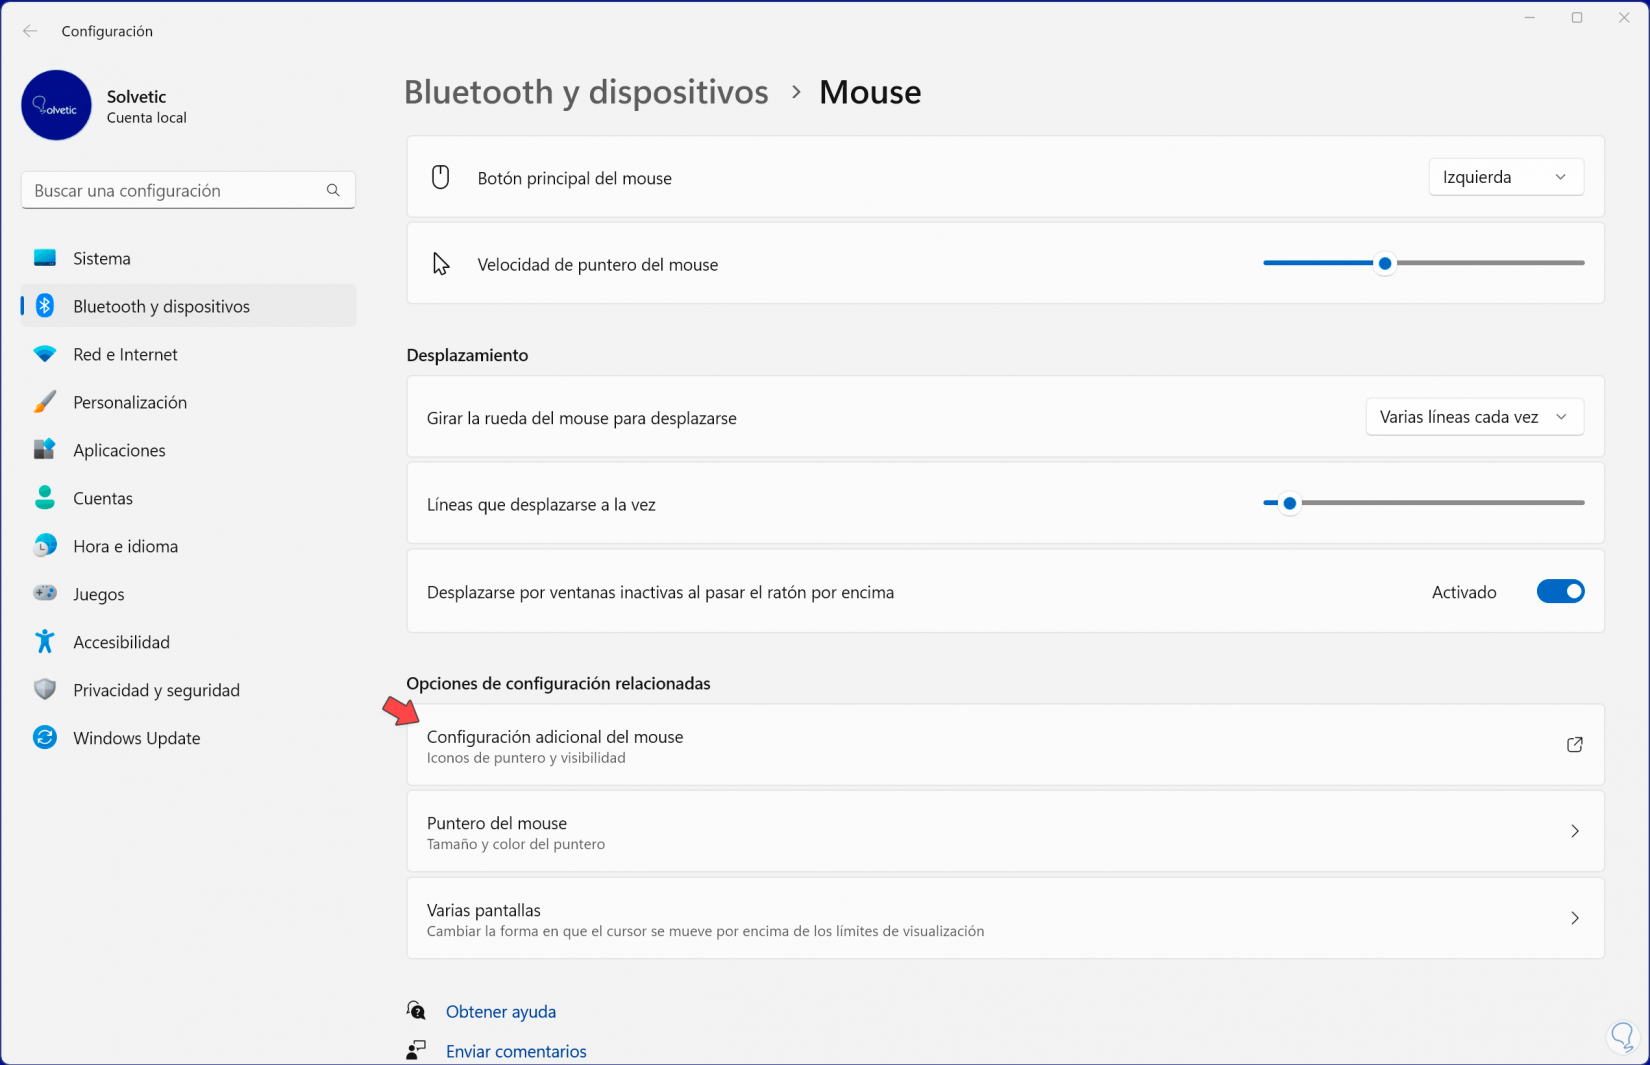
Here we will click on the “Additional mouse configuration” option.
Step 3
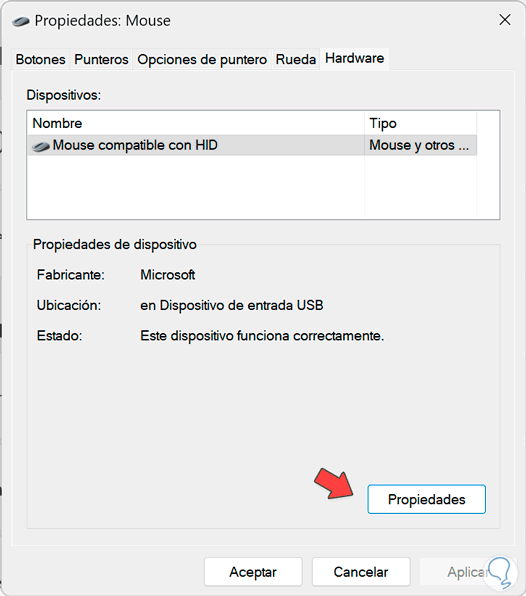
Next, we enter the “Hardware” tab. Then click on "Properties".
Step 4
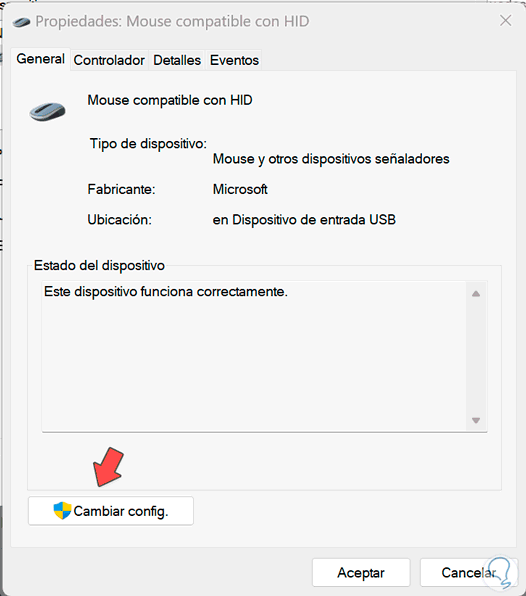
Then, in the "General" tab, click on the "Change settings" option.
step 5
Then, in the "Power Management" tab, uncheck the "Allow this device to wake the computer" option. Then apply the changes with "OK".
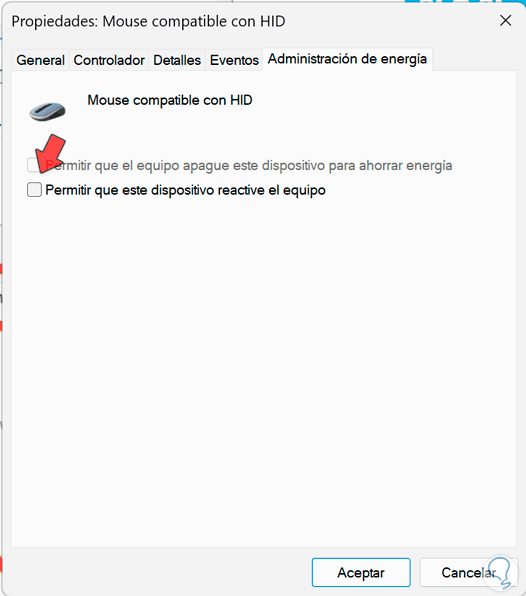
In this way we will be able to solve the problem of the Screen Saver is not activated in Windows and we cannot see it normally.