At the network and communication level, DNS plays a fundamental role in the entire internal process of connectivity to websites due to their special functions..
The DNS (Domain Name System) has been developed in a technology which is based on a database; whereby it will be possible to resolve names in both local and external networks. This implies that thanks to the DNS it is possible to know the IP address of the equipment where the domain that we are going to access daily via the internet is hosted.
The DNS is a system created to translate names on the network, and is composed of three parts that are:
DNS client
This is installed on the client, our team, and is responsible for making name resolution requests to DNS servers.
DNS server
Its function is to answer the requests and resolve the names using a structured tree system. Thus, the DNS addresses saved in the connection configuration are the addresses of the DNS Servers .
Authority Zones
These are servers or groups of servers whose task is to solve a set of specific domains such as .edu, .org, etc.
Example
Thanks to DNS, it is much easier to remember www.solvetic.com than 178.33.118.246 which is your IP address.
By default when we connect to a network, both Wi-Fi and Ethernet , the DNS is automatically assigned taking the values ​​of the ISP provider; and, in many cases, this DNS can fail due to technical problems, addressing overhead or resources..
To optimize the DNS on our computers we can use free DNS such as Google's public DNS or also use OpenDNS which give us advantages such as:
Benefits of Google DNS and OpenDNS
- They improve the privacy of deleted temporary records every forty-eight hours and all non-personally identifiable information, which is stored in permanent records.
- Improve the browsing experience using central load balancing and caching.
- It provides safe navigation.
This is why TechnoWikis will explain how we can set any of these DNS servers on Android in a practical way.
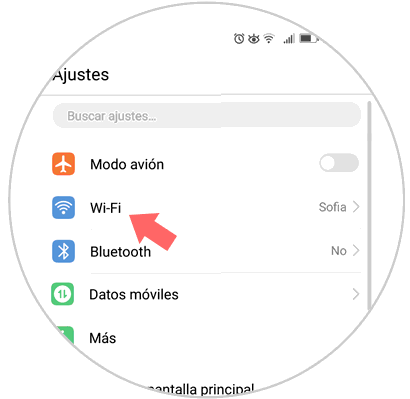
Step 1
To start this process we must go to the phone settings and there locate the Wi-Fi section:
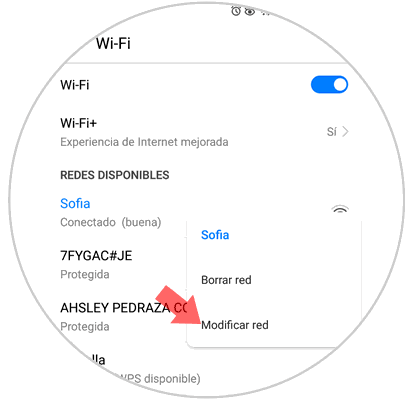
Step 2
When accessing it, press the Wi-Fi network to which we are currently connected and the following pop-up menu will be displayed. There we select the "Modify network" option.
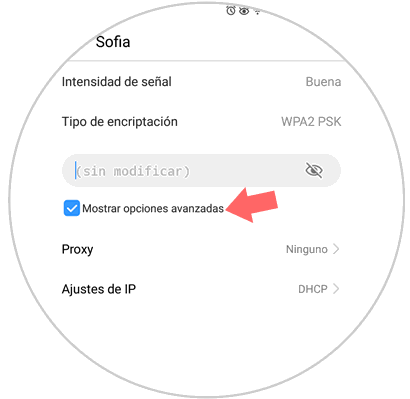
Step 3
Now, in the new window we must activate the "Show advanced options" box:
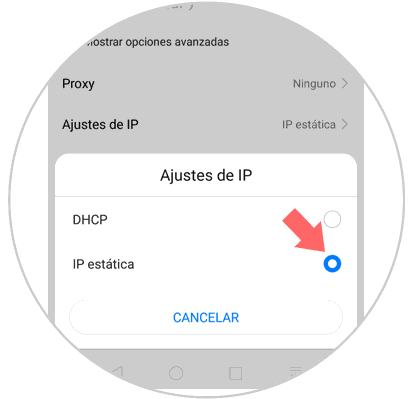
Step 4
We can see that by default the IP address is dynamically established (DHCP), we must click on this field and select the static IP option:
Step 5
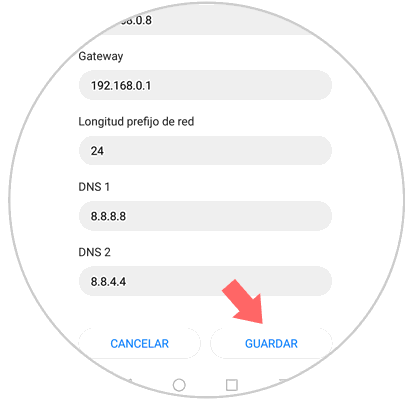
Now, in the options that will be open we will see the options of DNS 1 (Primary DNS Server) and DNS 2 (Secondary DNS Server). There we can enter the following IP addresses:
If we are going to use Google’s public server
DNS 1: 8.8.8.8 DNS 2: 8.8.4.4
If we are going to use OpenDNS we will enter
DNS 1: 208.67.222.222 DNS 2: 208.67.220.220
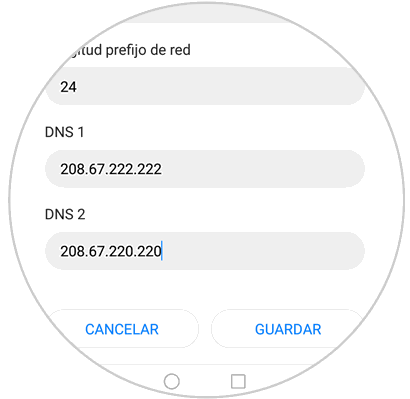
Once these changes have been defined, click on the "Save" button to confirm the new DNS server for Android..
Note
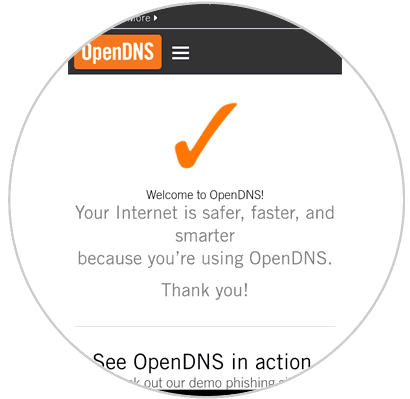
If we have chosen to use OpenDNS, we can go to the following official link where we will see a welcome message about the use of this free DNS:
OpenDNS
With these simple steps it will be possible to establish a new secure and reliable DNS for Android and thus enjoy the best browsing experience.