To stay up to date, remember to subscribe to our YouTube channel!
SUBSCRIBE ON YOUTUBE
When accessing a website from our PC or using services that require access to the network in the background, hundreds of processes are carried out, but one very special one should concern us and that is the routing table..
The routing table is part of the network infrastructure and its task is to determine the best route for sending data packets from our device to a destination on the network, be it an IP address or a domain name. In the routing tables we can have access to information about the available networks and the routes that are used by the network devices to carry out the optimal delivery of the packages.
Guys
There are two types of routing table:
- Local routing table which is associated with network devices, such as routers and modems that have their own local routing table, in it we will see the details of the networks connected to the device and the local routes.
- Global routing table which apply to a larger network such as the Internet, in this case the routers make use of global routing tables that do analysis to determine how to send packets between the detected networks, these global routing tables are updated constantly between routers to always detect the best available routes.
For you to keep in mind, routing tables are updated dynamically using routing protocols such as OSPF (Open Shortest Path First), RIP (Routing Information Protocol) and BGP (Border Gateway Protocol), these are responsible for transferring routing information between the various routers to keep the routes updated globally..
TechnoWikis will explain in this tutorial how you can add a static route to this entire information transfer process.
1 View routing information in Windows 11
The first step will be to carry out an analysis of how our equipment behaves with the local and external network, this allows us to determine some aspects that we will explain later.
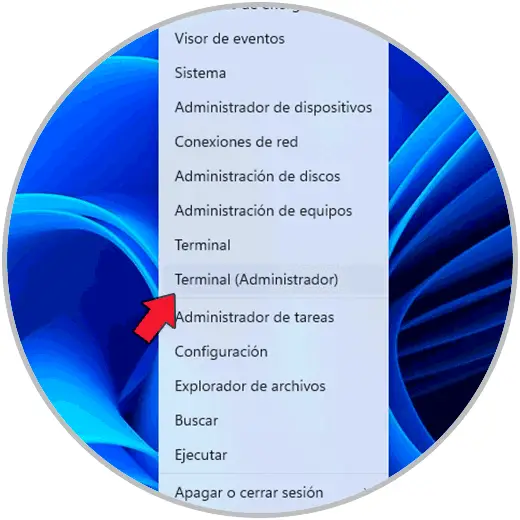
Step 1
Let's open Terminal or Command Prompt as administrator:
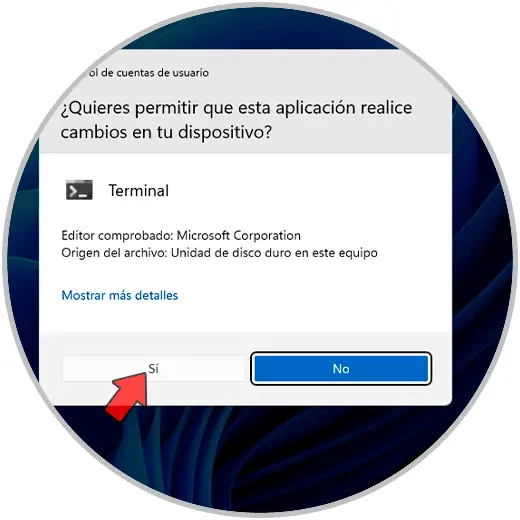
Step 2
We confirm the system permissions:
Step 3
In the terminal we will use the tracert command, this command is responsible for executing a trace of the route that takes a data packet from our device to a specific destination, IP address or domain, on the network, this command is ideal for detecting errors and thus defining part of the process, the network packet(s) can be dammed, some of the advantages of using tracert are:
- Display a list of the hops that a data packet makes between both devices
- Generate information about the approximate geographic location of each jump in the route that we have indicated
- View the response time (in milliseconds) between hops
- Determining errors with excessive usage times
Step 4
In the terminal it will be to check the route that our equipment uses to the destination, for this we use the following command.
tracert(destination)
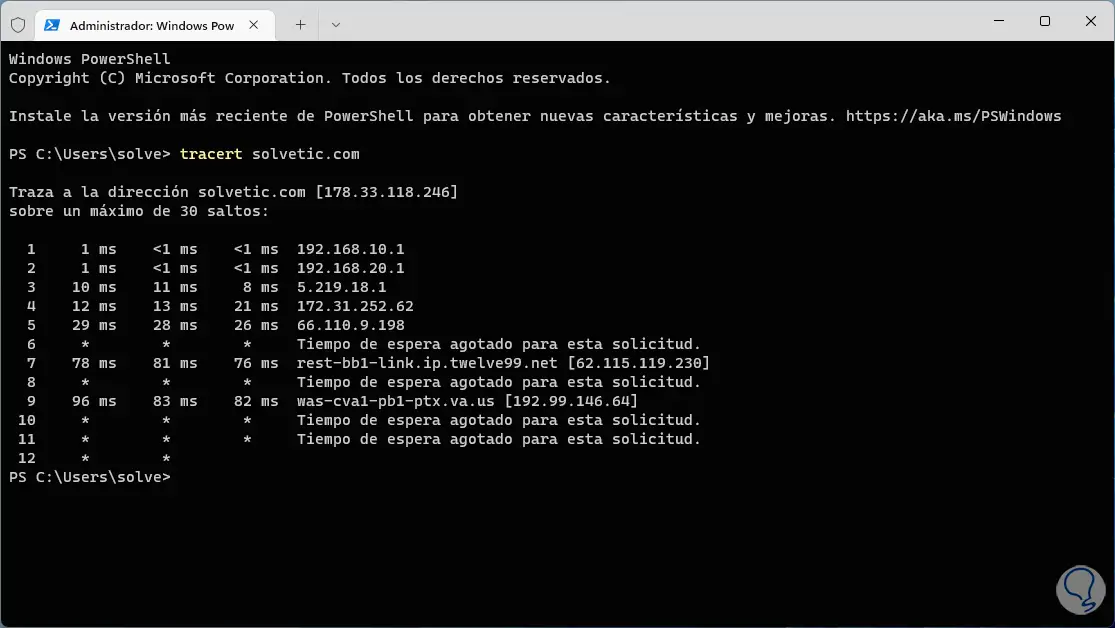
step 5
We find the routes from our equipment to the destination with information such as:
- jump identifier
- time spent in milliseconds
- used latency
- IP of the device and in some cases the name of this
step 6
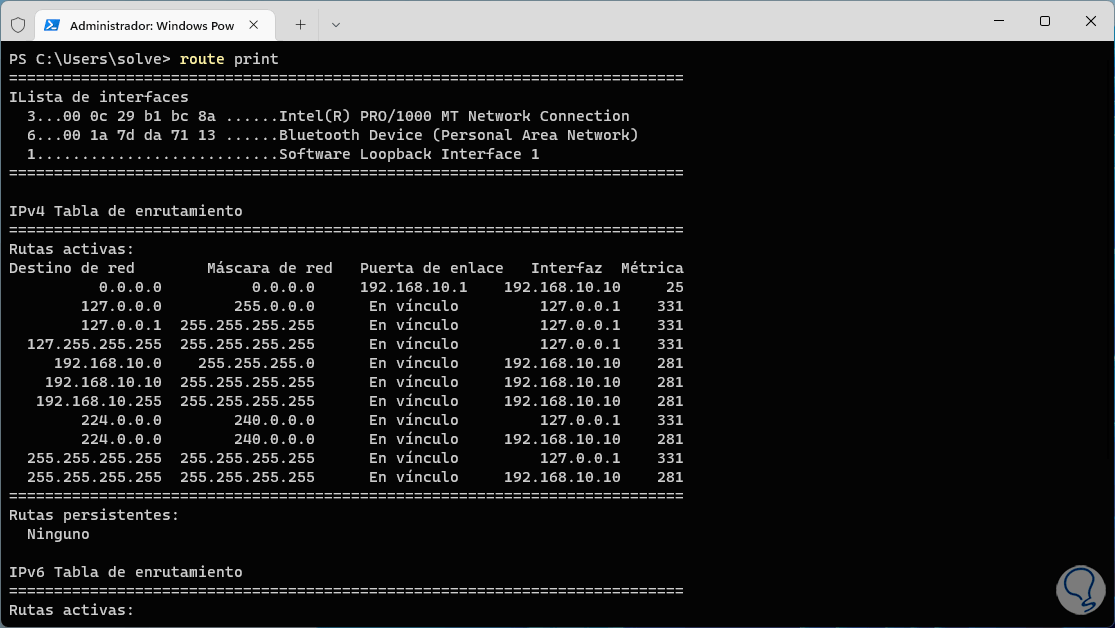
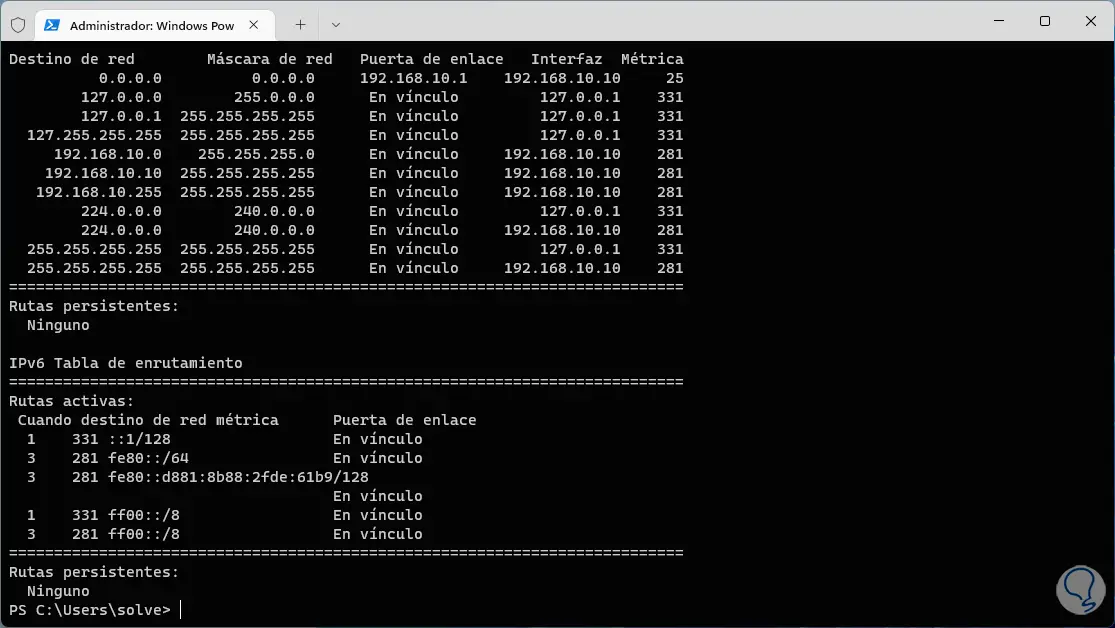
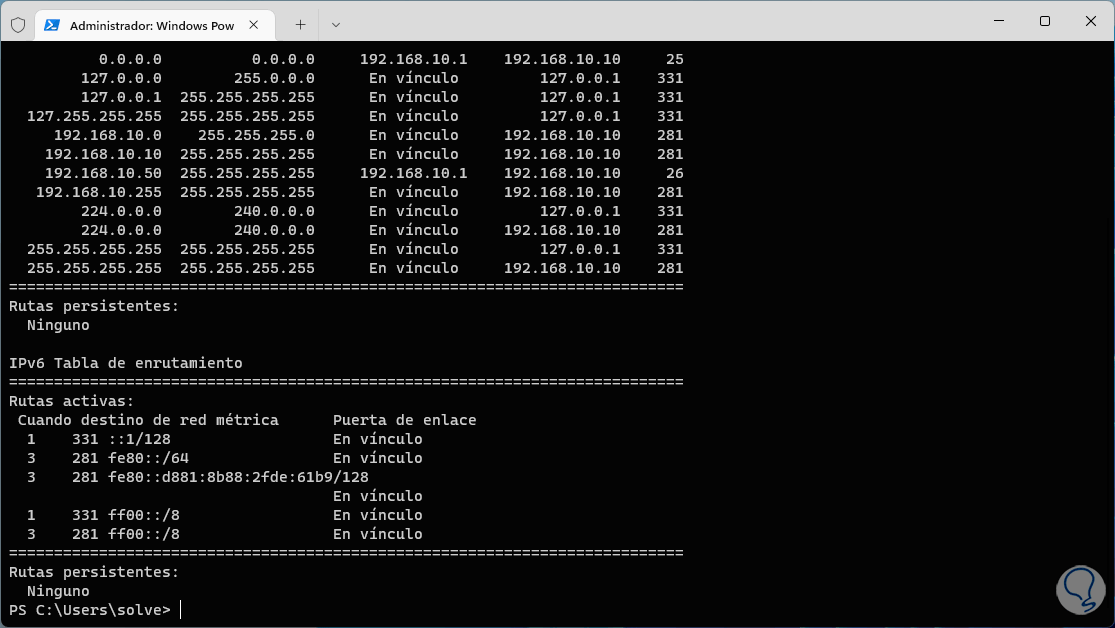
After this we are going to execute the following command to clearly know the entire routing table of the equipment:
route print
step 7
We go down a little more to access other details:
step 8
This command displays information such as:
- Route List: A list of all routes configured in the system is generated, this includes routes for local networks and routes for remote networks
- Destination network address: there we find the destination network address for each route that is used, this can be an already established address or a default route (0.0.0.0).
- Subnet Mask – Generates the subnet mask that is linked to the destination network address.
- Gateway (Gateway): It is the IP address of the next hop or gateway that covers the entire network through which the packet passes.
- Metric – This is a value that Windows 11 uses to determine the best route and works when we are dealing with multiple available routes to that same destination network.
- Interface: It is the network interface through which the packets travel towards the destination network.
- Type: is the type of route which can be "Persistent" (configured manually) or "Dynamic" (used with a routing protocol).
- Validation of the status of the route on whether it is active or not.
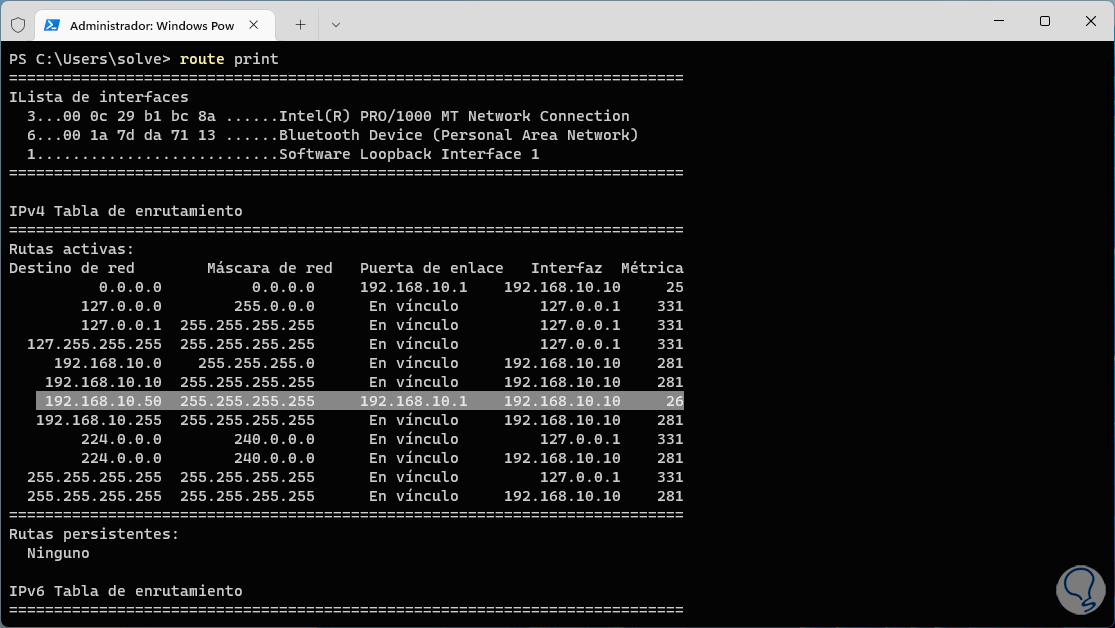
2 Add IP static route to Windows 11 routing table
As network or system administrators we may want to add a static IP address to this table, it works when a new network device has been purchased for network management.
Step 1
In the terminal we execute the following syntax:
route ADD (destination network or IP) MASK subnet mask Gateway or Gateway

Step 2
After this we are going to validate that the IP address has been added correctly using the "route print" command:
There we find the created IP..
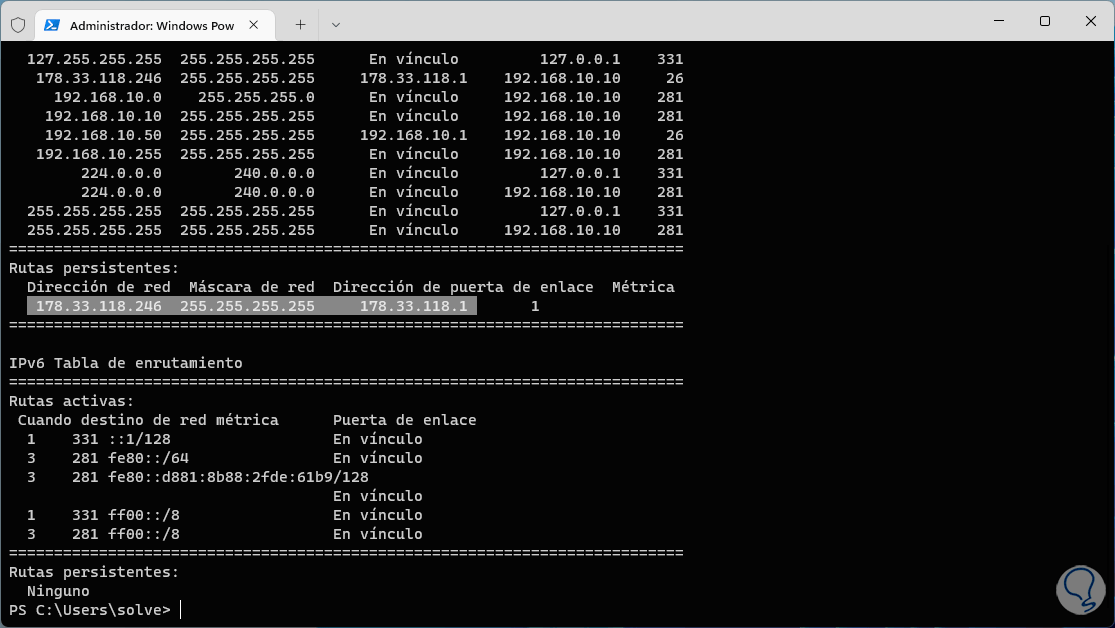
3 Create Persistent IP Windows 11
With the previous method, each time the PC is restarted, this IP address will be deleted and it will be necessary to enter it manually, increasing the management time. To avoid this, we can make the IP address persistent, that is, it will remain there even when the system is rebooted.
Step 1
To achieve this, we are going to execute the following command using the -p parameter:
route -p ADD (destination network or IP) MASK subnet mask Gateway or Gateway

Step 2
We use "route print" again and in the "Persistent routes" section we validate that this address has been added:
4 Delete IP static route in routing table Windows 11
When it is no longer necessary to use any of these IP addresses that we have added, we can eliminate it so that it does not affect the packet routing process.
Step 1
To delete an IP in the routing table we open the terminal and execute the following command:
route delete (IP)
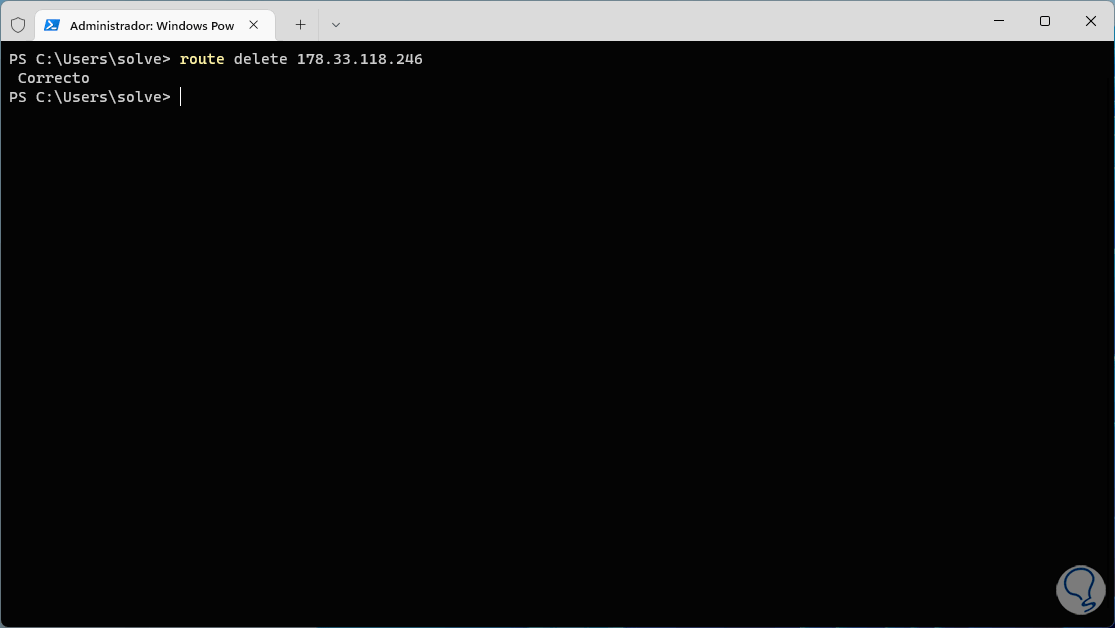
Step 2
We check with “route print” that it has been deleted correctly:
This is the simple but effective way to add static routes to the routing table in Windows 11 and manage the entire packet forwarding process.