PDF files are one of the most practical ways to manage and manage everything related to light files , adding security and compatibility. PDF, developed by Adobe, is a widely used format in multiple environments including websites where its practicality is ideal for managing various text elements ..
When we use Windows 10, we are only able to open and view the contents of a PDF file, so we must use third-party applications to carry out much more advanced tasks such as crop, export to Word , extract content and more.
The good news when we have to extract pages from a PDF file is that the tool incorporated in Windows 10 called "Microsoft Print to PDF" is useful to extract one or more pages from PDF files in a simple but complete way. It is for this reason that with this tutorial today TechnoWikis will explain how to achieve this in a simple way..
Step 1
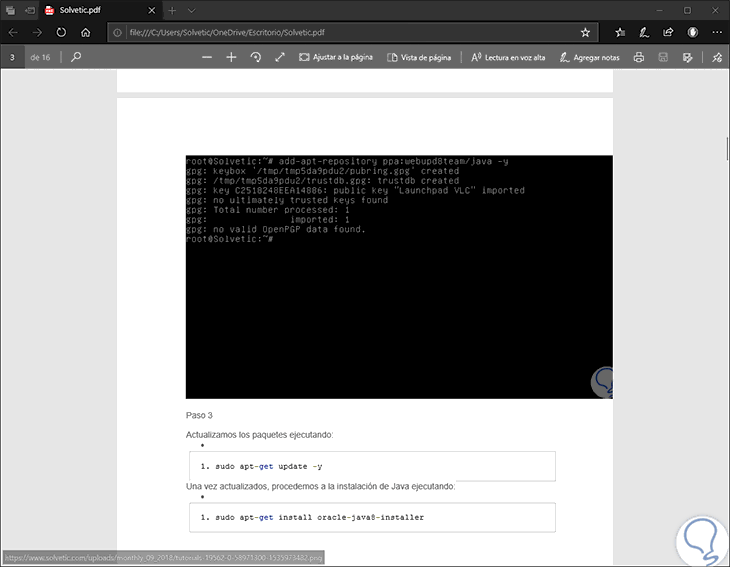
The first step is to open the PDF file with a modern browser that supports PDF files such as Firefox Quantum, Microsoft Edge or Google Chrome . We achieve this by right clicking on the PDF file and selecting the "Open with" option and then choosing the desired browser:

Step 2
Now, we will use the following key combination:
+ P Ctrl + P
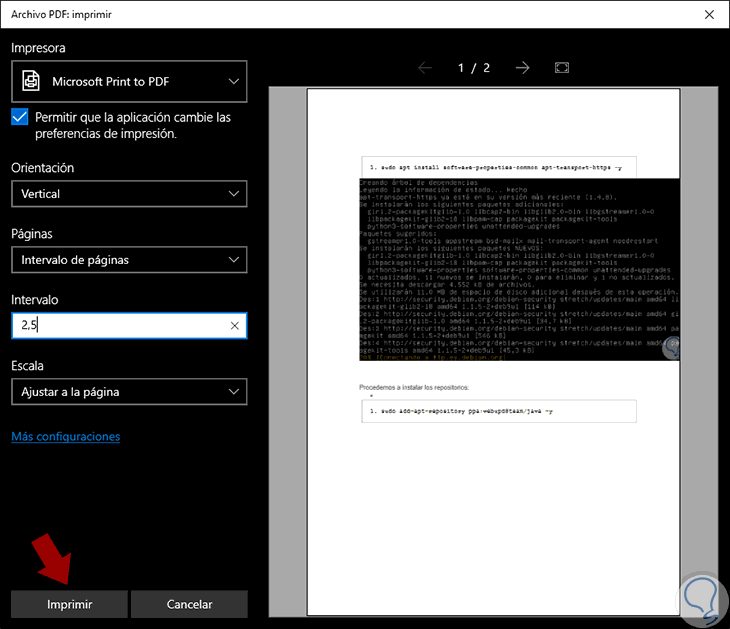
This will allow us to open the print dialog or we can right-click somewhere in the PDF file and select the "Print" option. In the print dialog box we must do the following:
- Select the "Microsoft Print to PDF" option in the "Printer" field.
- In the "Pages" field we select the "Page range" option.
- In the "Interval" field we define the pages to be printed.
- Click on the "Print" button.

Step 3
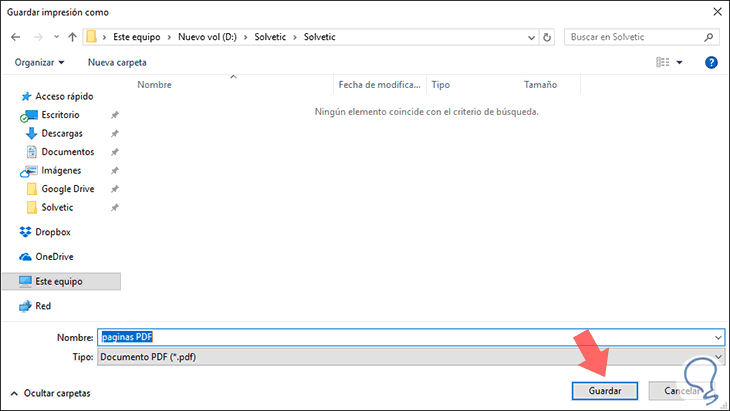
In the pop-up window we define the path where the pages of the PDF file that we wish to extract should be stored. Click on the "Save" button.

Step 4
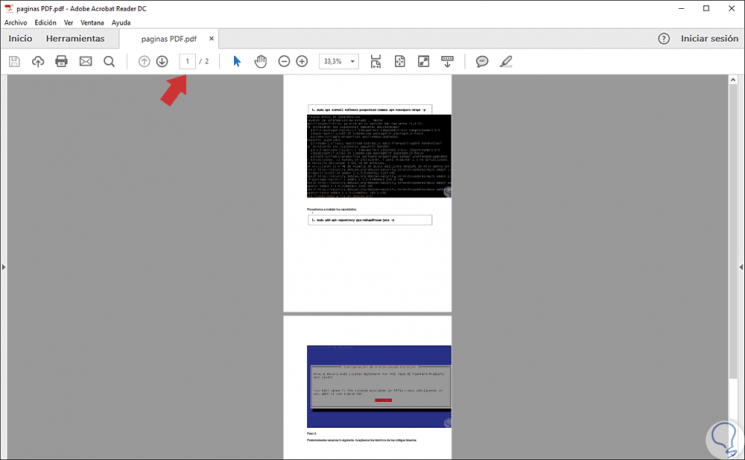
In this way the PDF file will only contain the images that we have indicated in the printing process:

It's that simple we can extract pages from a PDF file using the utility built into Windows 10.