To stay up to date, remember to subscribe to our YouTube channel!
SUBSCRIBE ON YOUTUBE
The drivers in Windows 11 give us the possibility to allow a correct interaction between the device and the user, a driver error implies from use errors to the impossibility of use, a popular driver is the audio driver which allows us to play our music, watch movies and series as well as have access to system sounds..
For this reason, it is essential that the audio driver works correctly and today Intel is one of the best-known manufacturers in this segment and its Realtek High Definition segment offers us a modern and advanced user experience with clear sounds and special functions to get the most out of the sound. best use, but many users have the audio problem because they do not have this updated driver.
TechnoWikis will explain the clear way to install the Realtek High Definition driver in Windows 11..
How to install Realtek High Definition Audio
Step 1
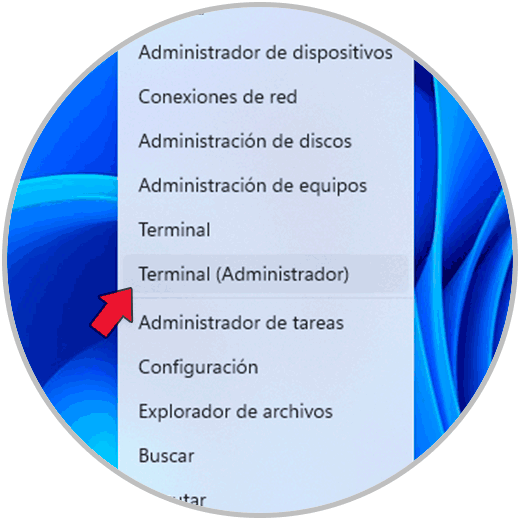
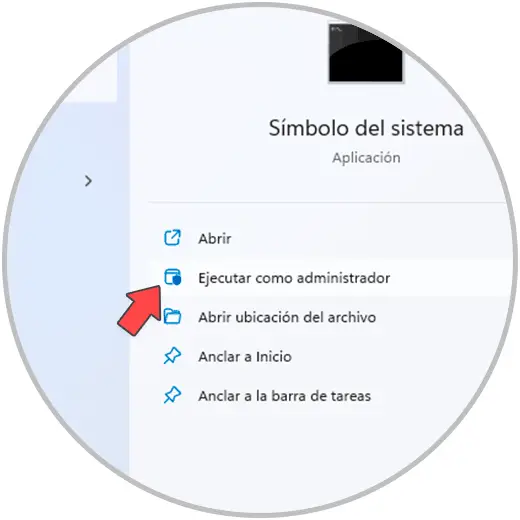
The first thing will be to update the local system policies to avoid errors during the installation of this driver, for this we right click on the Start menu and then in the list we click on "Terminal (Administrator)":
Step 2
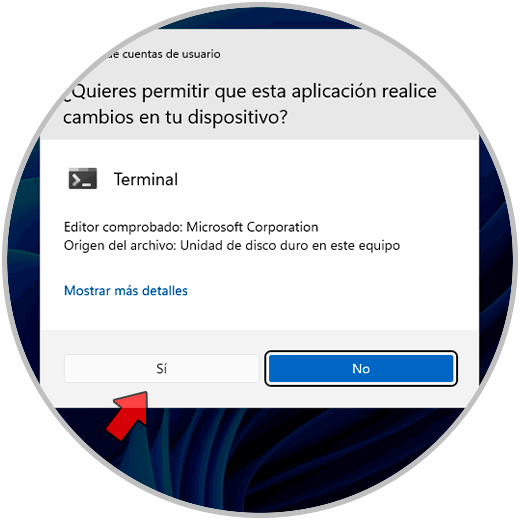
We confirm the system permissions:
Step 3
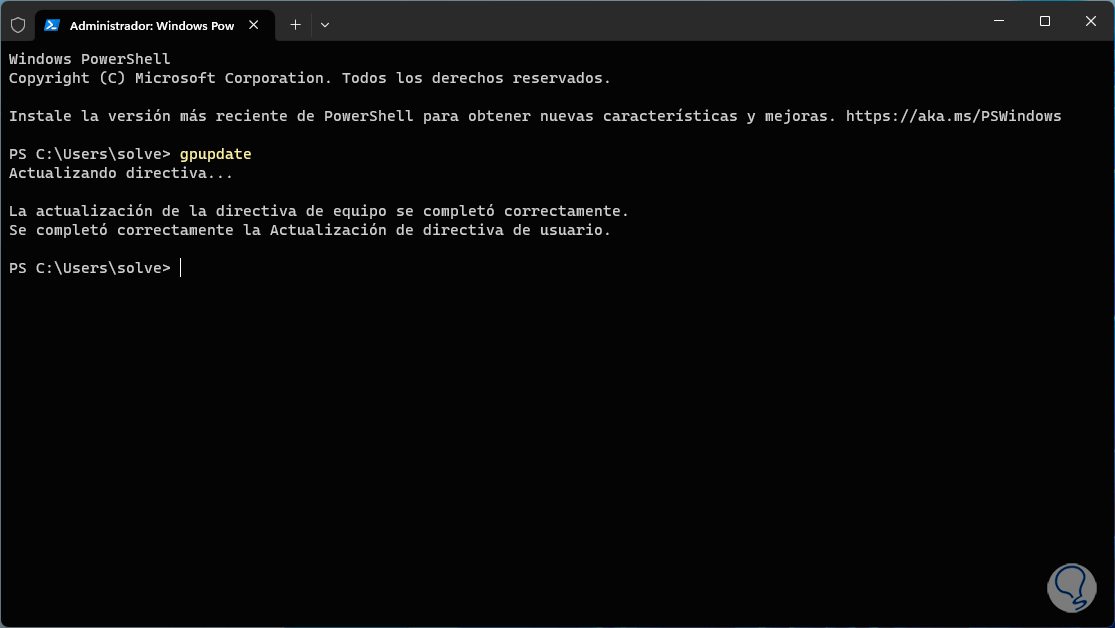
In the terminal we execute the following command:
gpupdate
Step 4
Press Enter and wait for it to finish:
step 5
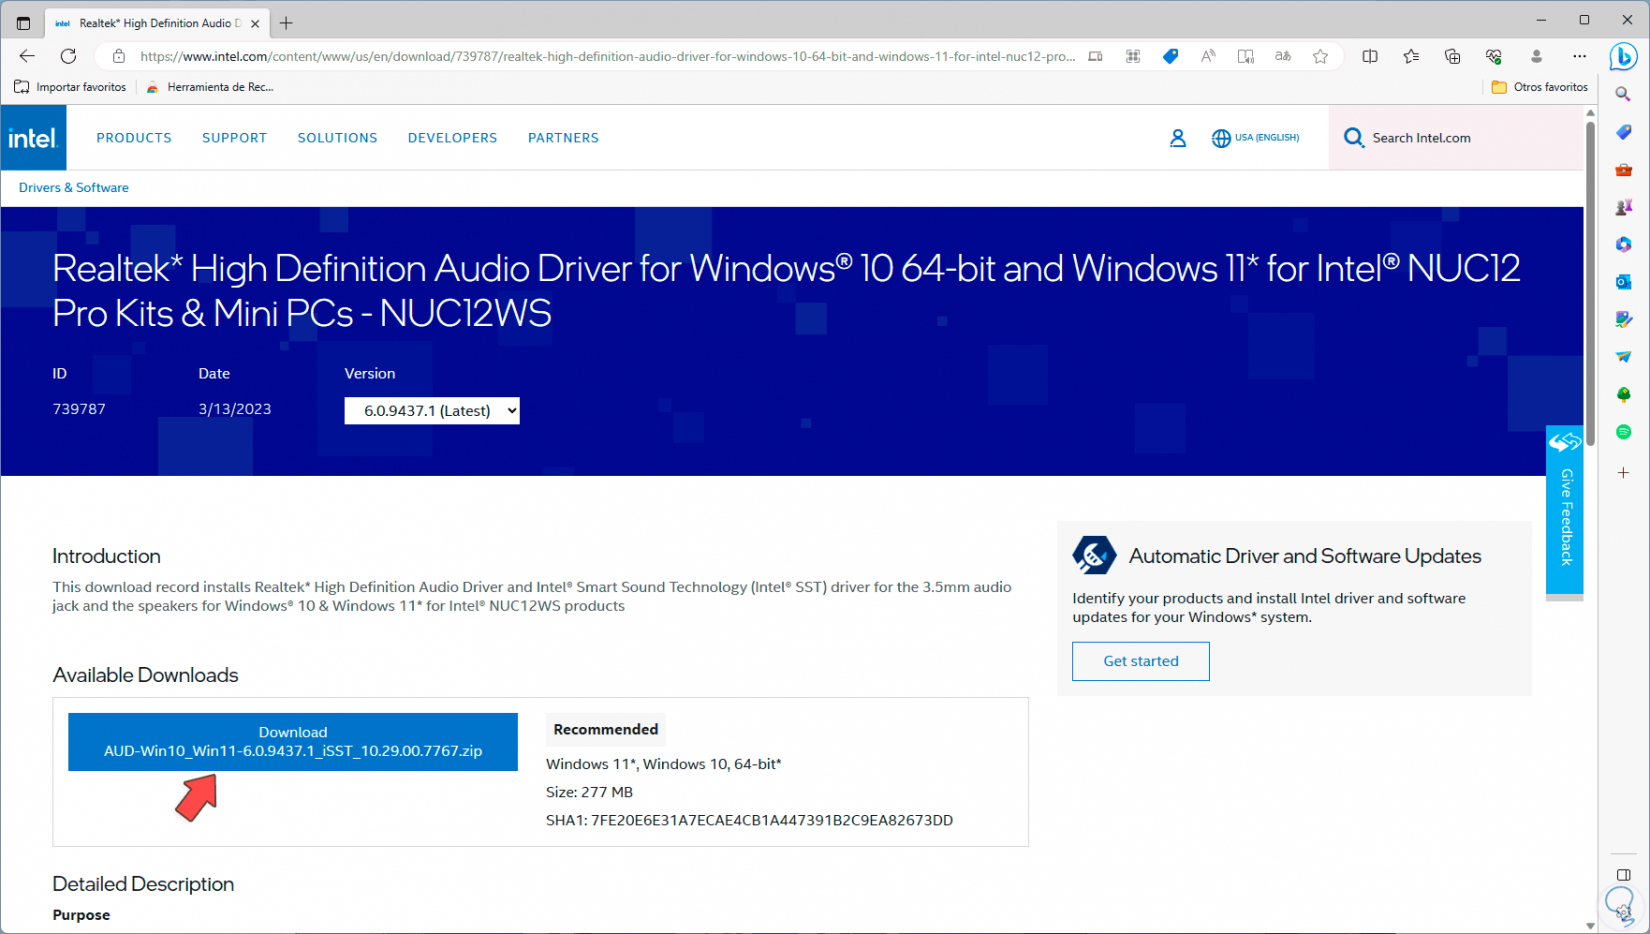
After this we will go to the following link:
Intel Realtek High Definition
step 6
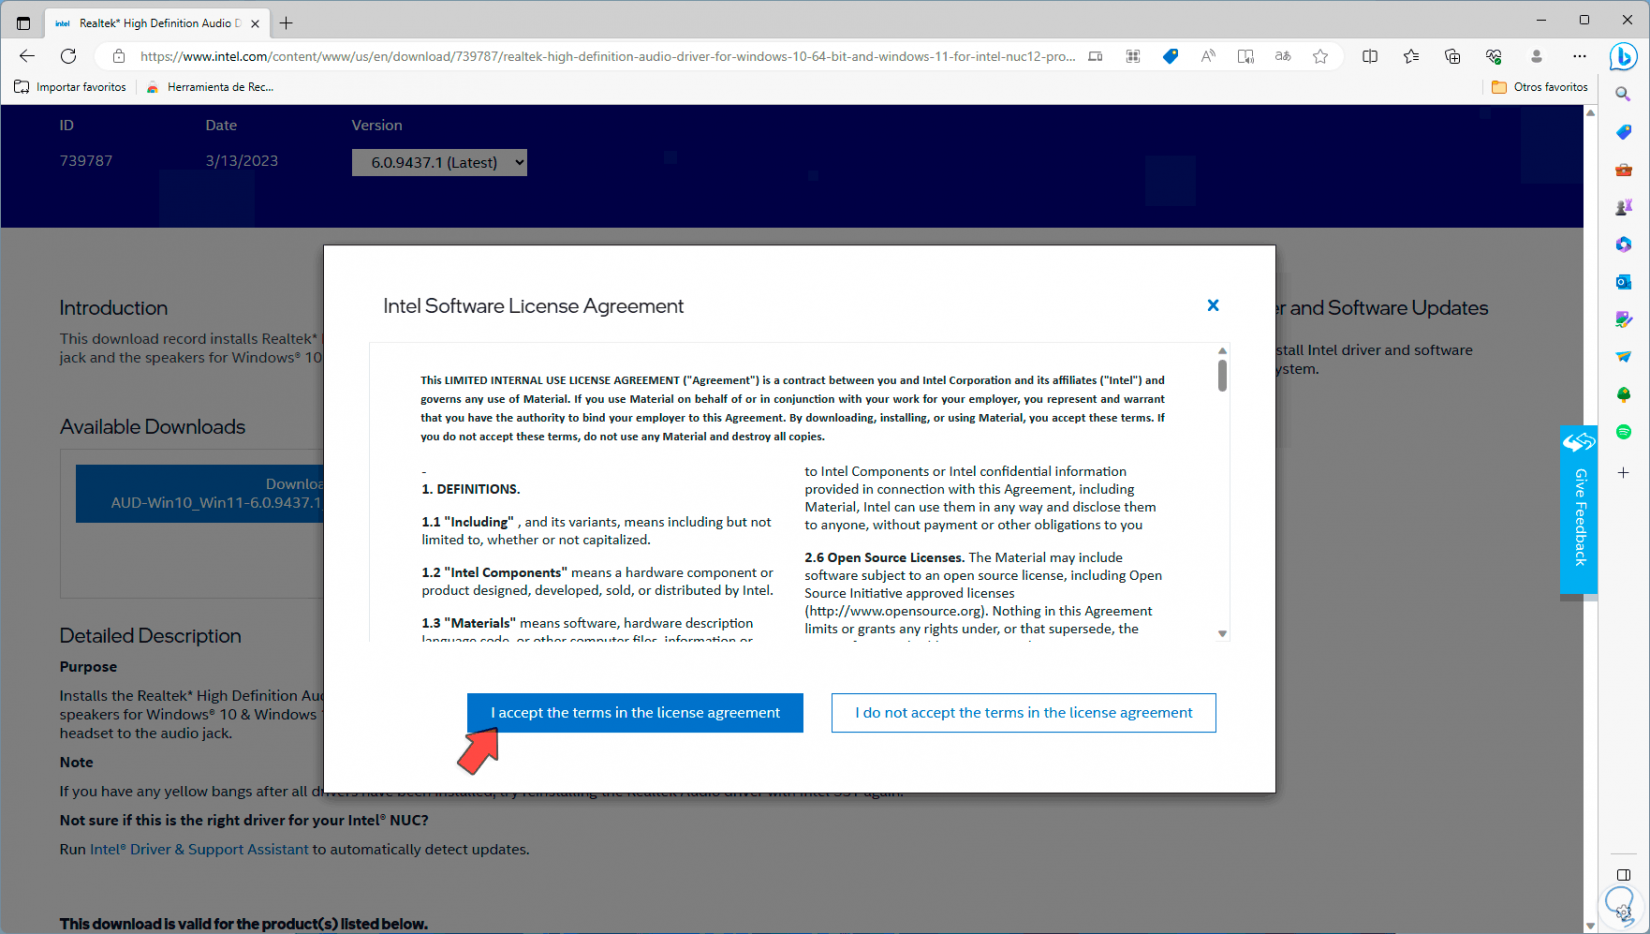
There we must look for the driver based on the model of our medium, once detected we will click on the download button to see the following:
step 7
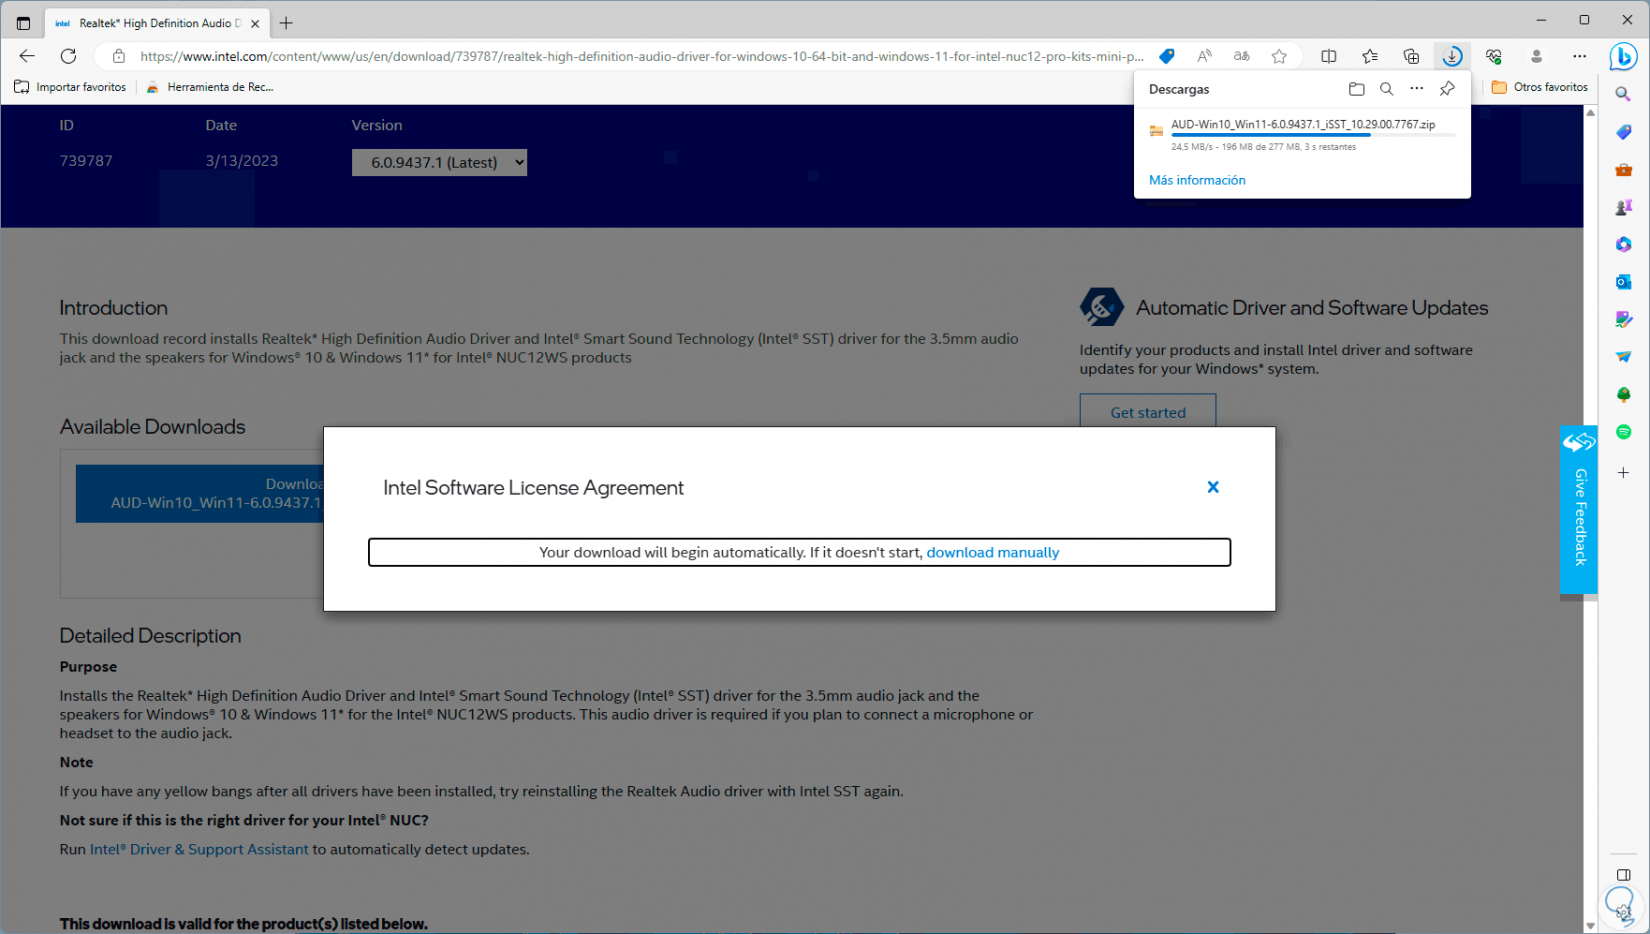
We accept the license and wait for the executable to be downloaded:
step 8
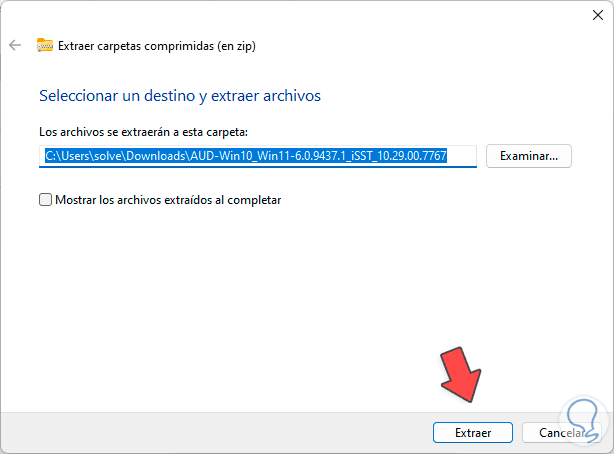
When it has been downloaded we will go to the Downloads library and there we will right click on the file and select the "Extract all" option:
step 9
We define where it will be saved:
step 10
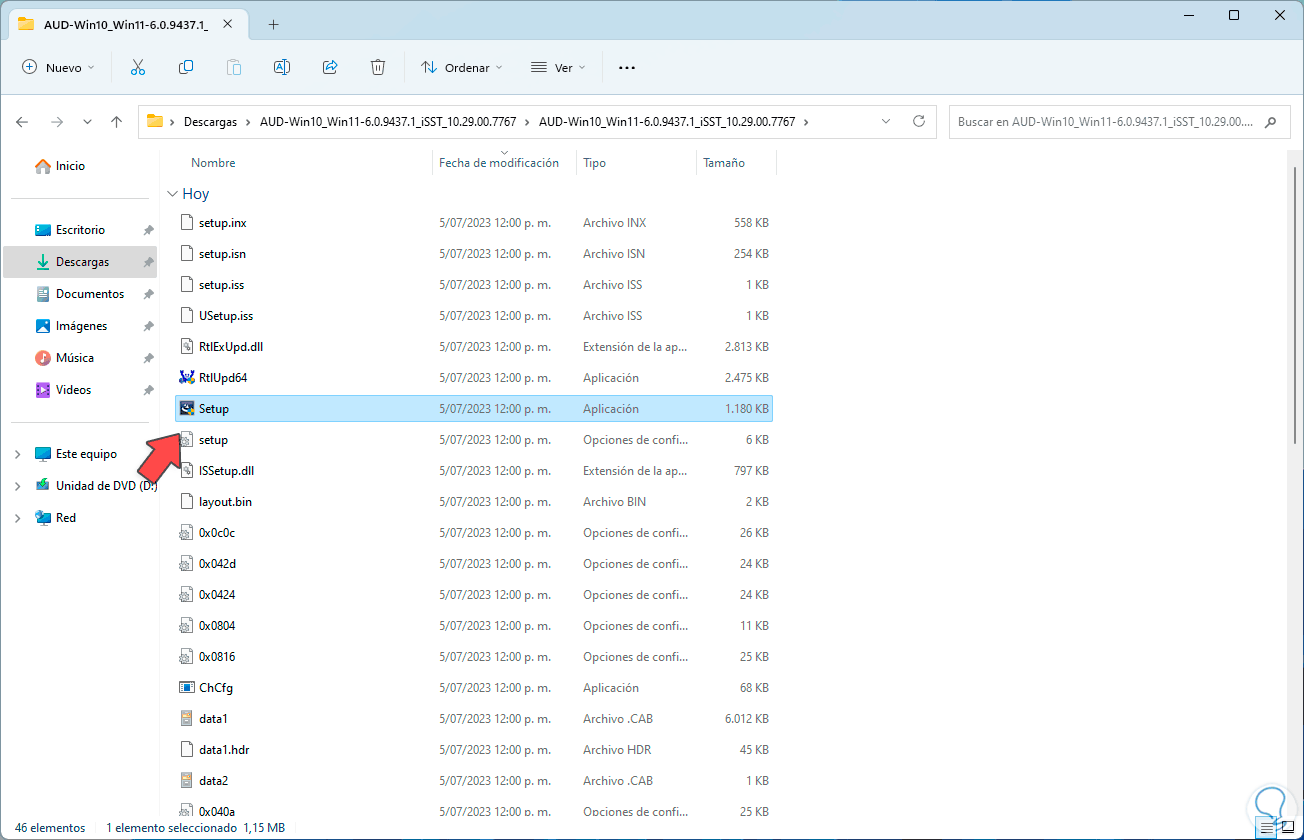
Once the content has been extracted, we are going to access the folder and execute the Realtek High Definition Audio installation file:
step 11
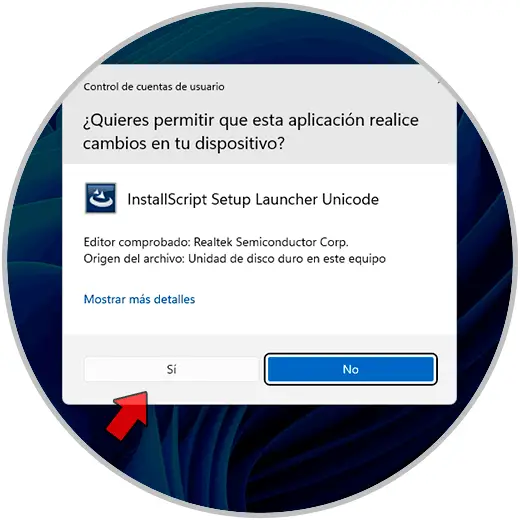
We must accept the system permissions:
step 12
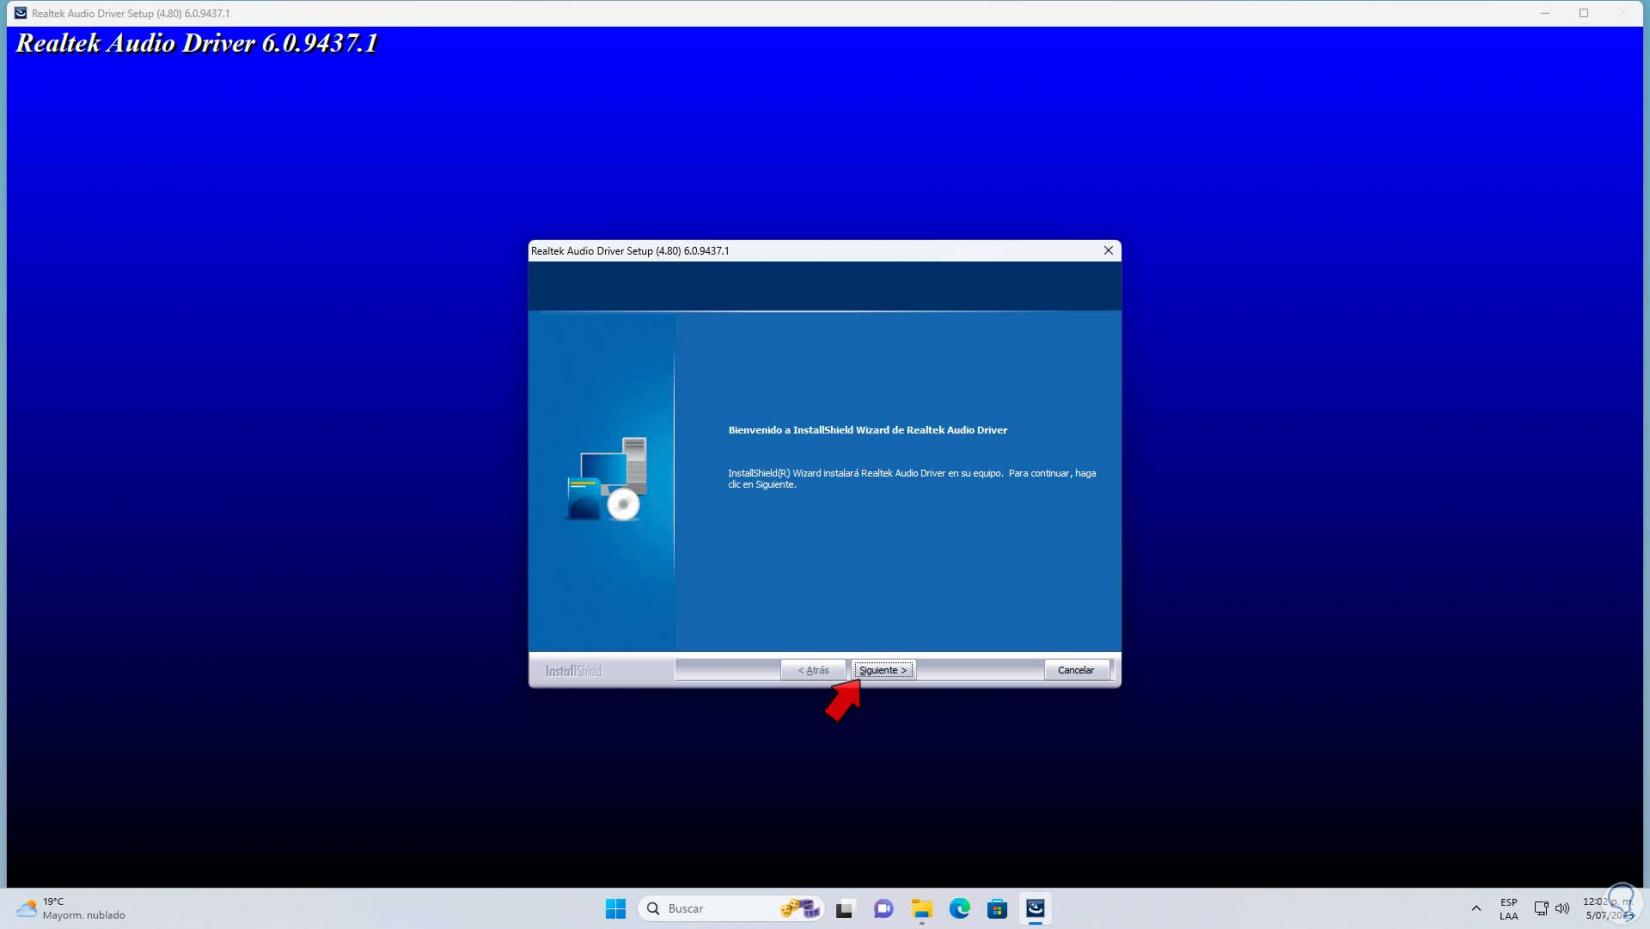
The installation wizard will open:
step 13
We click on the "Next" button to start the process of loading the elements:
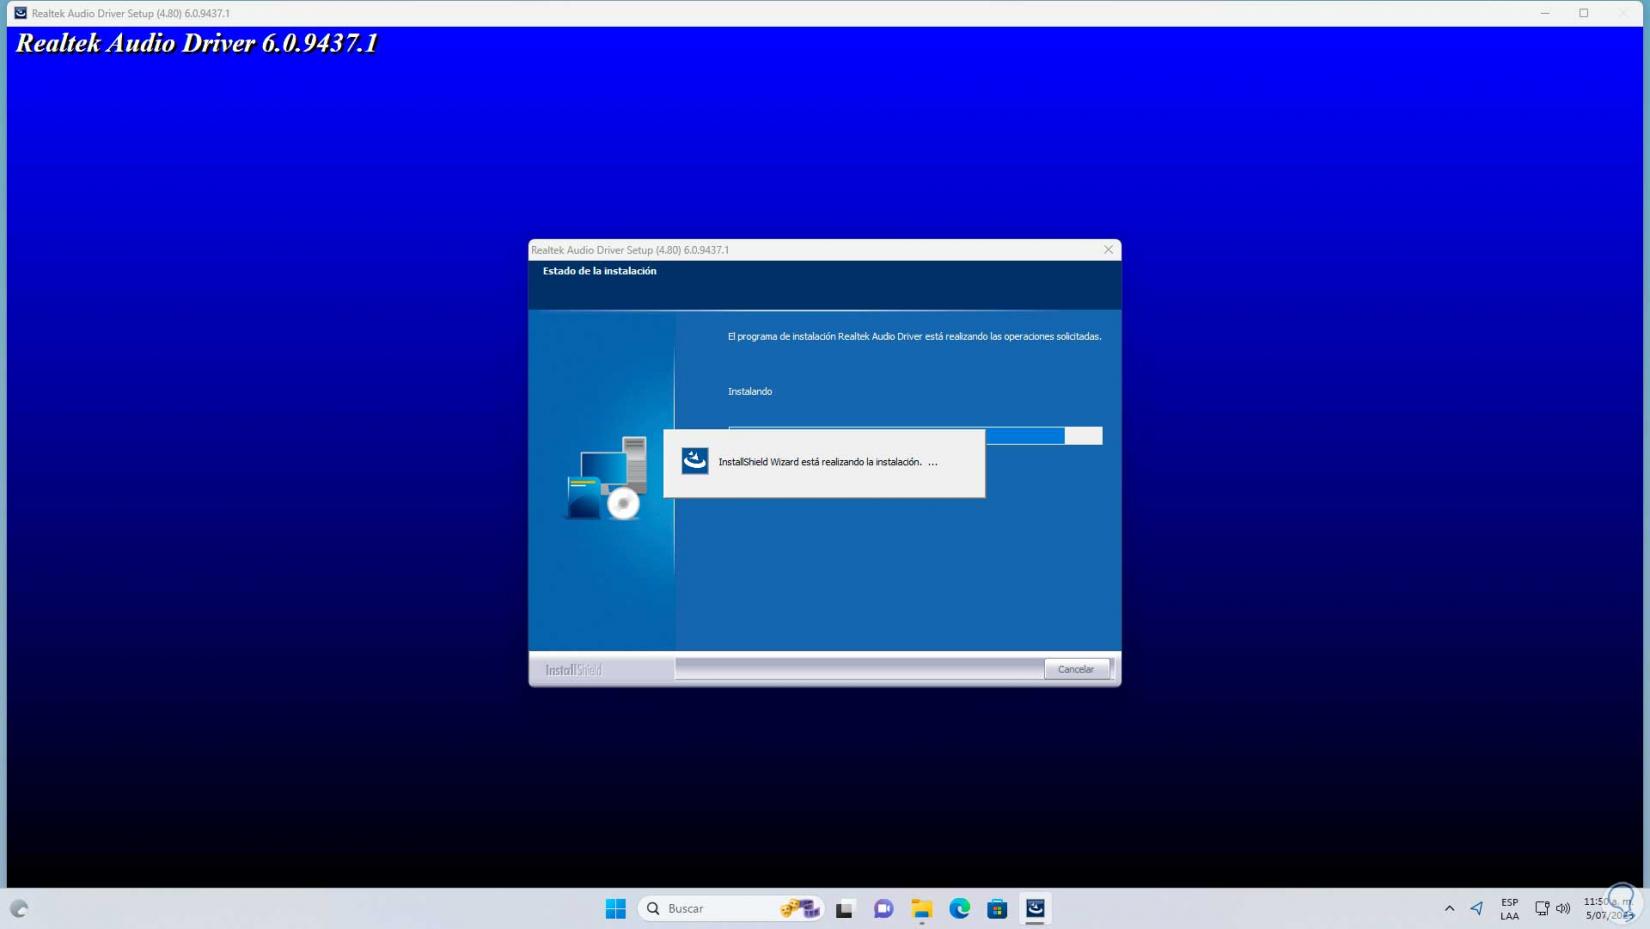
step 14
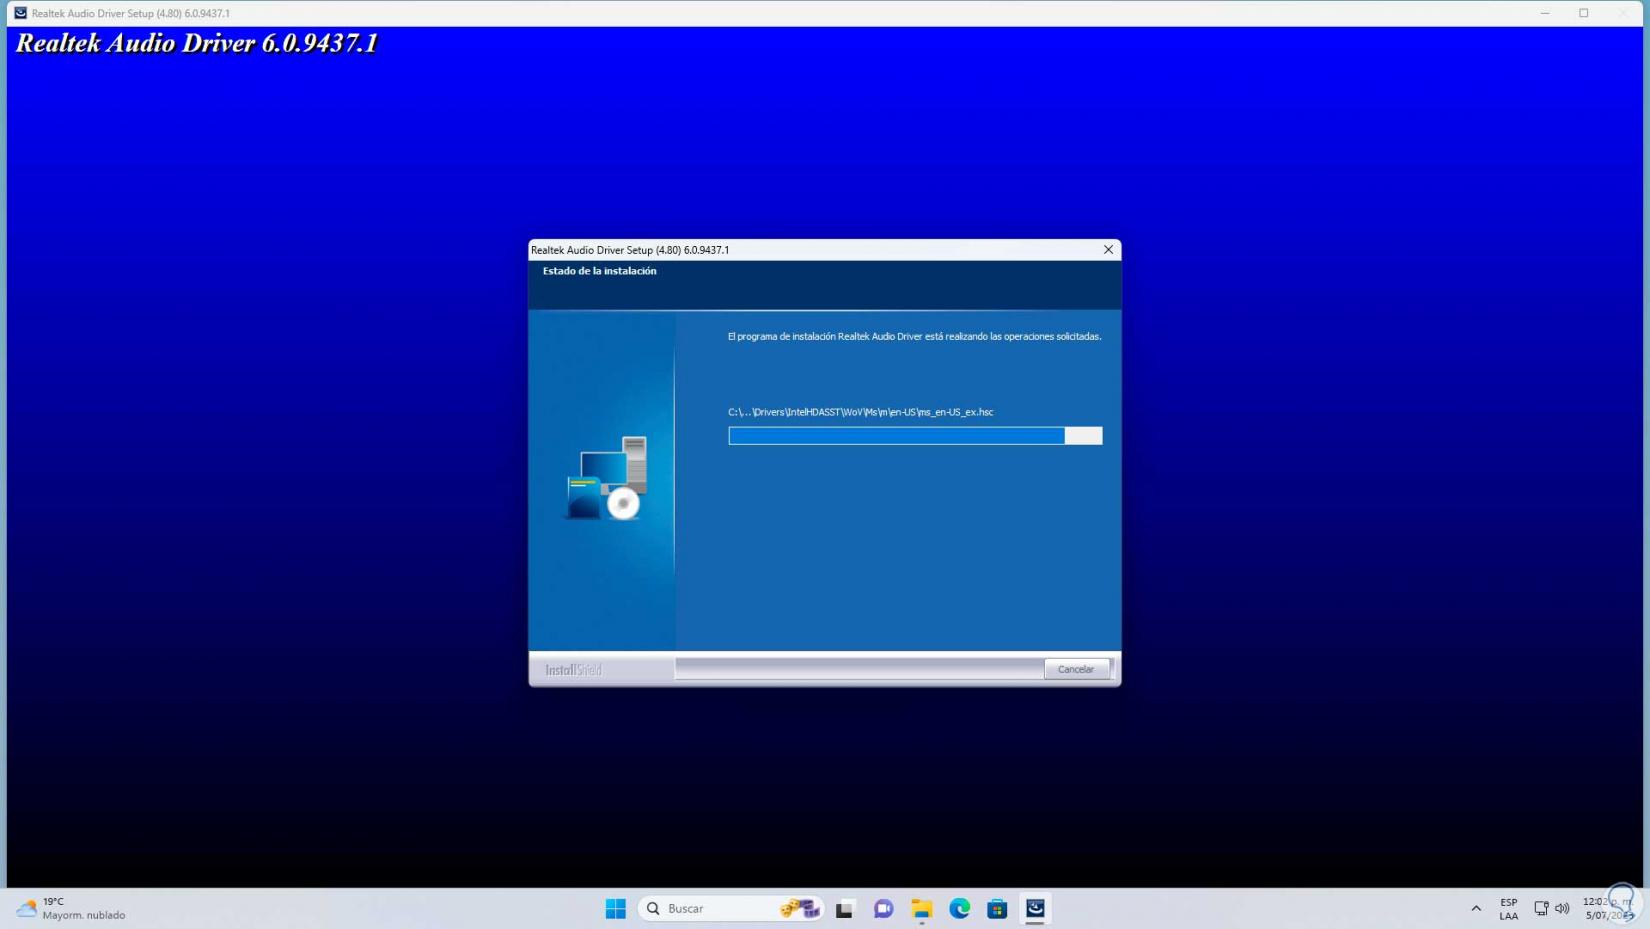
We wait for the Realtek High Definition driver installation process to complete:
step 15
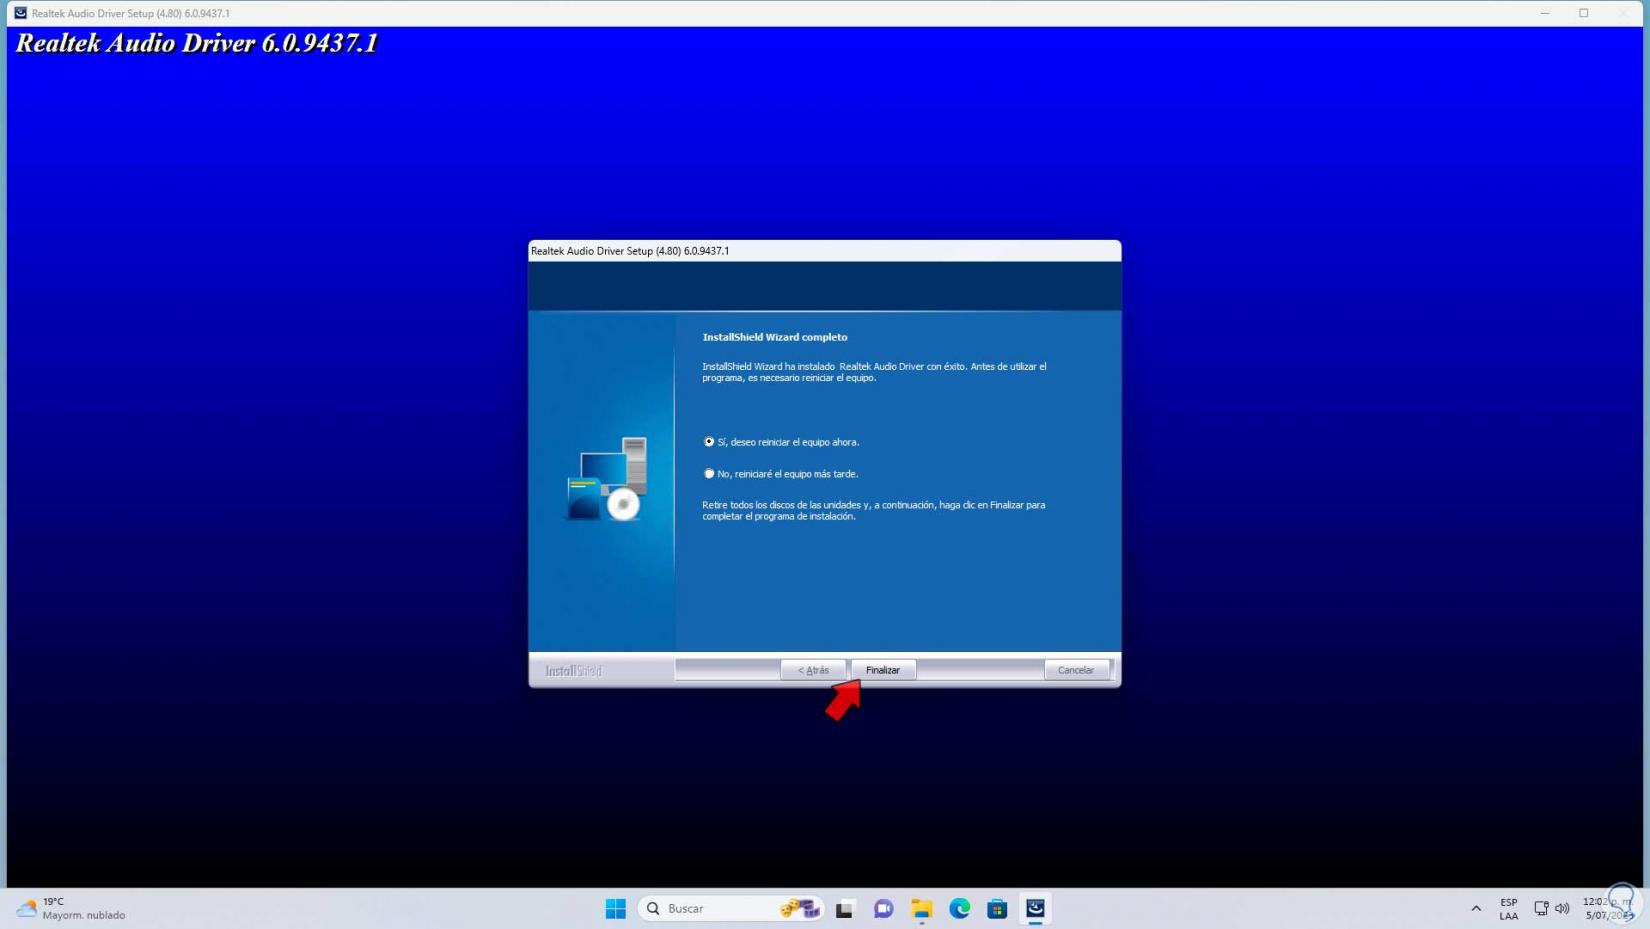
At the end of this process we will see the following:
step 16
We click on "Finish" to restart the system:

step 17
Windows 11 will restart:

step 18
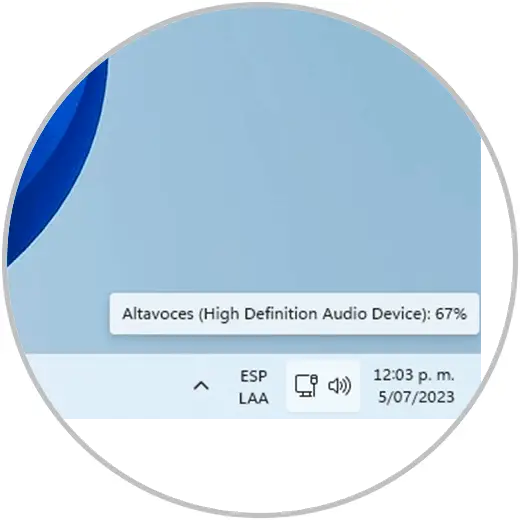
When logging in we can verify that it has been installed and we have audio by clicking on the volume icon in the taskbar:
It is that simple to install this Intel driver and you have learned it from TechnoWikis to have your audio at 100% day by day.