The use of the keyboard in Windows 10/11 is daily since thanks to it it is possible to enter data to different text applications, execute commands and carry out many more operations, in some specific situations we may want to lock the keyboard, this can be at times like:
When to lock keyboard
- Some equipment update is in progress and we don't want to interrupt it.
- When backups are created and avoid accidentally stopping it.
- For privacy to prevent another user from accessing the equipment.
In Windows there are some methods to carry out this process and TechnoWikis will explain each one in detail.
1 Lock Windows keyboard from Device Manager
Step 1
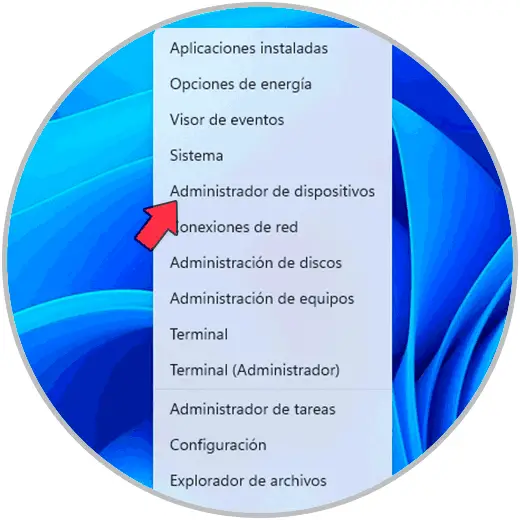
Without a doubt this is one of the simplest methods to lock the keyboard, if you want to use this method open the Device Manager from the context menu of the Start menu:
Step 2
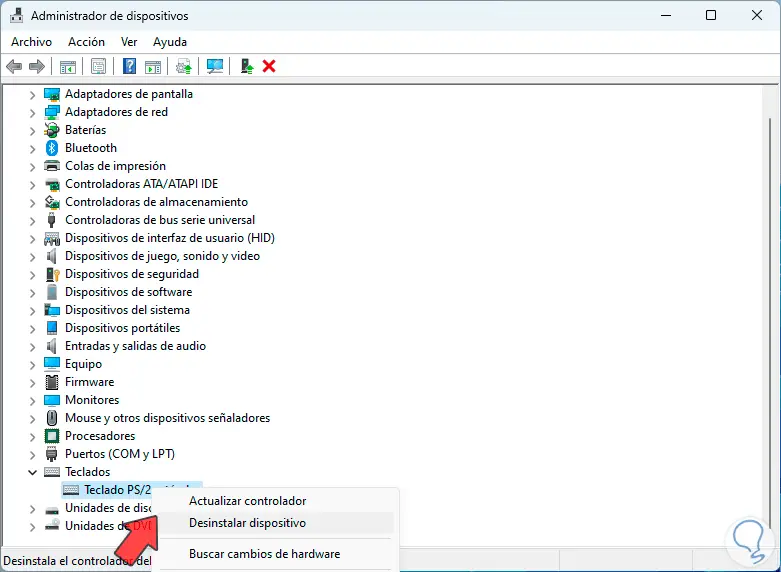
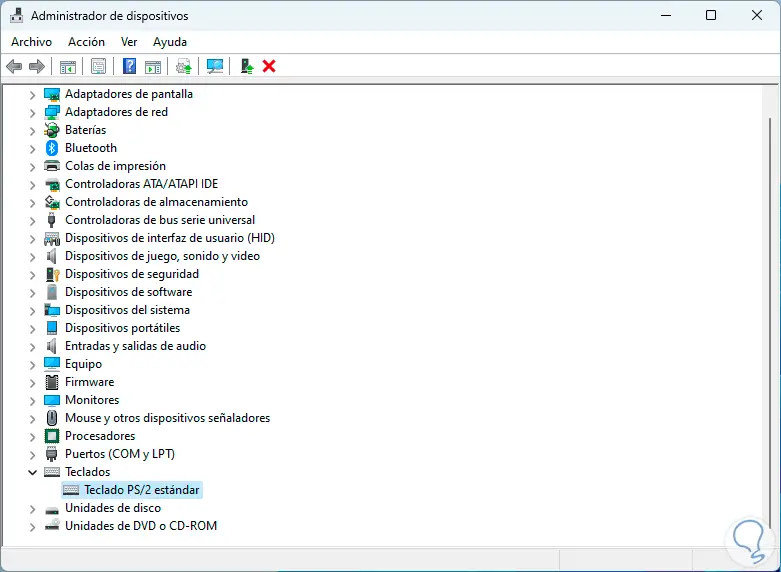
In the administrator window we are going to go to the "Keyboards" section, there we will right click on the keyboard driver and select the "Uninstall device" option:
Step 3
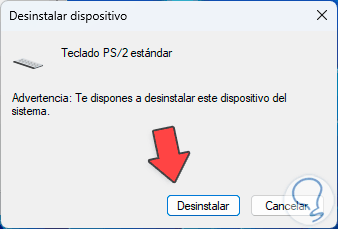
The following warning window will open:
Step 4
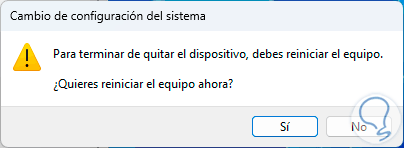
We confirm the operation by clicking on "Uninstall", after this we will see the following:
step 5
Here we must take into account that to leave the keyboard locked, the system must not be restarted, if it is no longer required we can restart Windows:

step 6
Logging in will install the keyboard driver again. With this the keyboard will be functional again.
2 Lock Windows keyboard from Console
Through the CMD console, the Terminal or PowerShell we can execute a simple command to lock the keyboard on the computer.
Step 1
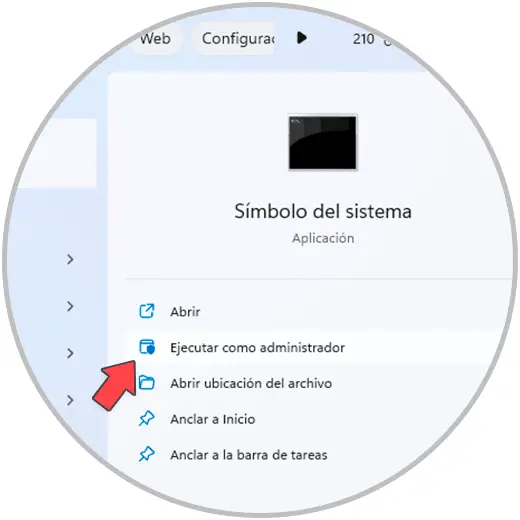
For this case we are going to open the cmd console as administrators:
Step 2
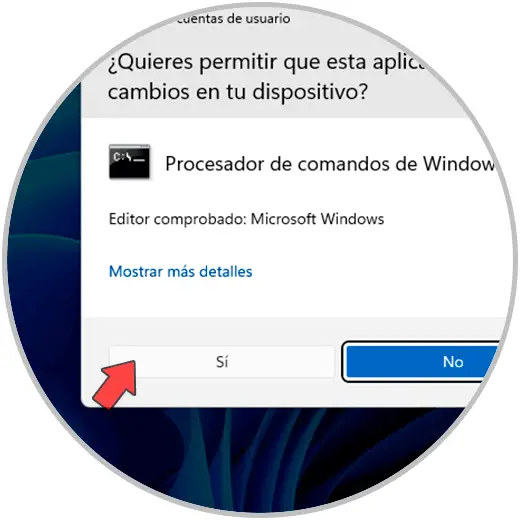
We accept system permissions:
Step 3
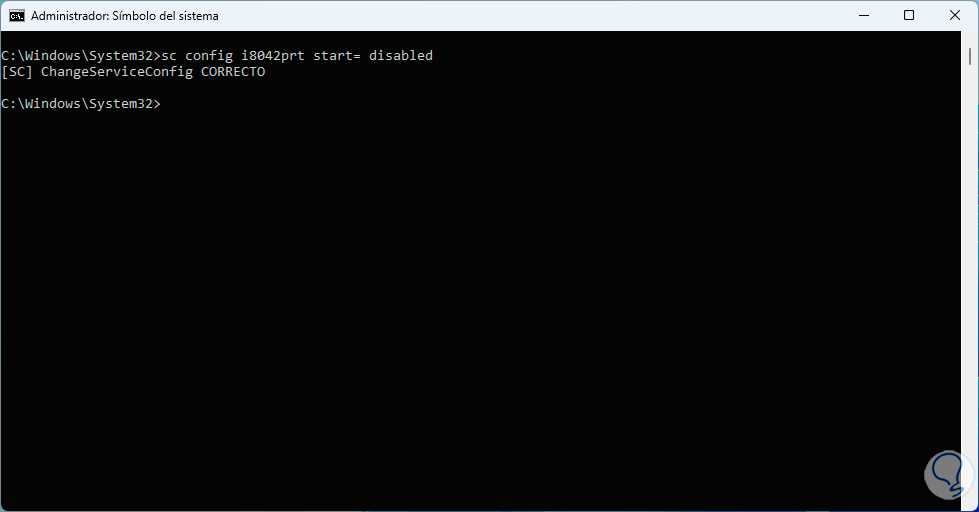
We execute the following command to lock the keyboard in Windows 10/11:
sc config i8042prt start= disabled
Step 4
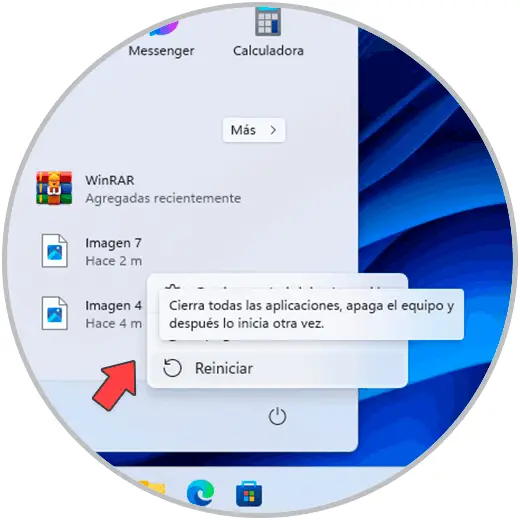
The default port in Windows for the keyboard is 8042, this method in the console will make the lock process permanent. Now we are going to restart Windows for this change to take effect:
step 5
We wait for Windows to restart:

Note
To activate the keyboard again we will execute the following in the console:
sc config i8042prt start= auto
3 Lock Windows keyboard from KeyFreeze
Step 1
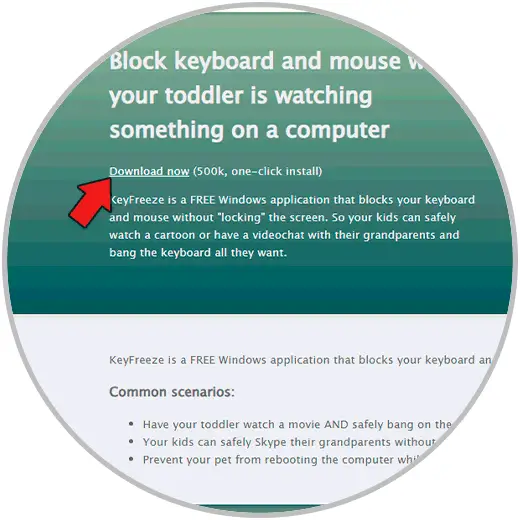
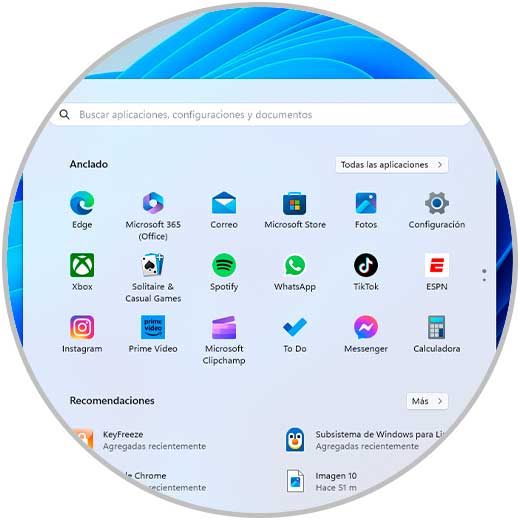
For this first case we will use a utility called KeyFreeze which can be downloaded for free at the following link:
Step 2
This utility is responsible for blocking the keyboard and mouse only without it being necessary to block the entire PC, we download the utility:
KeyFreeze
Step 3
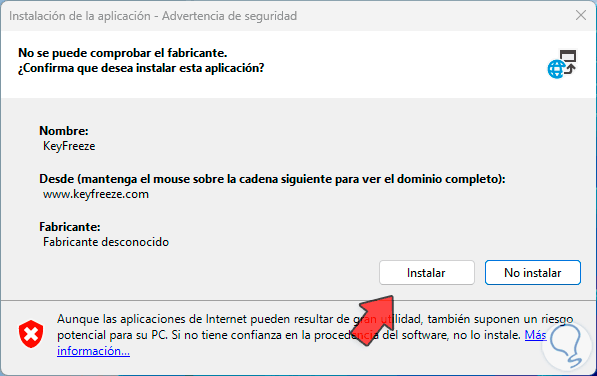
Then we execute the file and we will see the following:
Step 4
There we click on "Install" and it is possible to see the following:
step 5
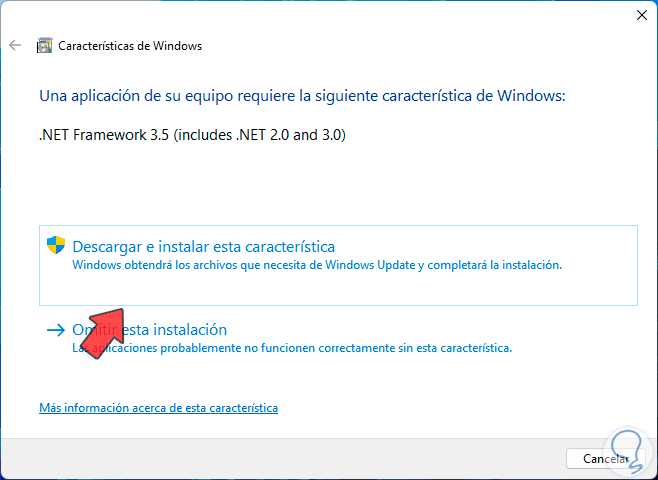
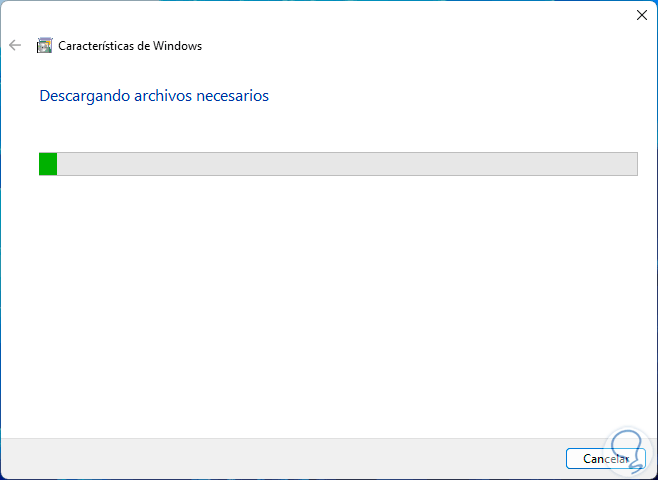
This is a necessary plugin for the utility to work, we click on "Download and install this feature" to start the search for the files:
step 6
It will proceed with the installation of this:

step 7
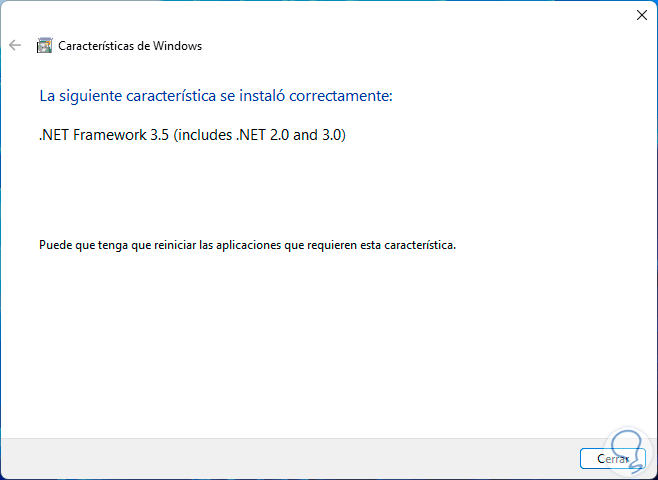
At the end we will see the following:
step 8
We close the assistant and in a moment the application will open:

step 9
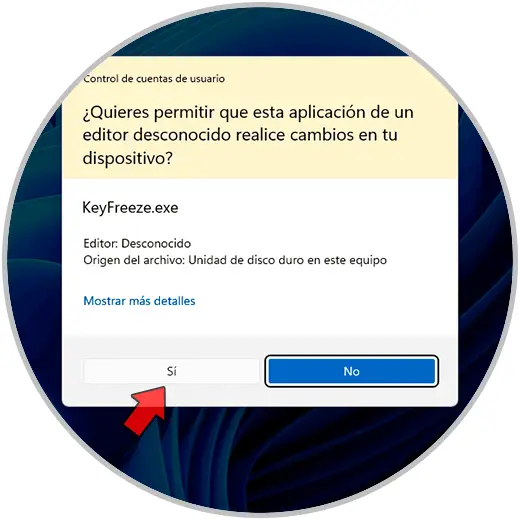
There we are going to click on "Lock Keyboard & Mouse" and we must accept the Windows permissions:
step 10
Now we will see how to enable these elements again:

step 11
Check that the keyboard does not work:

step 12
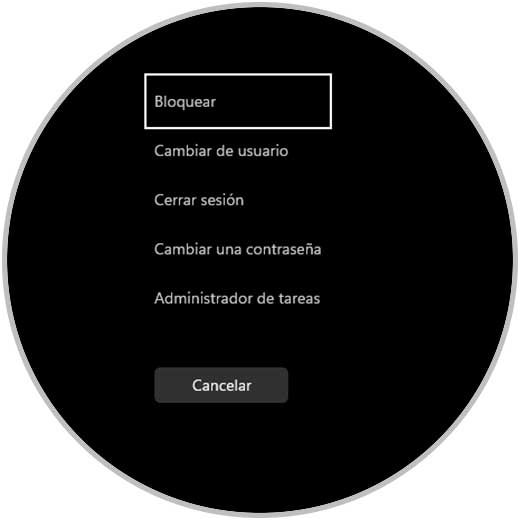
To recover the operation of the keyboard we must use the Ctrl + Alt + Del keys:
Ctrl + Alt + Delete
step 13
Then we press the Escape key and with this we will recover the use of the keyboard:
4 Lock Windows keyboard from LiteLockr
Step 1
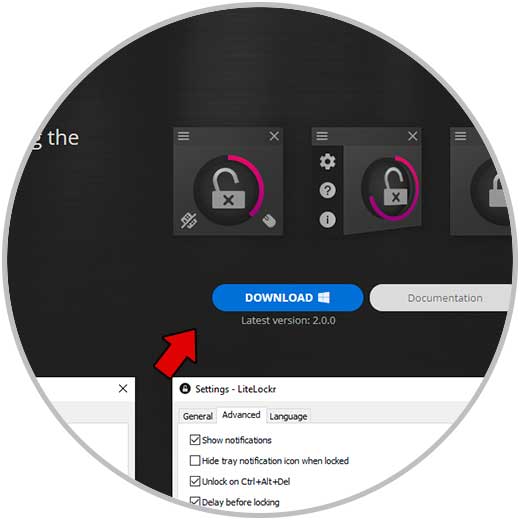
This is another of the utilities available to lock the keyboard in Windows 10/11, its download is available at the following link:
LiteLockr
Step 2
It is a simple utility that gives us the possibility to carry out actions such as:
- it is possible to configure a list of unlocked applications
- Allows you to select the input devices to block
- we can lock the taskbar but use the icons of unlocked apps
- It is portable so it does not require installation
Step 3
We download the file, then we will go to the download folder and extract the file:

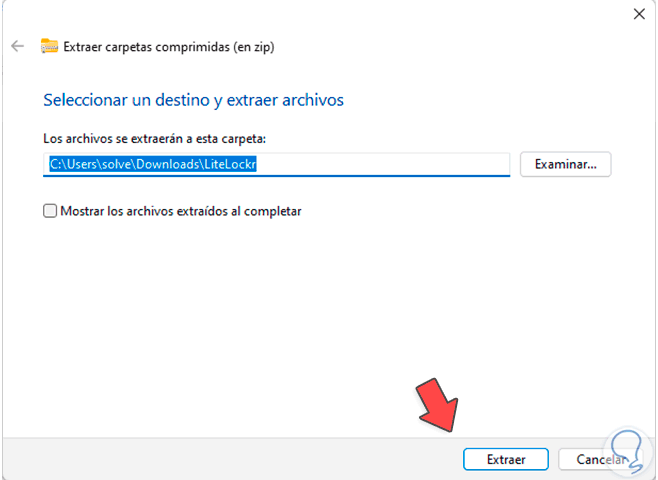
Step 4
By clicking on "Extract all" we select where the process will be carried out:
step 5
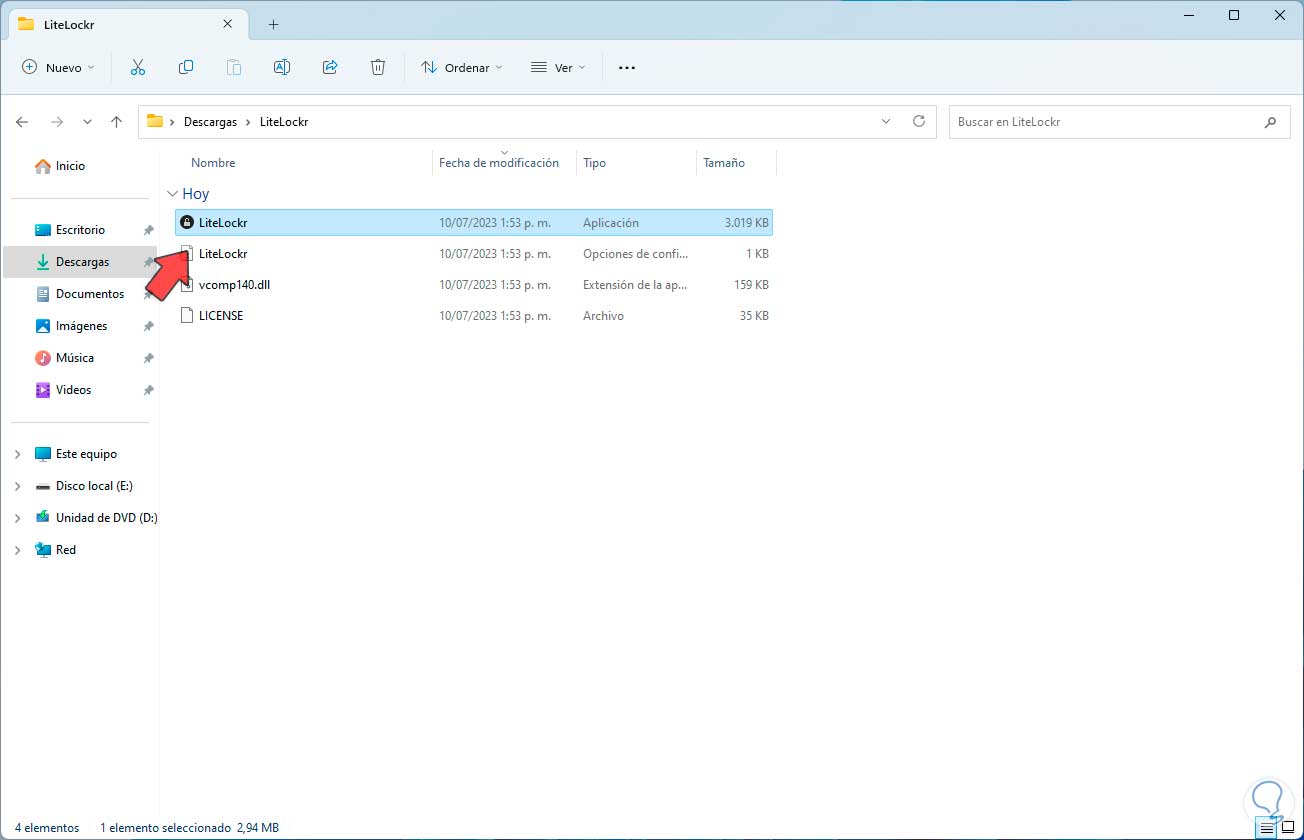
We see the extracted folder:
step 6
When executing the file it is possible to see a security error:
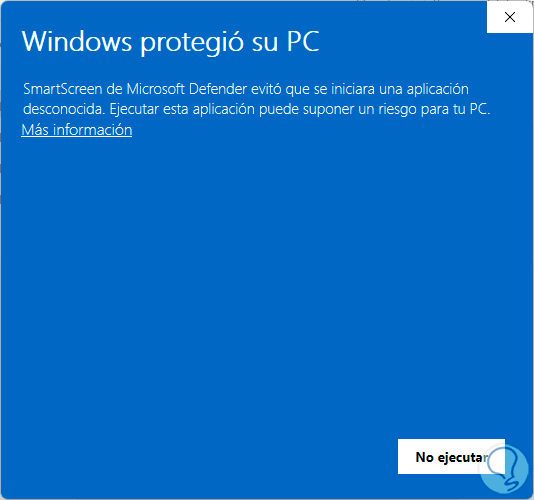
step 7
To correct it we open Windows Security from the search engine:
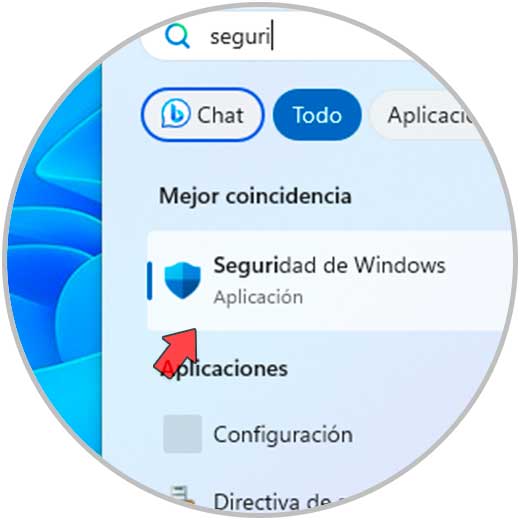
step 8
Now we go to the "Application and browser control" section:
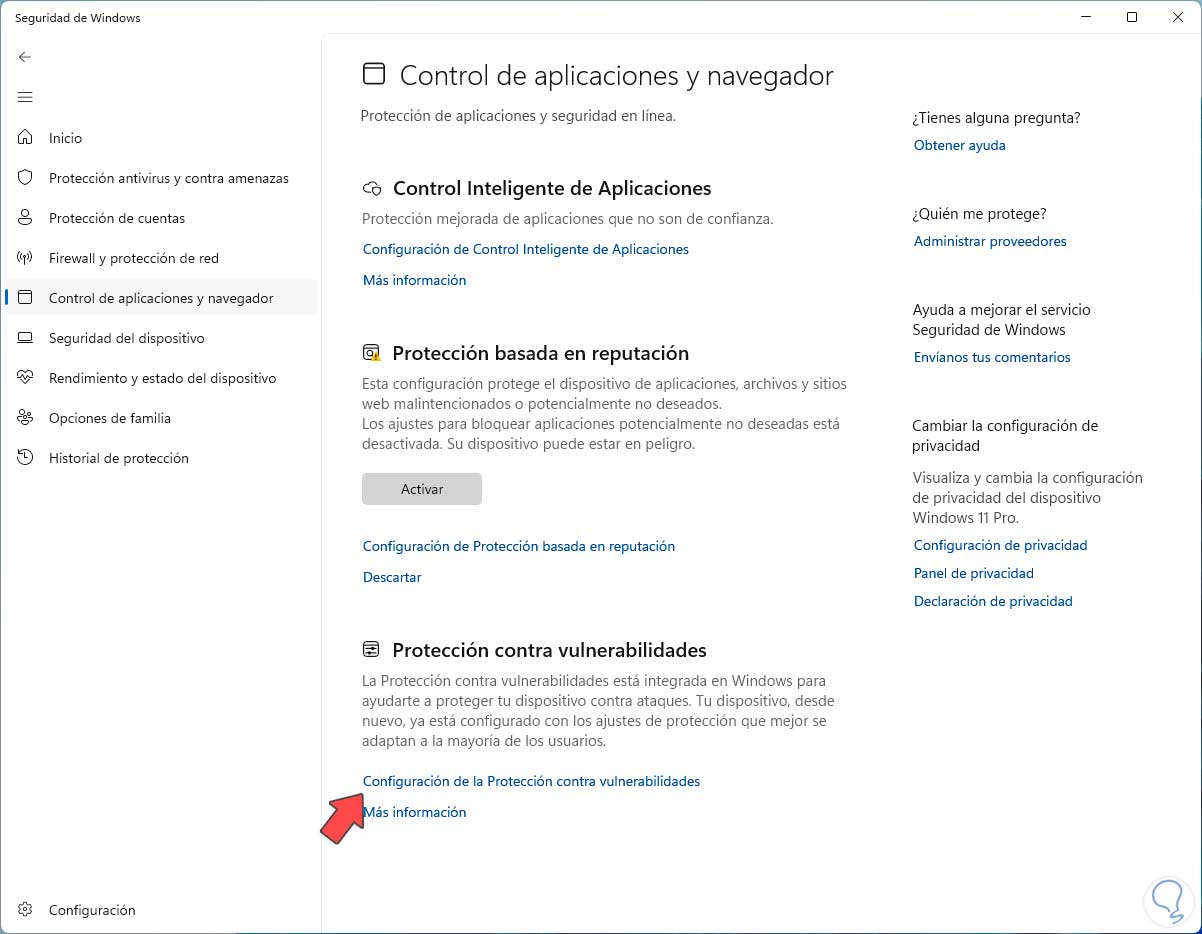
step 9
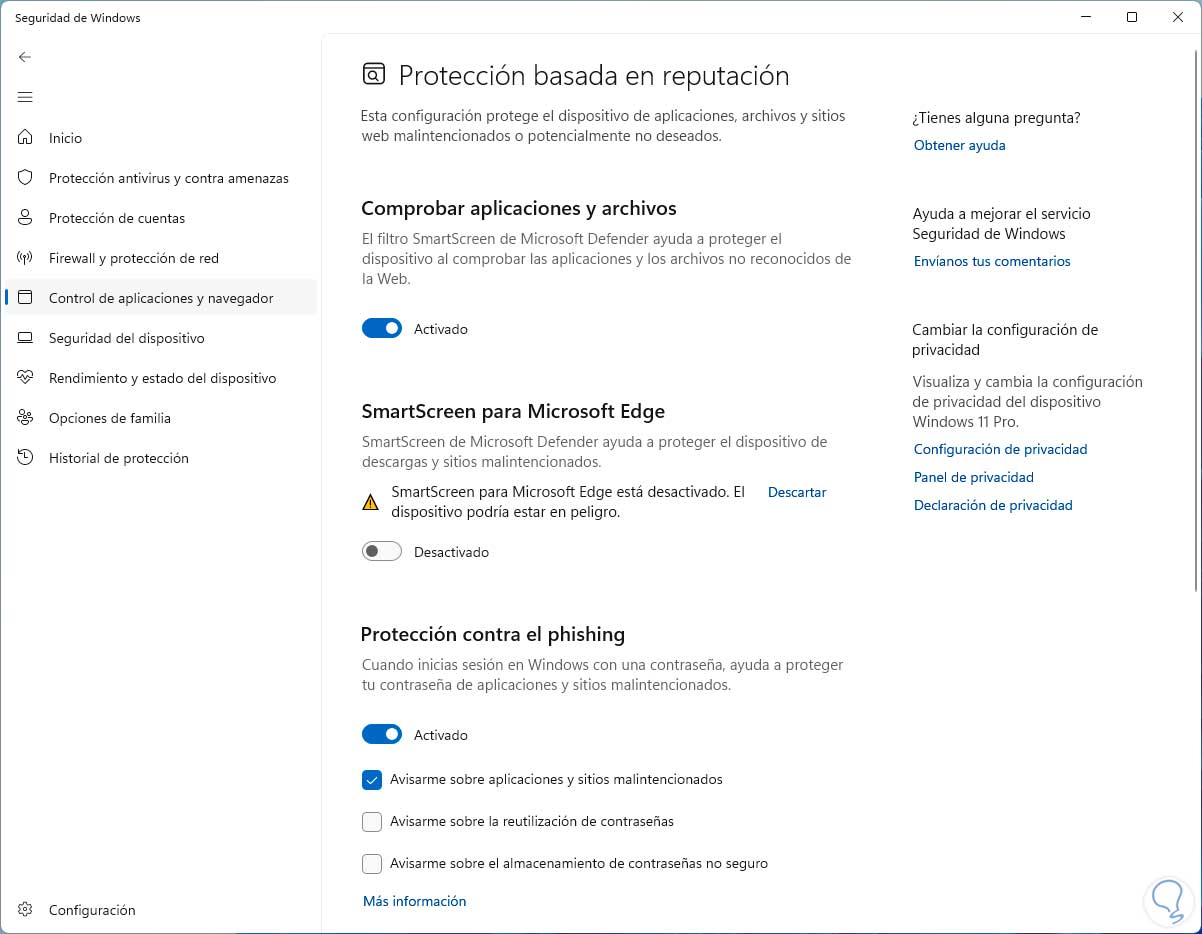
We click on "Reputation-based protection settings" to see the following:
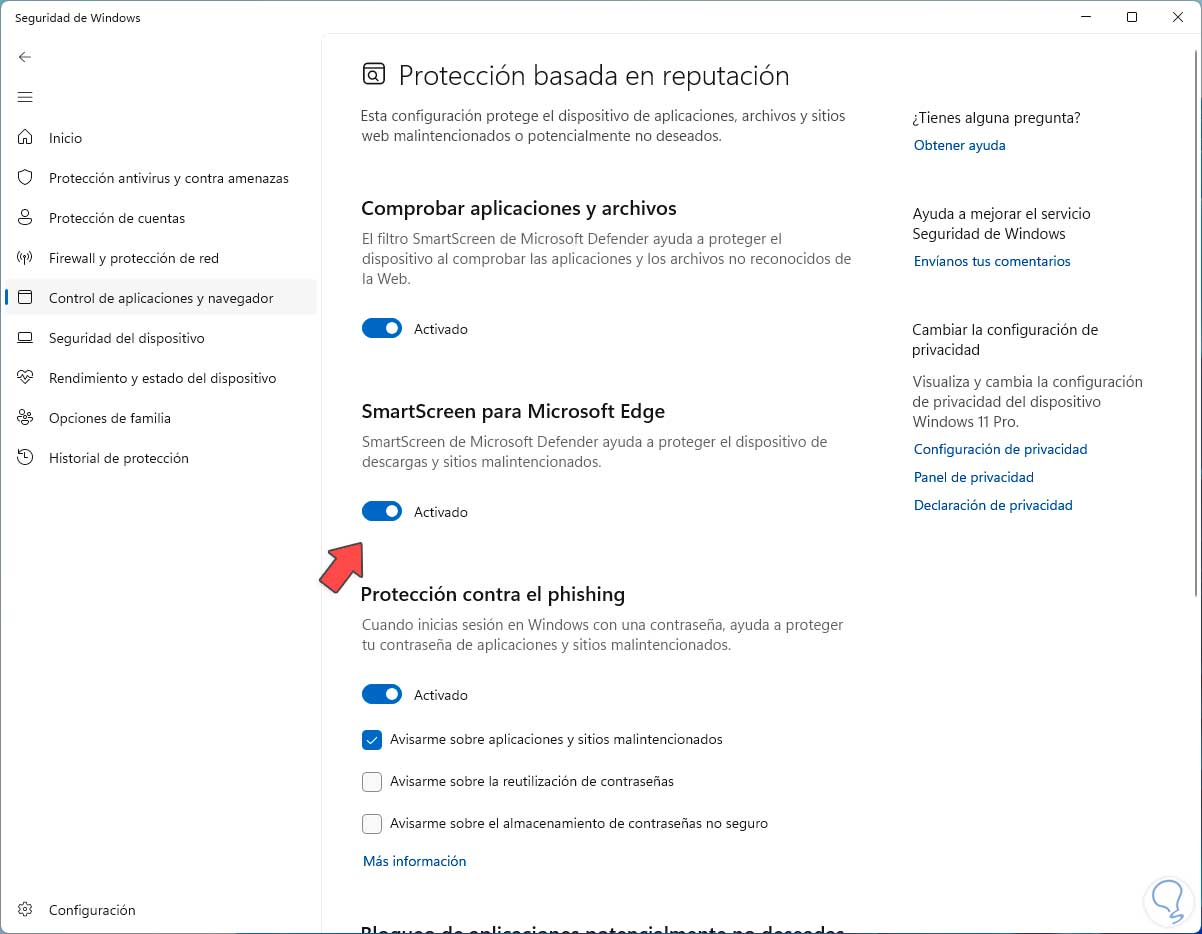
step 10
We deactivate the option “SmartScreen for Microsoft Edge”.
step 11
Again run the file for opening:

step 12
Access can be at the top or from the taskbar:
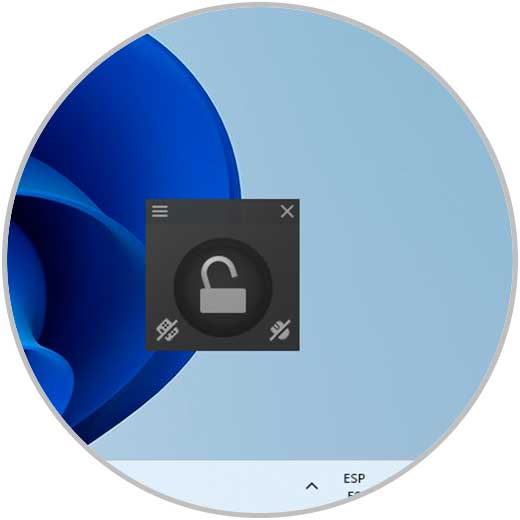
step 13
Click on the icon to lock the keyboard and mouse:

step 14
Everything will be blocked as necessary, to recover the operation we will use the following keys:
Ctrl + Alt + Delete
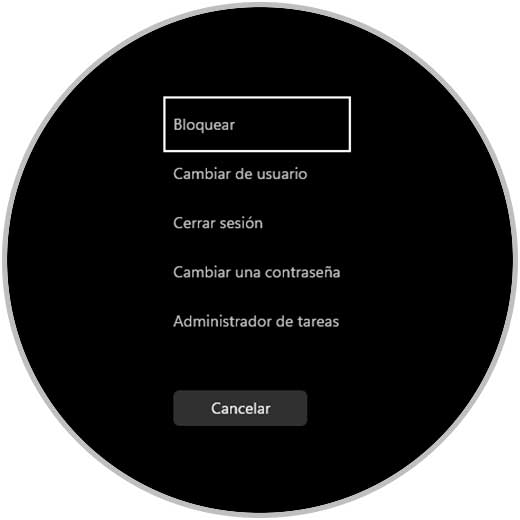
step 15
Then we press the Escape key and thus recover the use of the keyboard in Windows:

step 16
This utility gives us the opportunity to make adjustments to it, for this we click on the access to the utility and then click on the pinion icon to access these:

step 17
We will see the following:
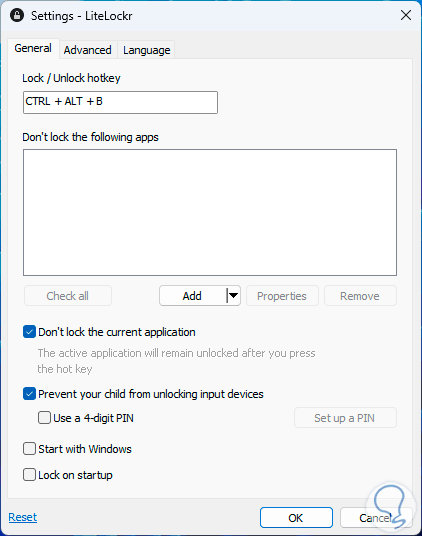
step 18
In this window it is possible:
- Define the key combination to lock or not the keyboard
- Do not block current apps
step 19
step 20
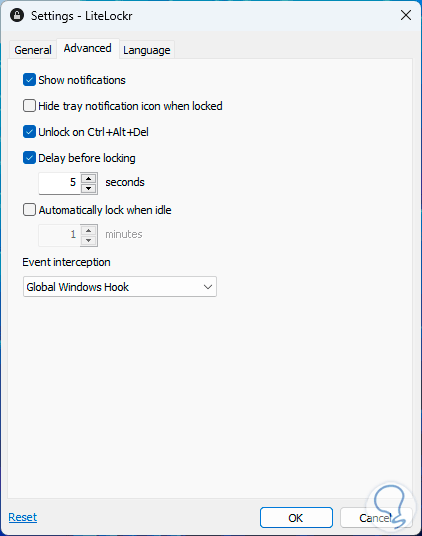
In the "Advanced" window we will see:
step 21
There it is possible:
- Show or not notifications
- Define the time before blocking
Ctrl + Alt + Delete
These are the options to lock the keyboard in Windows and TechnoWikis has explained them to you in a simple way.