To stay up to date, remember to subscribe to our YouTube channel!
SUBSCRIBE ON YOUTUBE
The security of users today is in constant threat due to the number of viruses, hackers, malicious code and countless elements that seek to affect the privacy, security and data of the user, or the computer itself, and a segment that is Much more sensitive to this is related to minors..
A boy or girl can access apparently reliable applications but with a dangerous background, they can access websites where their integrity is violated or they can simply spend hours and hours in front of the screen affecting their mental and physical health, to help mitigate this Microsoft has developed Windows Family functionality.
functions
Windows Family allows you to create or link a child account and with it be able to constantly monitor aspects or have the ability to perform actions such as:
- Create screen time limits for apps and games in environments like Windows, Xbox, Android, and more.
- Allocate screen time requests to allow extended screen usage if necessary.
- Access activity summaries of the linked account.
- Adjust device screen time limits for Windows and Xbox.
- Create web content and search filters.
- Set content filter requests.
- Share location for family group accounts.
- Generate location alerts.
- Generate driving safety reports.
TechnoWikis will teach how we can activate this Windows Family function in Windows 11 and thus have the ability to optimize the security and protection of the little ones..
How to set up Windows Family
Step 1
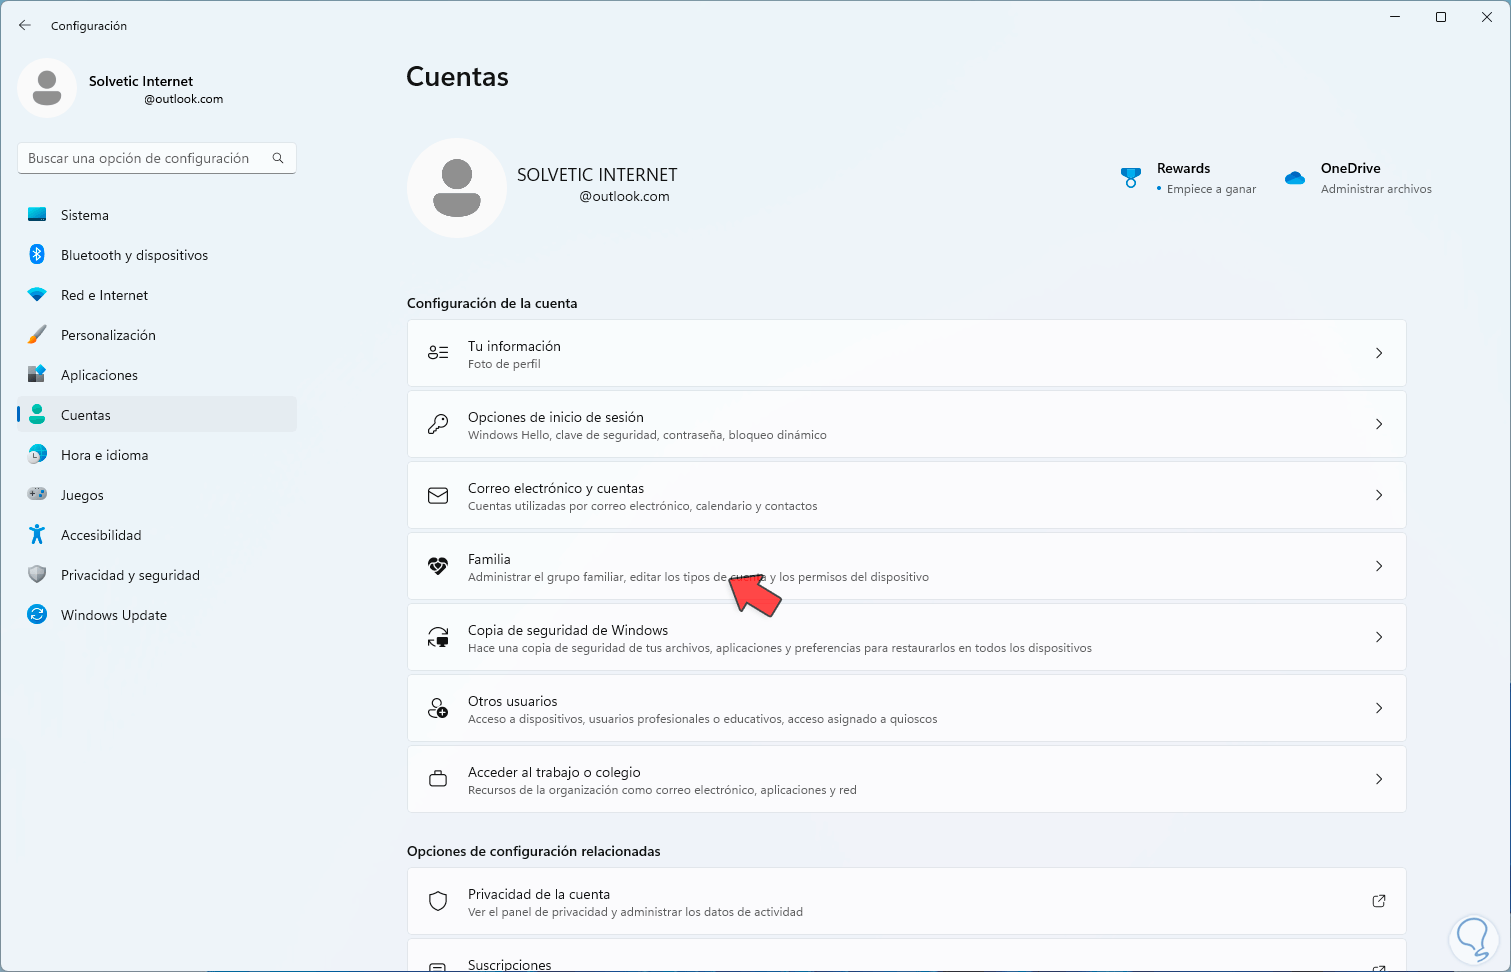
To start we are going to go to the route of:
There we will click on the "Family" option:
Step 2
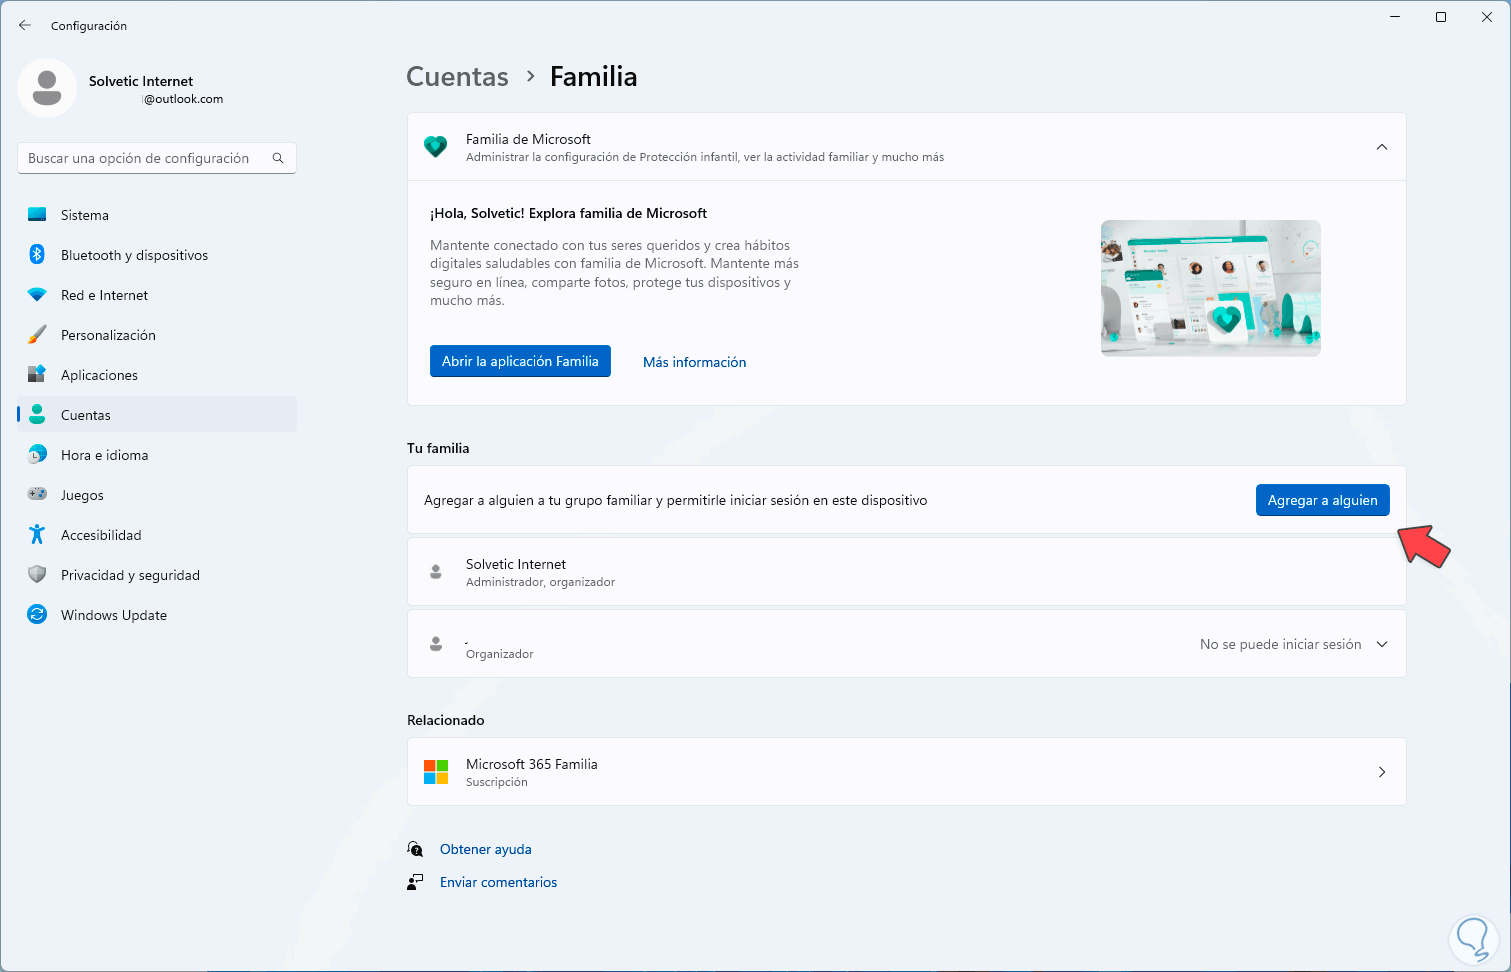
Then we will click on "Add someone"
Step 3
and the following popup window will open:
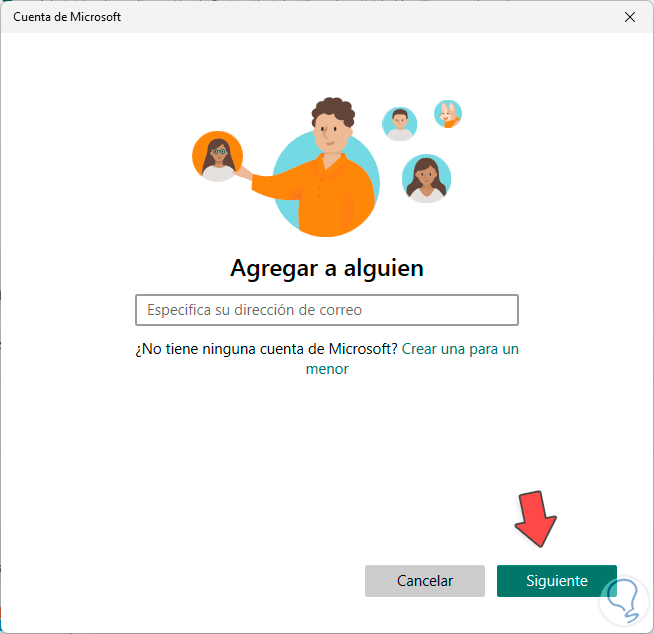
Step 4
If we have the minor's account, we can enter it well, as in this case, we are going to click on the line "Create one for a minor", in the new window we enter the desired name for the account:
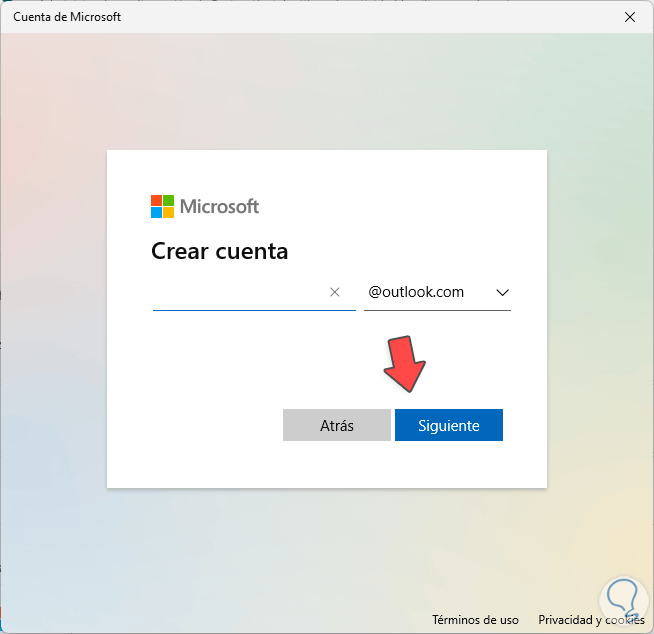
step 5
We click Next and we are going to create the password for this new user:
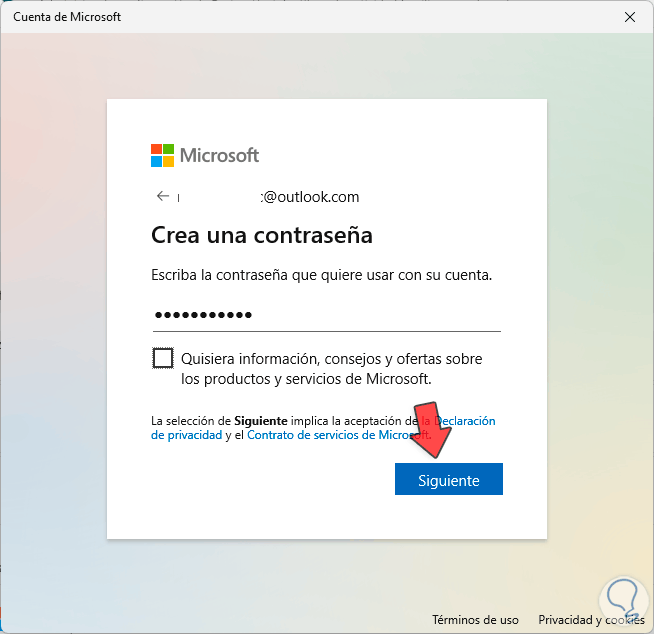
step 6
Now we are going to complete the data of the minor, first we assign the name:
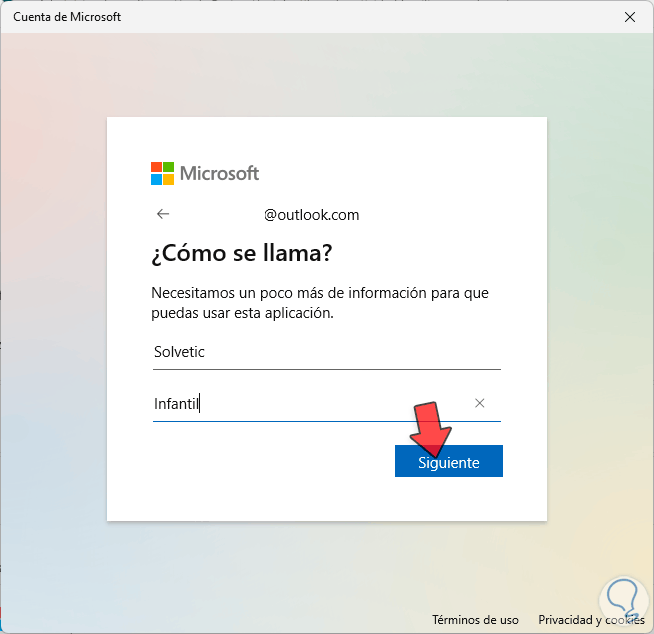
step 7
Then we enter place and date of birth:
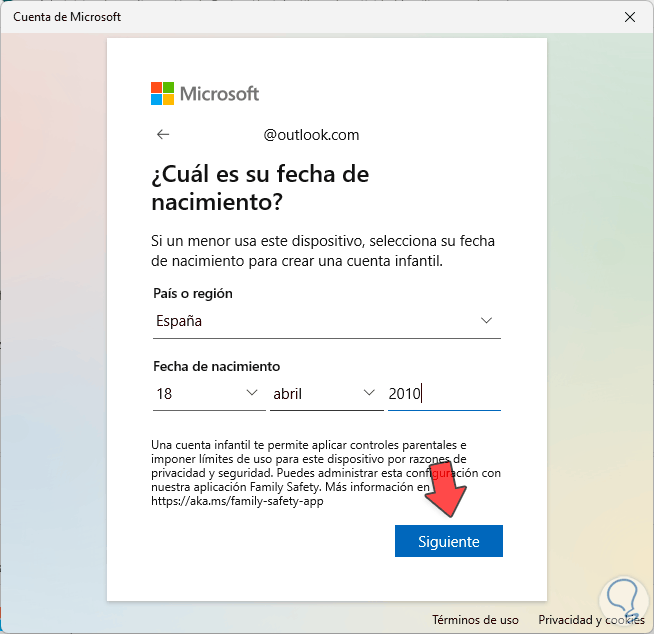
step 8
In the next window we are going to define our role, there we can define whether or not we are the parents or guardians of the minor:
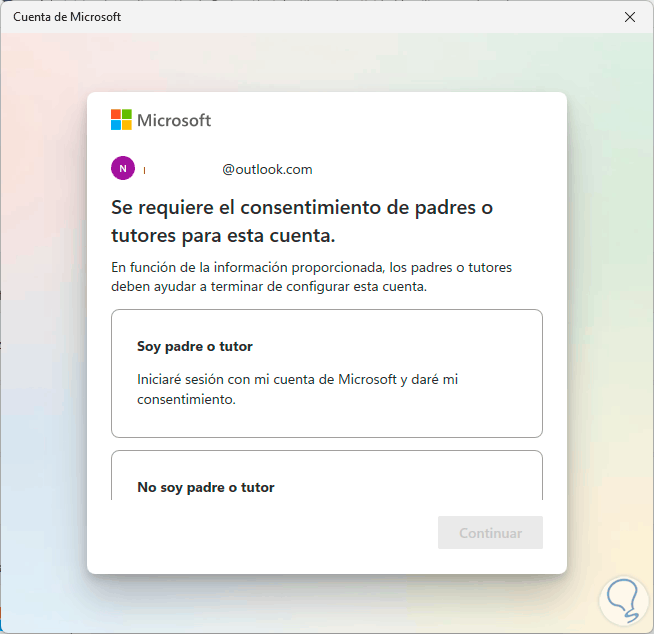
step 9
Then we are going to log in with our email to assign the required permissions:
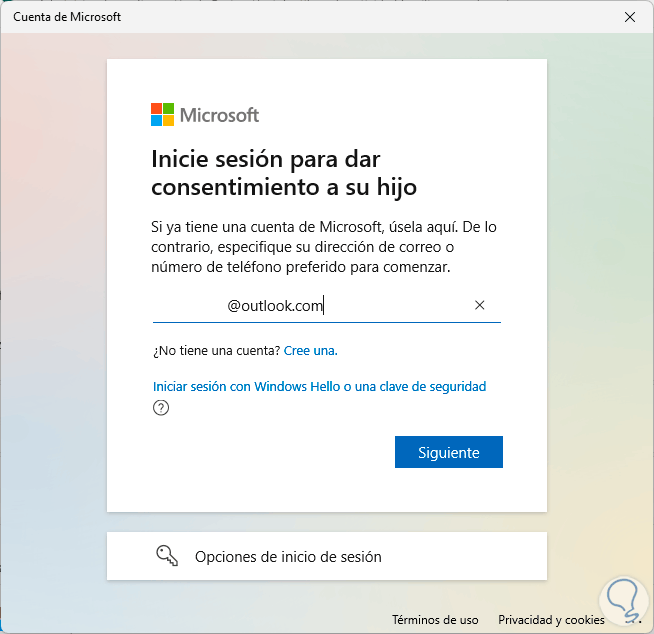
step 10
We enter the password of our account:
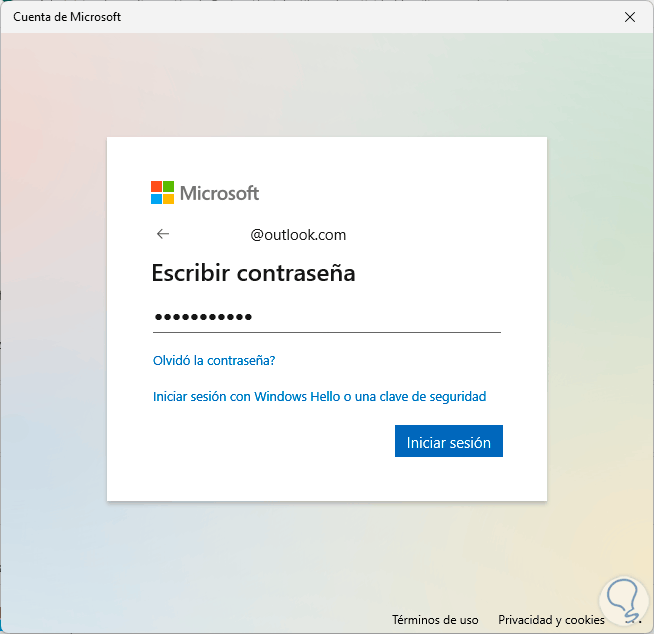
step 11
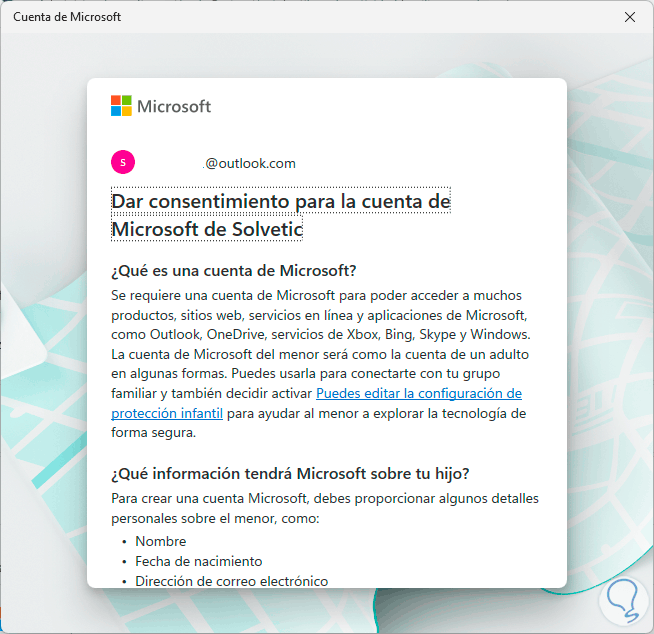
After this we will see the following:
As we see this is a consent section, we must review this consent for use and at the end we will see the following:
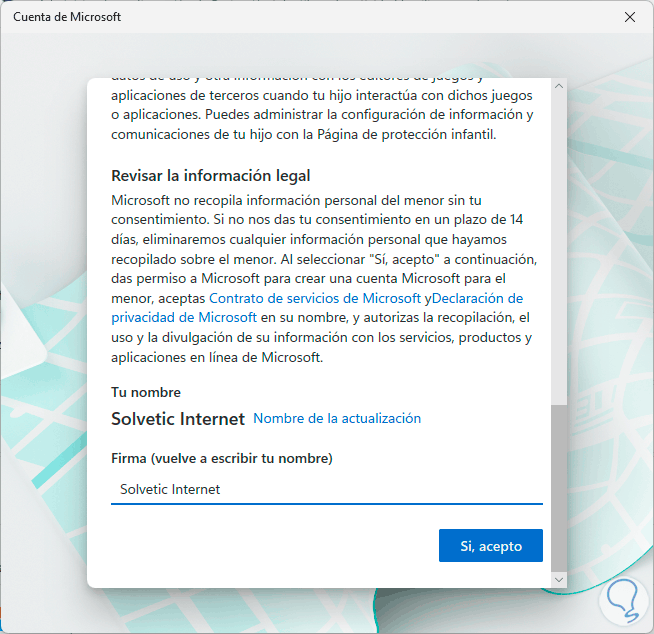
step 12
In the final part we enter our name which is assumed as a signature, now we click on "Yes, I accept" and we will see the following window:
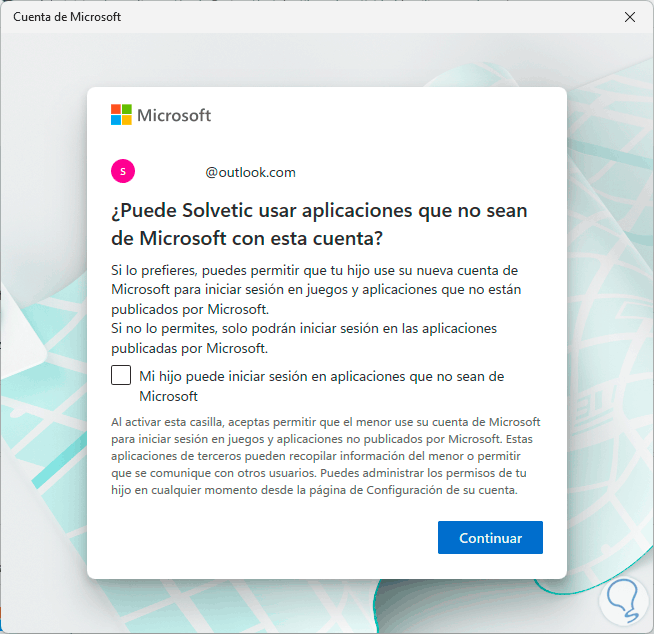
step 13
It is possible to define if permission to use applications is granted and by clicking on "Continue" we can see that this family group has now been created in Windows:
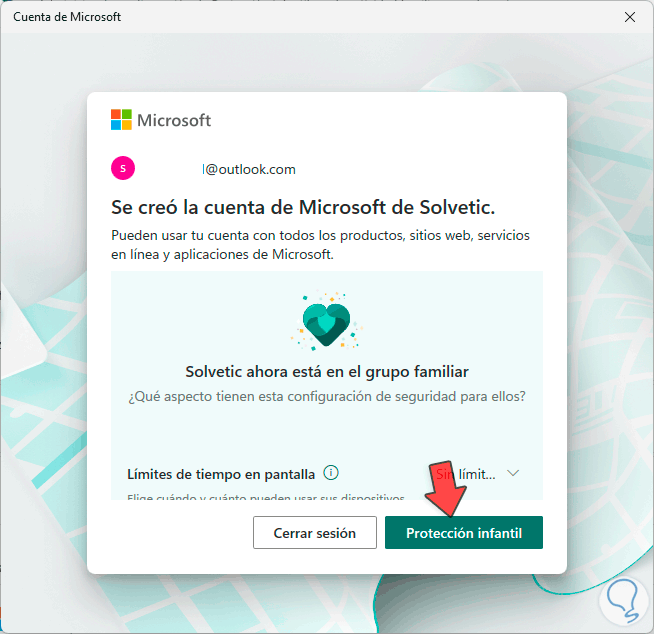
step 14
From this window you can make some settings or click on "Child Protection" to access the console:}
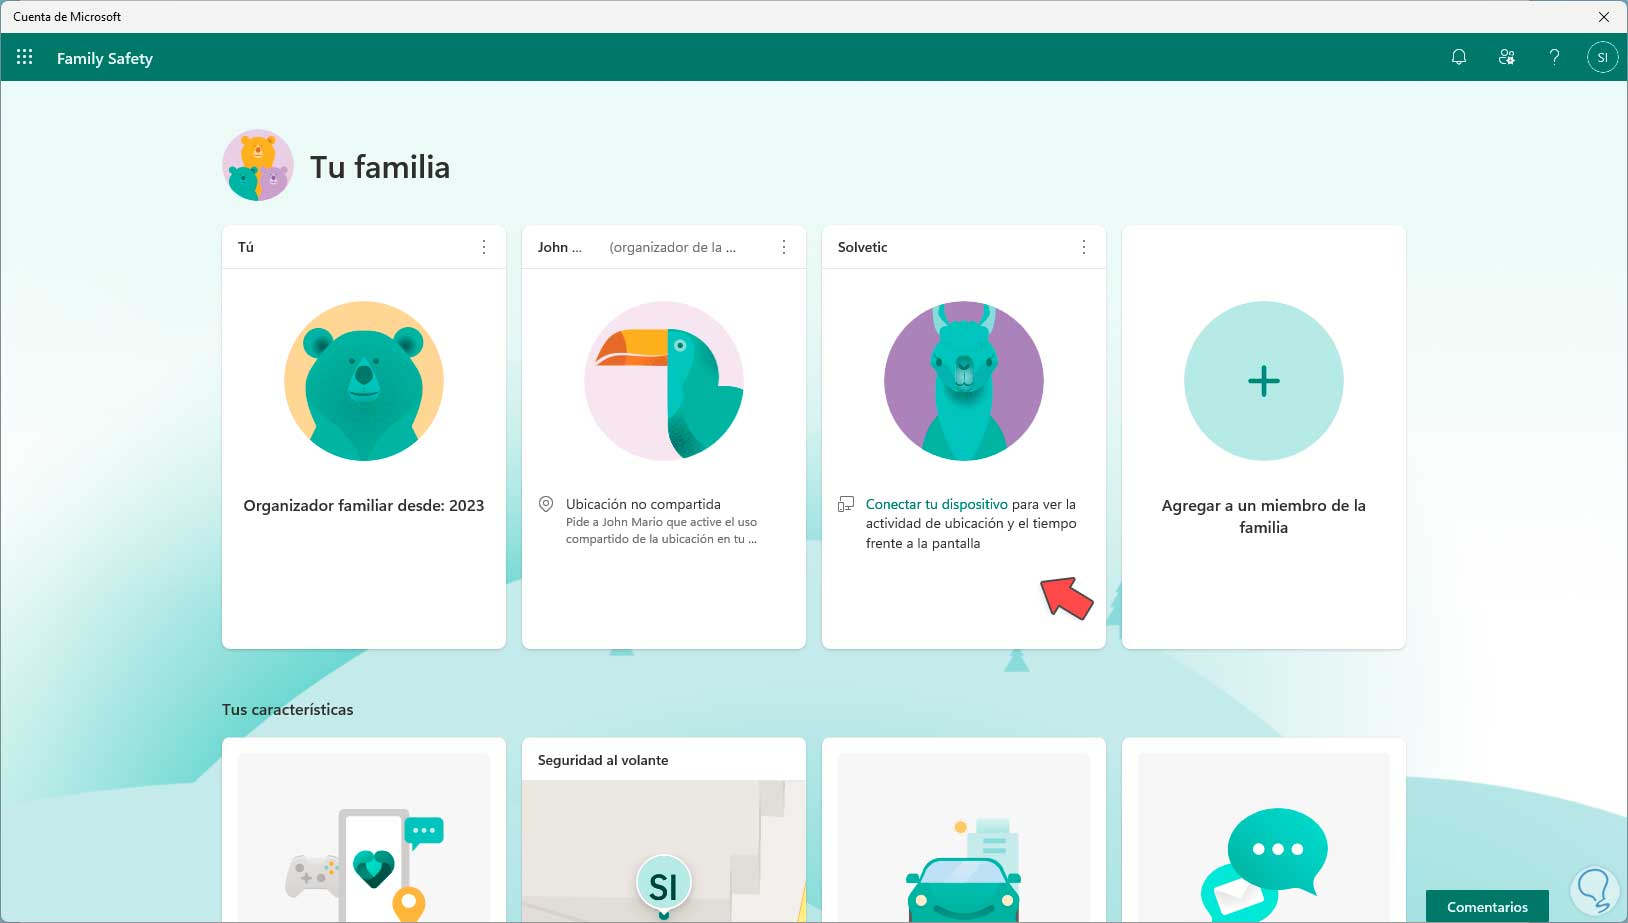
step 15
In the console we will click on the user that you have created so that the following window will now open:
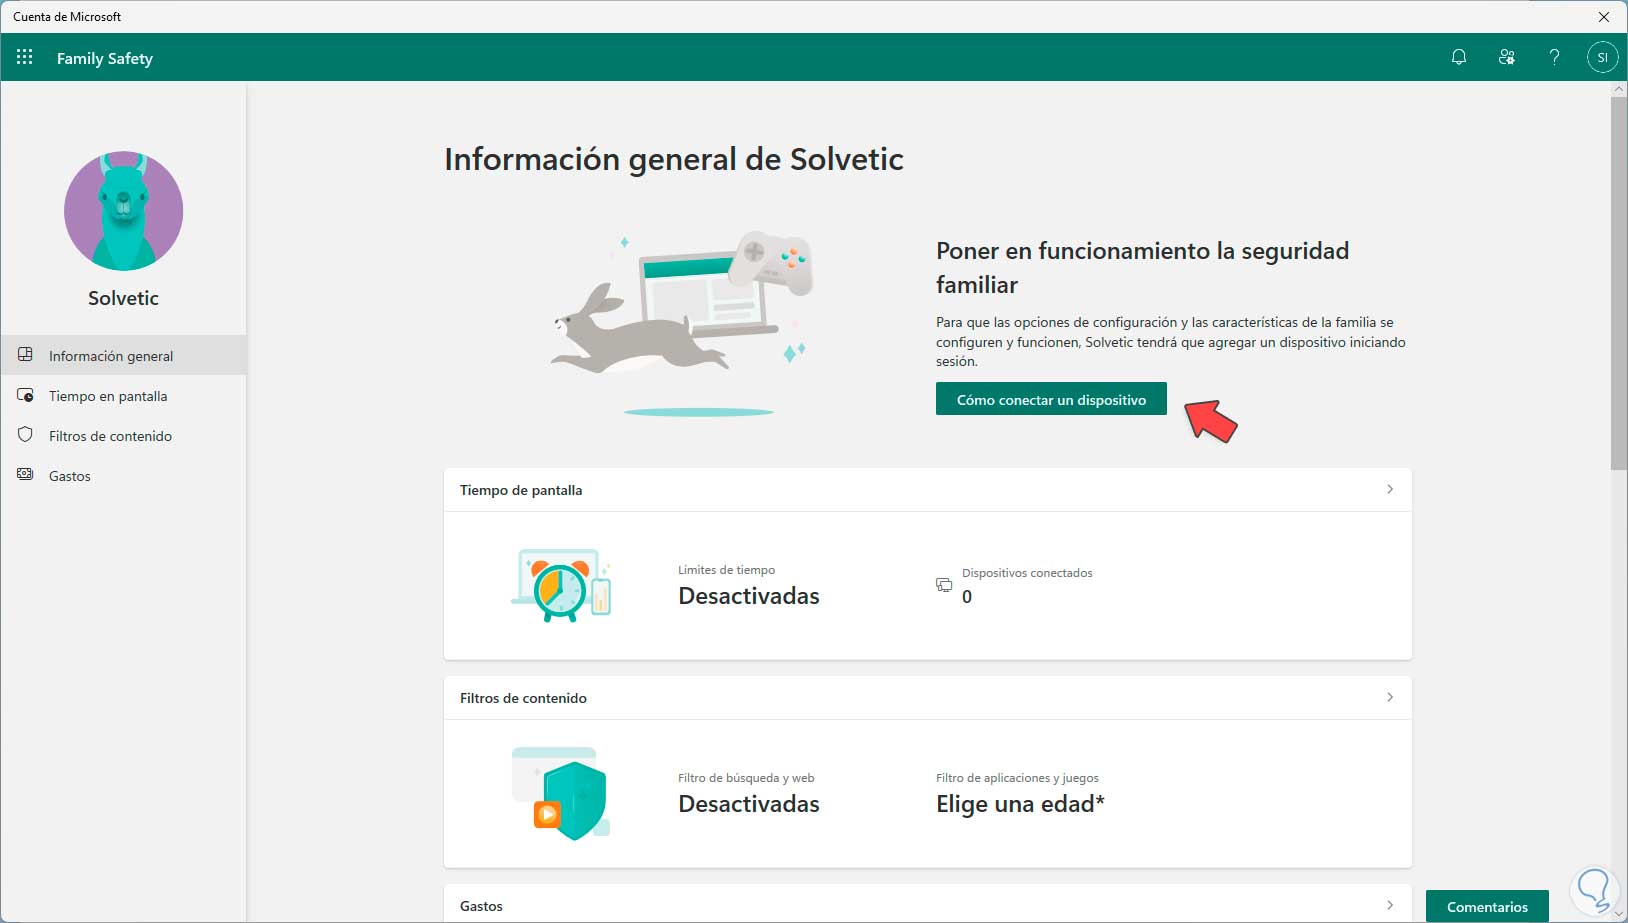
step 16
We click on the "How to connect a device" button
step 17
and the following window will open:
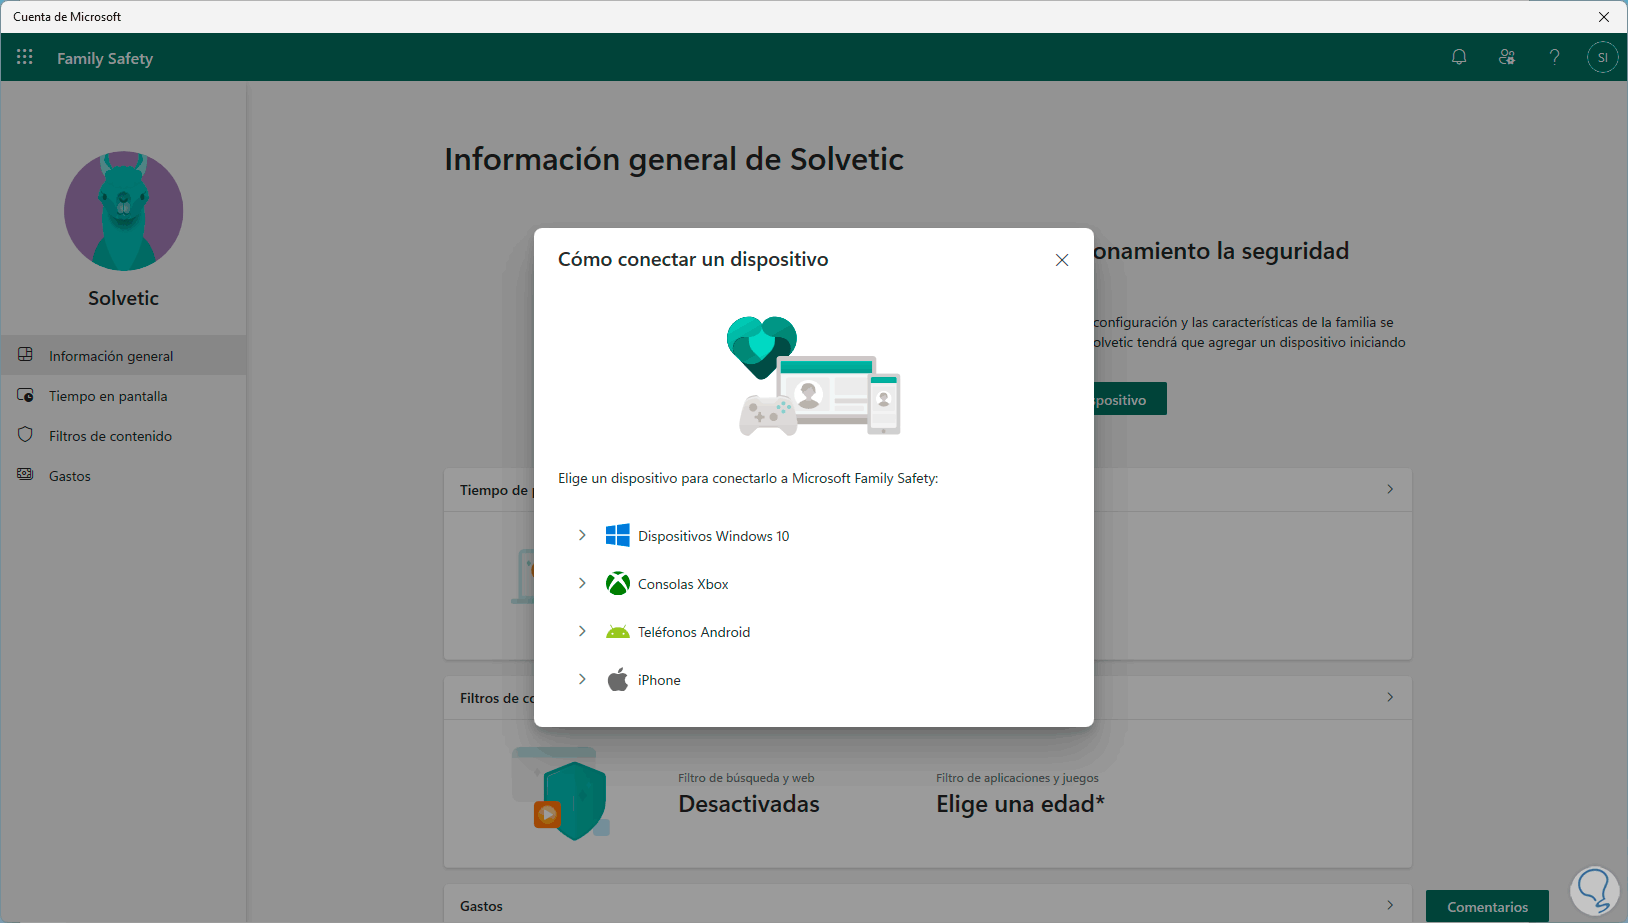
step 18
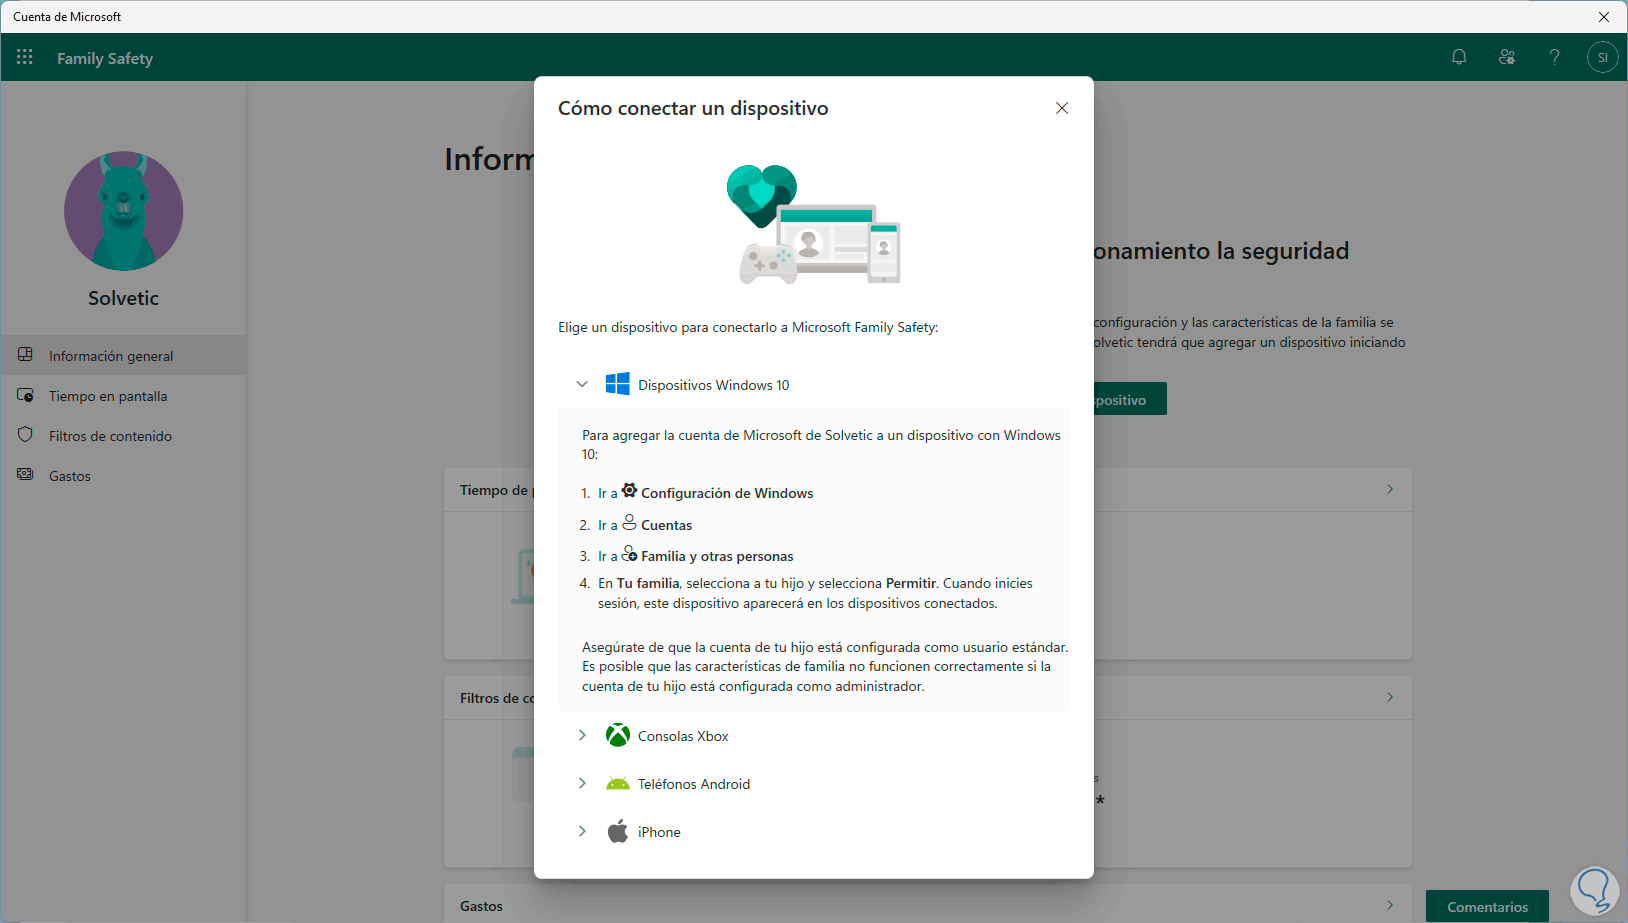
It is possible to click on any of the options to see how to link it to the Family group:
step 19
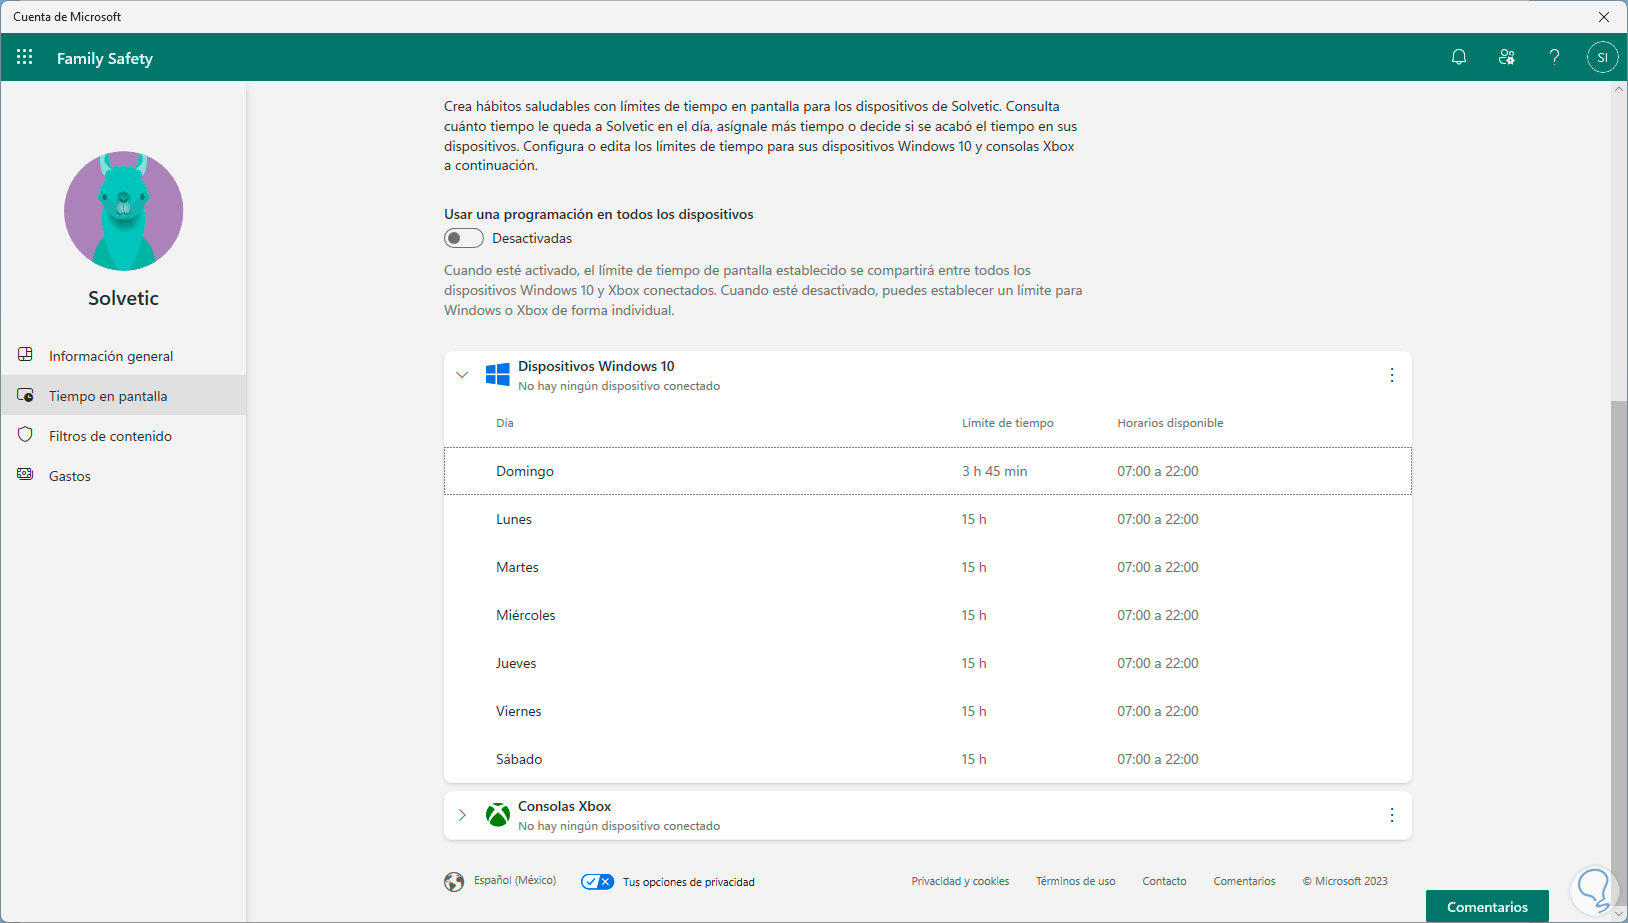
Now we are going to click on the “Screen Time” option to see the following:
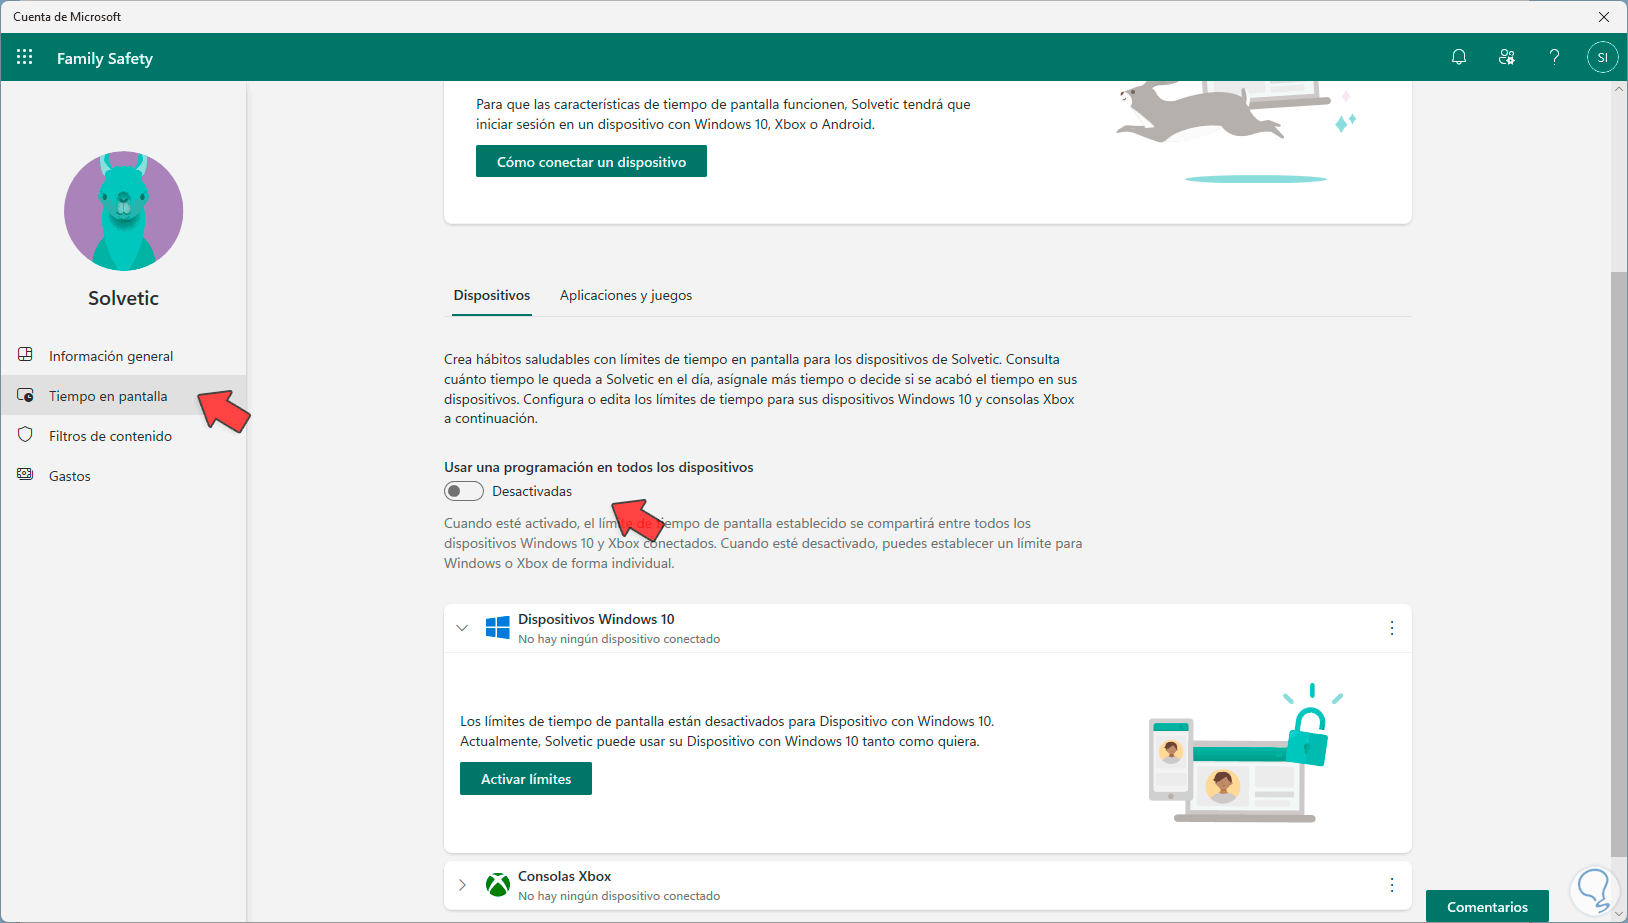
step 20
It is possible to activate the “Use a schedule on all devices” switch or click on “Activate limits” to adjust the amount of screen time by the child:
step 21
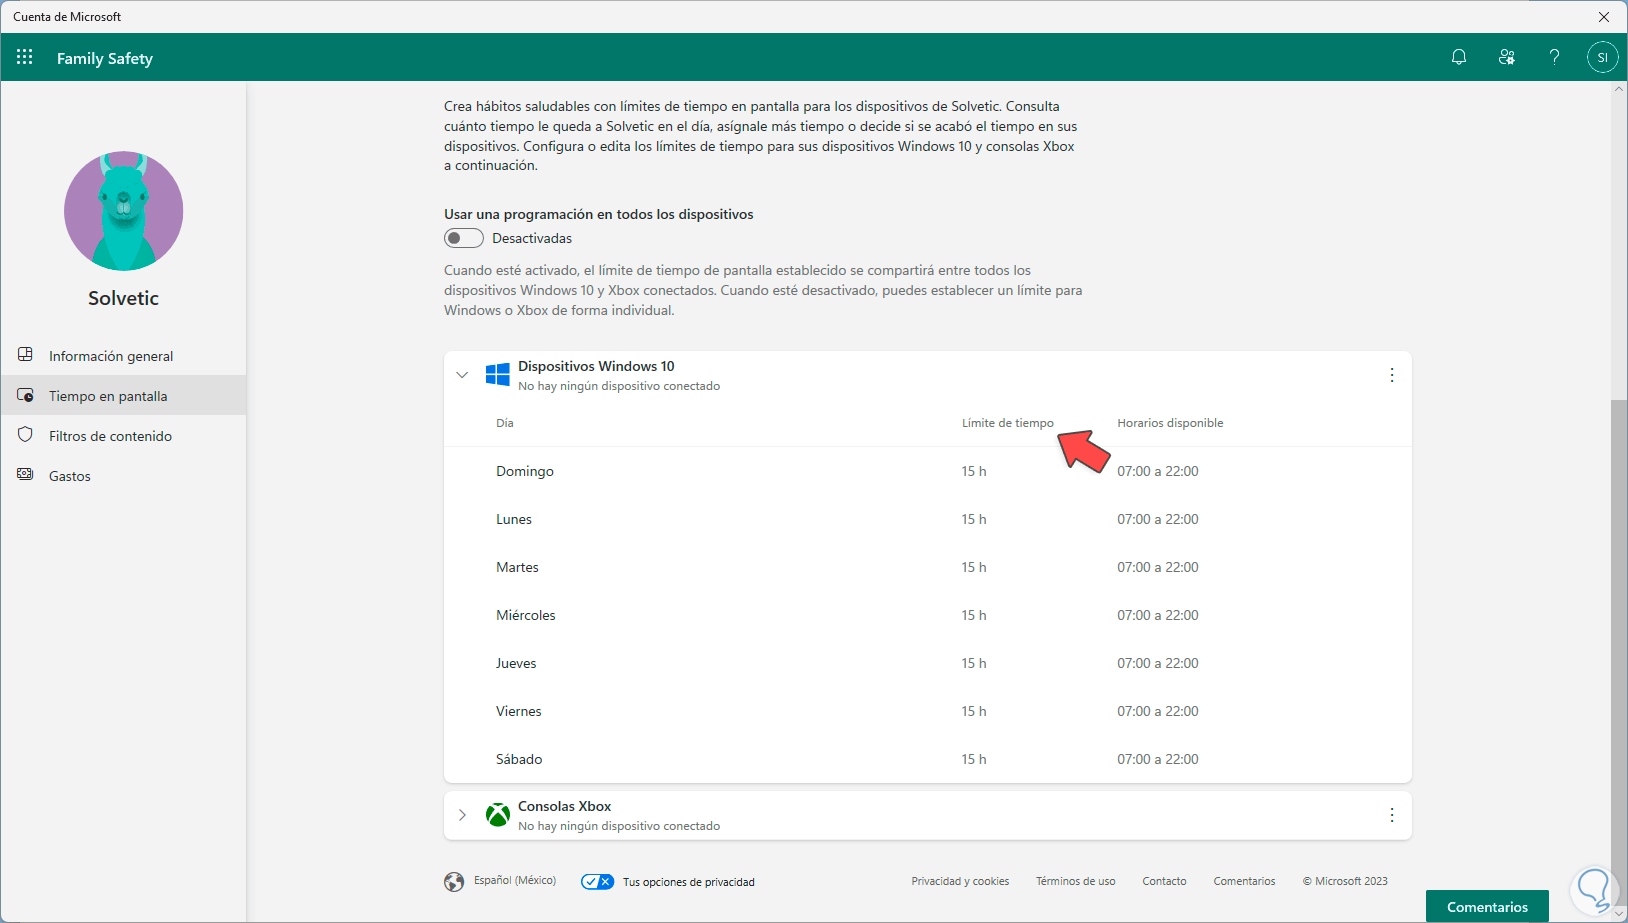
If we want to adjust a specific time, we will click on the desired day to see the following:
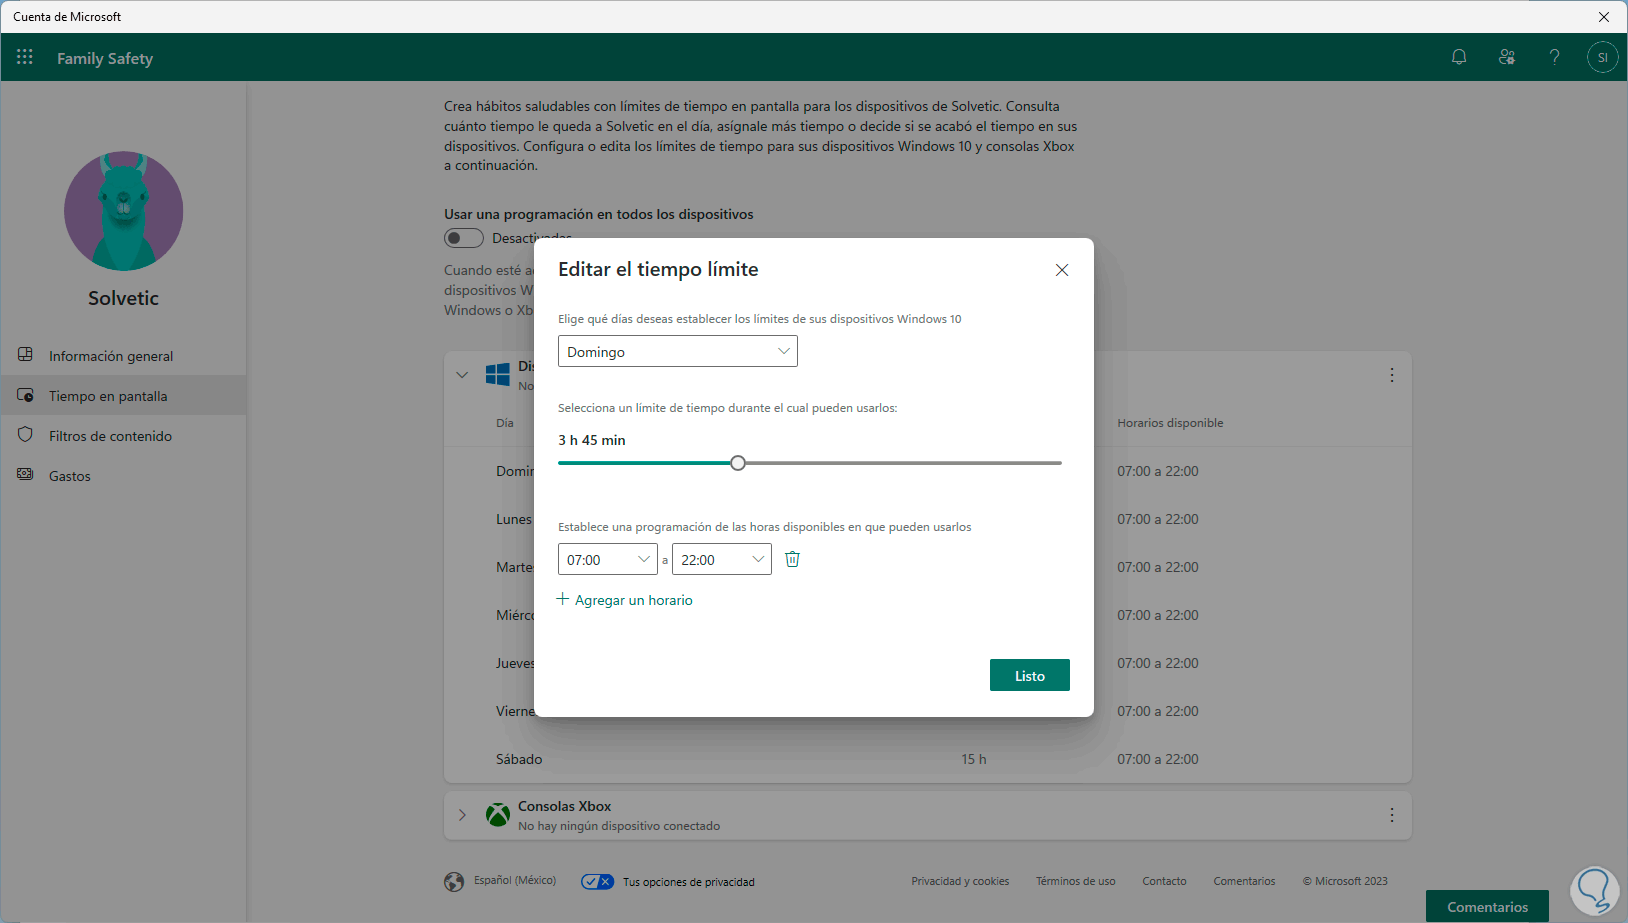
step 22
We adjust the schedule and apply the changes:
Step 23
Now we click on "Content filters" to see the following:
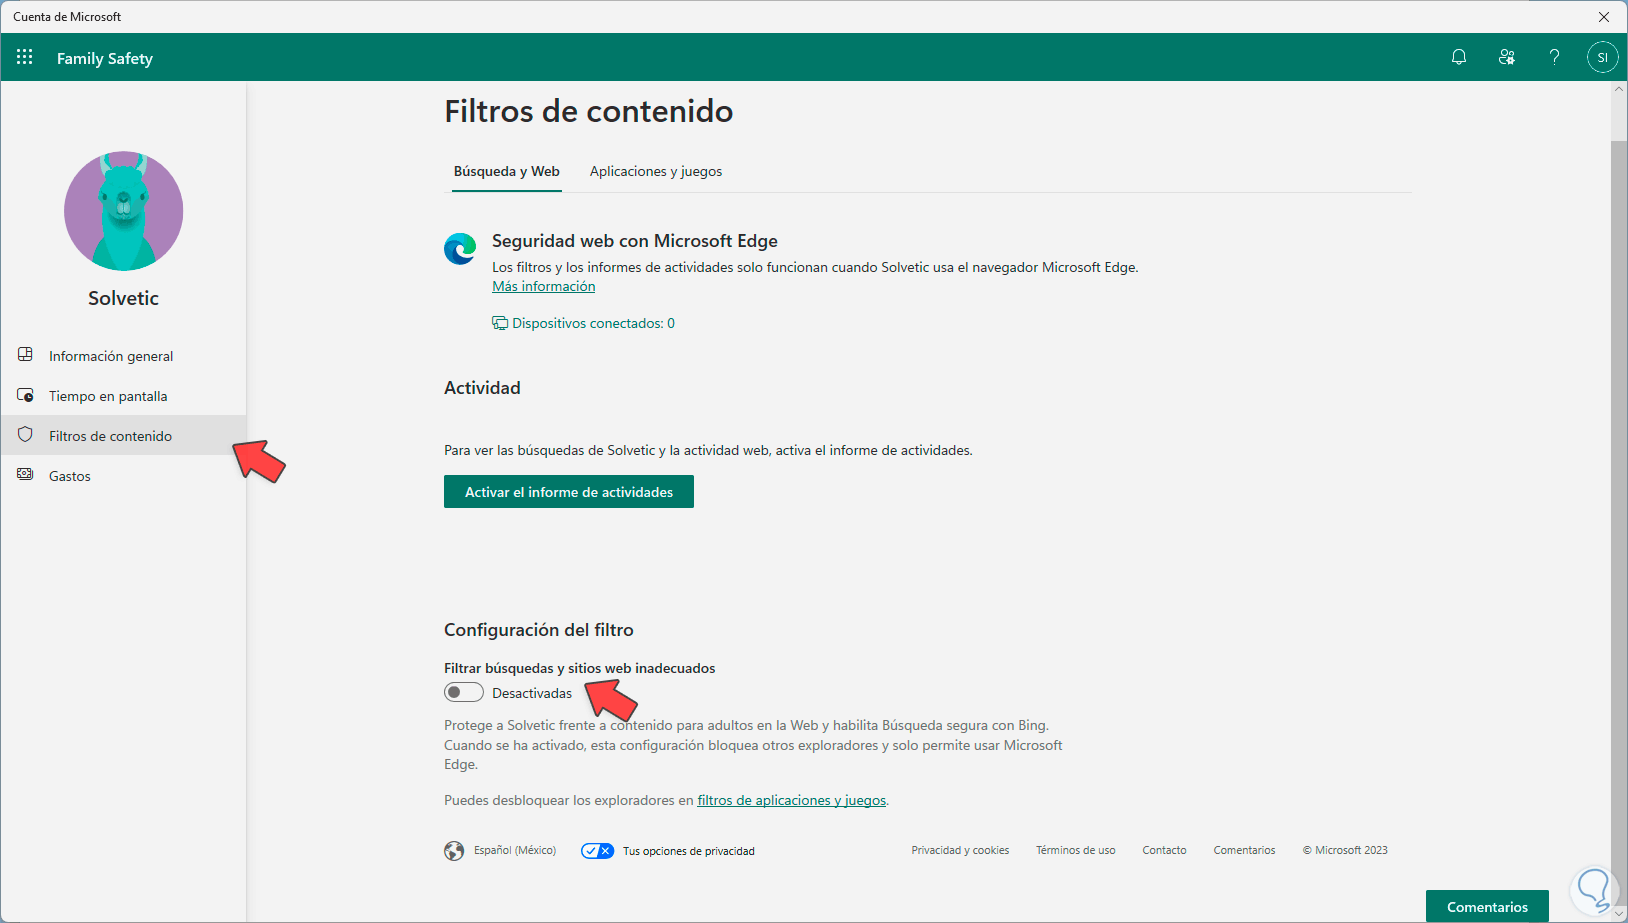
step 24
There we activate the "Filter inappropriate searches and websites" switch and we must accept the permission:
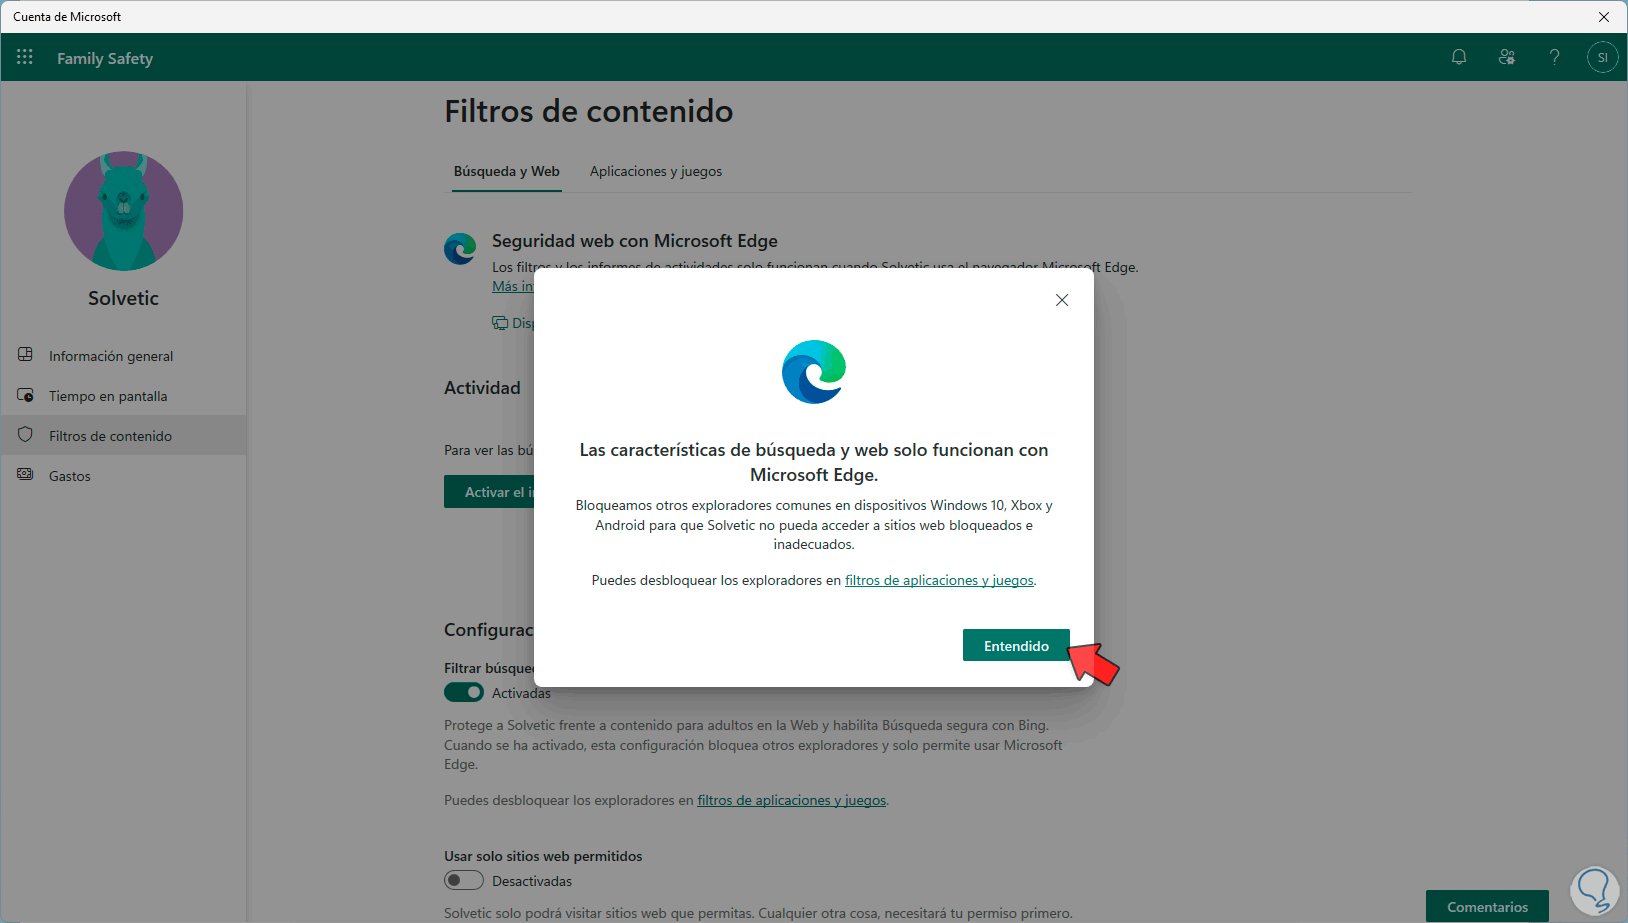
step 25
Now we will see the following:
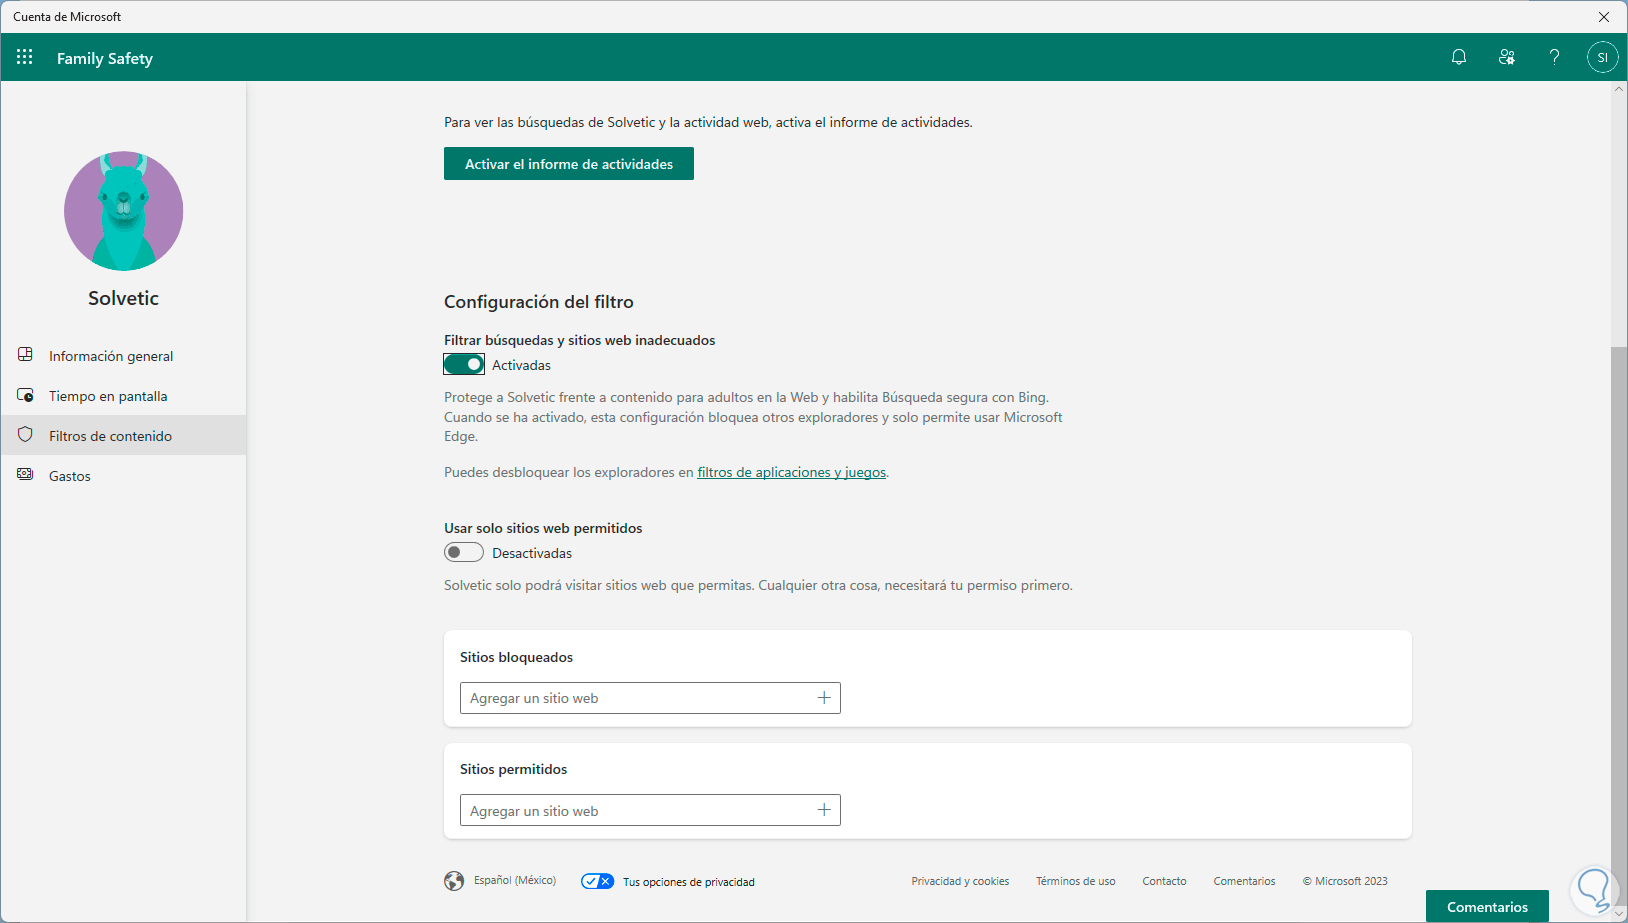
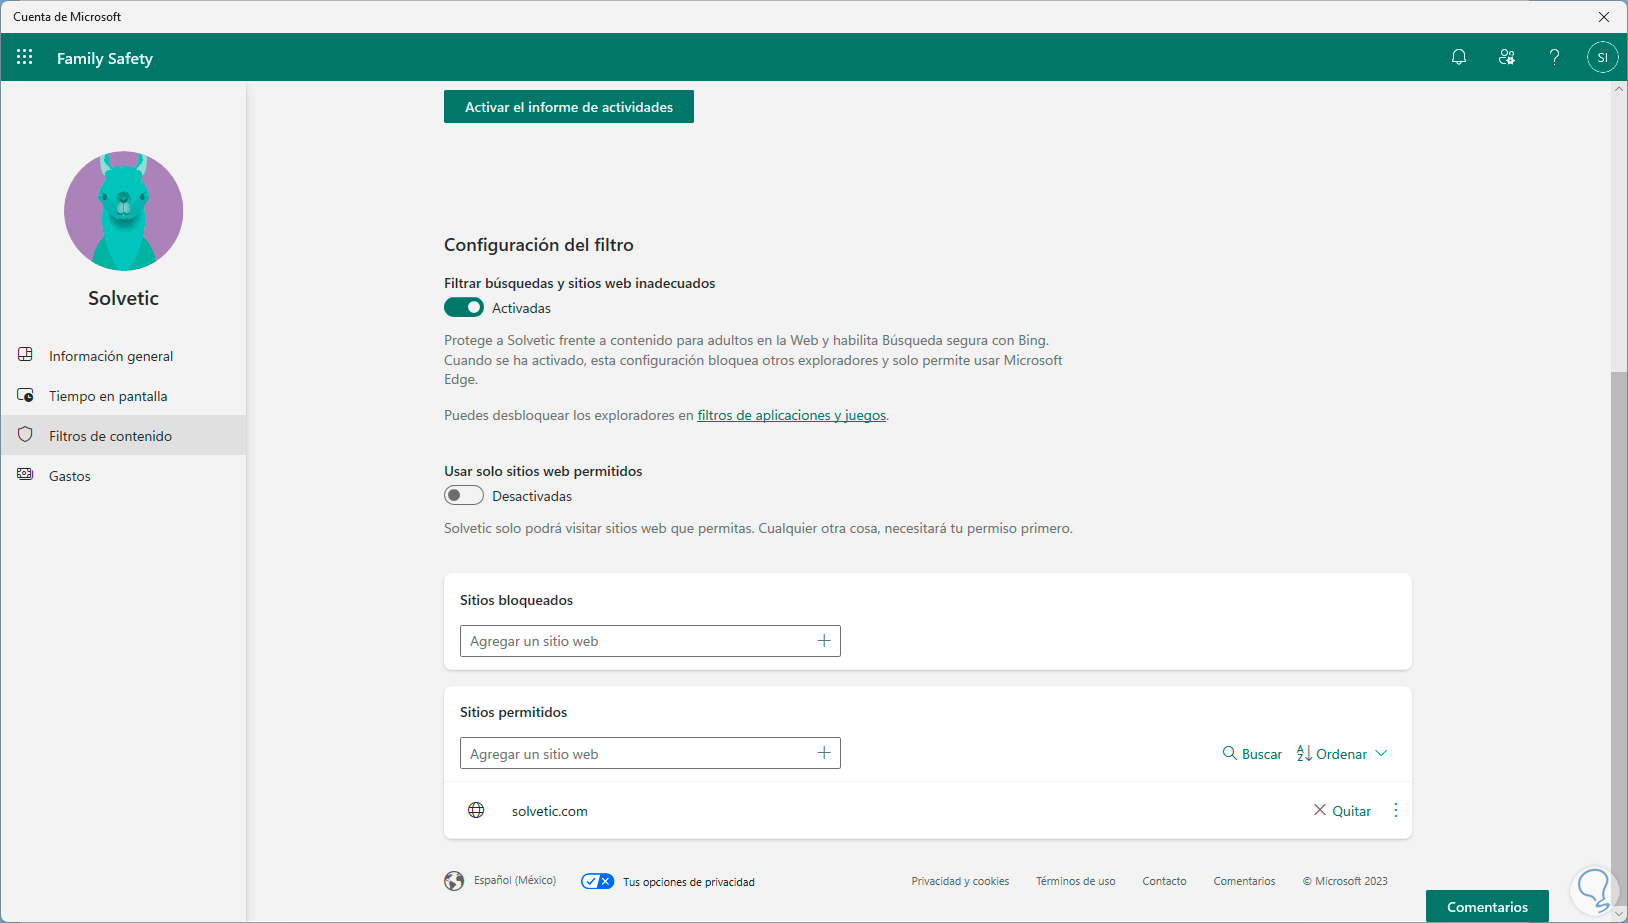
step 26
Now there it is possible to add websites to either block or allow:
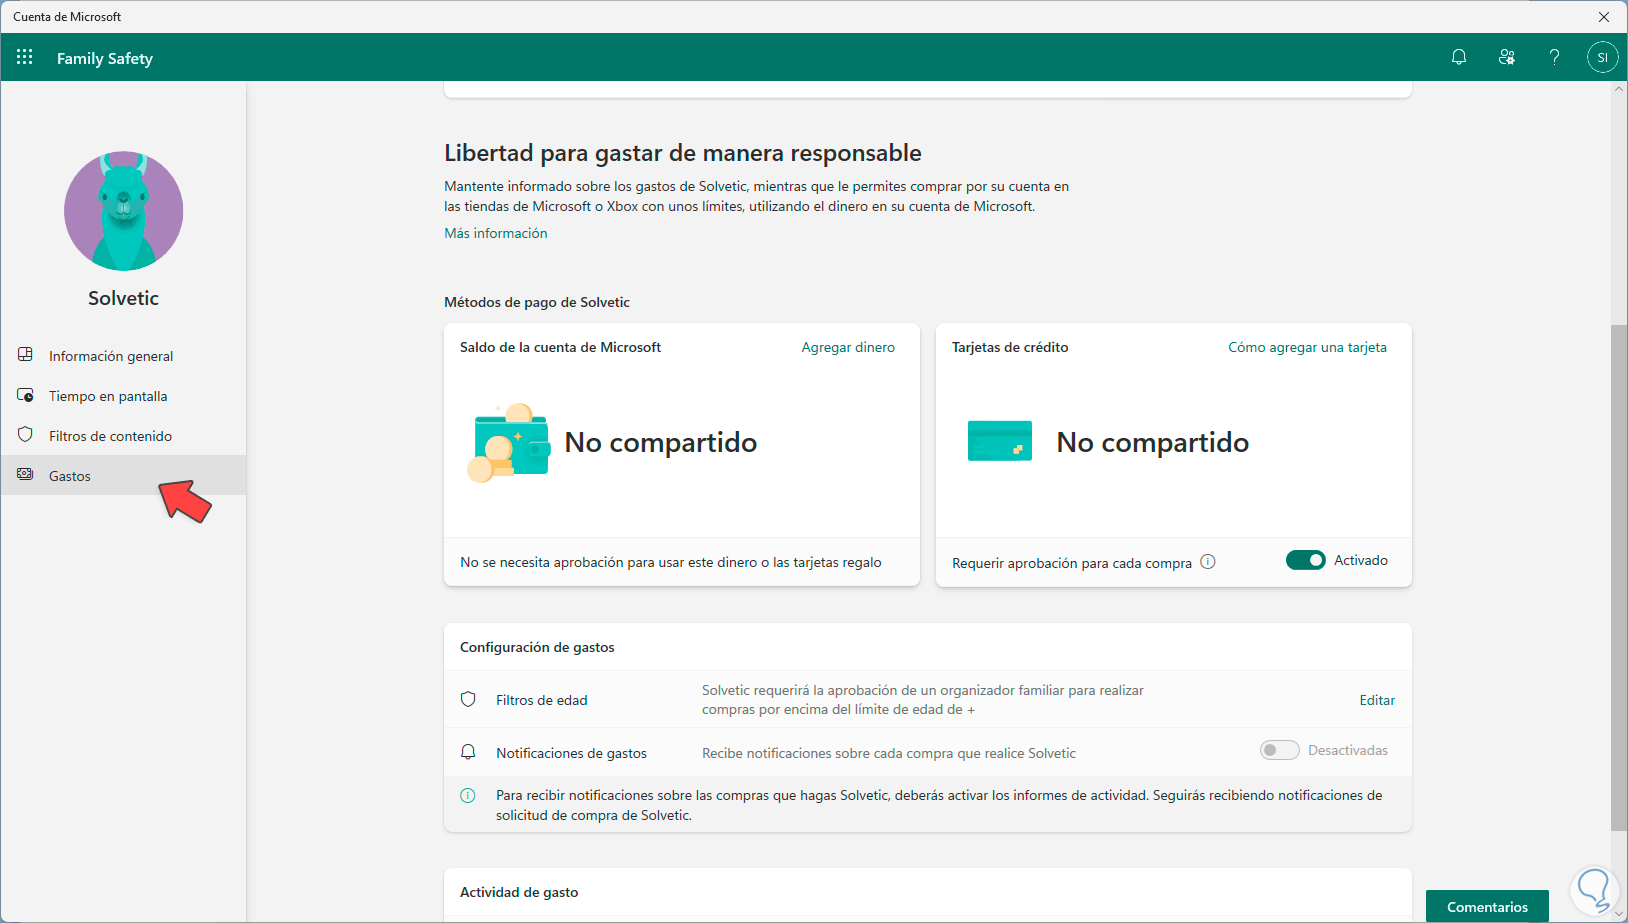
step 27
Finally we click on "Expenses" and from there it is possible to keep a record of registered means of payment to supervise purchases or payments with registered cards:
Step 28
Finally, you can take this control from the Windows Family app which you can download at the following link:
Play Store
app store
From there, when you log in, it will be possible to monitor the minors to have full control:
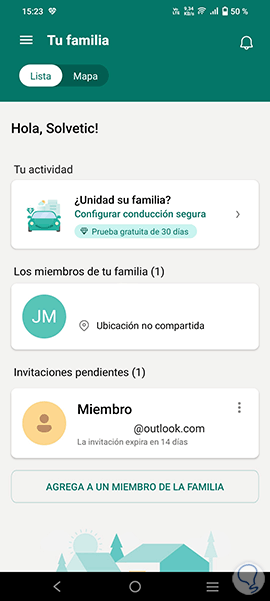
This is how Microsoft gives us the opportunity to protect our family that uses Windows.