The default email application in Windows 10 is Mail which, for logical reasons, allows mail accounts enabled there to be Hotmail or Outlook , but today TechnoWikis will explain the process to configure a Gmail account directly in the Mail application o Windows 10 Mail, remember that Gmail is Google's proposal at the messaging level and has interesting features for managing emails and users and calendars..
Set up Gmail account in the Windows 10 Mail app
Step 1
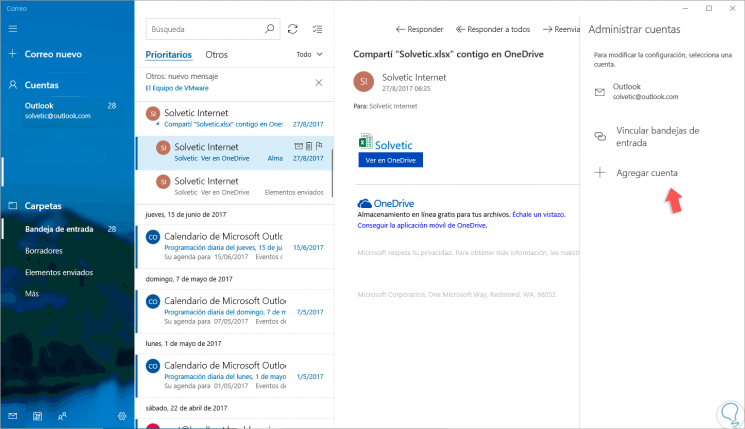
To start this process, we open the "Mail" application, click on the "Accounts" section and see the following:
Step 2
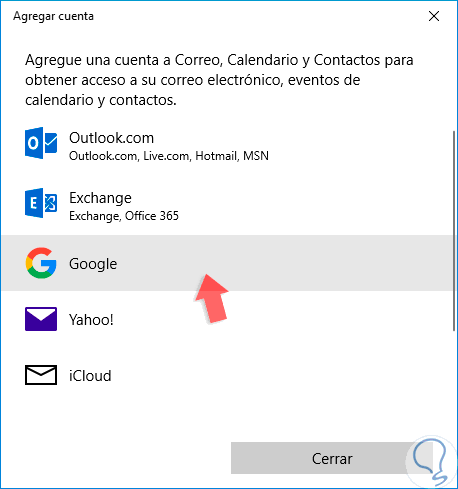
There, on the right side, click on the "Add account" option and in the window we will select "Google":
Step 3
It will be possible to add Outlook.com accounts, an Exchange account, a Yahoo email!, An iCloud email or any other POP or IMAP email account currently enabled.
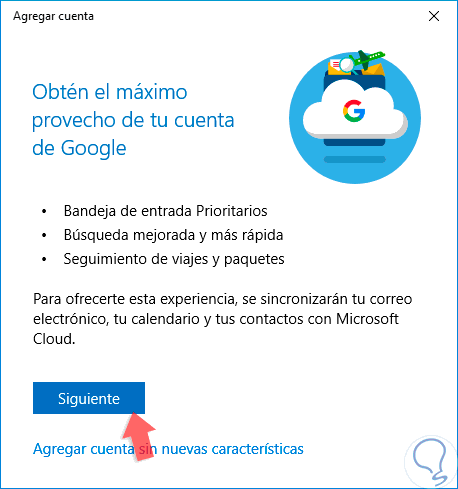
When we select Google, the following wizard will be displayed:
Step 4
There we can click on Next or on the “Add account without new features†line and we will see the following:
Step 5
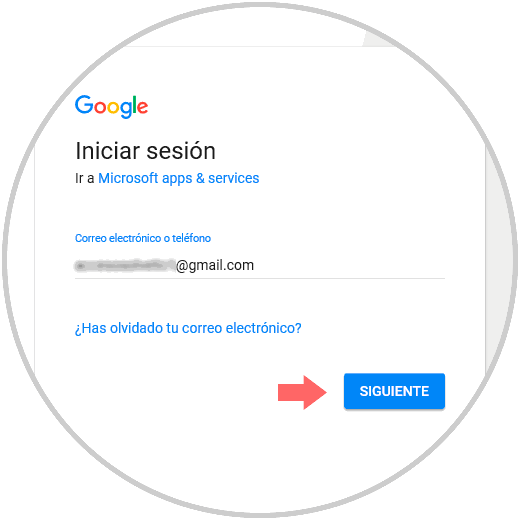
There we will enter the email account to be added and click on “Next†to set the account password:
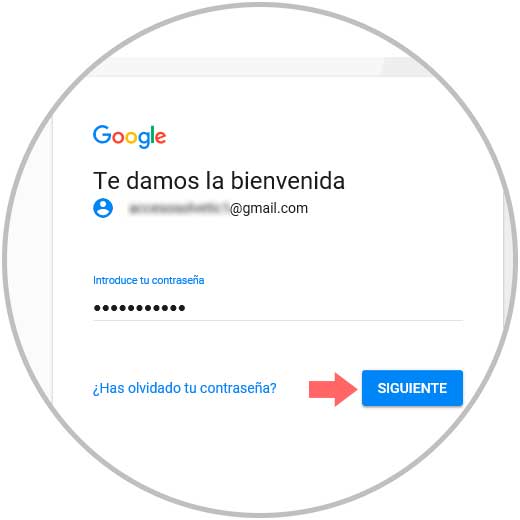
Step 6
By clicking on Next we will see this:

Step 7
There we click on “Allow†to approve the respective accesses and we will see that the account was added correctly:
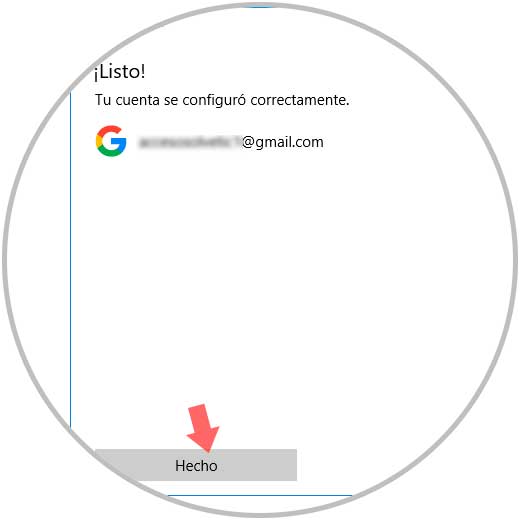
Step 8
Click on the "Done" button to finish the process. Now we can see our account on the left side available:
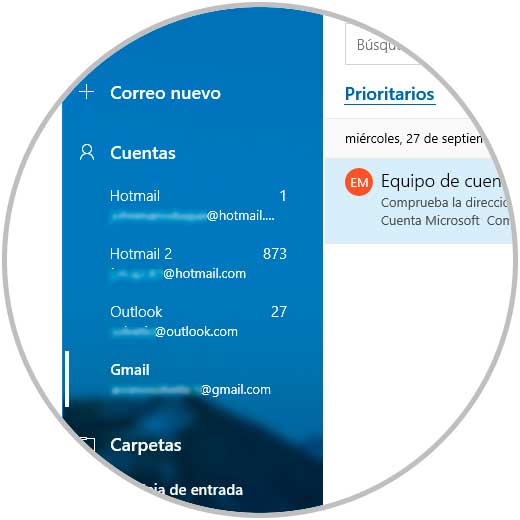
Step 9
All email from the Gmail inbox must be available in the Mail application, but by default, we will only see the Inbox folder, to add the other tags just select our Google account and click on the More located option at the bottom of the application.
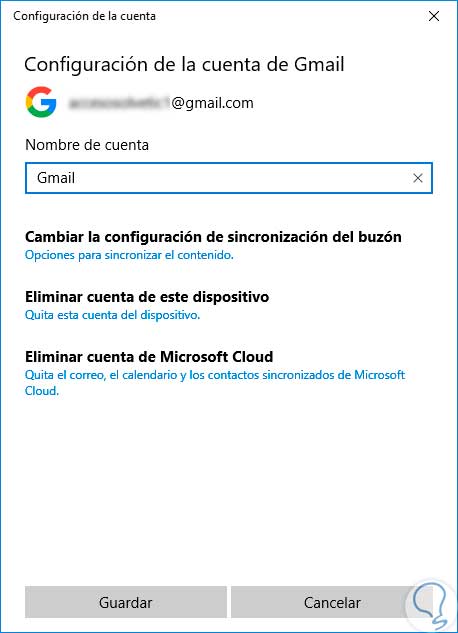
To manage our email account, we will right click on the account and select the option "Account Settings":
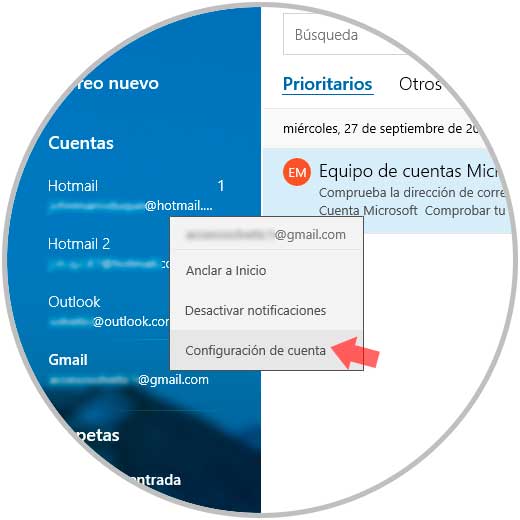
Step 10
The following will be displayed:
Step 11
There we can perform actions such as:
- Edit the name of the selected account
- Define the way to synchronize that account
- Delete account locally or from the cloud
Step 12
Clicking on the "change mailbox synchronization settings" option will display the following:
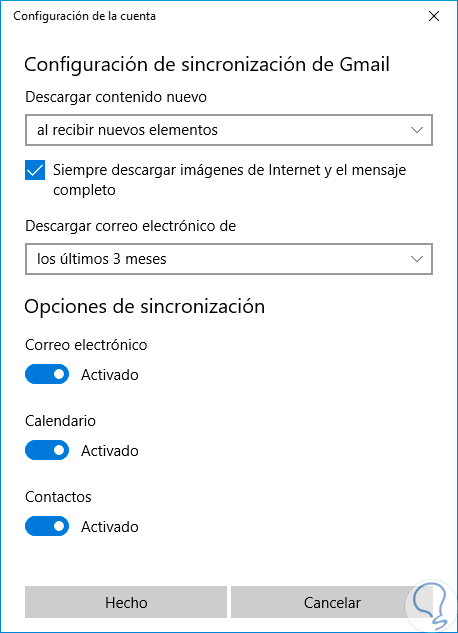
There it will be possible to define parameters such as the frequency in which new emails will be downloaded, download in a time range or enable or not synchronize email, contacts and calendar by simply pressing on the necessary switches.
As we can see, it is possible to add a Gmail account in the Windows 10 Mail application and from there have a centralized management of all its components without the need to open multiple windows in the system.
Let's get the most out of this function and thus better manage our email accounts..