To stay up to date, remember to subscribe to our YouTube channel!
SUBSCRIBE ON YOUTUBE
To connect to a Wi-Fi network in Windows 10/11 we normally click on the network icon in the taskbar, then select the desired Wi-Fi network and after that we enter the password if it is a new network. But this is a process that can be annoying for many users because if for some reason the automatic connection has not been established you must enter the password every time we connect to that network, let's remember that in today's world there are many passwords to manage and it is possible that we forget the Wi-Fi network affecting access to the network and thus not allowing us to make use of the different online tasks..
There is a much simpler method to connect to the Wi-Fi network is through a QR code, this is located on the modem or router and by default within the modem configuration there are already the security parameters to facilitate connectivity. That is why we are going to show you How to connect my PC to WiFi with QR code easily.
TechnoWikis will teach you how to connect your PC or laptop to a Wi-Fi network using the QR code and have a simple but equally reliable access alternative..
1 How to connect my PC to WiFi with QR code using camera
The first method will be to use our camera to directly scan the QR code of the device.
Step 1
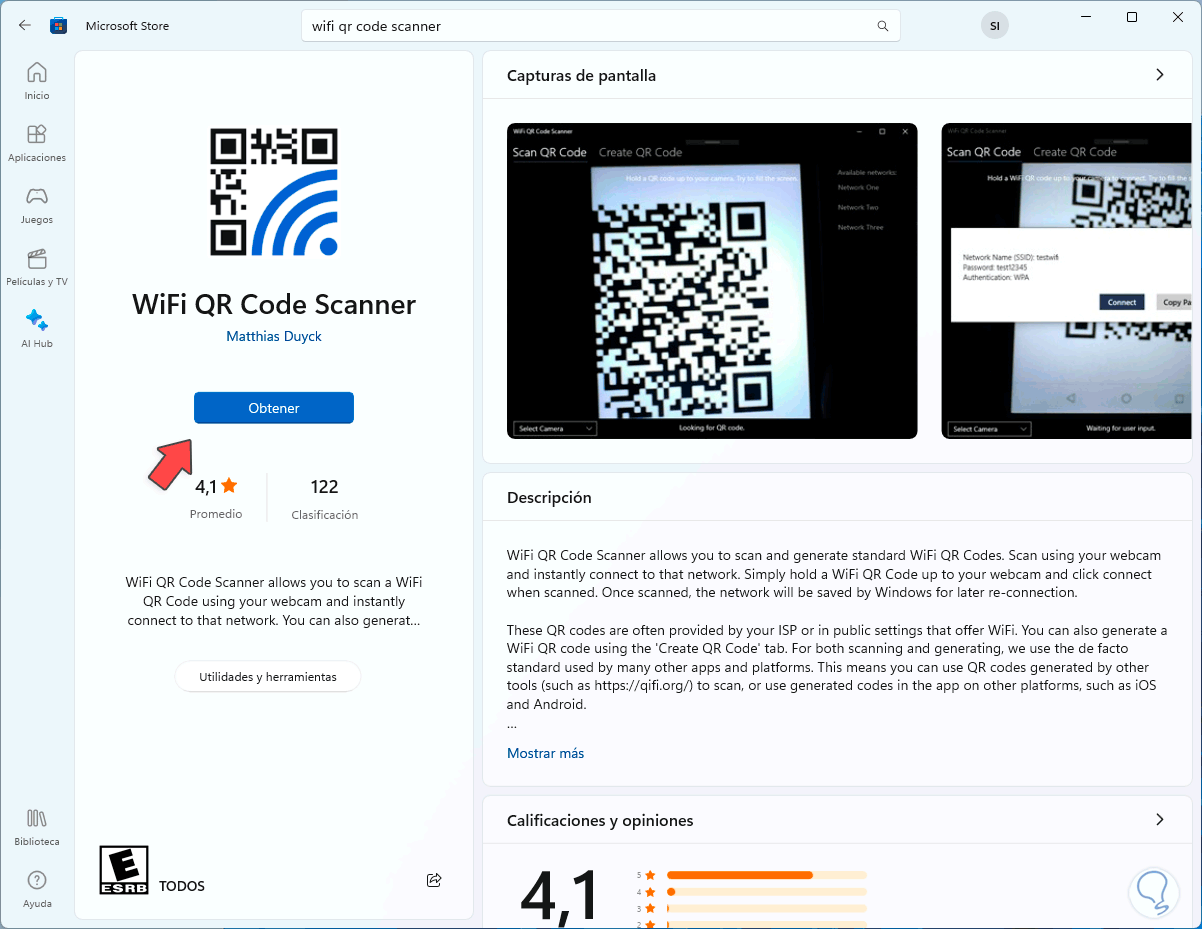
To start we are going to open the Windows Store and there we look for the application called "wifi qr code scanner":
Step 2
This application gives us the possibility to scan and generate standard WiFi QR codes, when we scan a code by default Windows will save the network to be able to establish the reconnection later, additionally with this application we can share the WiFi connection with other users or change the password by security issues,
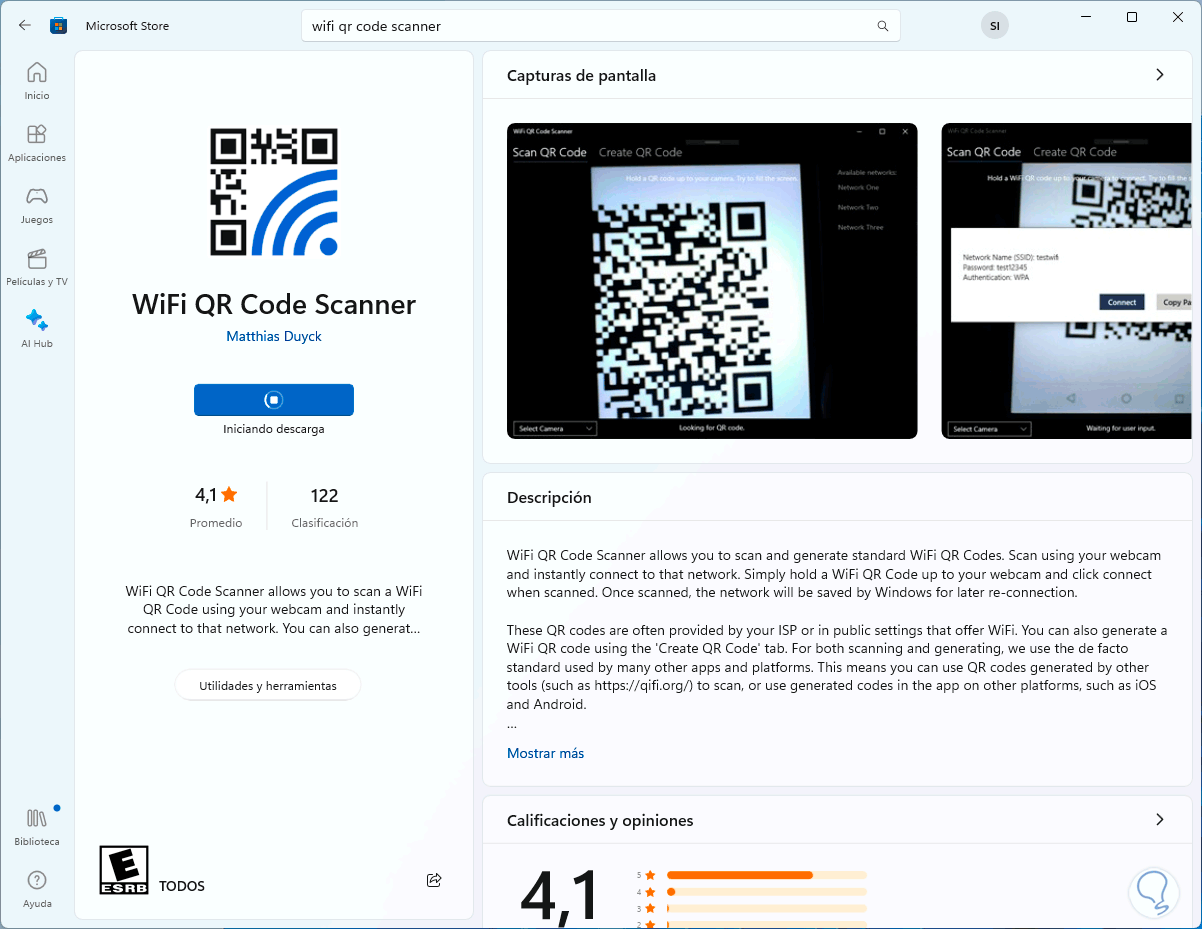
There we click on "Get" to install it in Windows:
Step 3
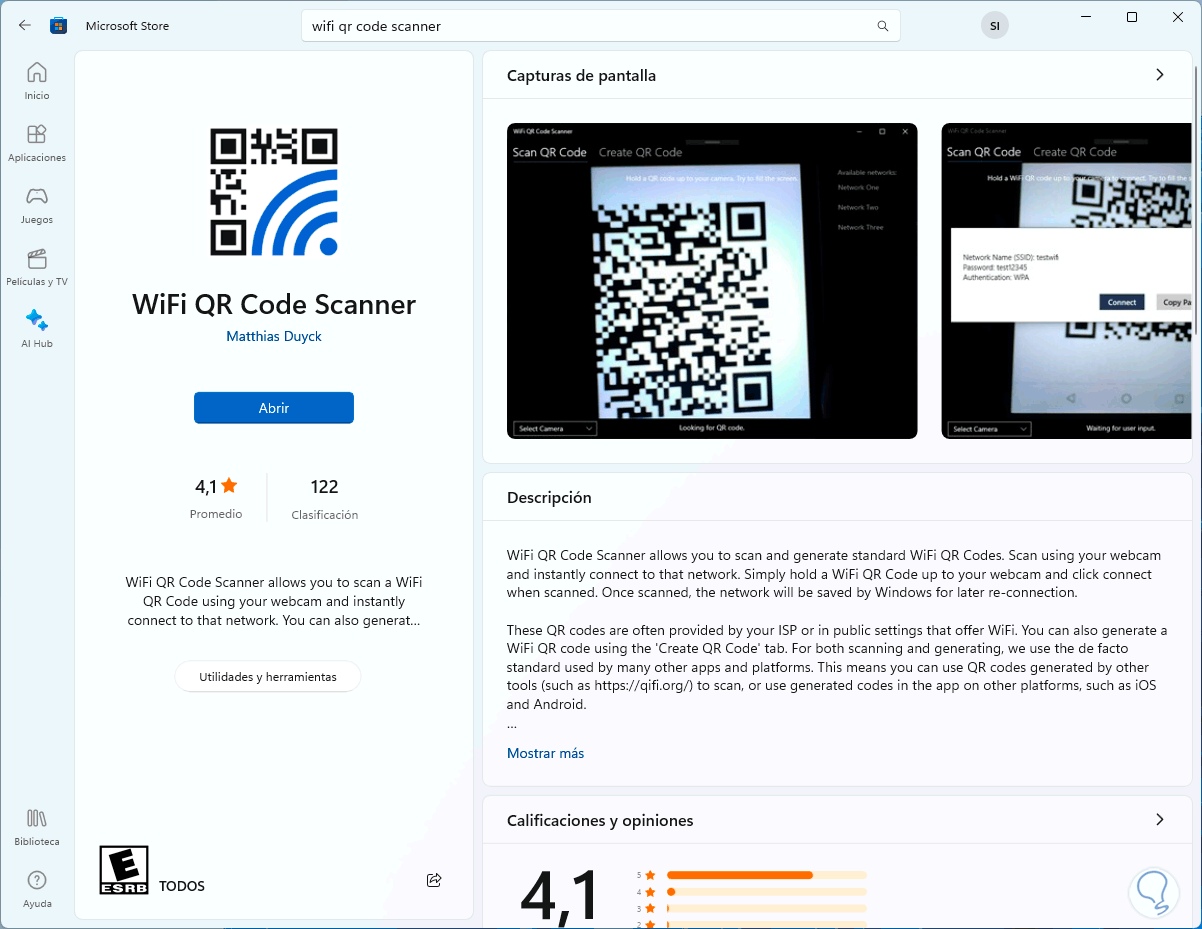
At the end we will see the following. We left the Windows Store.
Step 4
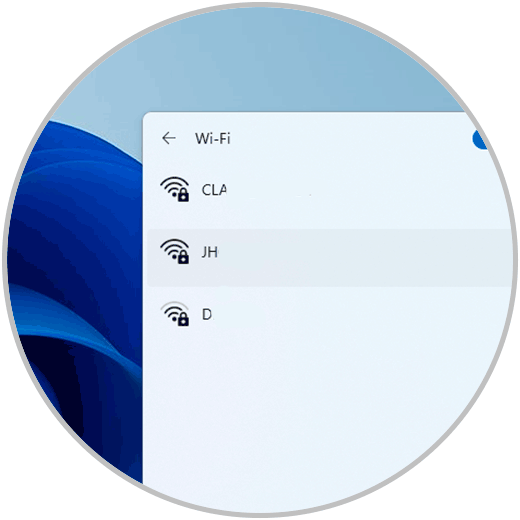
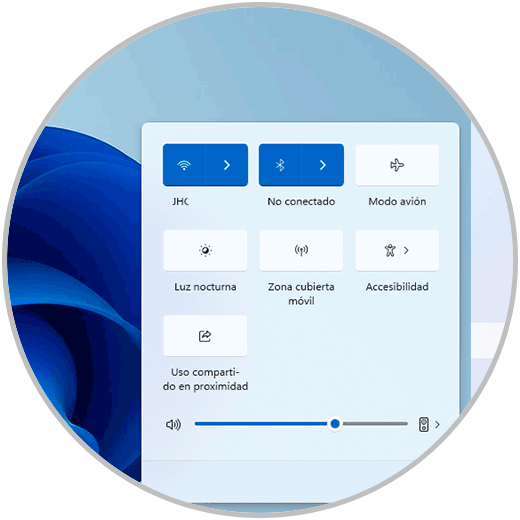
Now we click on the network icon to see the Wi-Fi networks available in the range:
step 5
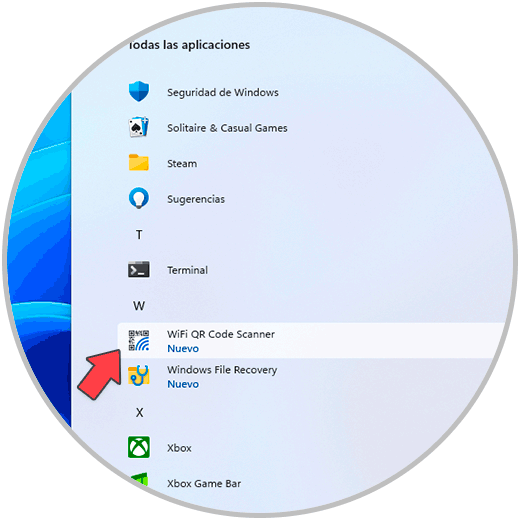
After this we click on the Start menu, click on "All applications" and there we open the application that we have installed:
step 6
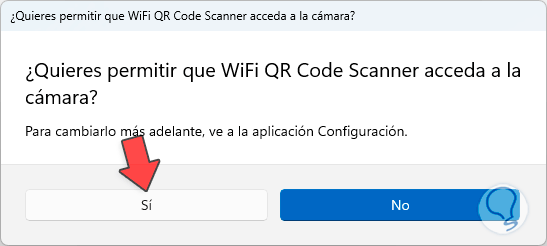
Now we are going to grant permission to access the camera when opening the app:
step 7
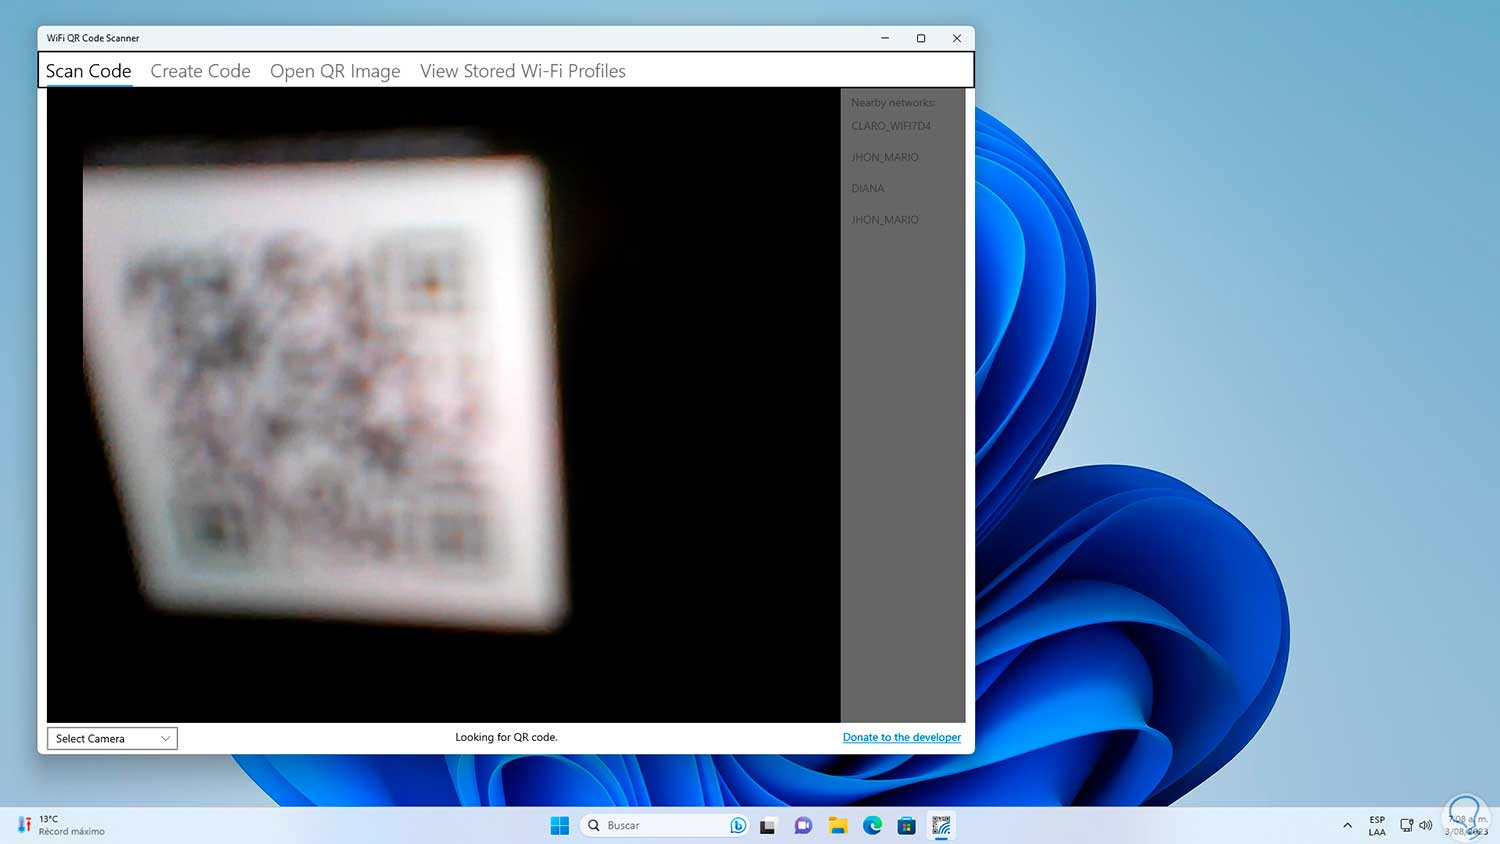
With the camera we scan the QR code:
step 8
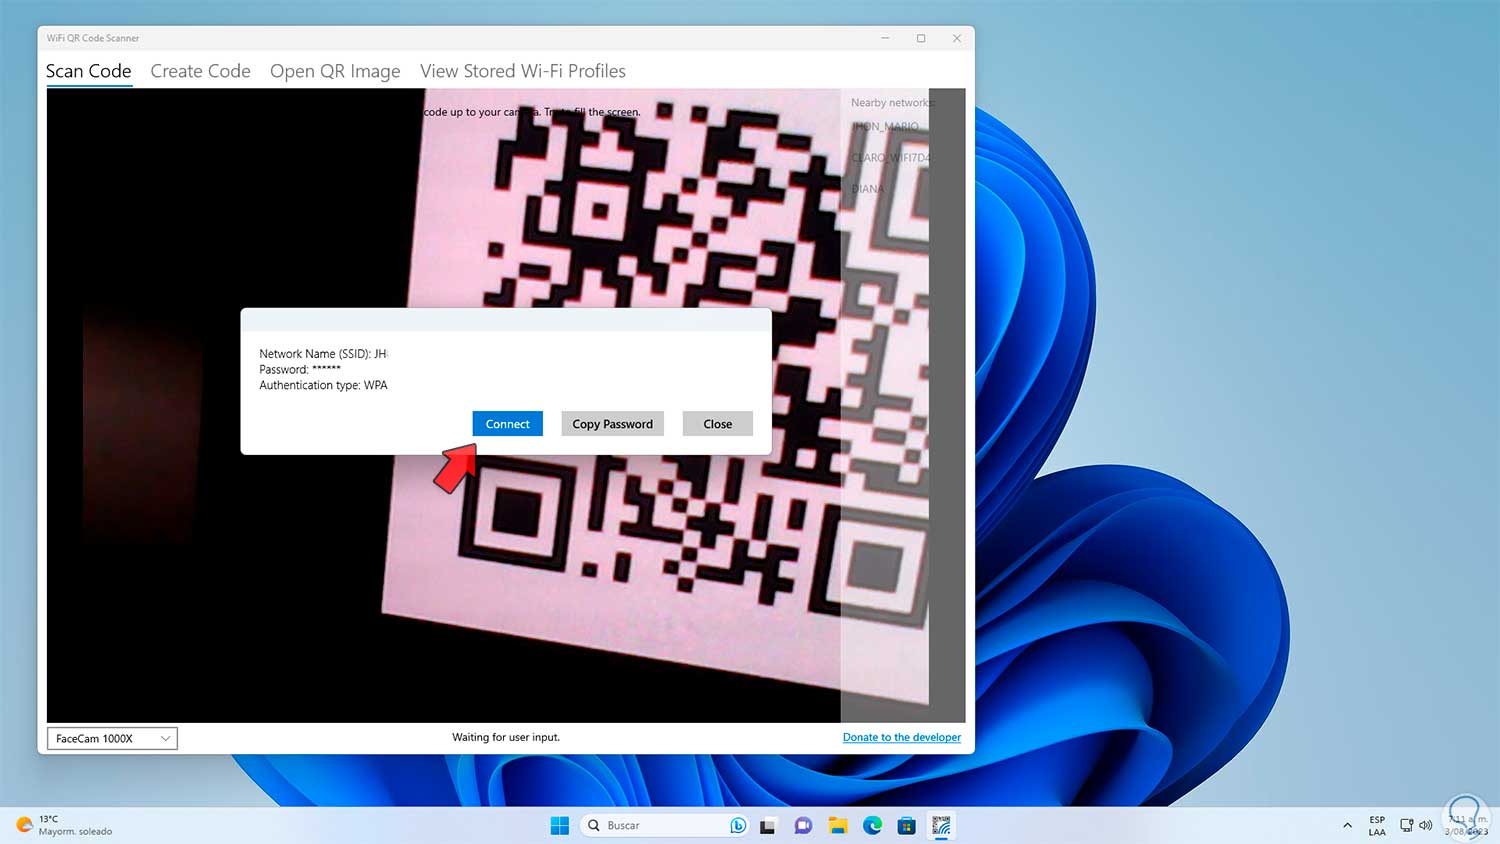
We will see that when detected, the name of the network will be displayed with its respective security and with the password already assigned:
step 9
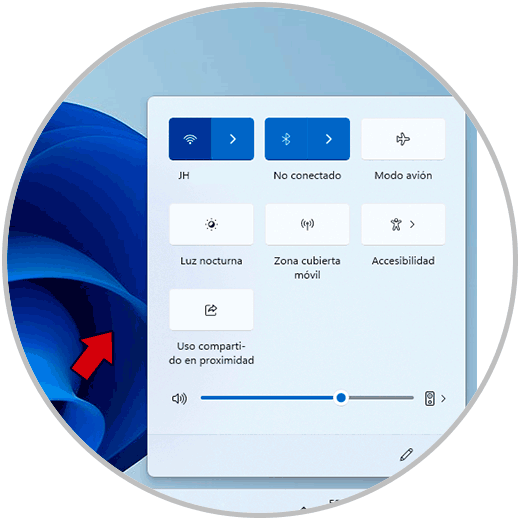
There we click on the "Connect" button and the equipment will automatically connect to that network, we click on the network icon to verify that we have connected to that Wi-Fi network:
This is the method to connect with the QR code and our camera in Windows.
2 How to connect my PC to WiFi with QR code without camera
Step 1
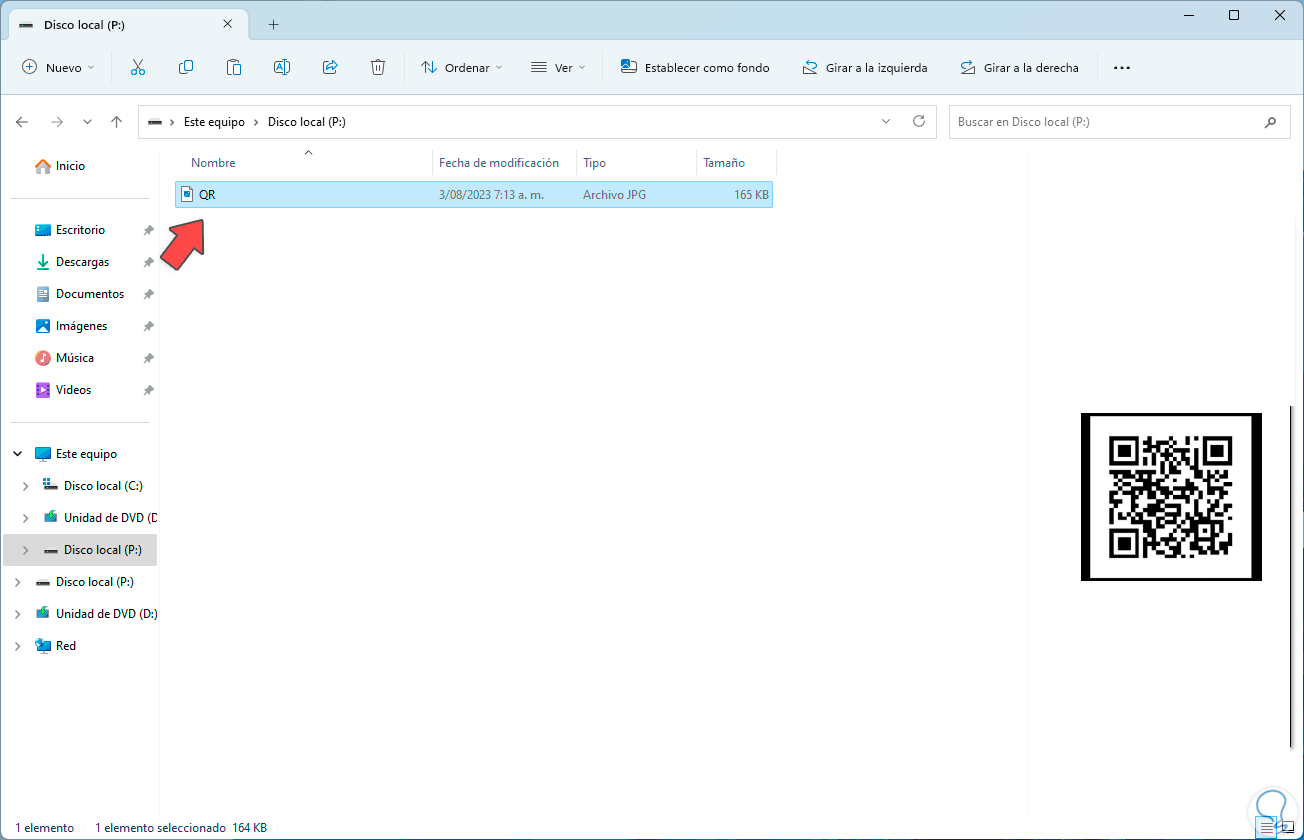
It is possible that we do not have a camera to do this, in this case TechnoWikis advises you to take a photo of the QR code of the device and then store it locally on the PC, we open the File Explorer to validate the image of the QR code of the network to use :
Note
TechnoWikis advises you to cut only the QR code to make it easier to recognize.
Step 2
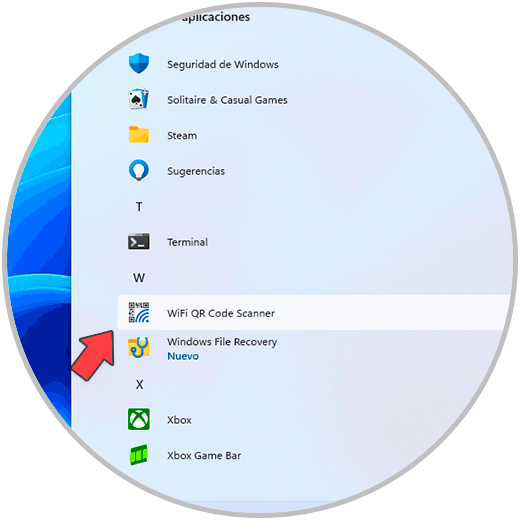
Now we open the Start menu, click on "All applications" and there we open the installed application:
Step 3
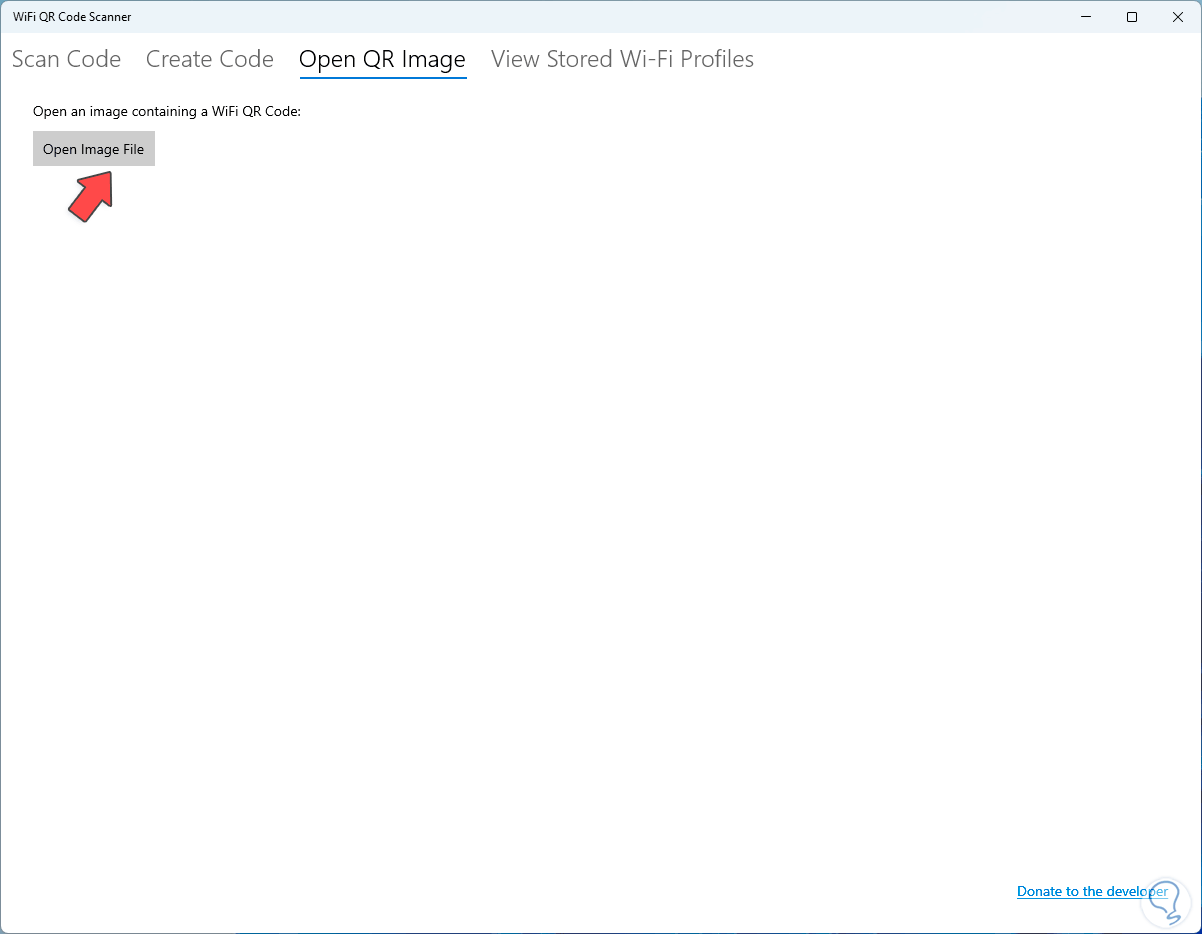
In the app we click on the “Open QR image” tab:
Step 4
We click on “Open image file” and select the image:
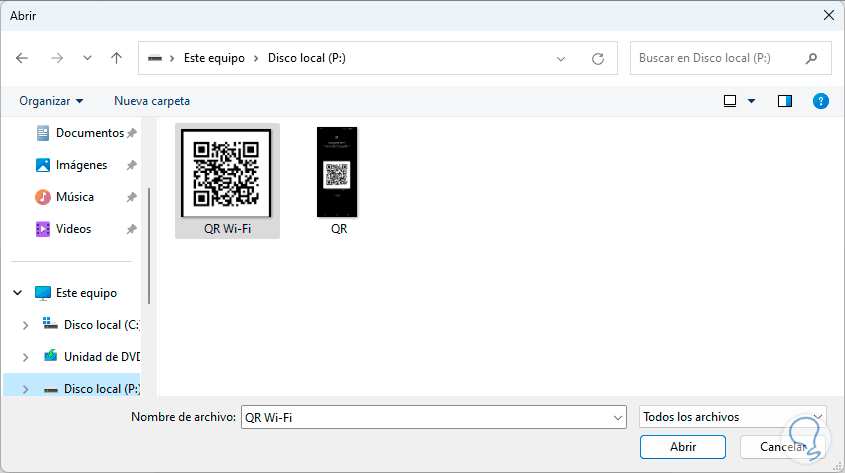
step 5
When loaded we will see that the name of the network is displayed with its details. We click on "Connect" and validate that the connection to that Wi-Fi network has been established by clicking on the network icon on the taskbar:

step 6
One of the great advantages of this method is that by integrating the password into the QR code, it will not be necessary to enter it manually when establishing the connection.
You have learned how to use this functional method to connect your computer to a Wi-Fi network with Windows..