WiFi connectivity is one of the most frequent that we can do when using Windows and logically a high percentage occurs in laptops but we know that WiFi adapters can be used to connect to networks available on PCs. We know the advantages of this type of network but for various reasons it is possible that the connection to WiFi from Windows generates an error and is not possible, this ranges from errors in the driver to service issues, TechnoWikis will give you a series of solutions to correct this error and thus connect without any problem to the WiFi network in Windows..
When we see that Windows does not connect to the Internet, perhaps we try to apply a solution but we cannot get it repaired, so it is useful to have different alternatives that save us from not knowing how to connect WiFi in Windows 11 for some reason. That is why we are going to try to solve these problems when connecting to WiFi in Windows.
To stay up to date, remember to subscribe to our YouTube channel!
SUBSCRIBE ON YOUTUBE
1 Enable WiFi adapter Windows 11
Step 1
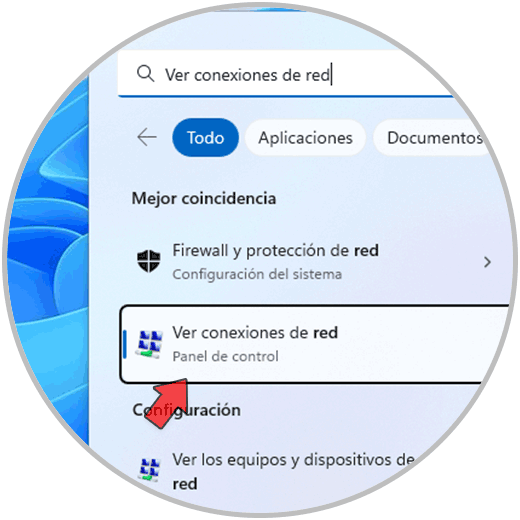
A normal cause is that for some reason the WiFi adapter is disabled, if this is the case it will simply be impossible to connect to the Wi-Fi network, to activate it again in the Start search engine we enter "network" and click on "View network connections":
Step 2
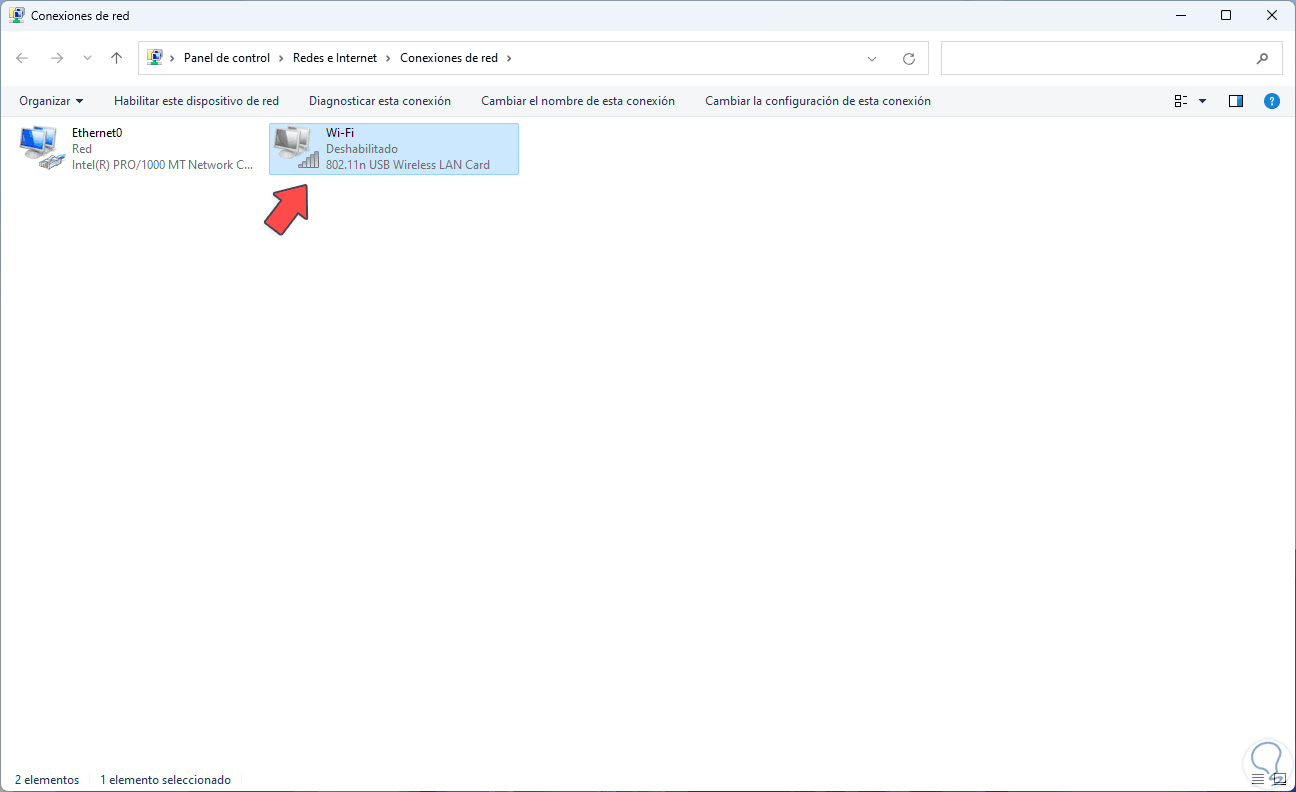
The following window will open where we will see the disabled WiFi adapter:
Step 3
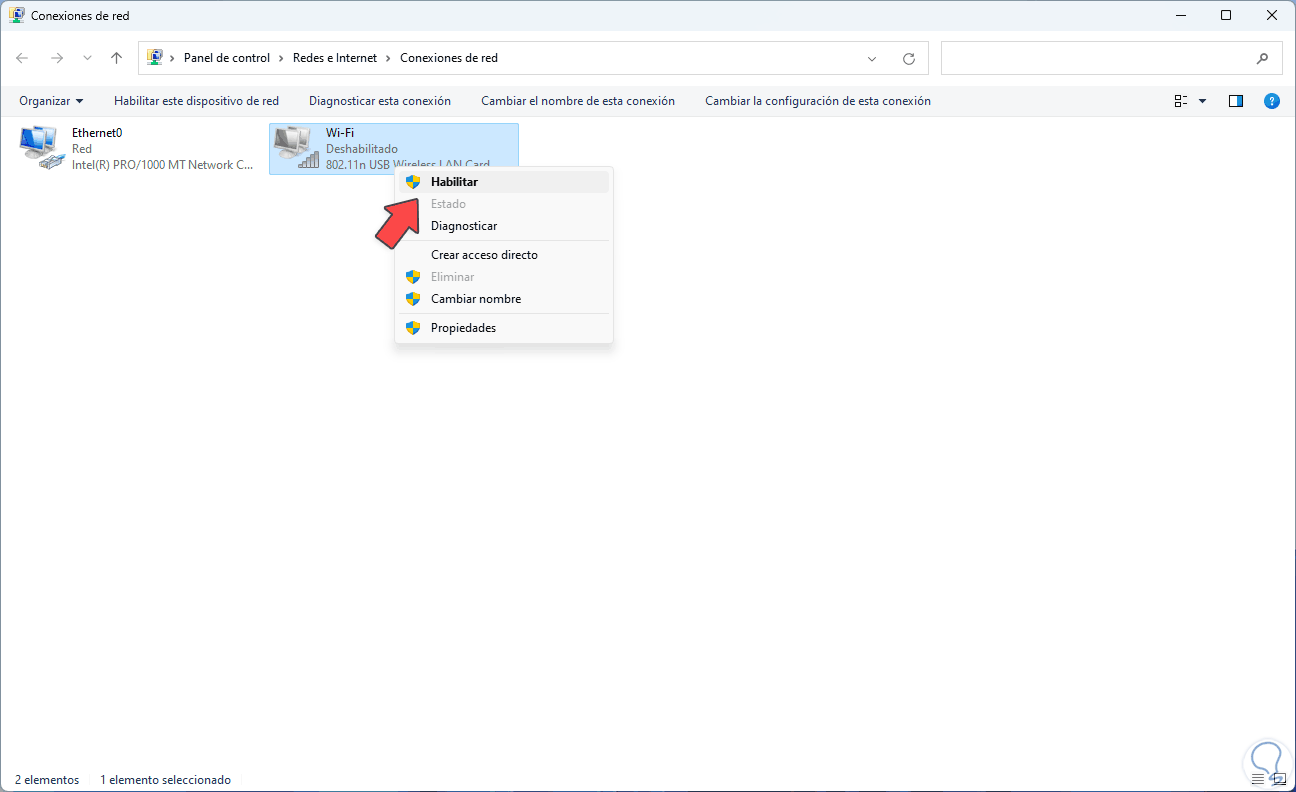
To activate it, right click on the WiFi adapter and select the "Enable" option:
Step 4
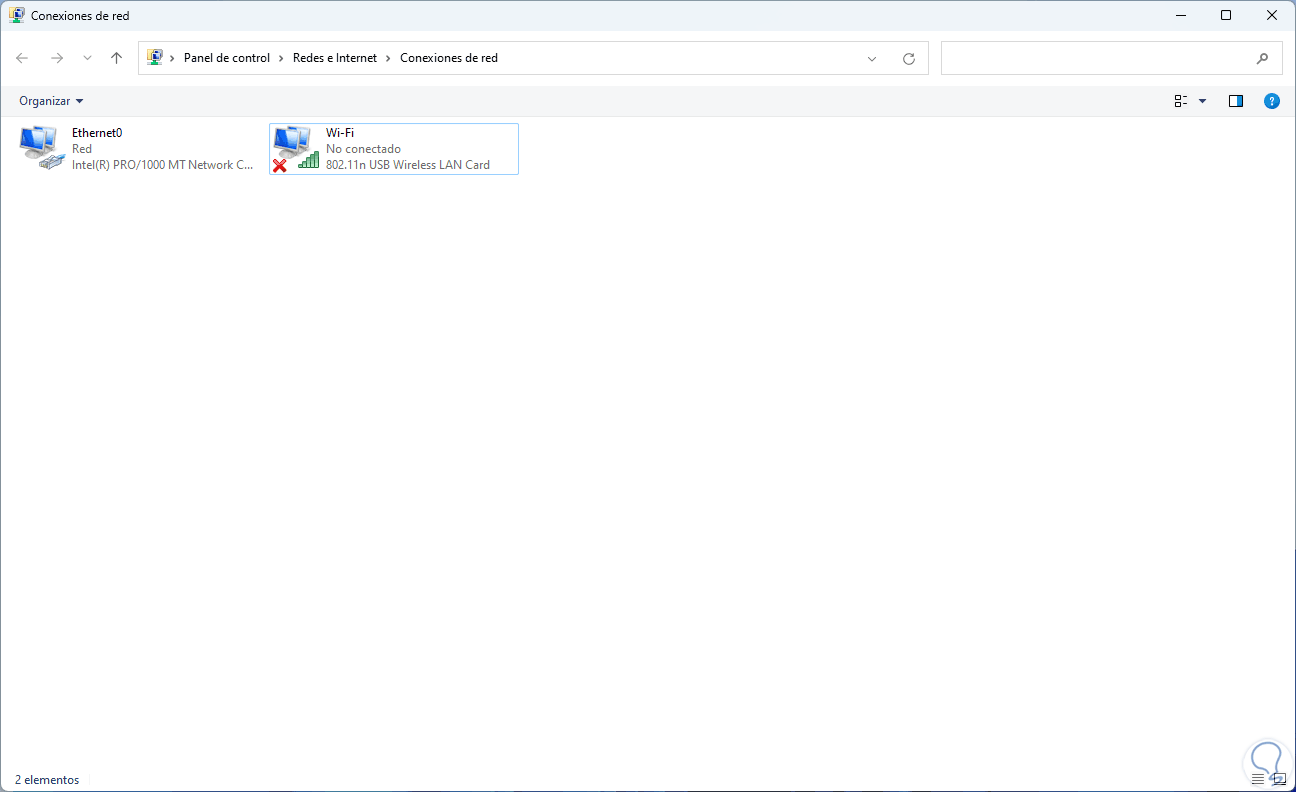
We expect it to be enabled:
step 5
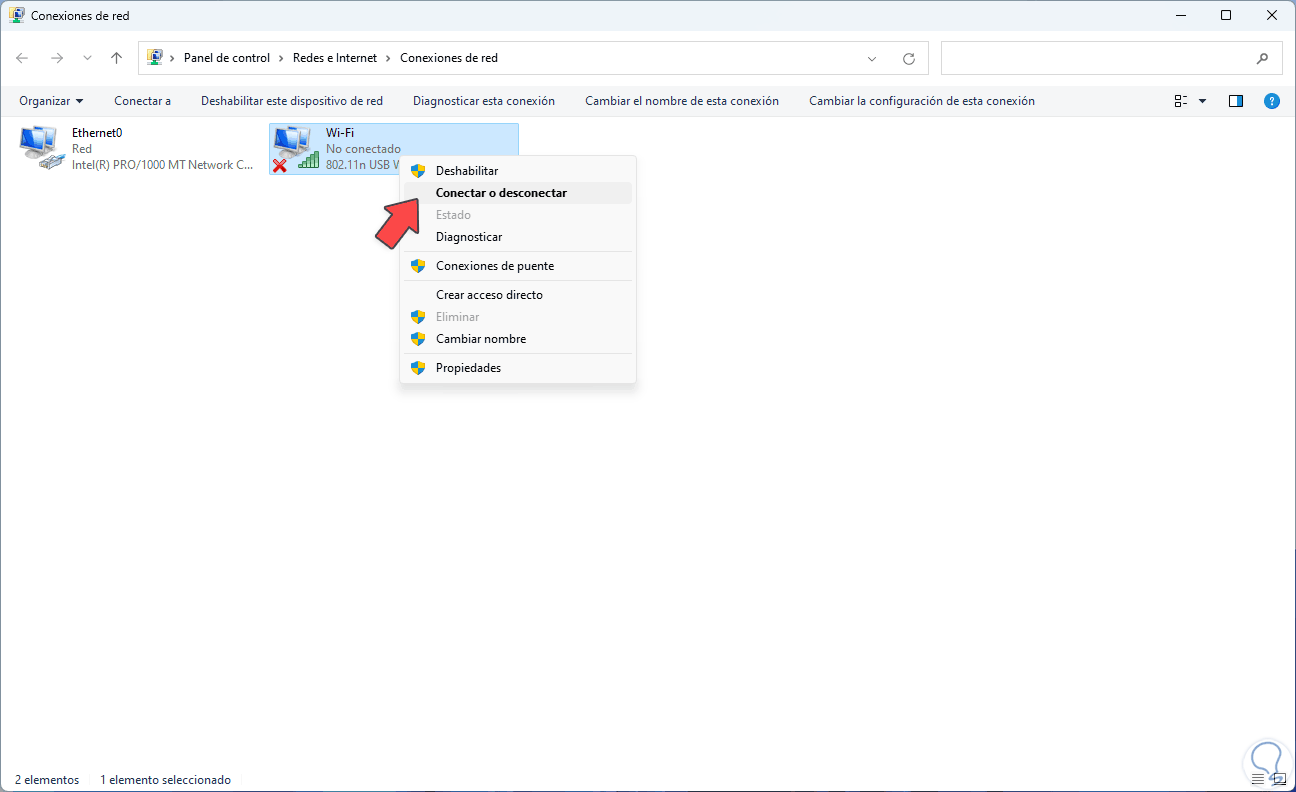
Now we right click on the adapter again and select "Connect or disconnect":
step 6
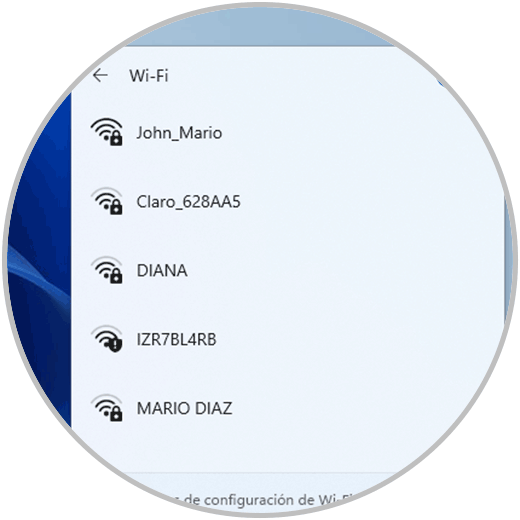
You will see the available WiFi networks:
2 Automatically fix WiFi errors Windows 11
This is a tool integrated into Windows with which a detailed analysis of the problem will be made and possible solutions will be launched or it will automatically take care of carrying them out..
Step 1
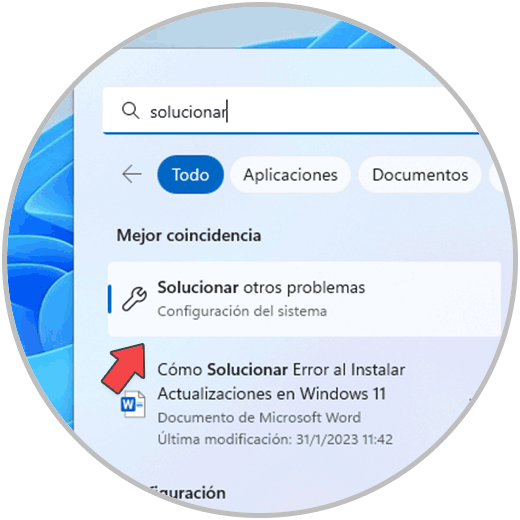
For its use in the Start search engine, we enter "solve" and click on "Solve other problems":
Step 2
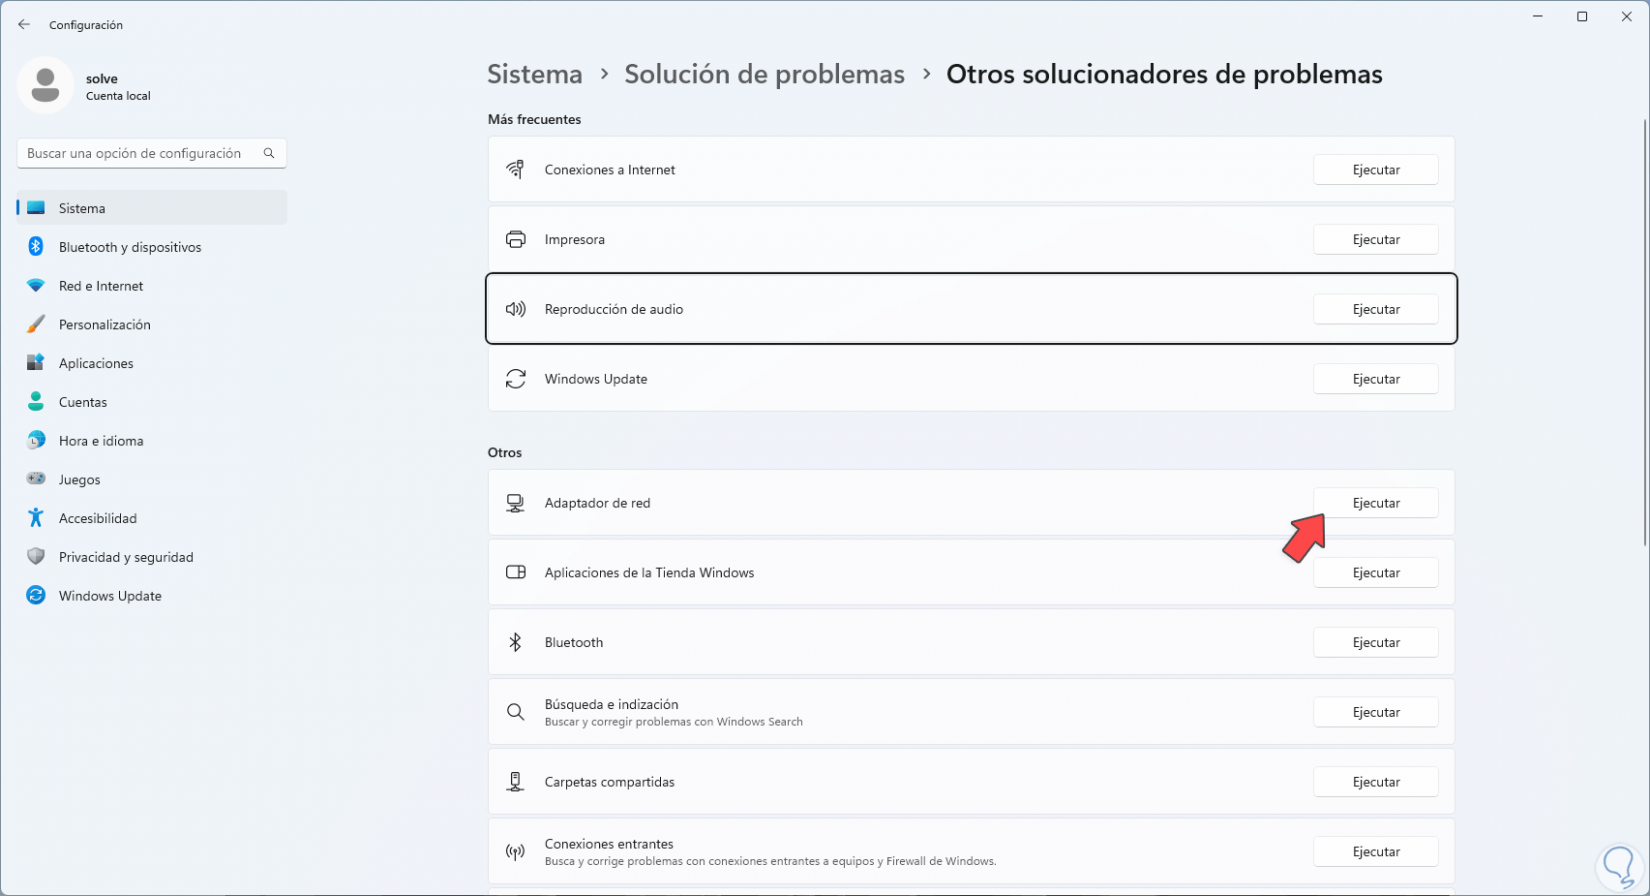
The following window will open:
Step 3
In "Network adapters" we click "Run" and the wizard will open with the initial analysis:
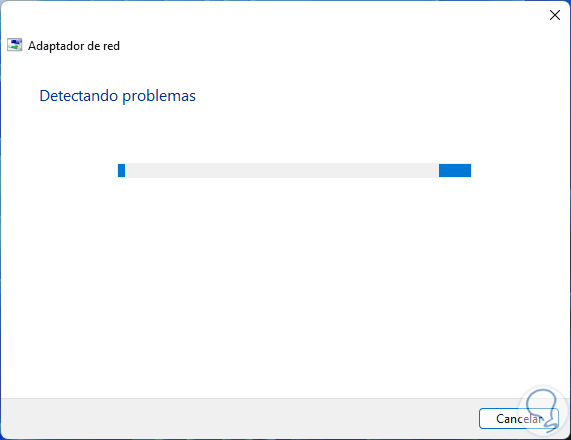
Step 4
You must select the Wi-Fi network:
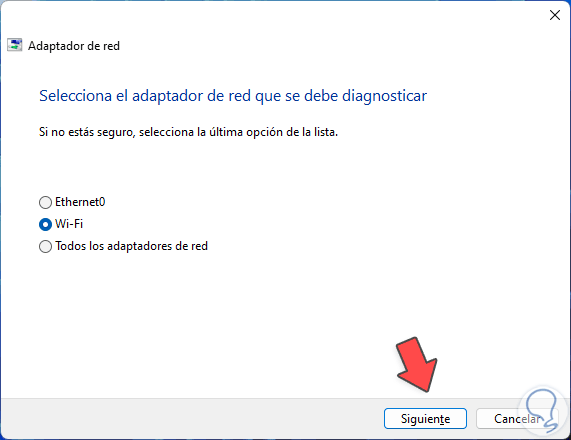
step 5
The respective analysis will continue:
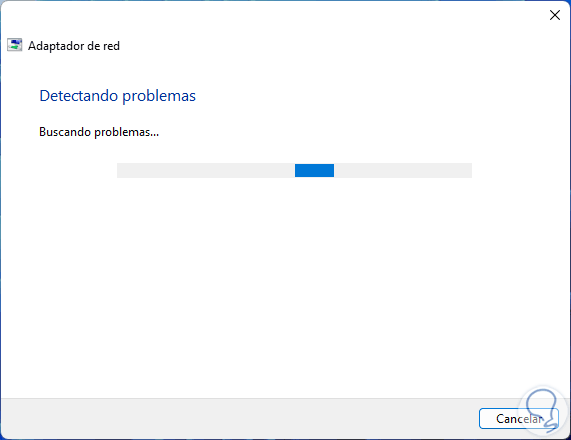
step 6
As TechnoWikis mentioned, it is possible to access the cause of the error:
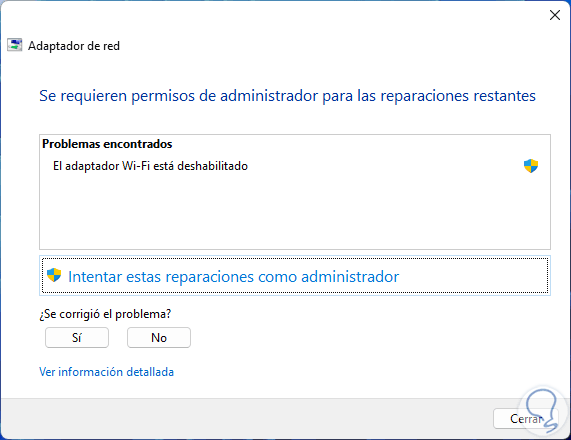
step 7
We can make the adjustment manually or click on "Try these repairs as administrator":
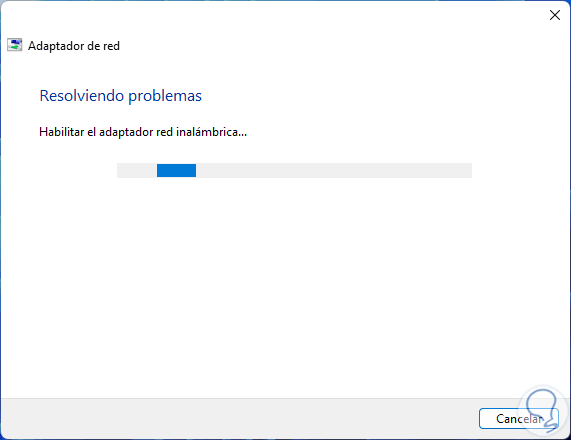
step 8
We will see more steps based on the detected cause:
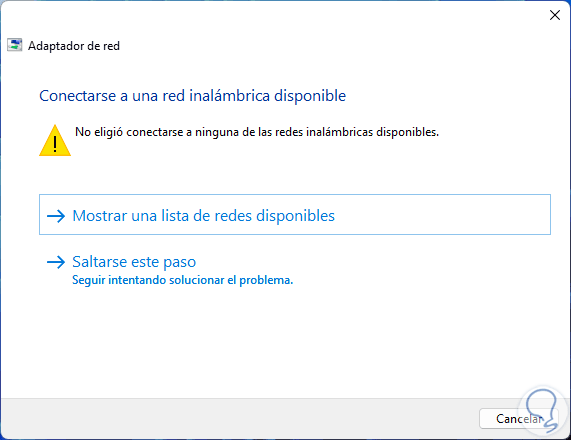
step 9
You will have access to the available WiFi networks:

3 Activate Windows 11 Services
Services in Windows play an essential role in the behavior of each process, since if a service fails it will simply lead to numerous errors.
Step 1
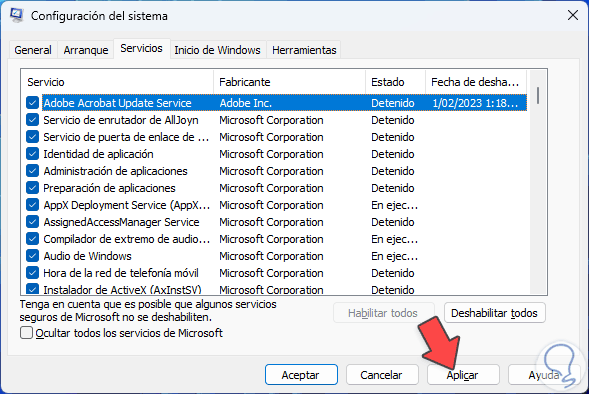
To check this in the Start search engine we enter "msconfig" and click on the system configuration utility:
In the displayed window we will go to the "Services" tab:
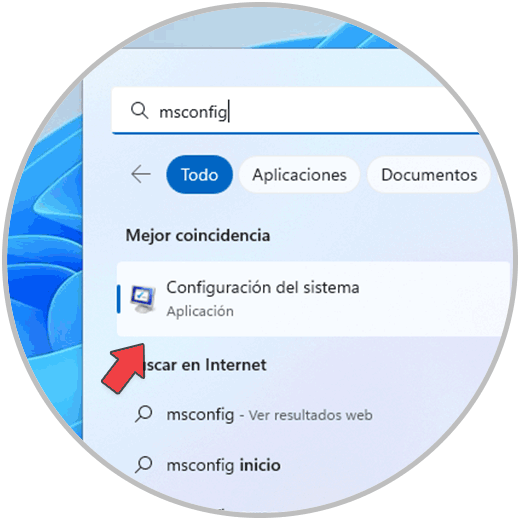
Step 2
It is possible that some services are not enabled, in this case we click on "Enable all" so that those services are enabled again:
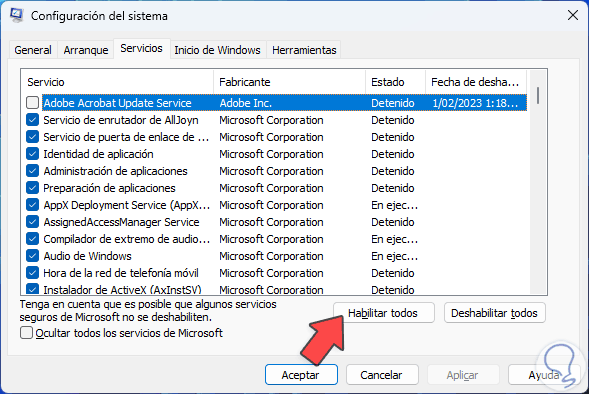
Step 3
We apply the changes
Step 4
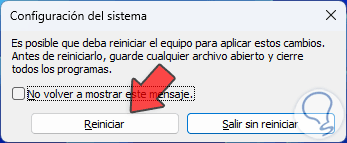
and we will see the following message:
step 5
Restart Windows:

step 6
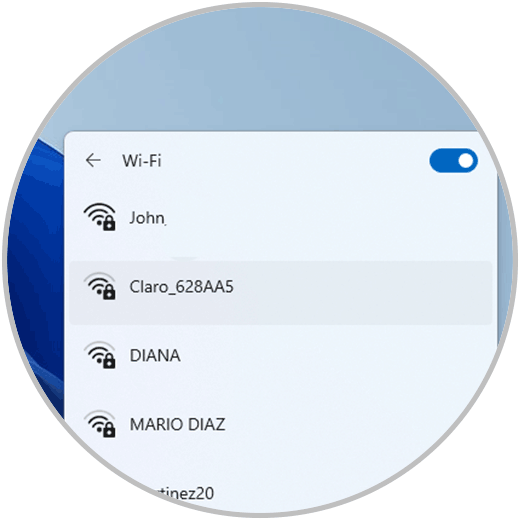
Confirm that WiFi networks are accessible after logging in:
4 Update WiFi Driver Windows 11
Step 1
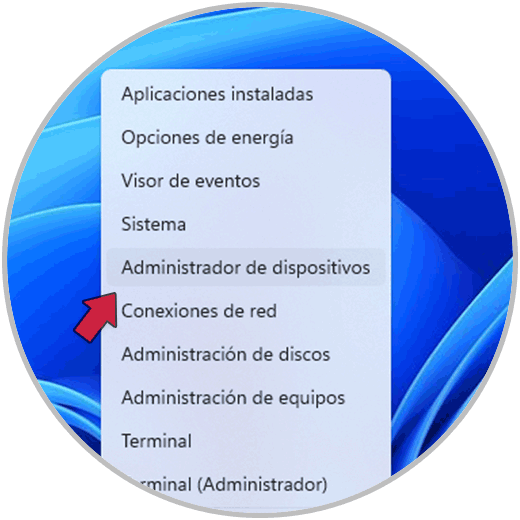
One of the normal causes for which Windows cannot connect to the WiFi network is due to errors in the driver, if the driver is not updated it will trigger a series of errors, to prevent this we are going to update it and for this we open the Device Manager:
Step 2
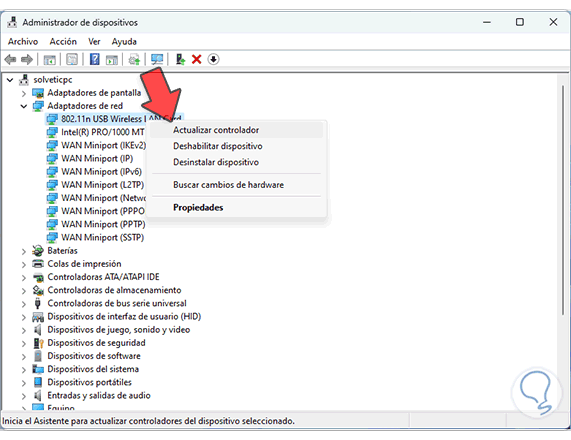
In "Network adapters" we right click on the WiFi driver and select "Update driver":
Step 3
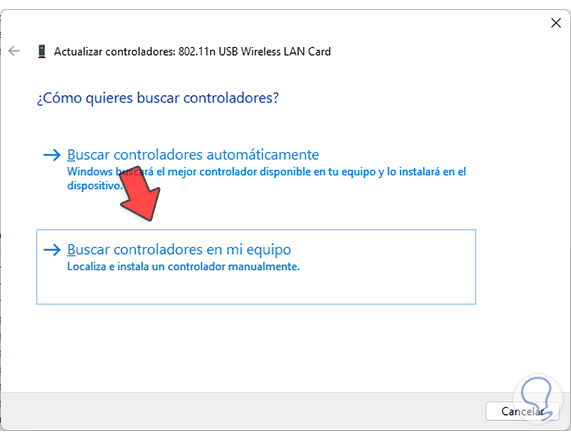
The following will open. We click on "Search for drivers on my computer"
Step 4
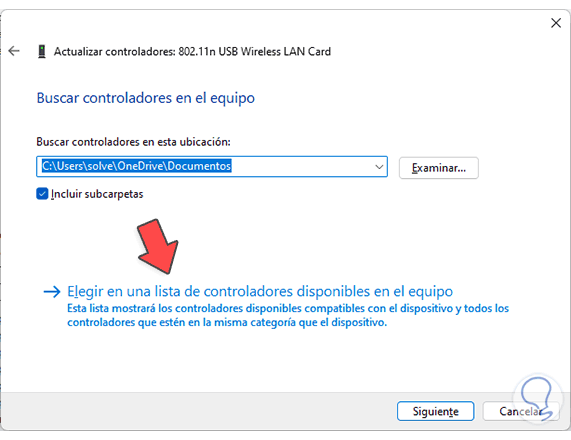
Then click on "Choose from a list of drivers available on the computer":
step 5
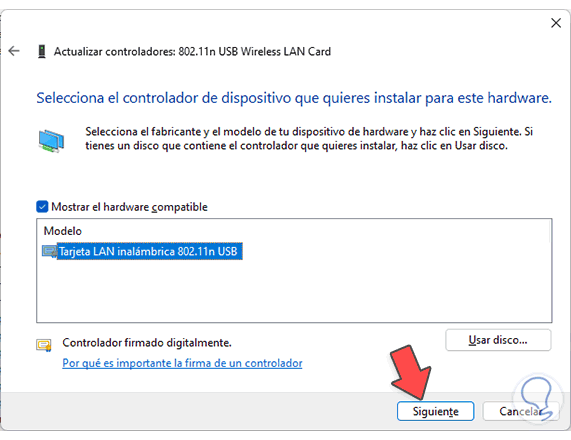
Now select the controller:
step 6
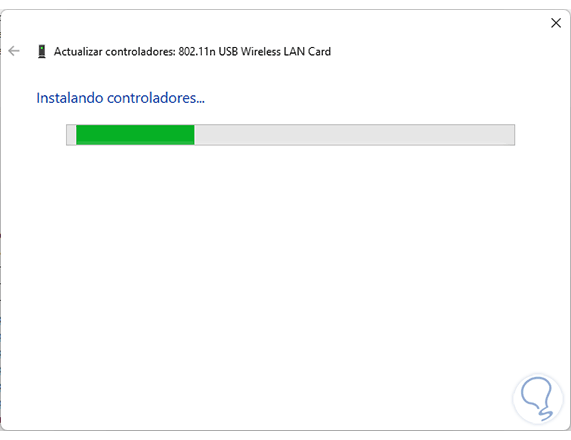
Complete the process:
step 7
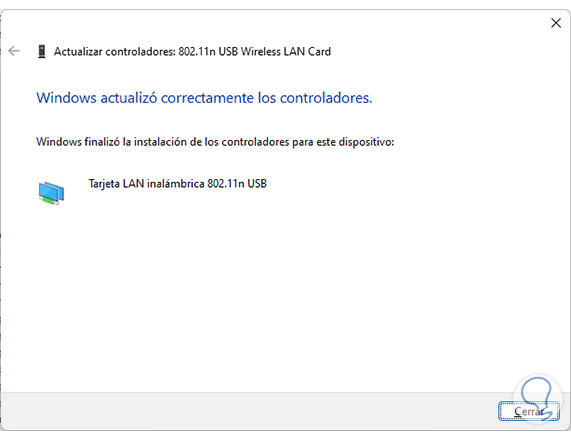
At the end we will see the following:
step 8
Validate that the networks are detected:

5 Reset Wi-Fi Driver Windows 11
Step 1
Finally it is possible to reset the adapter if no solution helps, for this we are going to:
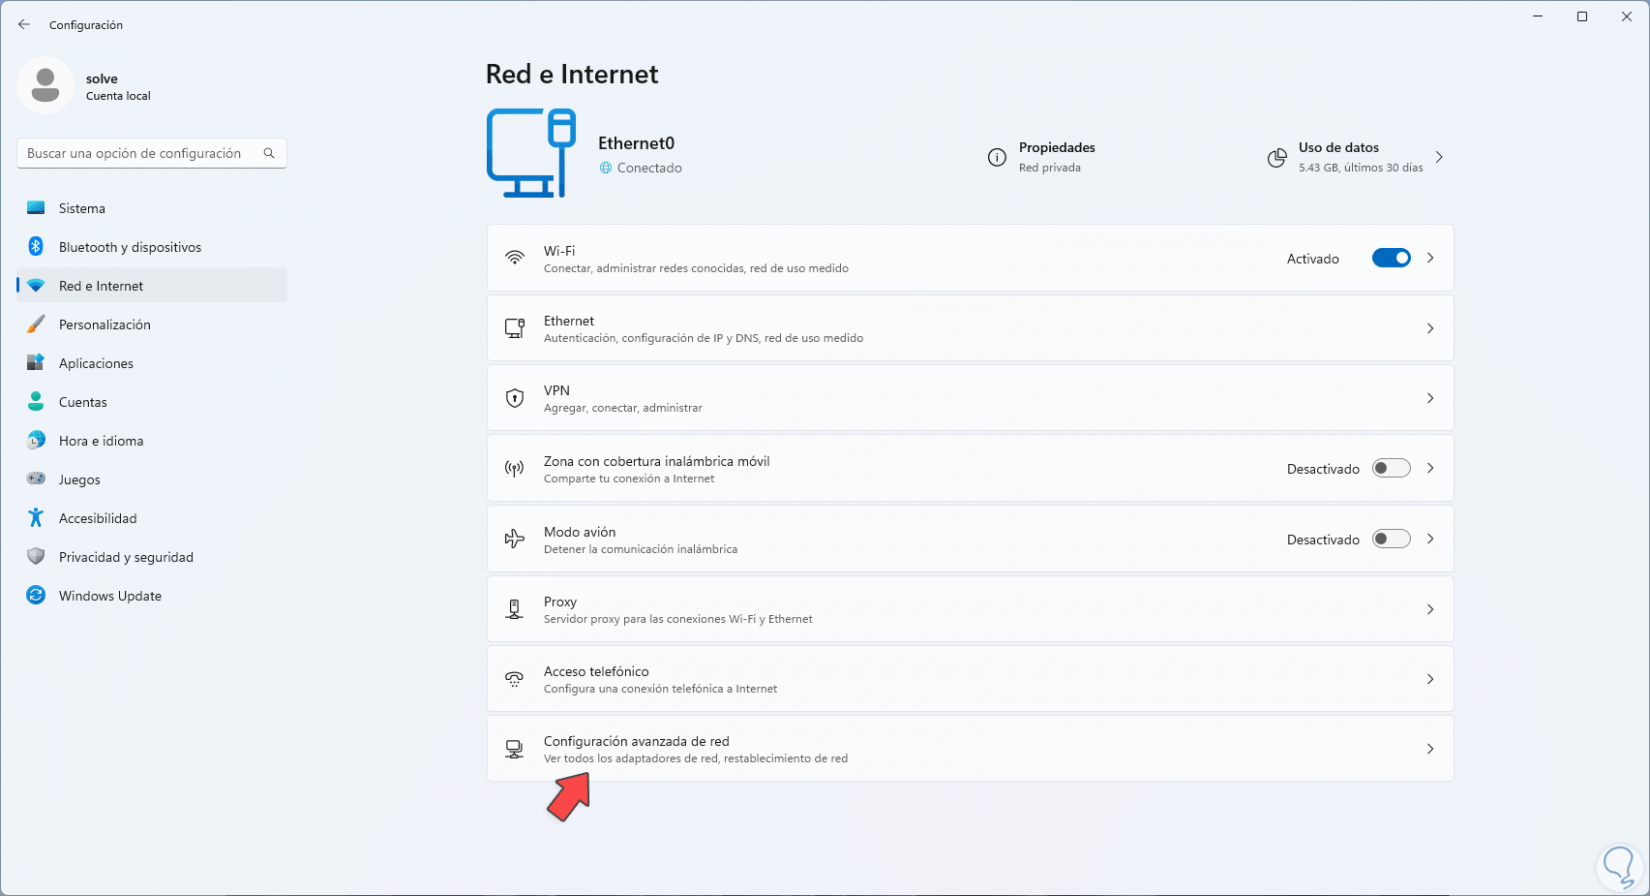
We click on "Advanced network settings"
Step 2
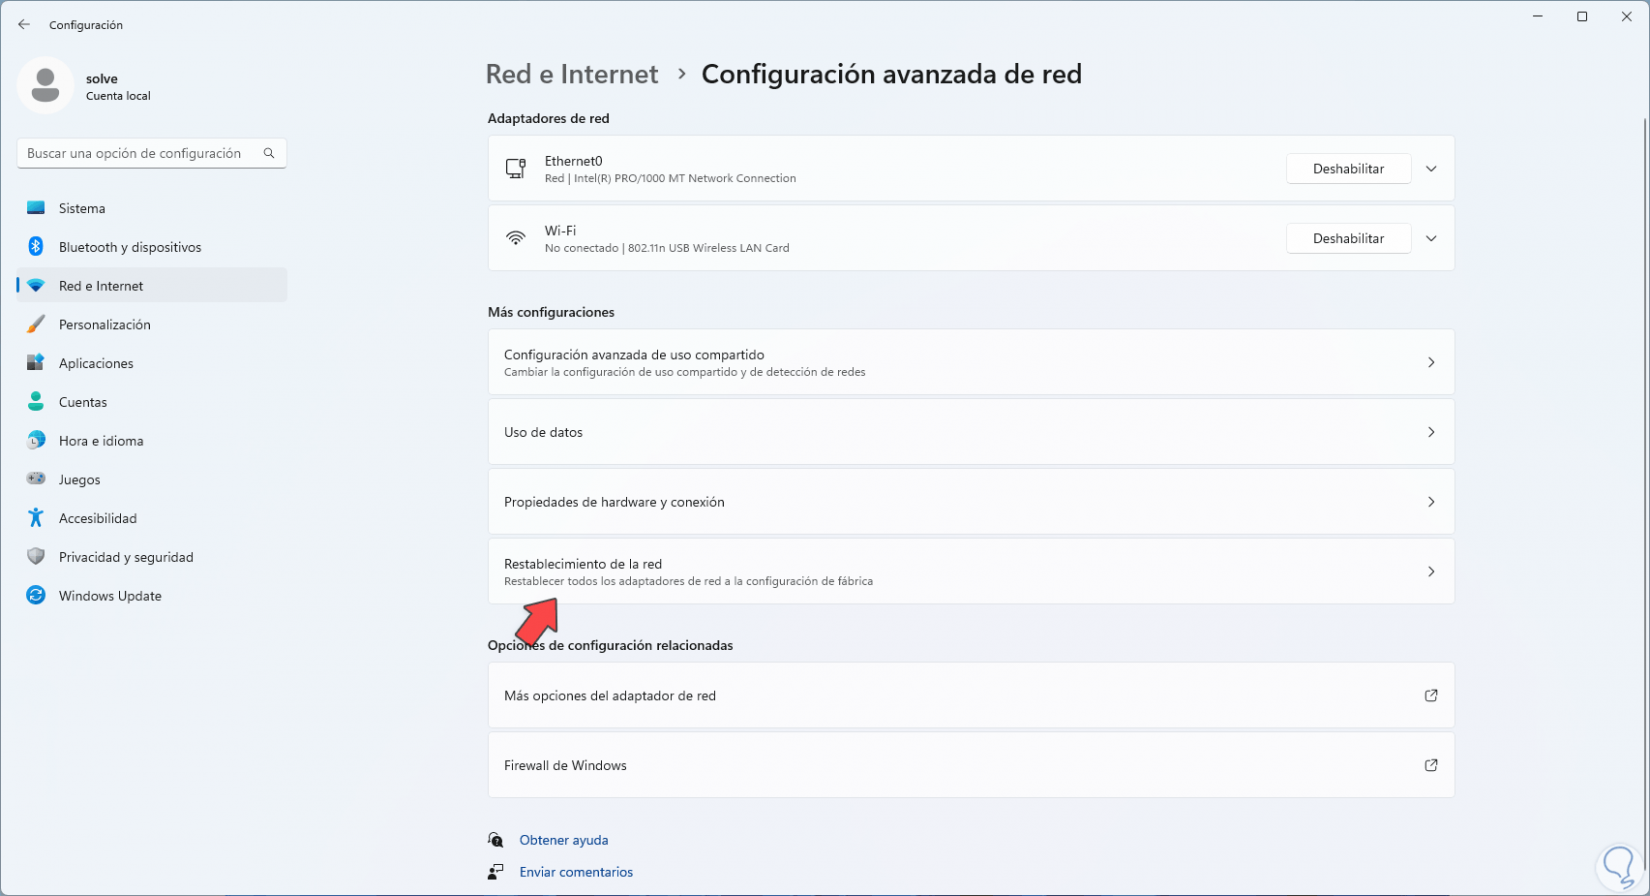
Then click on "Network reset":
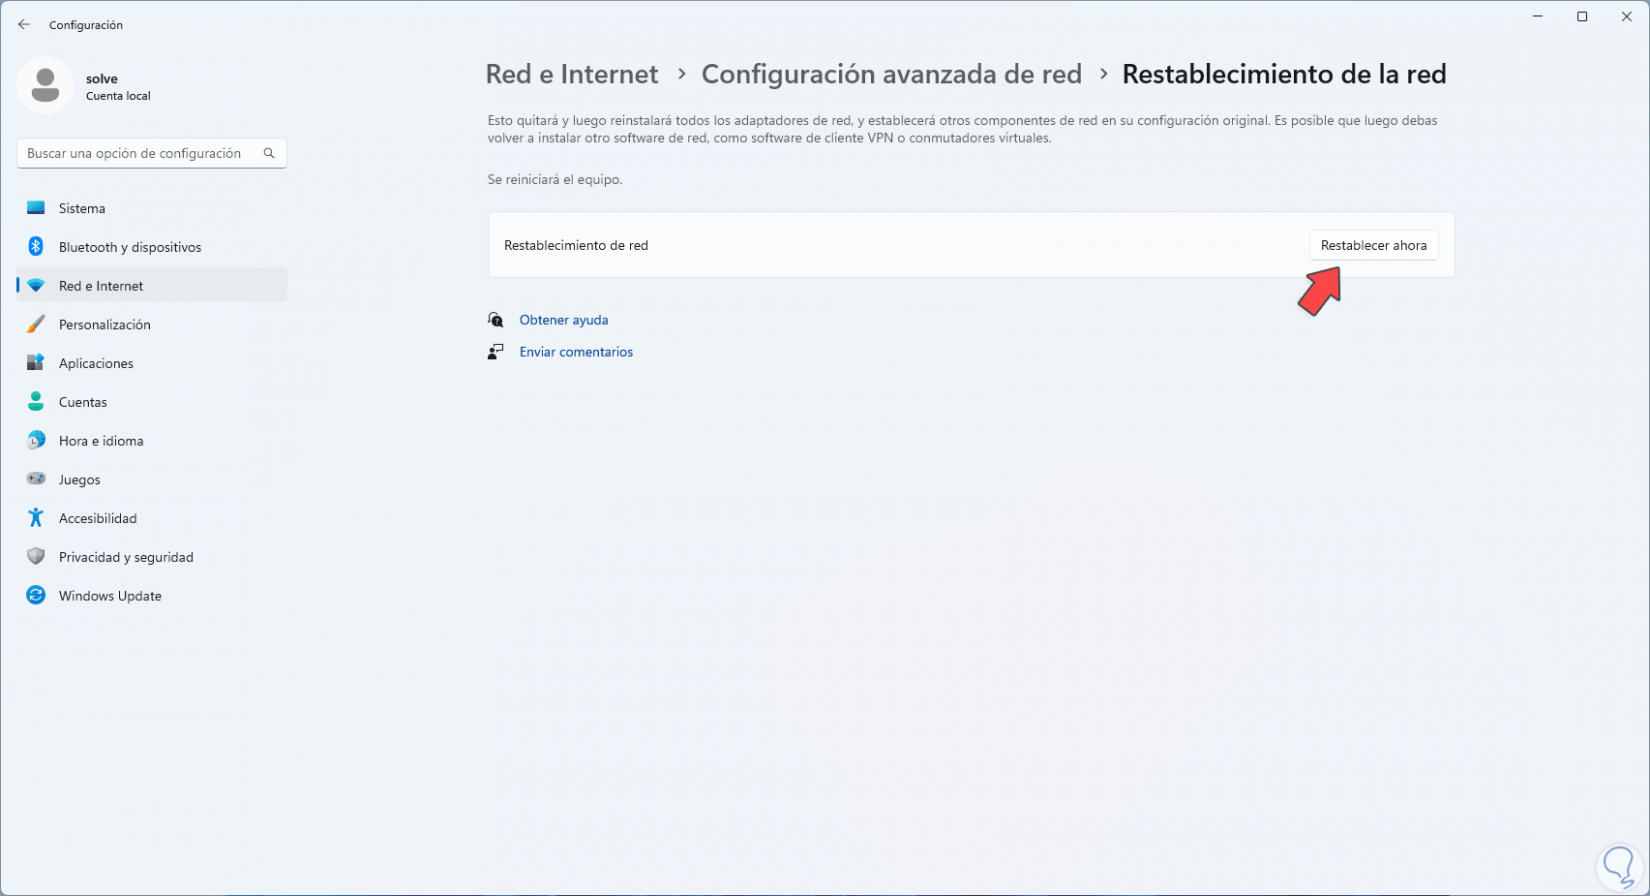
Step 3
Now we click on "Reset now":
Step 4
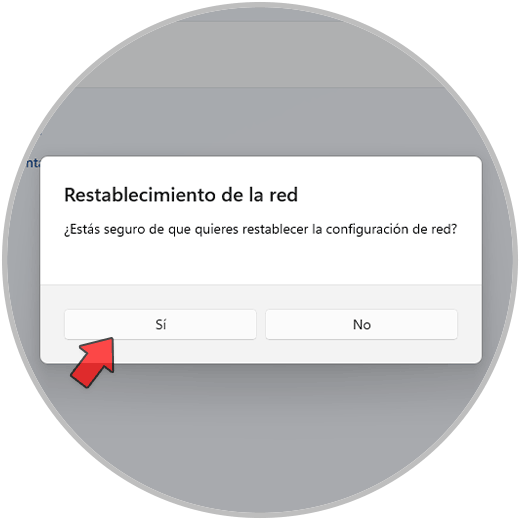
Confirm the process:
step 5
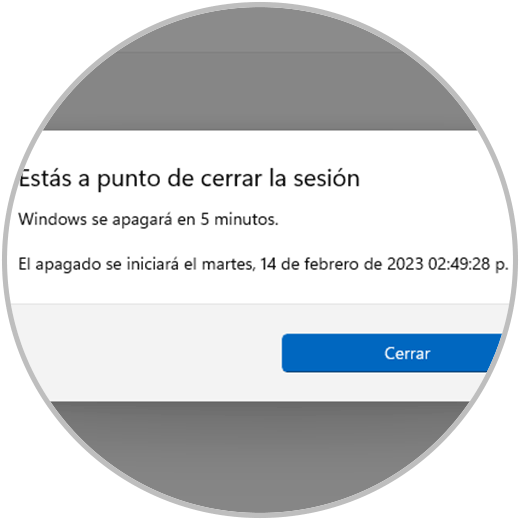
We will see the following window warning that the session will be closed:
step 6
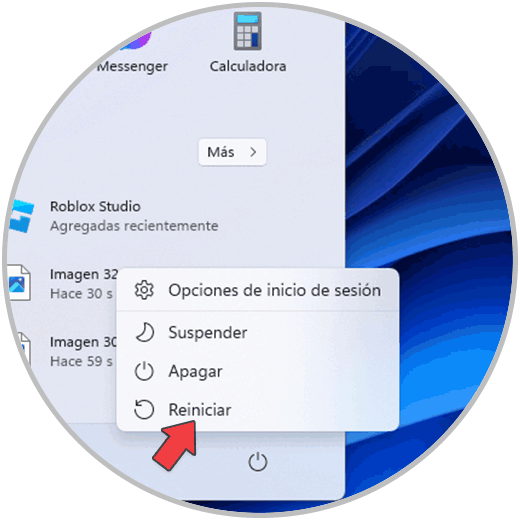
Restart Windows:
step 7
Windows will restart:

step 8
Confirm access to Wi-Fi networks:

These steps are essential to correct the error access to WiFi networks in Windows.