To stay up to date, remember to subscribe to our YouTube channel!
SUBSCRIBE ON YOUTUBE
Managing and administering data can be a complex task if you do not have the necessary tools to work on this data, which can be of various types, there are numerous platforms for data management and one of the most striking and well-known is SQLite..
SQLite has been created as a C language library which implements a stand-alone but highly reliable SQL database engine integrating the functions necessary for full data management.
SQLite is based on an integrated SQL database engine and what makes it different from other SQL databases like MySQL, PostgreSQL or SQL Server, is that SQLite does not have a separate server process, this allows it to read and write directly to disk files.
The SQLite database file format is available for various architectures and systems as it allows you to copy a database between 32-bit and 64-bit systems or between big-endian and little-endian architectures..
Features
Among the main features of SQLite we find:
- It supports ACID transactions (Atomicity, Consistency, Isolation, Durability) which guarantees that all database operations can be consistent and reliable.
- It does not require a complicated configuration.
- SQLite has a small memory footprint and low resource consumption.
- It is compatible with Windows, macOS, Linux, Android, iOS, etc. platforms.
- SQLite makes use of SQL (Structured Query Language) to manipulate and query the data stored in the database that is created.
- It has variable length records.
- SQL statements are compiled into virtual machine code.
- An SQLite database handles the form of a single ordinary disk file which makes it easy to locate anywhere in the system's directory hierarchy.
Now TechnoWikis will teach you how to install SQLite and for this case we will use Fedora 38.
How to install SQLite
Step 1
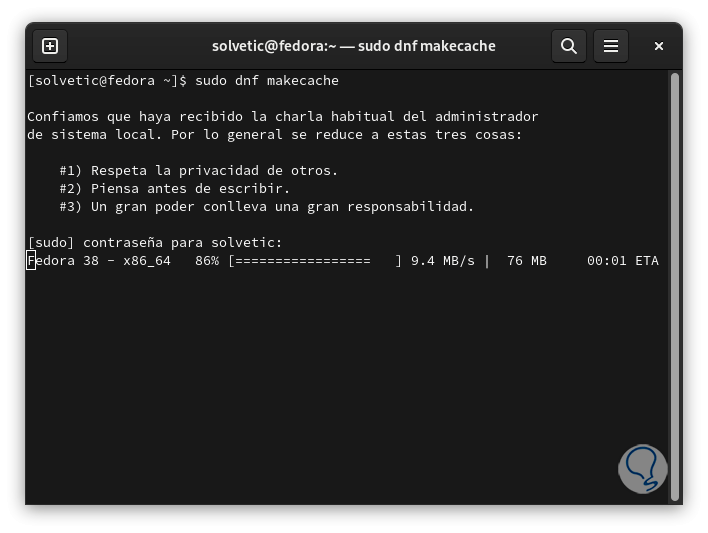
To start we are going to open the terminal and there execute the following command to update the system cache:
sudo dnf makecache
Step 2
We enter the password to start the process:
Step 3
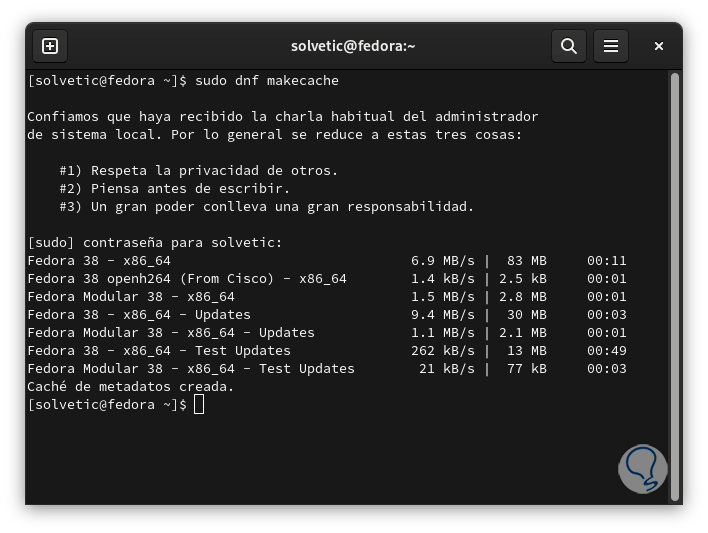
At the end we will see the following:
Step 4
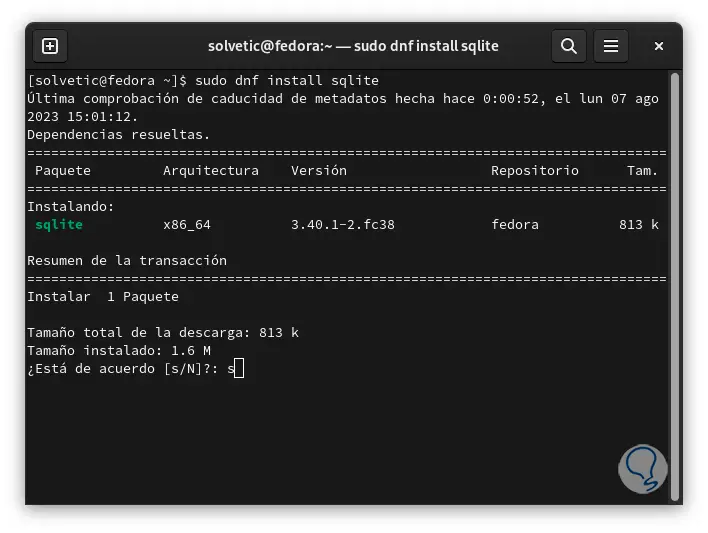
Now we are going to install SQLite with the command:
sudo dnf install sqlite
step 5
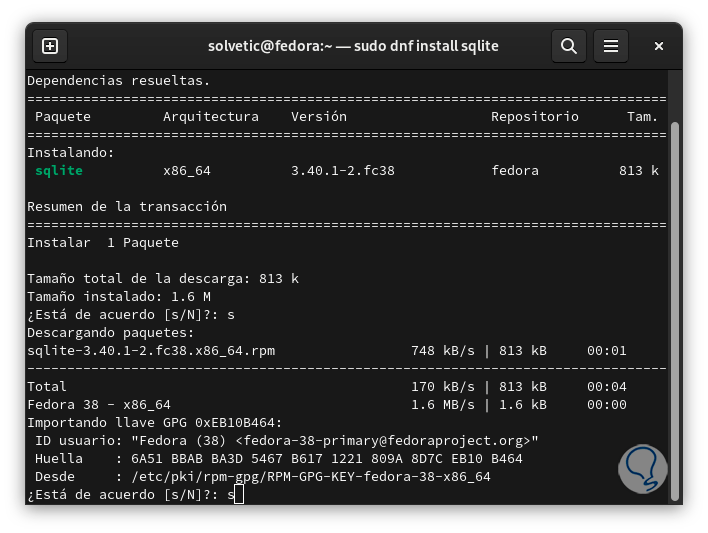
We enter the letter "s" to confirm the download and installation of SQLite in the system, during the process we will see the following:
step 6
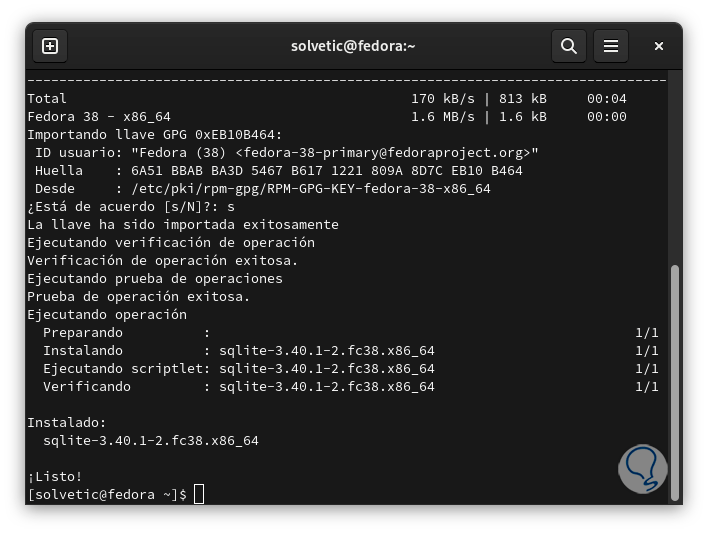
There we must accept the installation of the GPG key with the letter "s", we wait for the process to finish:
step 7
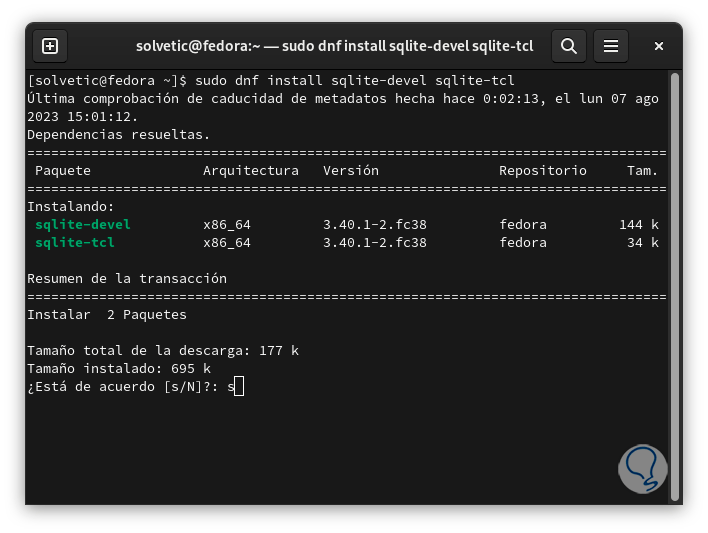
Now we install some additional packages with the following command:
sudo dnf install sqlite-devel sqlite-tcl
step 8
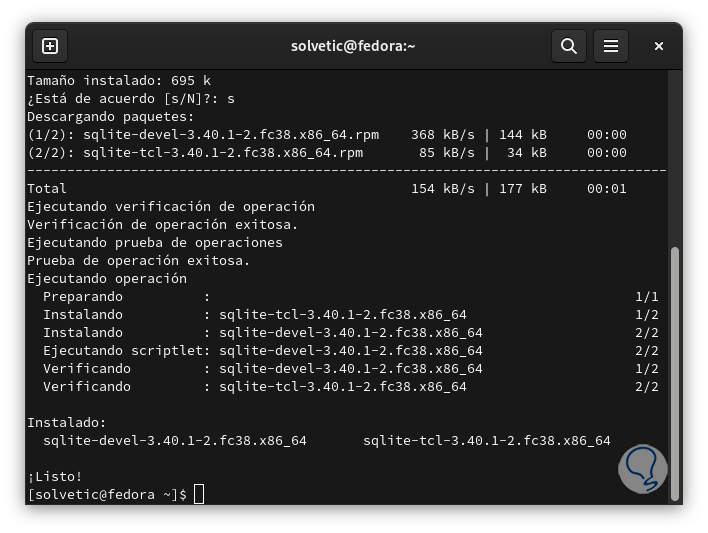
We confirm the download and installation. The "sqlite-devel" command is a package of SQLite development files and tools in which we find the header files, shared libraries, and more resources for compiling and linking applications that use SQLite. .
step 9
On the other hand “sqlite-tcl” allows us to interact with the SQLite library using scripts written in Tcl, it gives us the opportunity to access and manipulate these databases.
sqlite-tcl
step 10
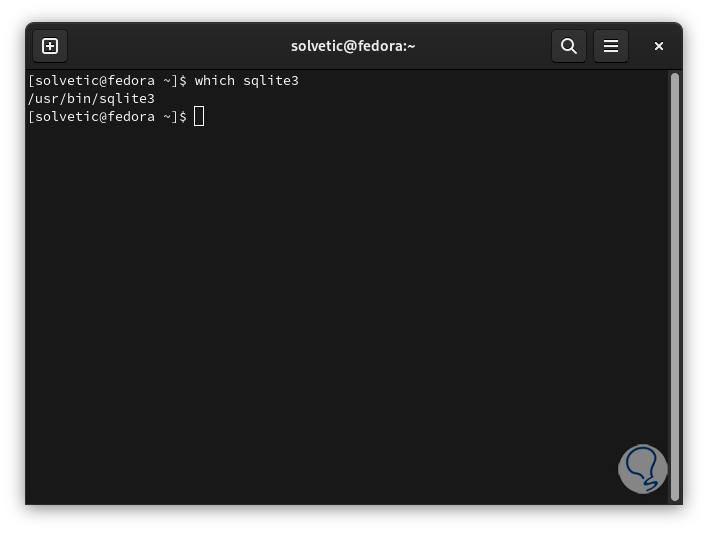
It is possible to check the path where SQLite is installed with the command:
which sqlite3
step 11
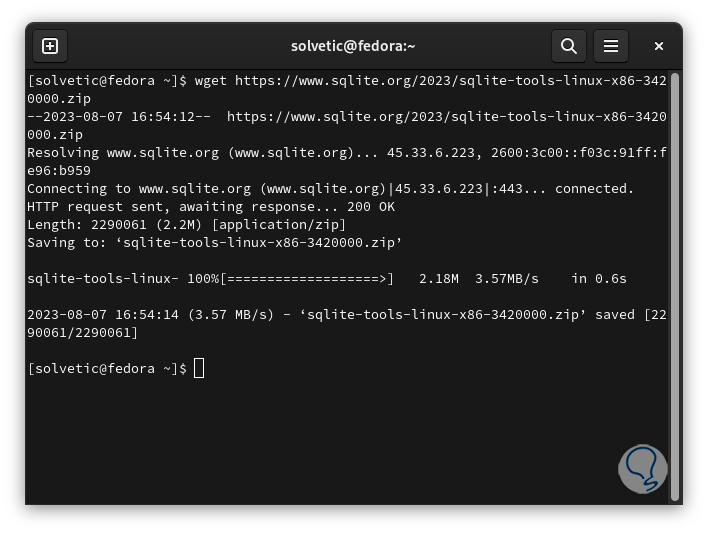
Now, if you do not want to use this installation method TechnoWikis will explain how to install SQL using extra methods, we can use the binaries, for this in the terminal we first execute the following to download the binaries:
wget https://www.sqlite.org/2023/sqlite-tools-linux-x86-3420000.zip
step 12
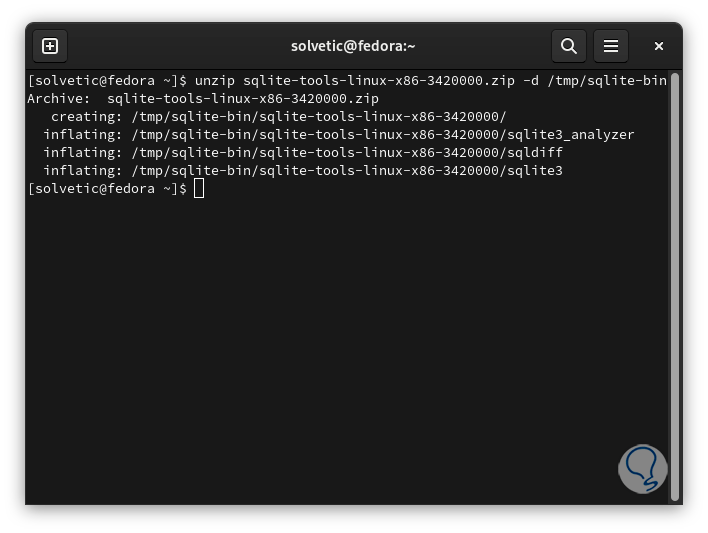
After this we extract the content by defining the location:
unzip sqlite-tools-linux-x86-3420000.zip -d /tmp/sqlite-bin
step 13
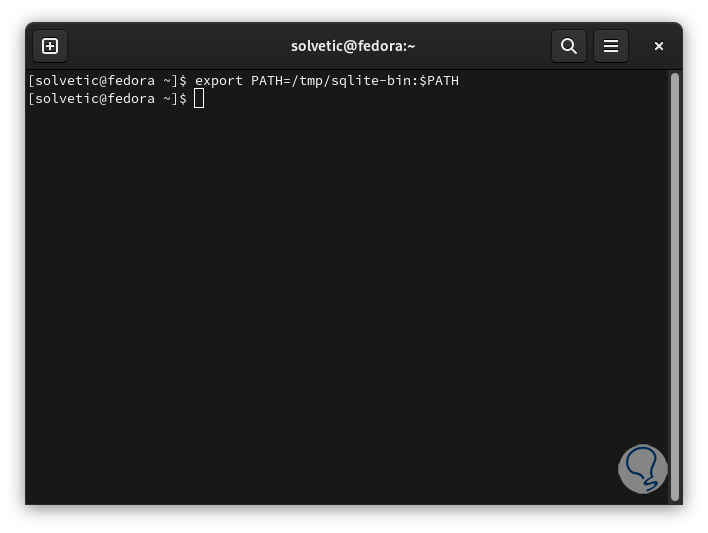
Now let's add the variable:
export PATH=/tmp/sqlite-bin:$PATH
step 14
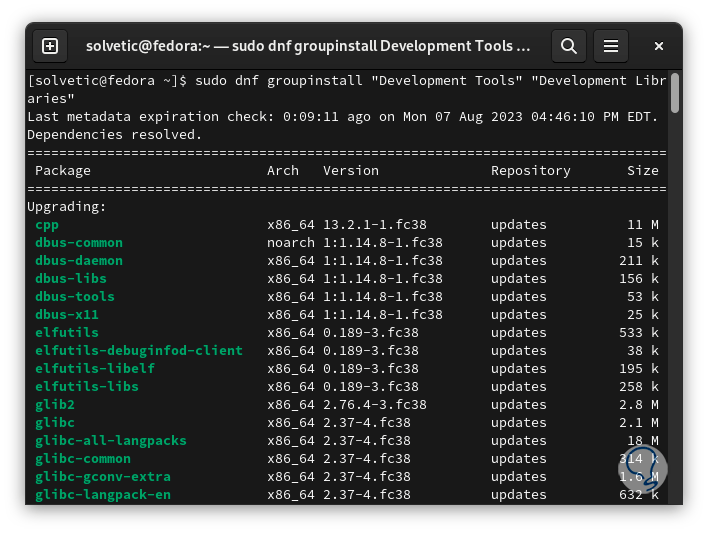
Another method is to use the SQLite sources, for this we first download the necessary utilities:
sudo dnf groupinstall "Development Tools" "Development Libraries"
step 15
We will see the following:
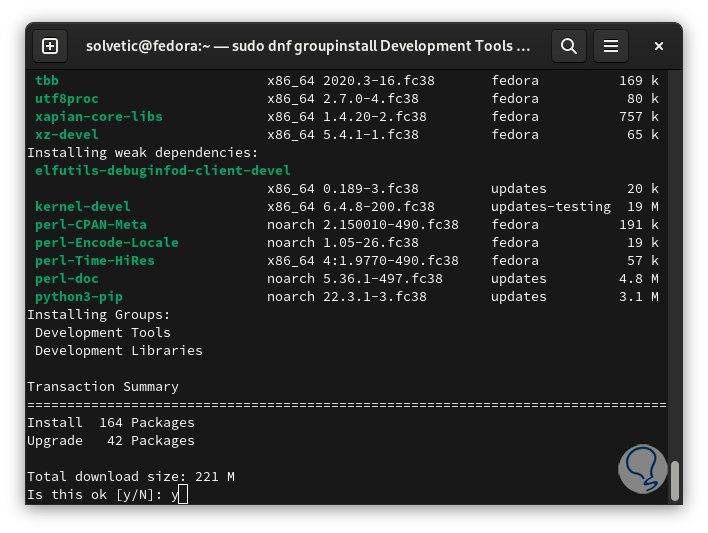
step 16
We confirm the process with the letter "y" and wait for it to finish:
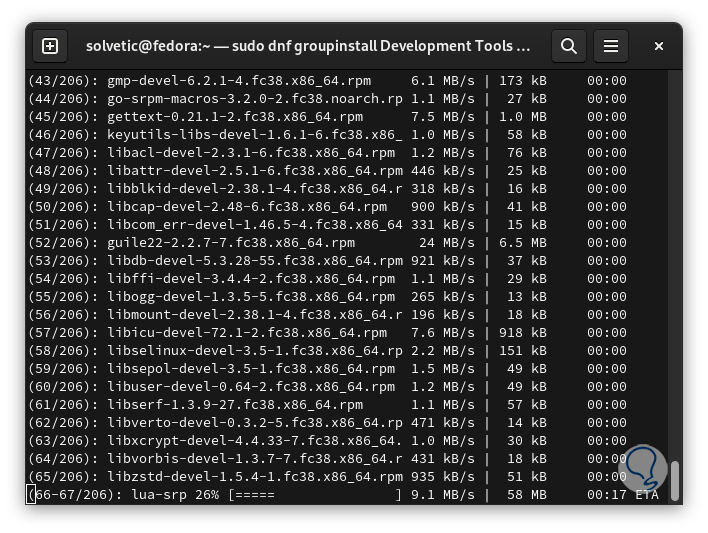
step 17
At the end we will see the following:
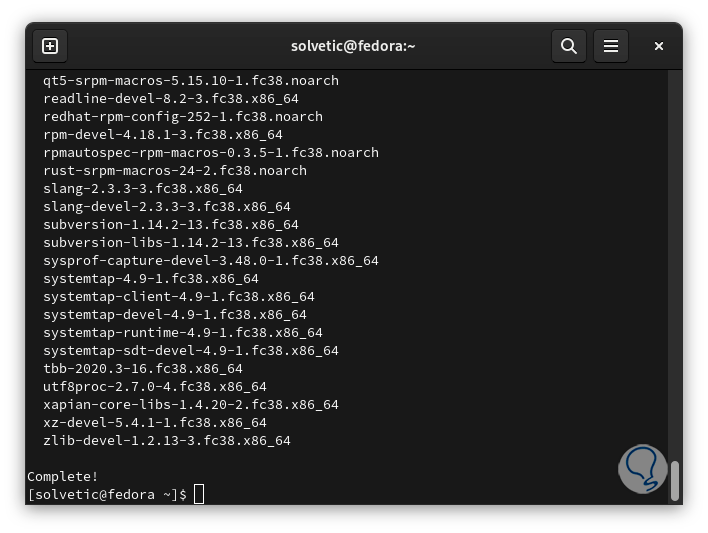
step 18
Now we download the SQLite code:
wget https://www.sqlite.org/2023/sqlite-autoconf-3420000.tar.gz
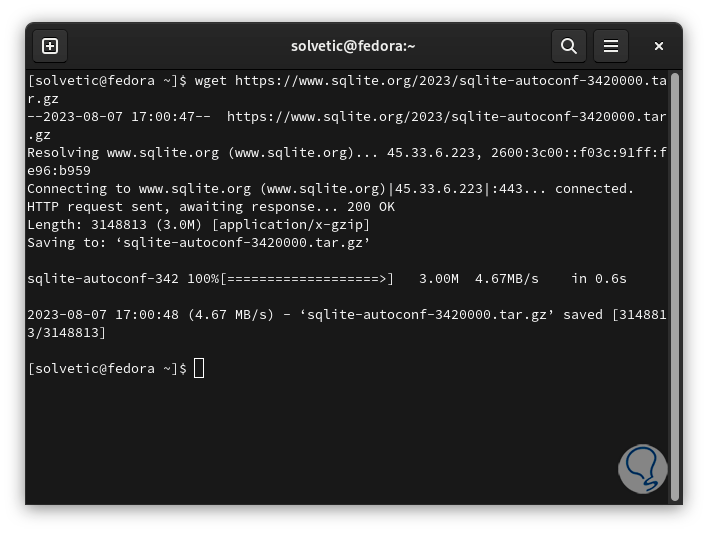
step 19
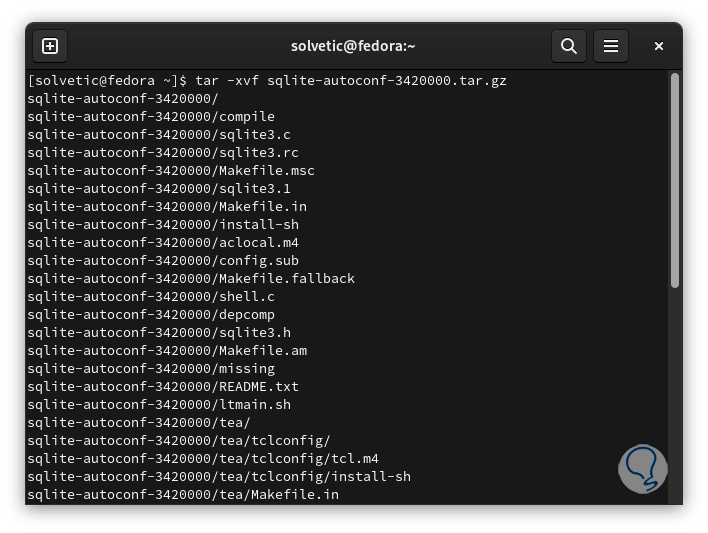
We extract this file:
tar -xvf sqlite-autoconf-3420000.tar.gz
step 20
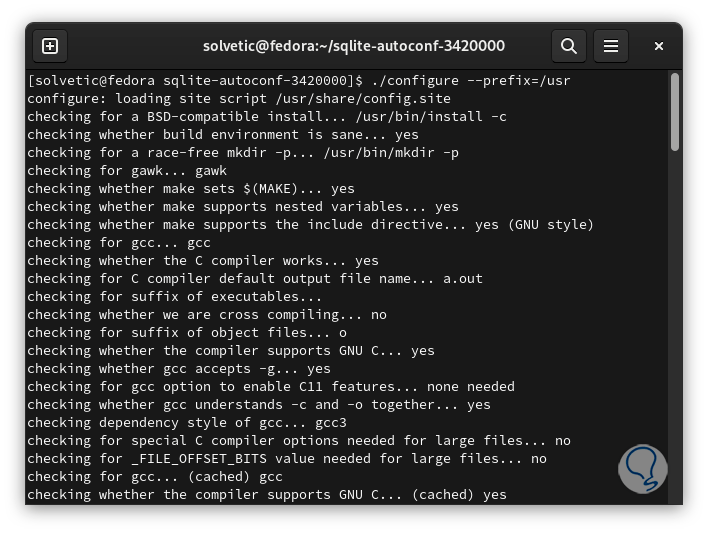
Now we run the configuration script:
sudo ./configure --prefix=/usr
step 21
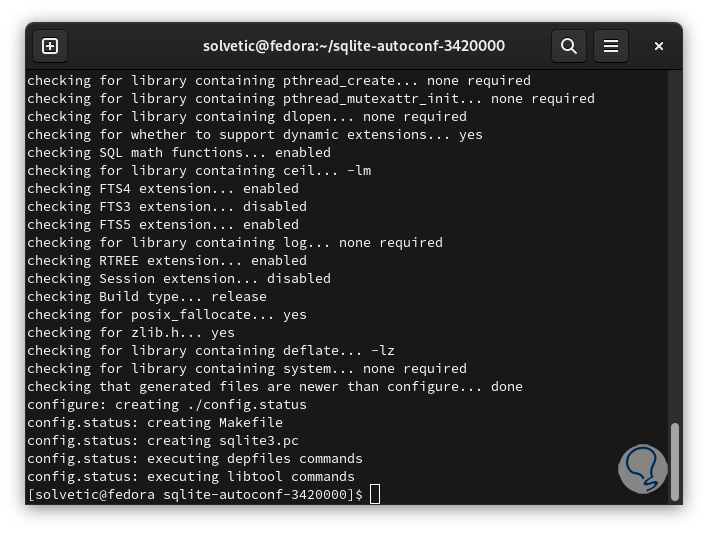
At the end we will see this:
step 22
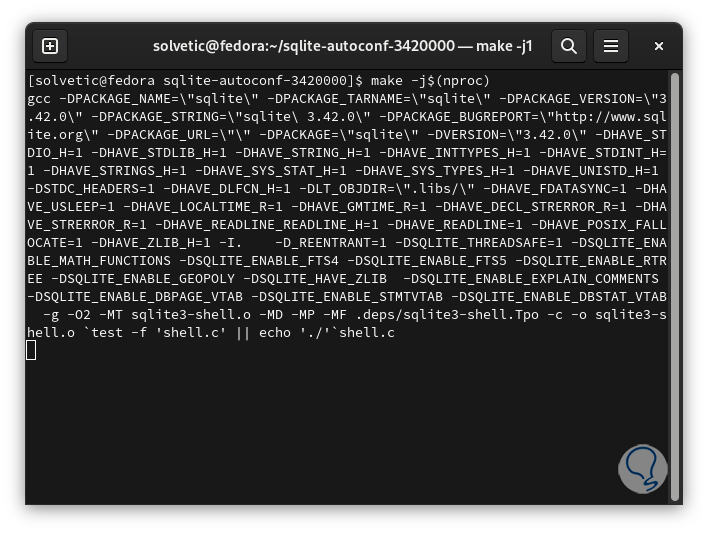
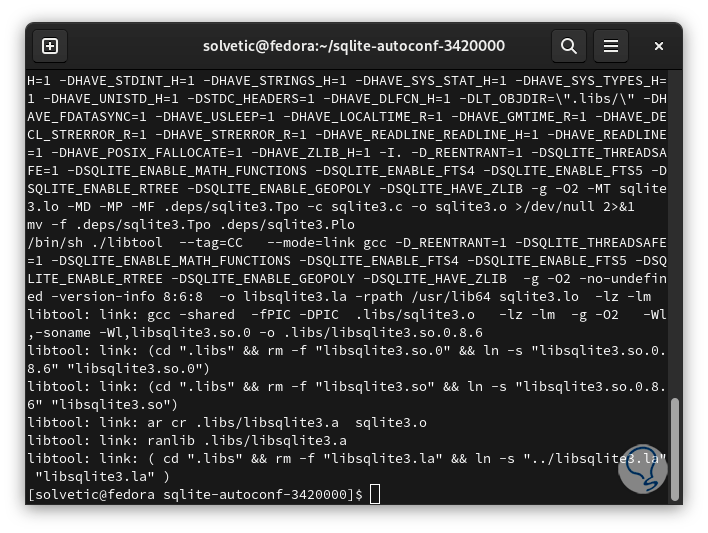
We compile the resource:
make -j$(nproc)
Step 23
When this process is finished we will see this:
step 24
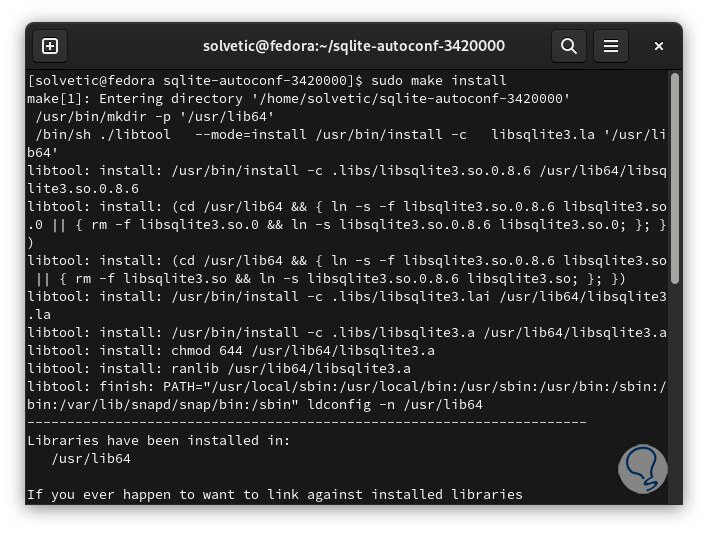
We carry out the installation:
sudo make install
step 25
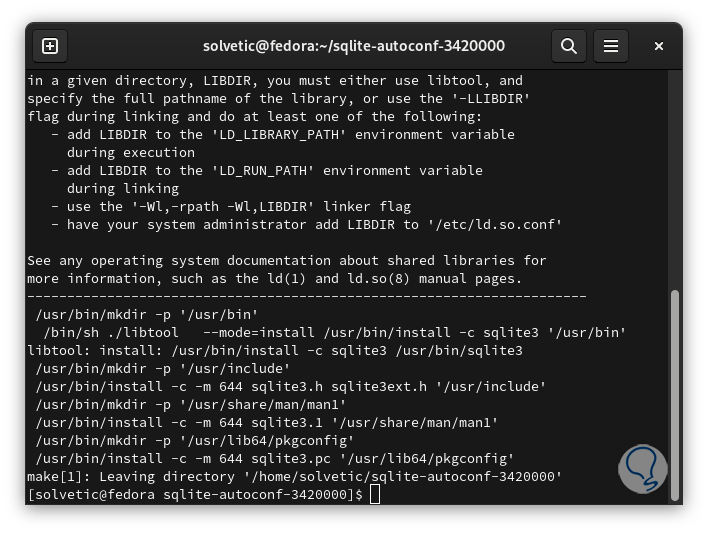
We hope it reaches its end:
step 26
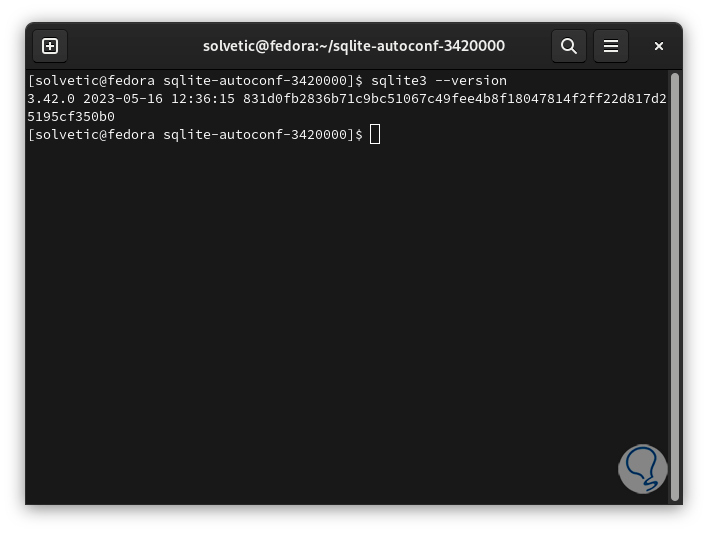
In all cases we can check the version of SQLite by running:
sqlite3 --version
step 27
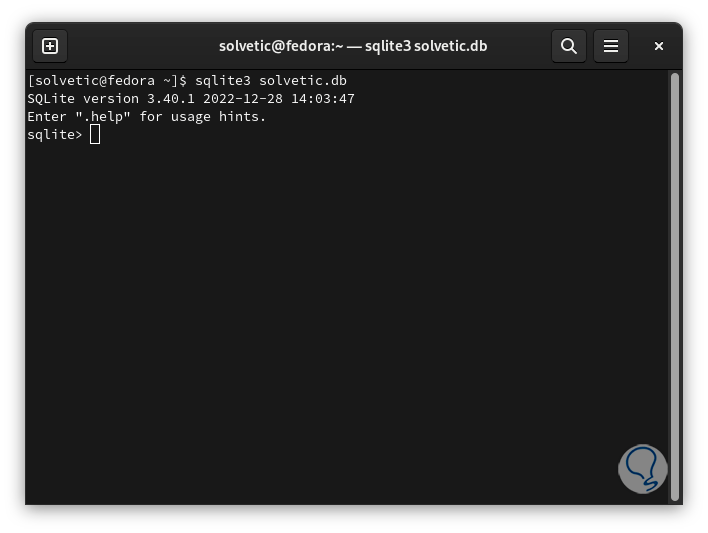
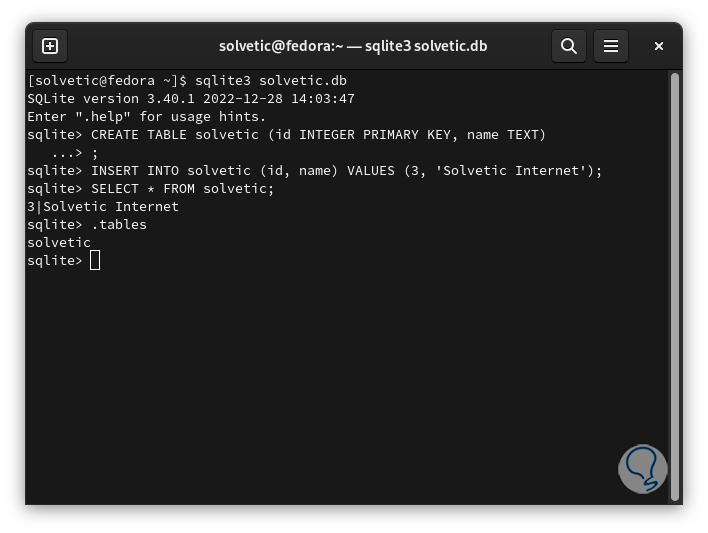
Now create a database using the following syntax:
sqlite3 <db_name>.db
Step 28
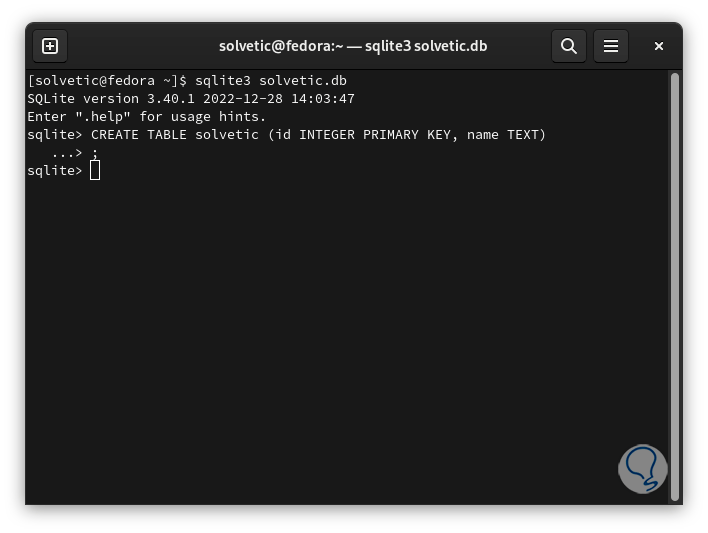
We create our table by running:
CREATE TABLE “base” (id INTEGER PRIMARY KEY, name TEXT);
Step 29
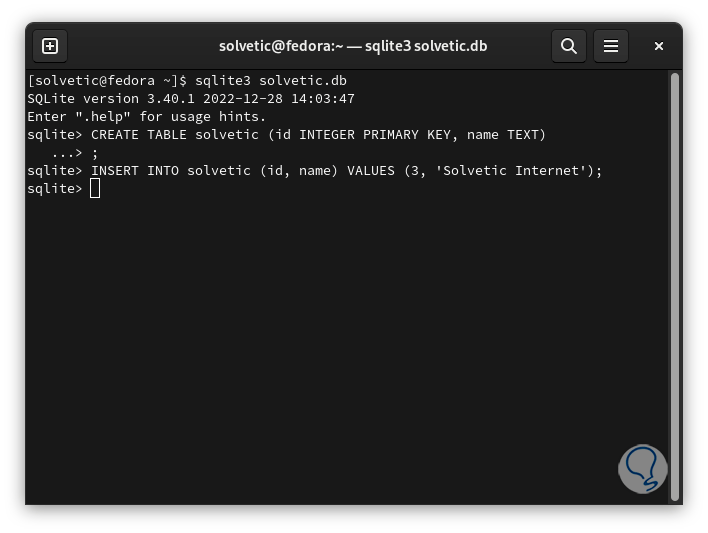
We will see two columns that are "id" and "name", in the "id" column the integer values are stored and works as the primary key and the "name" column stores the strings to use. We can insert data into the table using the syntax:
INSERT INTO (base) (id, name) VALUES (#, 'information');
step 30
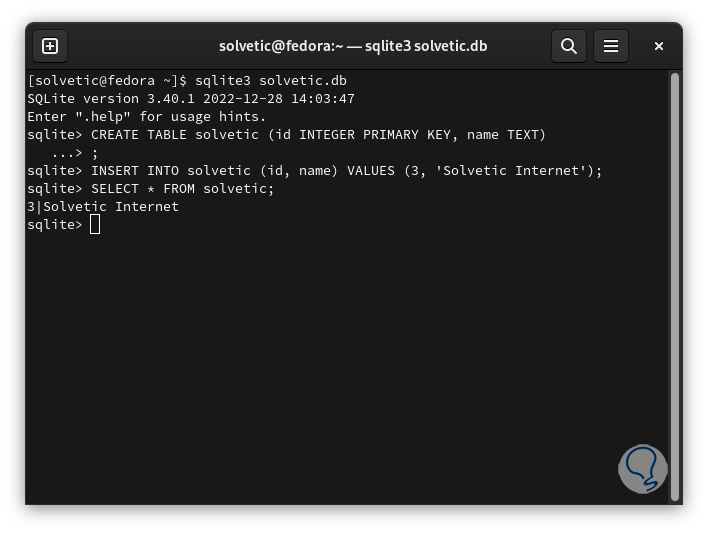
We will see the result by executing:
SELECT * FROM (base);
step 31
We list the current tables of the database: To exit the SQLite console we execute “.exit”.
.tables
step 32
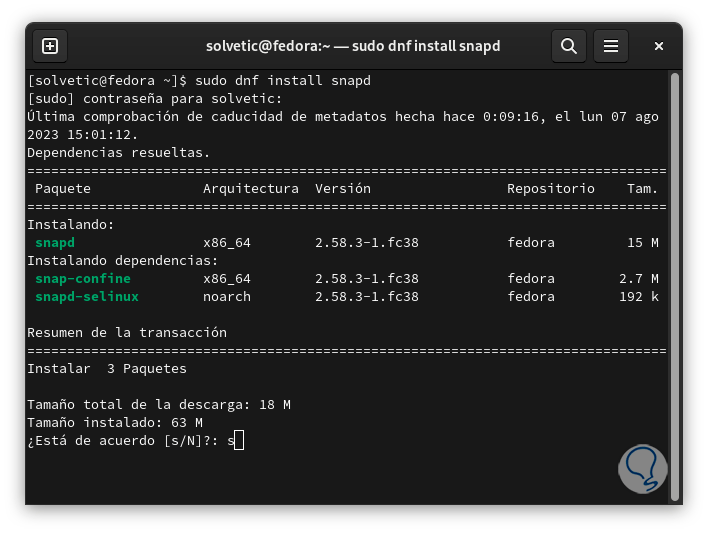
Now TechnoWikis will teach you how to graphically manage the SQLite database, for this in the terminal execute:
sudo dnf install snapd
Step 33
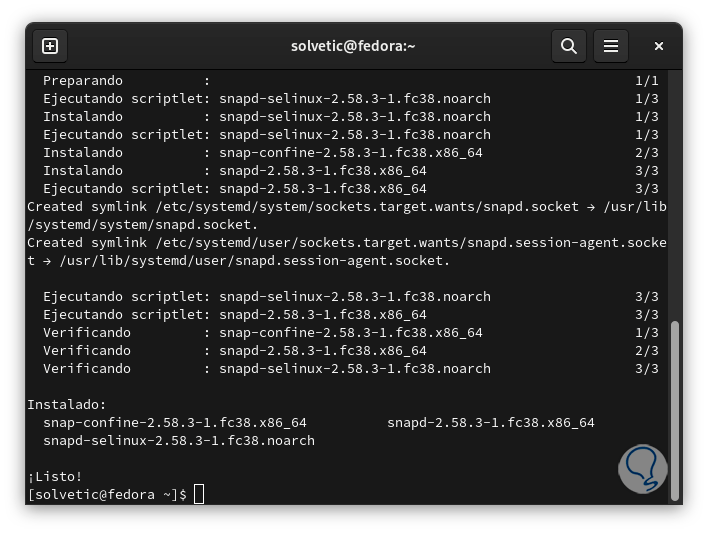
We confirm the process and wait for it to finish:
Step 34
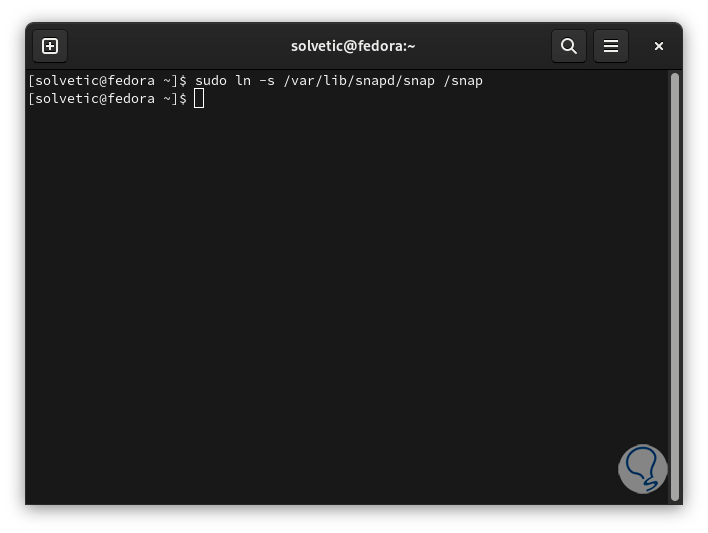
We enable the snap by creating a symbolic link:
sudo ln -s /var/lib/snapd/snap /snap
step 35
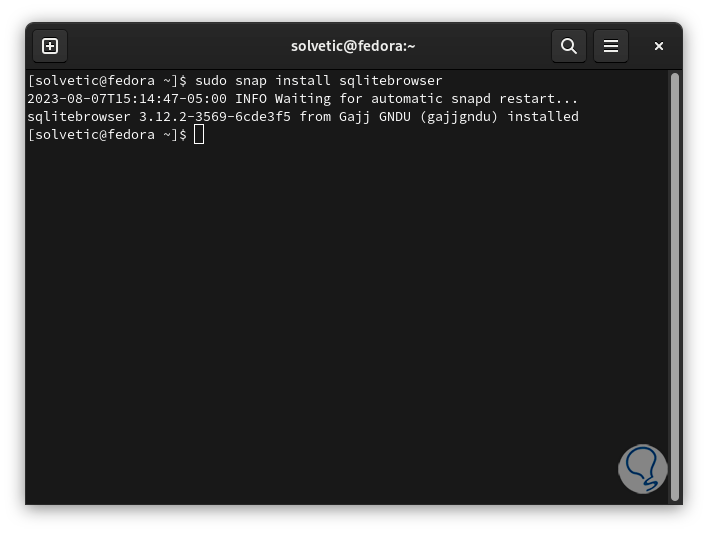
We install the plugin:
sudo snap install sqlitebrowser
Step 36
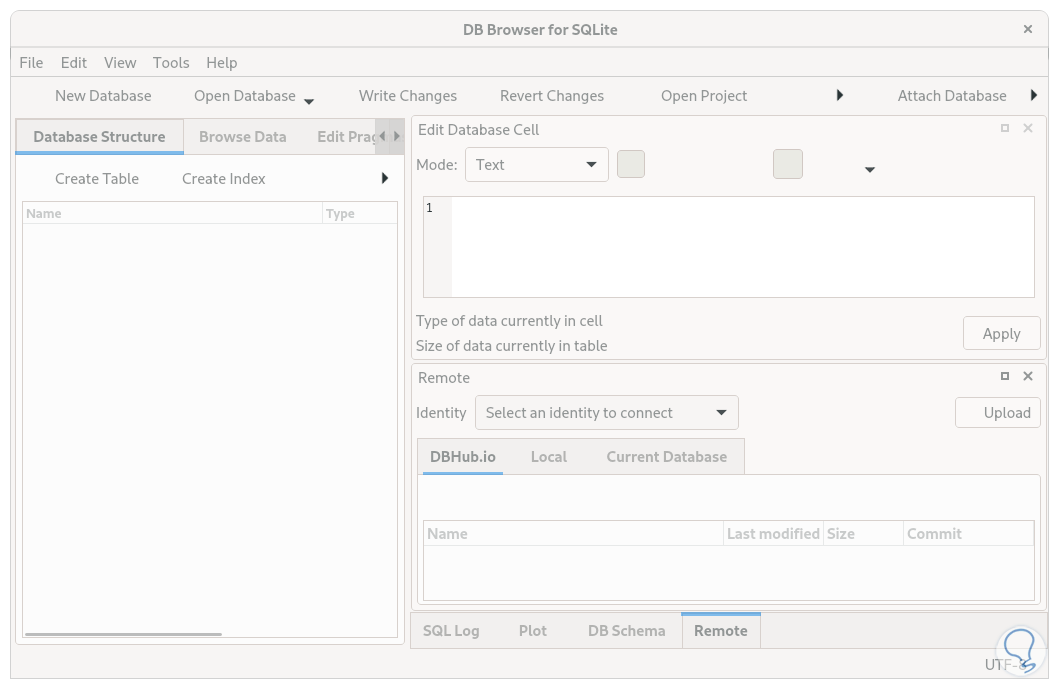
We run “sqlitebrowser” to open the GUI environment:
Step 37
From there it is possible to manage the SQLite databases:
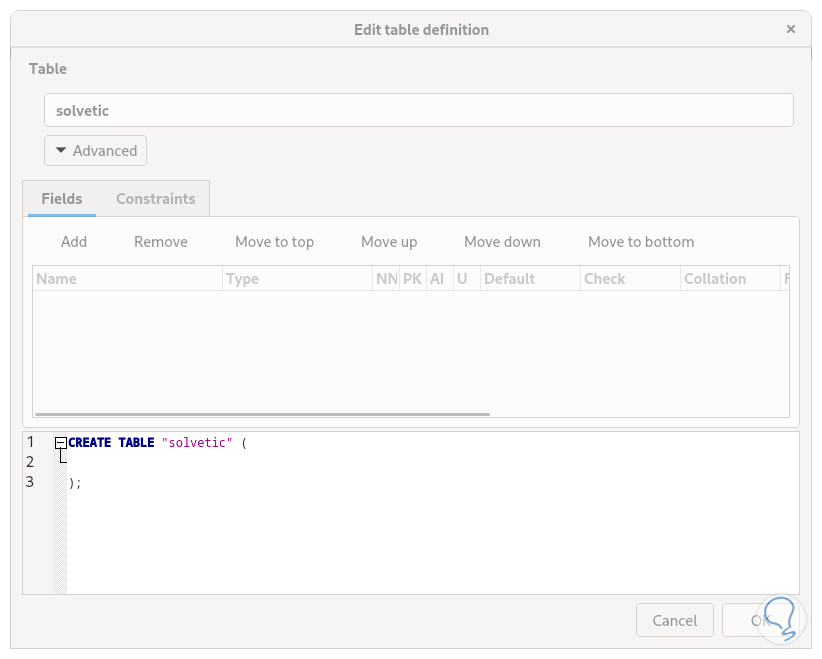
Thus it is possible to install and use SQLite on Fedora and fully manage the databases..