Establishing communication between teams has been one of the most common tasks but at the same time one of the most delicate since for many reasons the data that is transferred can be violated, this directly affects the privacy and availability of information for the user..
Within this entire environment we find an application that has been developed to help us optimize all communication in a secure way and it is Putty, this tool gives us the possibility of connecting to remote servers and devices using various protocols such as SSH and Telnet, with Putty It will be possible to remotely access GUI applications using SSH servers.
Characteristics
Among its functions and characteristics we find:
- It has various encryption and authentication options in order to guarantee the security of the connections.
- Allows you to configure and save connection profiles for faster access to frequent servers.
- It has support for multiple communication protocols such as SSH, Telnet, rlogin, and serial.
- Allows secure file transfers using SCP and SFTP (through tools such as PSCP and PSFTP).
- It offers us terminal emulation where it will be possible to simulate different types of terminals such as VT100 or xterm.
Now TechnoWikis will explain different ways to install Putty on Linux, in this case we will use Ubuntu..
1 How to install Putty from Terminal
Step 1
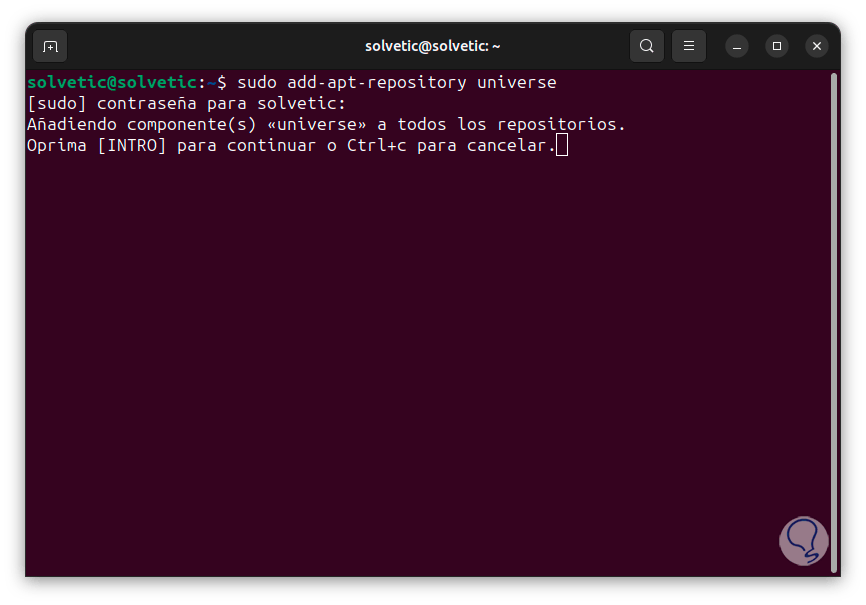
This is one of the traditional and simplest methods to install Putty, for this we open the Linux terminal, then, we are going to add a repository to have access to the tool, we execute the command:
sudo add-apt-repository universe
Step 2
We enter the password and we will see the following:
Step 3
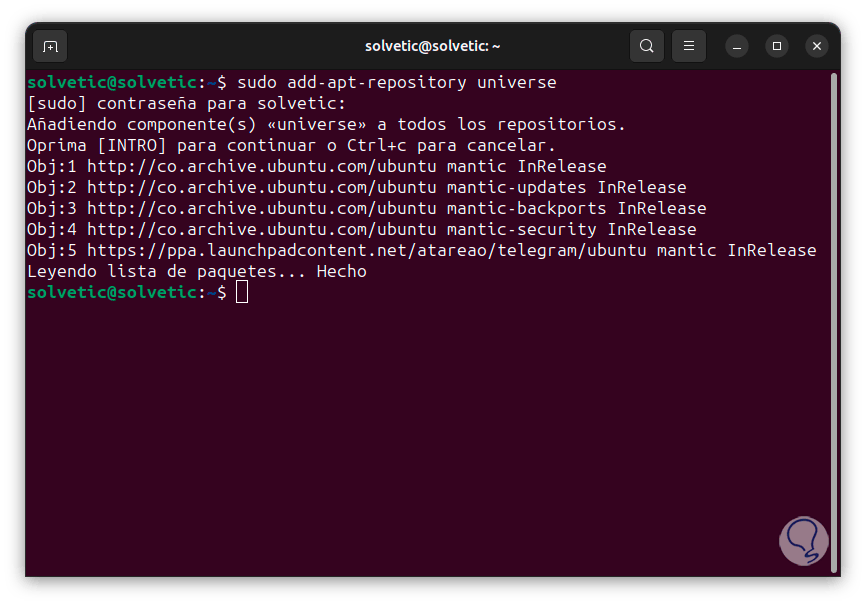
There we press the Enter key to proceed with downloading the repository:
Step 4
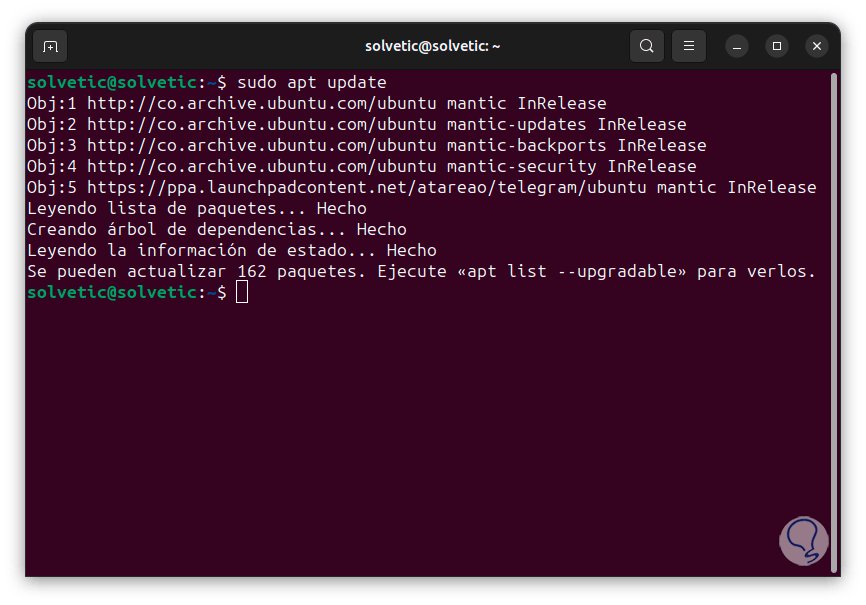
Now, we update the system with the command:
sudo apt update
Step 5
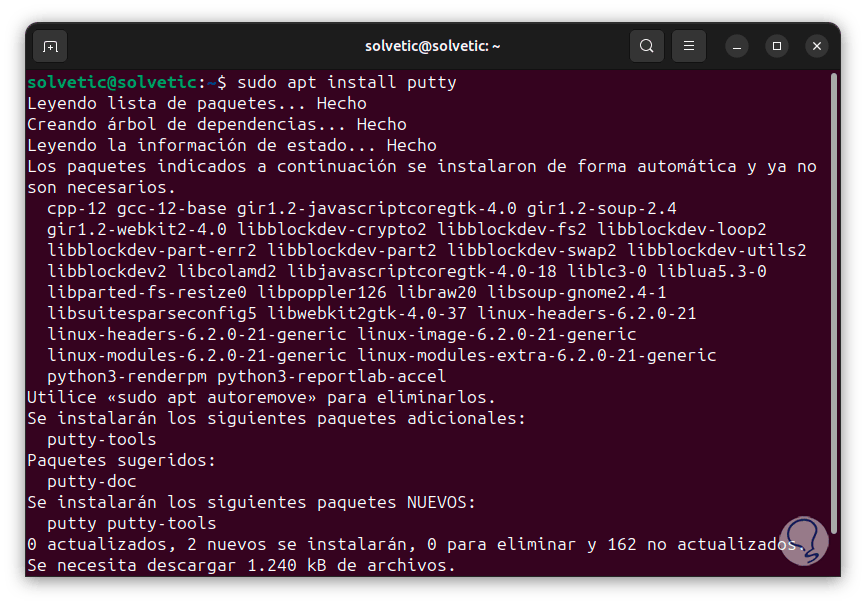
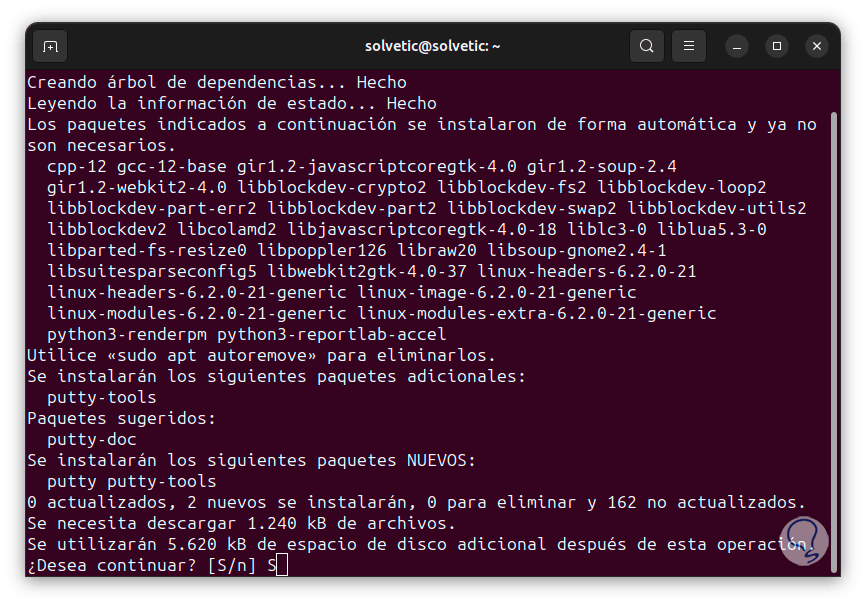
After this, we are going to install Putty with the following command:
sudo apt install putty
Step 6
It will be necessary to enter the letter S to confirm this process:
Step 7
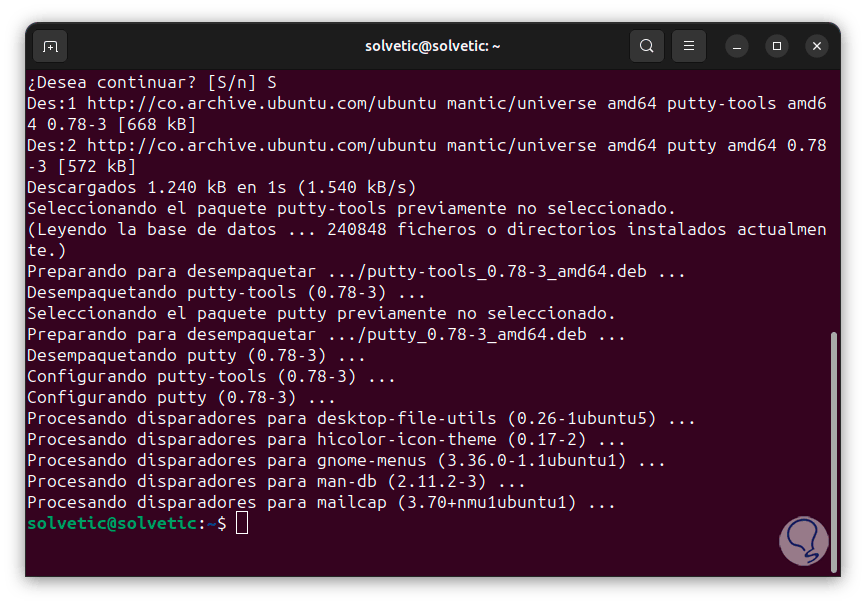
We hope that the process reaches its end:
Step 8
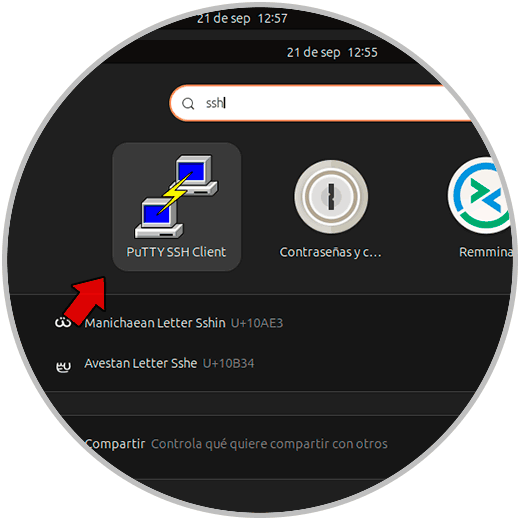
After this, we open Putty from activities:
Step 9
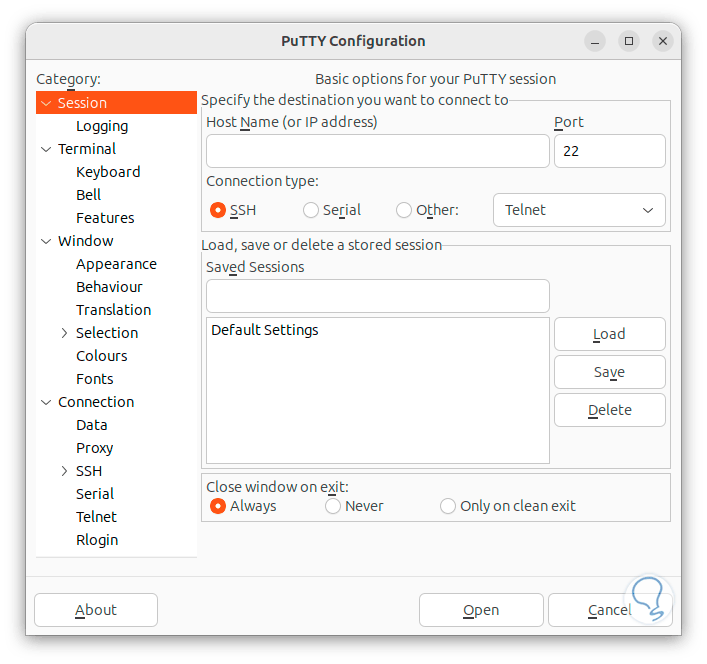
We will see the application in operation:
Step 10
For other editions of Linux we can use the following commands:
Debian: sudo apt-get install putty CentOS: sudo yum install putty ArchLinux: sudo pacman -S putty
2 How to install Putty in graphical mode
Another option we have to install Putty is through a package manager such as Synaptic.
Step 1
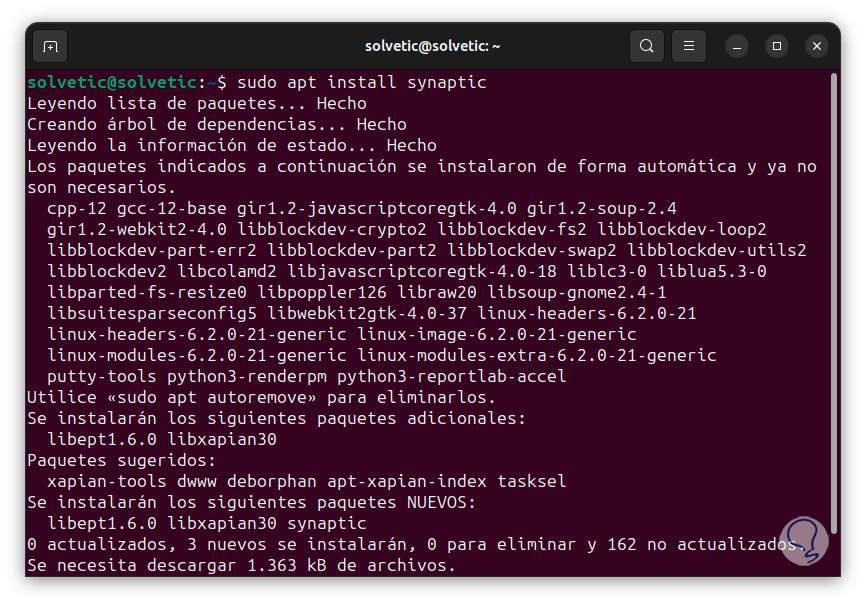
Synaptic is a package manager based on a graphical environment, to use it we will install the tool with the following command:
sudo apt install synaptic
Step 2
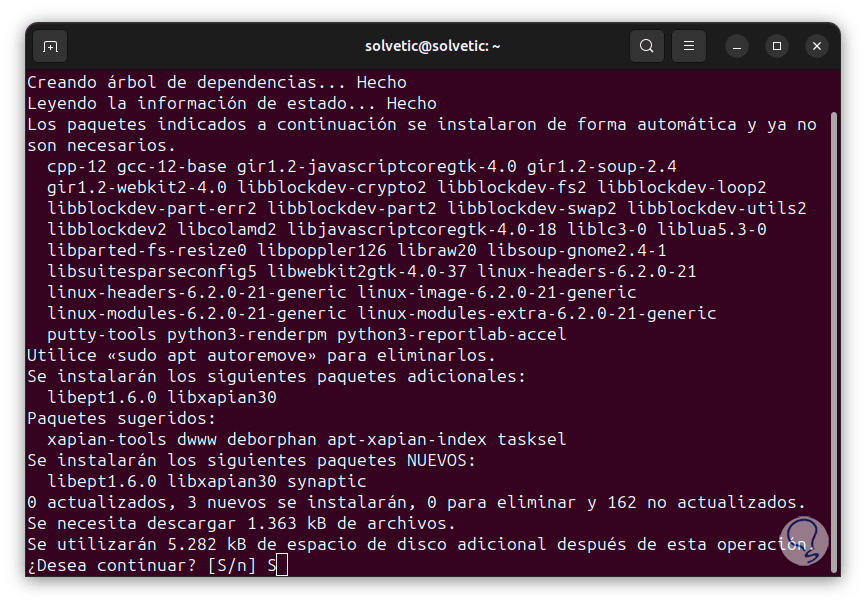
Now we confirm the download and installation with the letter S:
Step 3
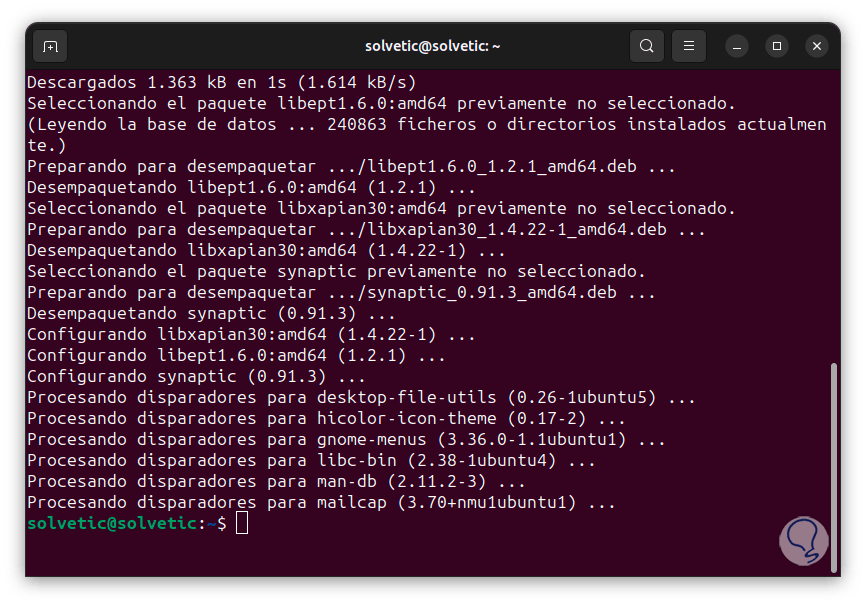
We hope that this process reaches its end:
Step 4
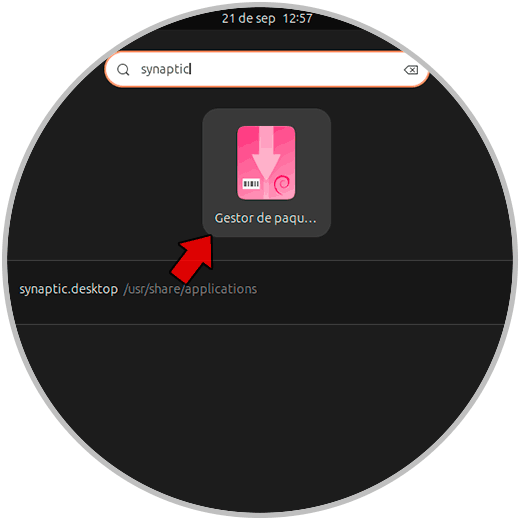
Now, from Activities we open the manager:
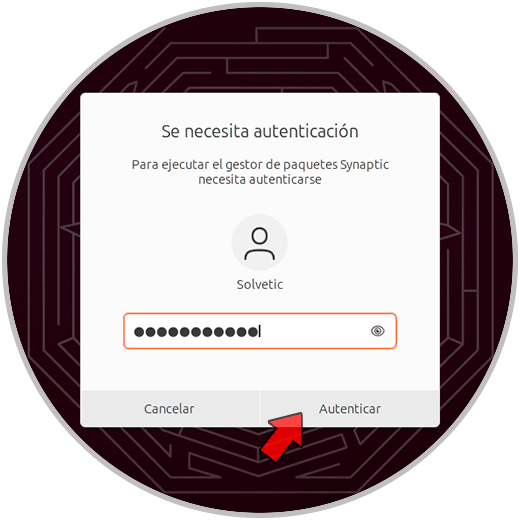
Step 5
We must enter the administrator password:
Step 6
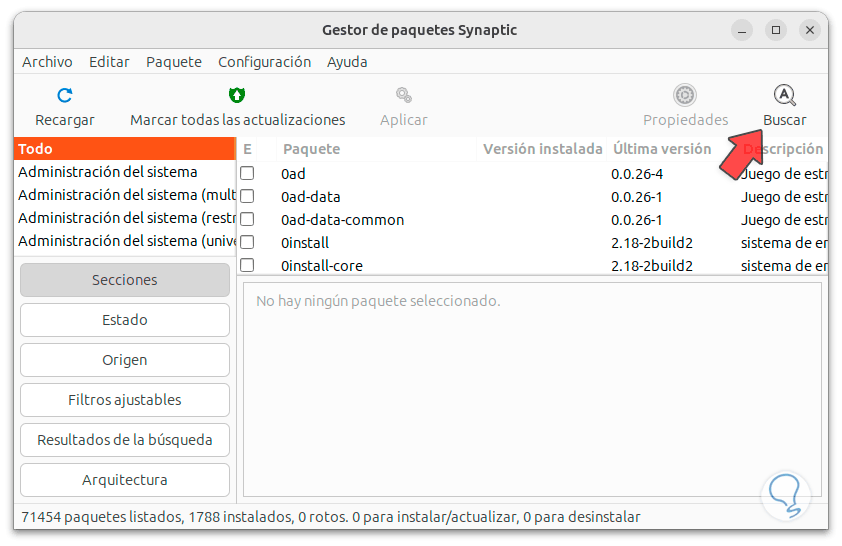
We will see the following:
Step 7
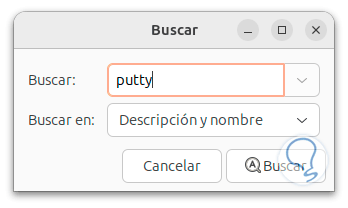
There we click on “Search”, then, in the pop-up window, we enter “putty”:
Step 8
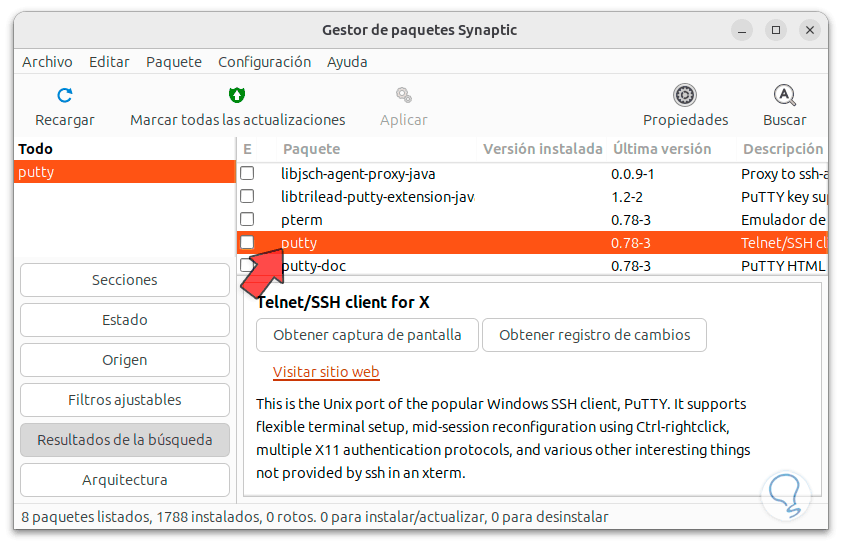
We click on “Search” to access the results:
Step 9
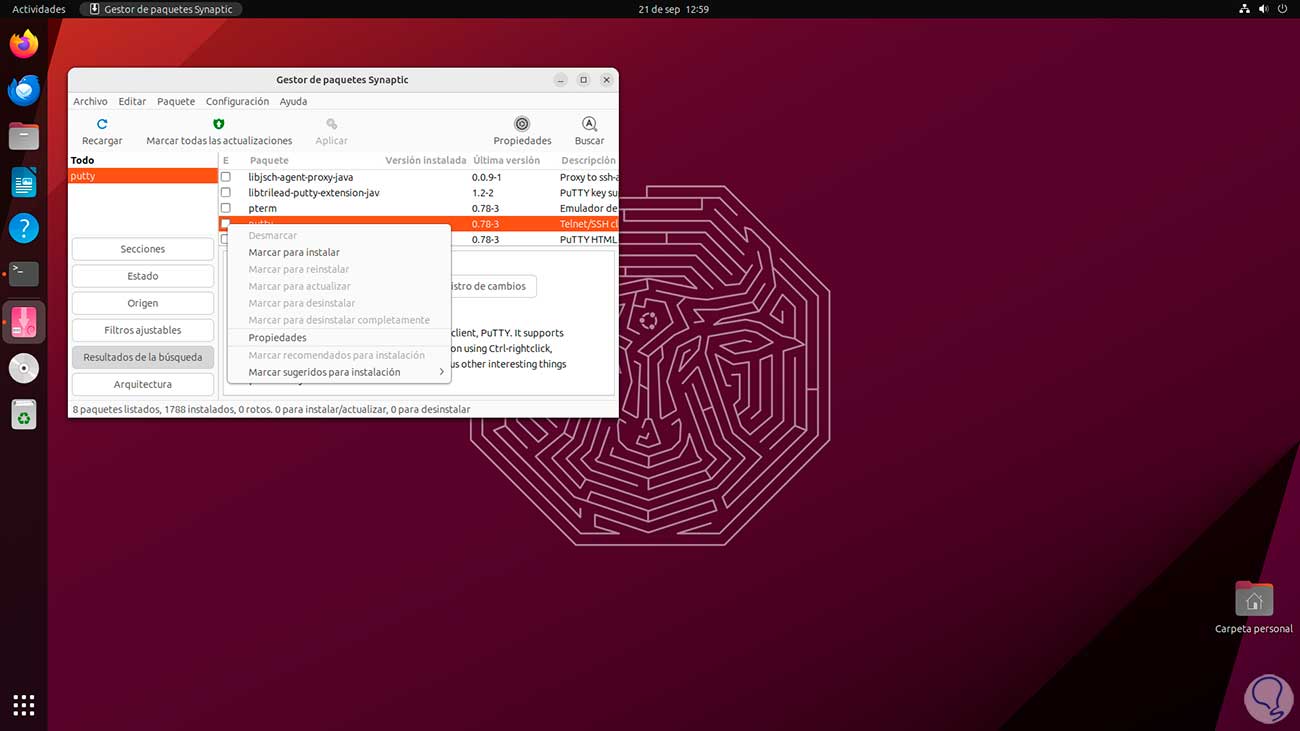
Now, we right click on Putty and select “Mark to install”:
Step 10
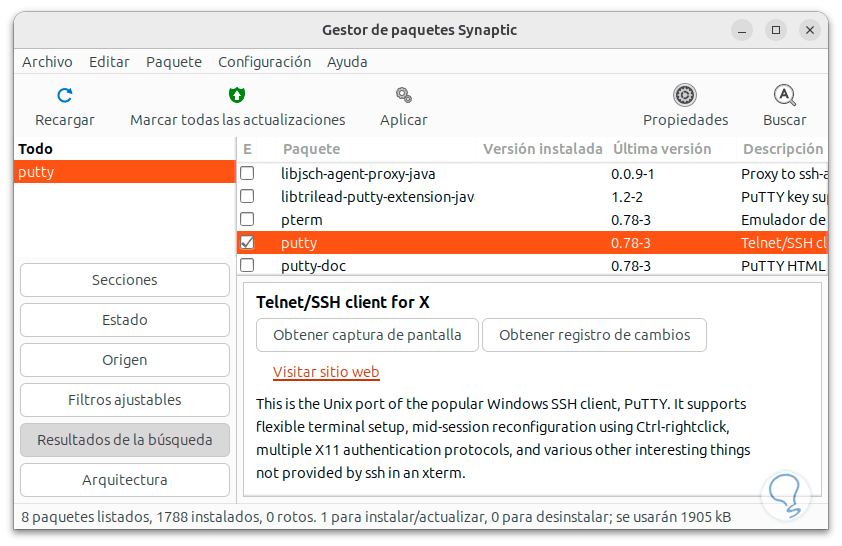
We see that the box will be active:
Step 11
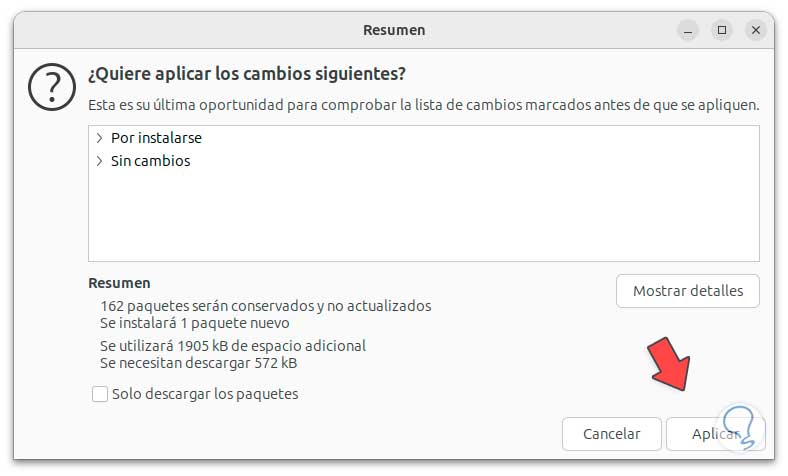
Now, we click on “Apply”, the following window will open:
Step 12
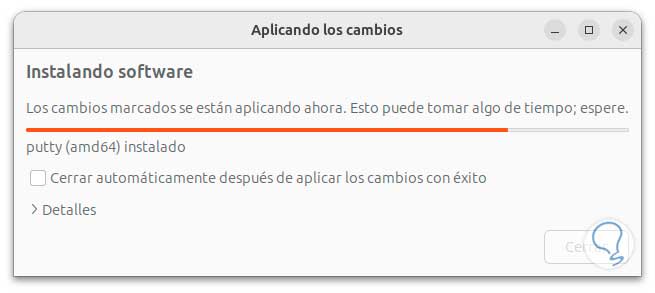
There we confirm by clicking again on “Apply” and wait for it to finish:
Step 13
We exit the utility and access Putty from Activities:
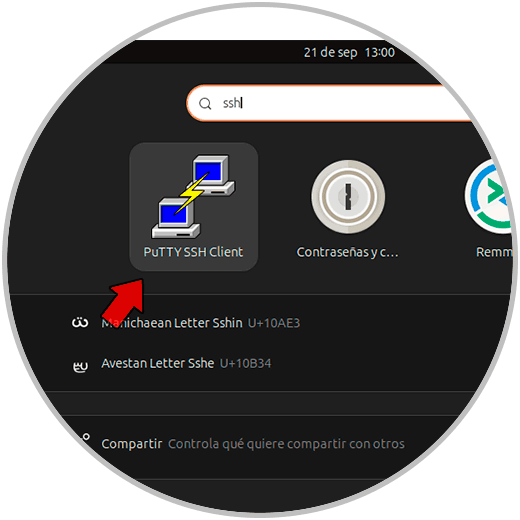
Step 14
The tool will open:
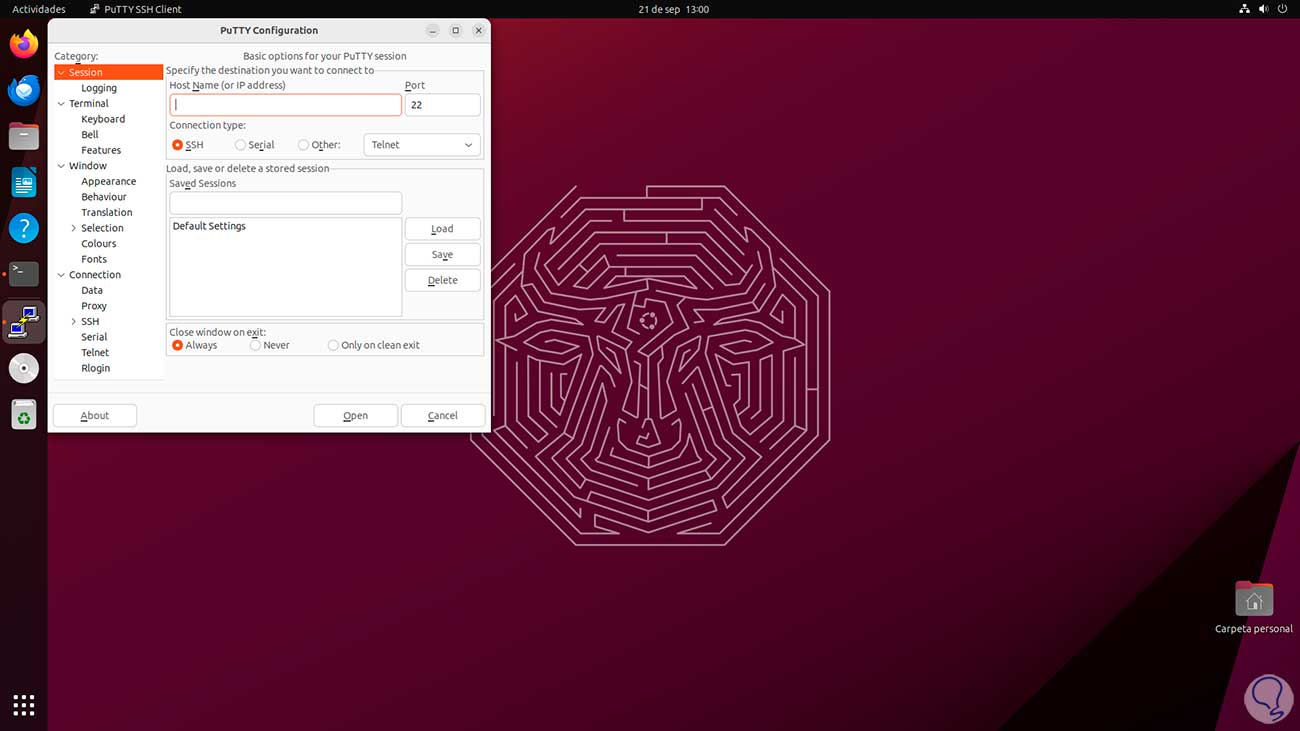
3 How to install Putty from the resource
Step 1
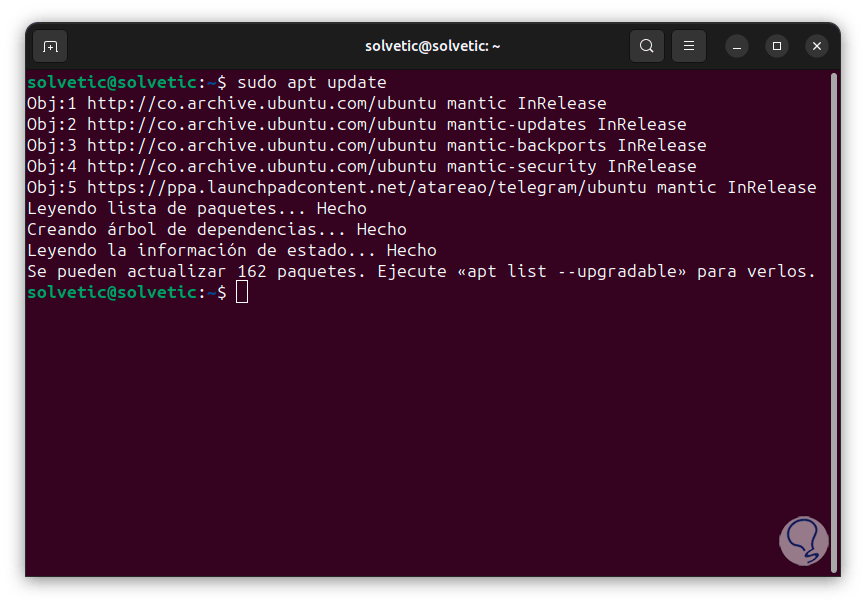
Finally it is possible to install Putty directly from the official resources, to do this we first update the system:
sudo apt-get update
Step 2
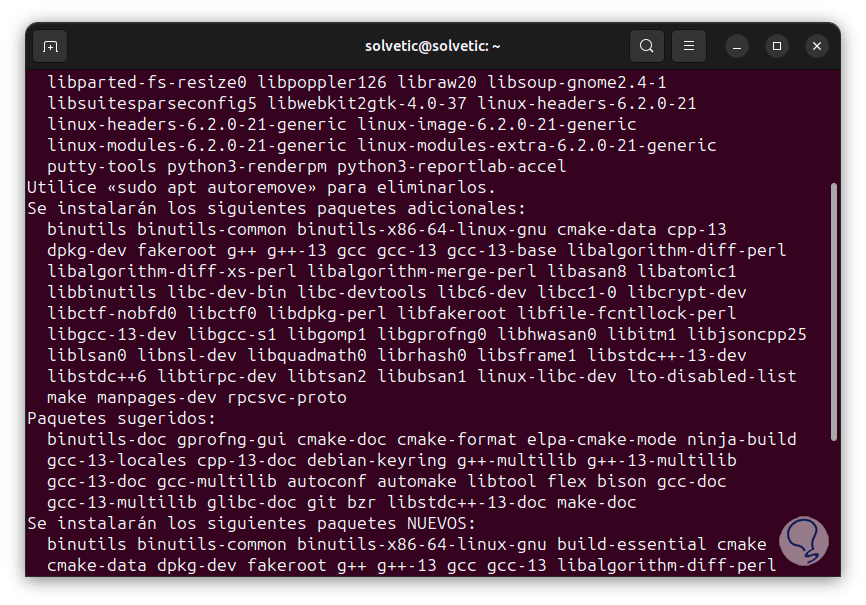
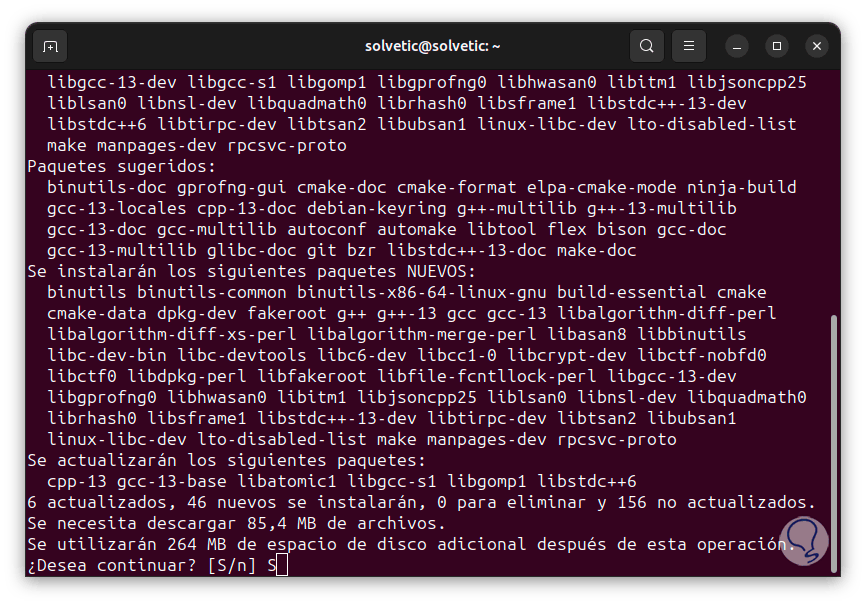
Now let's install the necessary tools:
sudo apt install build-essential cmake
Step 3
We must confirm the operation:
Step 4
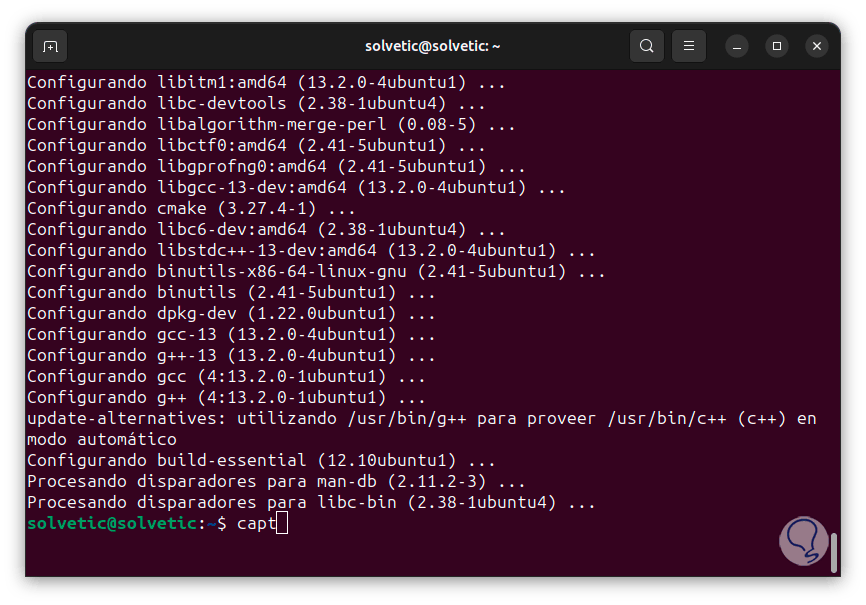
We hope that this process reaches its end:
Step 5
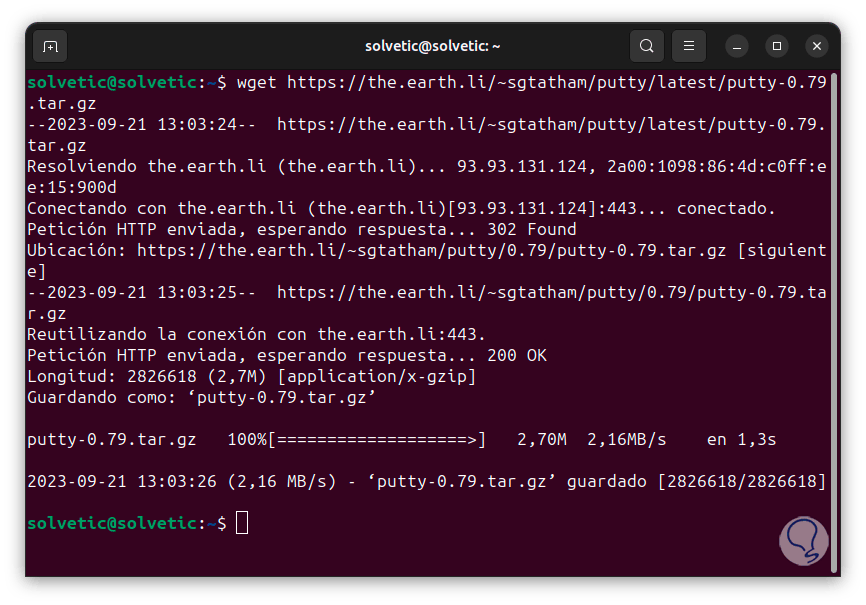
Now we download the Putty source with the command:
wget https://the.earth.li/~sgtatham/putty/latest/putty-0.79.tar.gz
Note
There we must take into account the most updated version.
Step 6
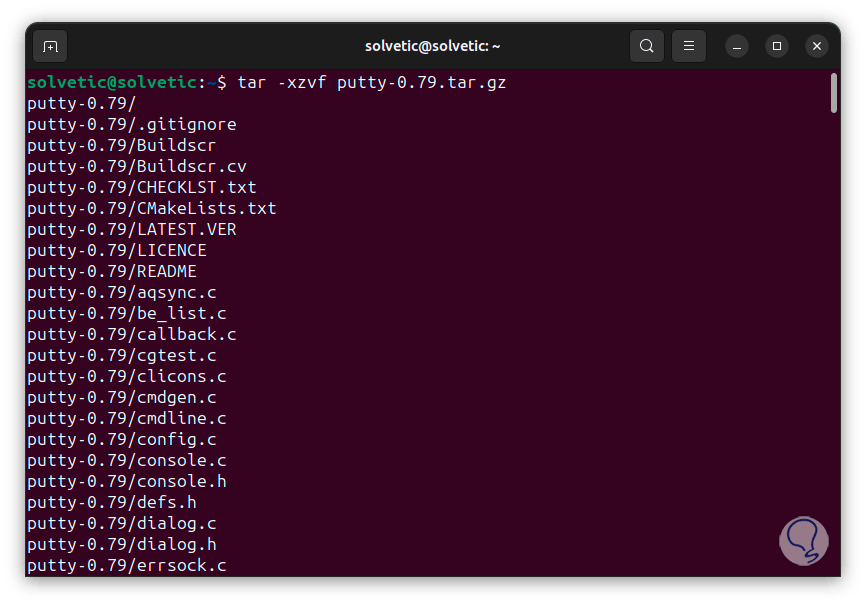
We extract the content with the command.
tar -xzvf putty-0.79.tar.gz
Step 7
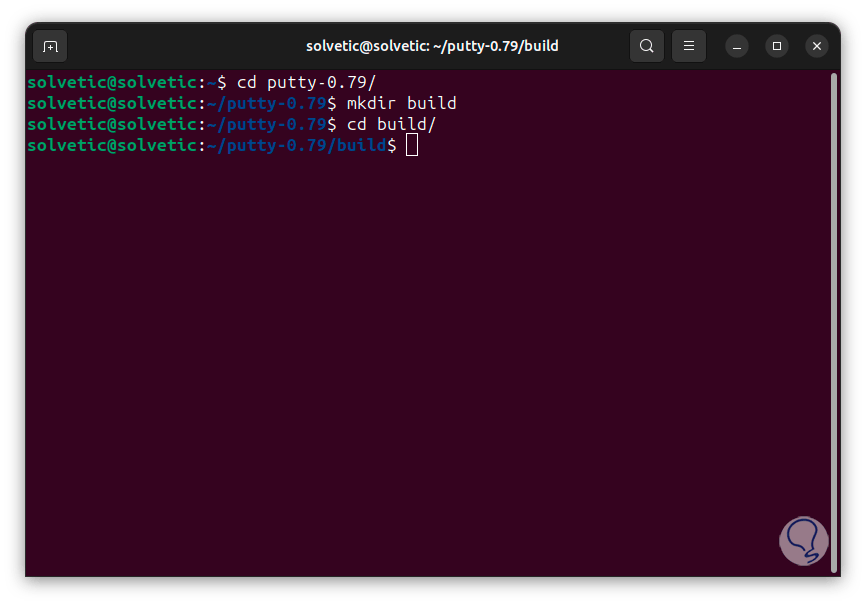
We access this directory with the “cd” command, then we create the Build directory and access it:
mkdir build cd build
Step 8
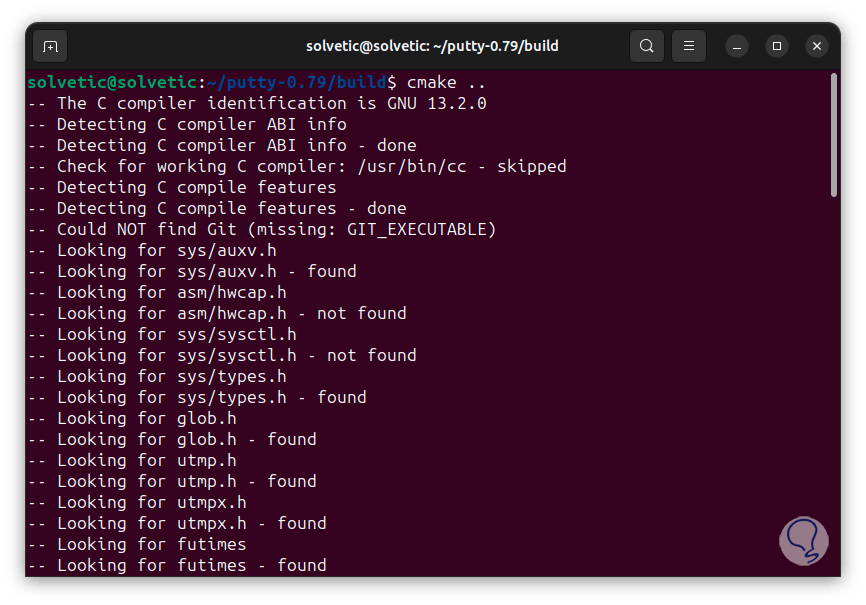
There, we are going to build the Putty environment with the “make” command:
Step 9
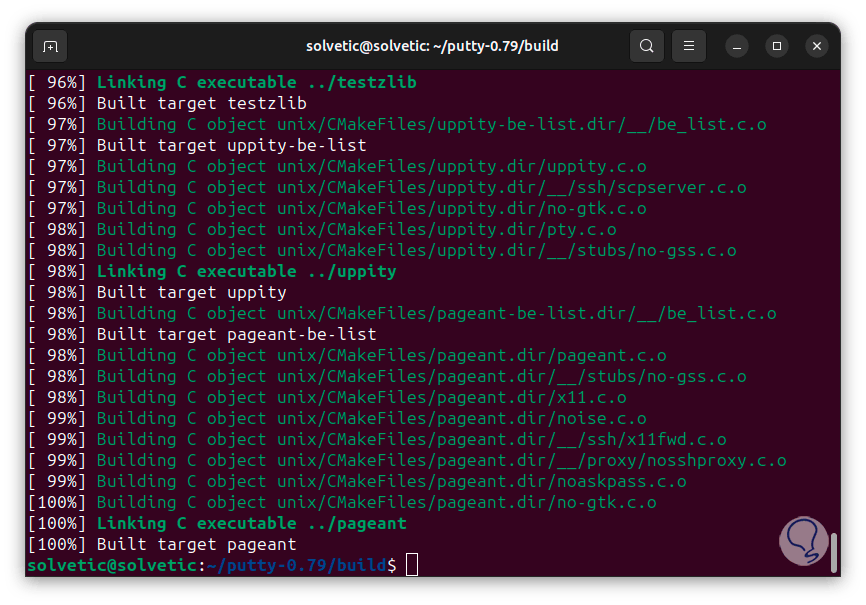
We hope it ends:
Step 10
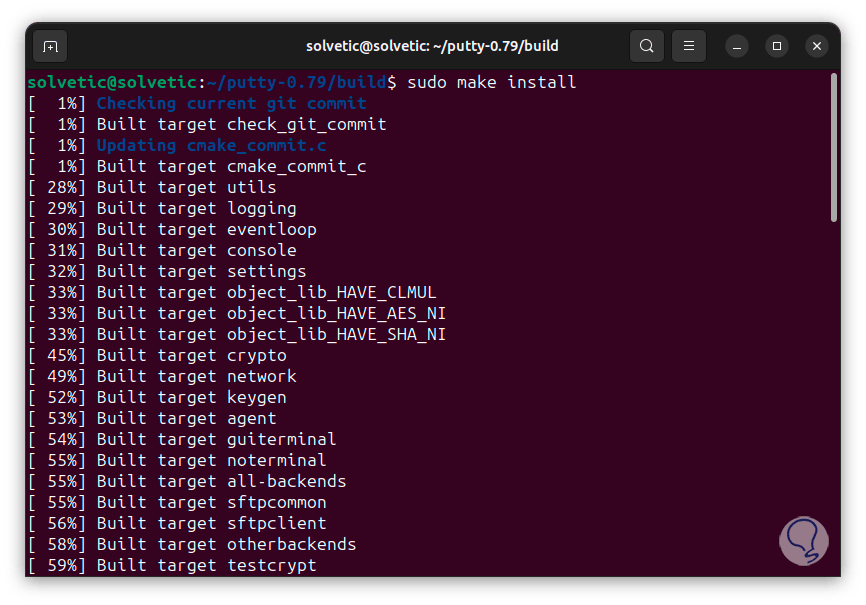
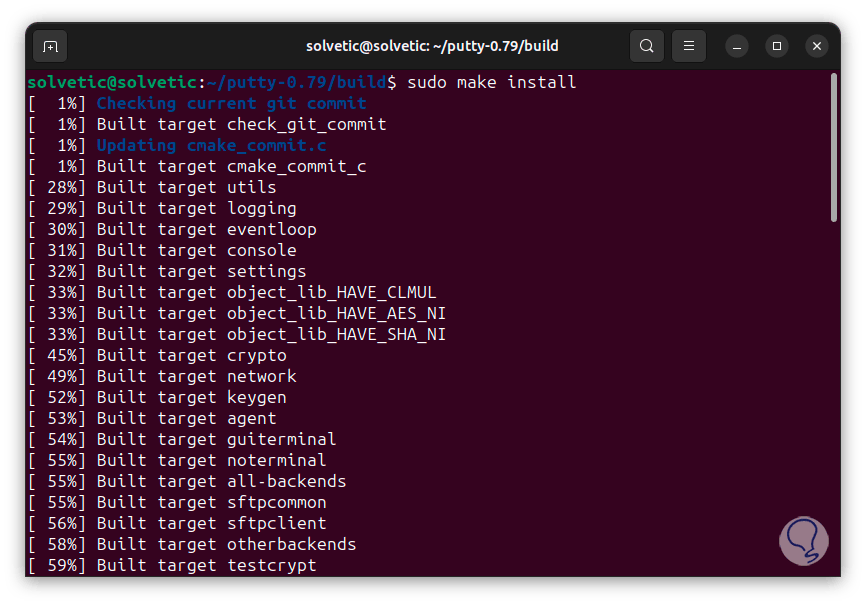
Then, we install Putty with the command:
sudo make install
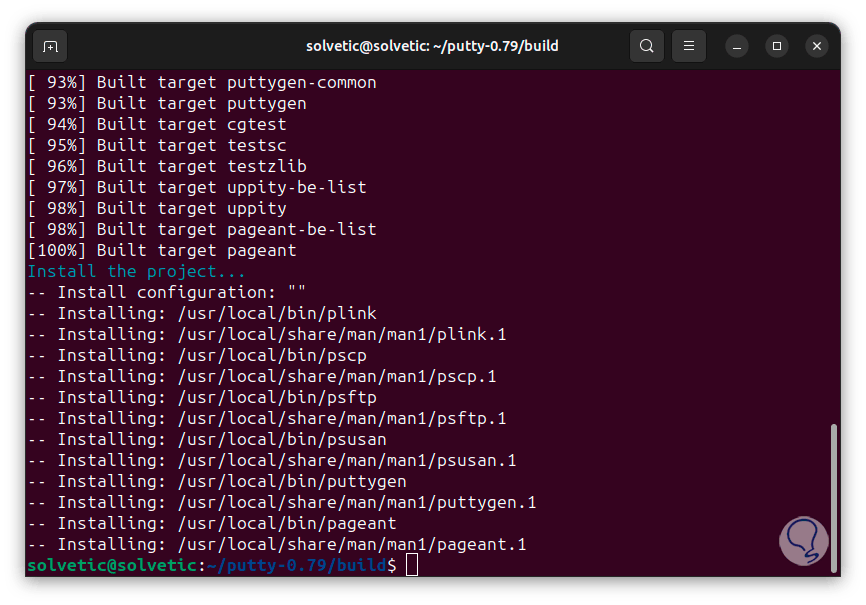
Step 11
We hope it ends:
Step 12
Now, we open Putty with the “putty” command:
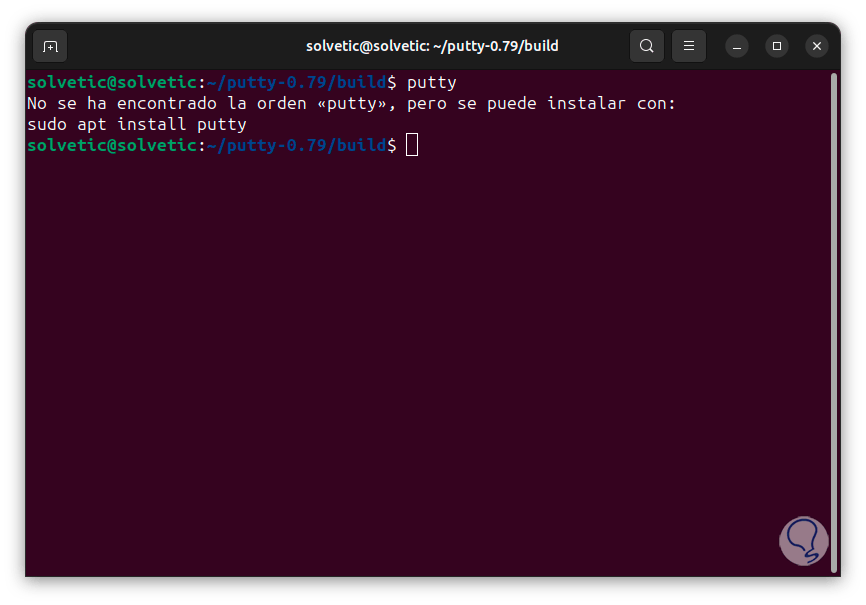
Step 13
If we see this error, simply run “sudo make install” again:
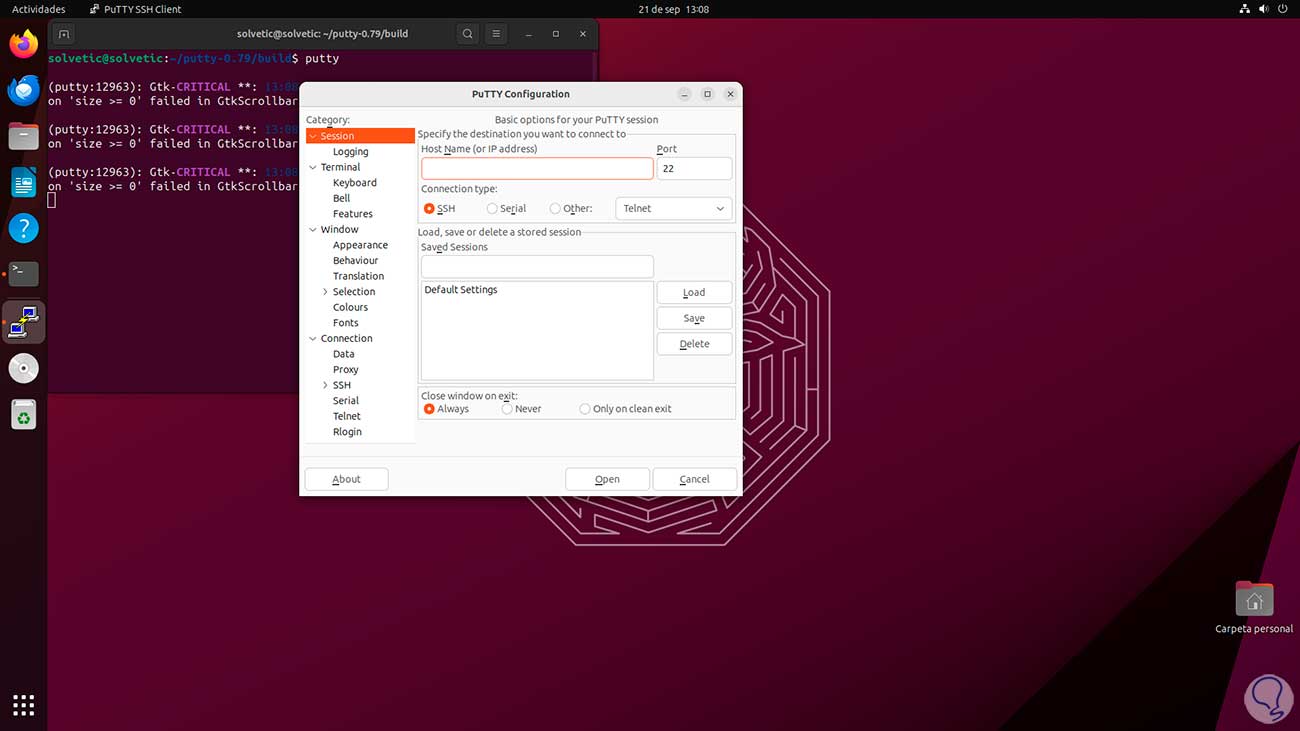
Step 14
Now if we enter “putty” to open the utility:
These are the ways to install this valuable utility on Linux.