Currently there are several options to carry out systems administration and management processes, with ISO images being one of the most important due to their capabilities, portability and compatibility for all types of equipment and operating systems. An ISO image is nothing more than an exact reflection of everything stored on a CD, DVD or BD and it is enough just to mount said image to access its content and proceed to perform tasks such as installation or repair of media ..
An ISO image is a file that stores information and works like a traditional optical disk without the need for our computer to have a disk reader, something that has been going on for some time with the new laptop models. It is called ISO by its extension whose origin is born in the ISO 9660 standard that was used on DVDs or CDs. So being able to mount an ISO image is to allow a virtual disk to run and access all its content. In this tutorial we will see how we can mount that ISO image graphically, by commands or with third-party application.
Through this tutorial, TechnoWikis will explain the integral way to mount ISO images on Linux and for this we will use Ubuntu 18.04..
To keep up, remember to subscribe to our YouTube channel! SUBSCRIBE
1. Mount and disassemble an ISO image graphically in Linux
Step 1
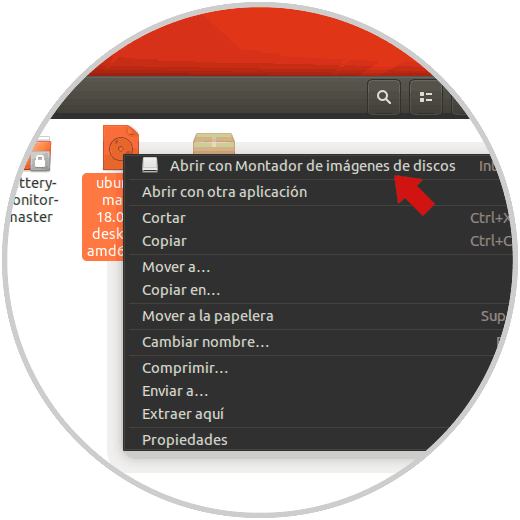
The first option to use is the integrated Linux tool for this purpose, to make use of this option, we access the path where the ISO image is located, we will right click on it and there we select the option “Open with Image Editor of discs":
Step 2
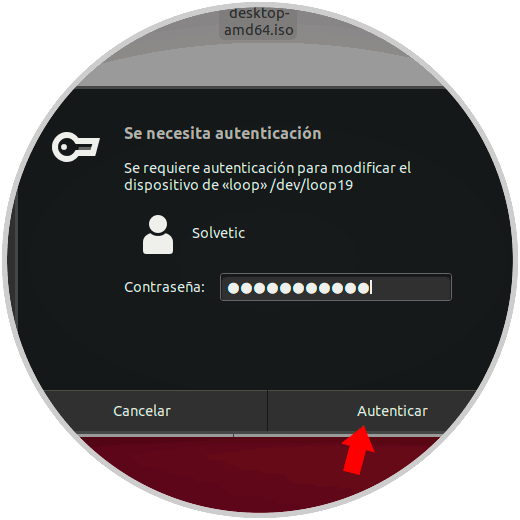
Entering the administrator password is required:
Step 3
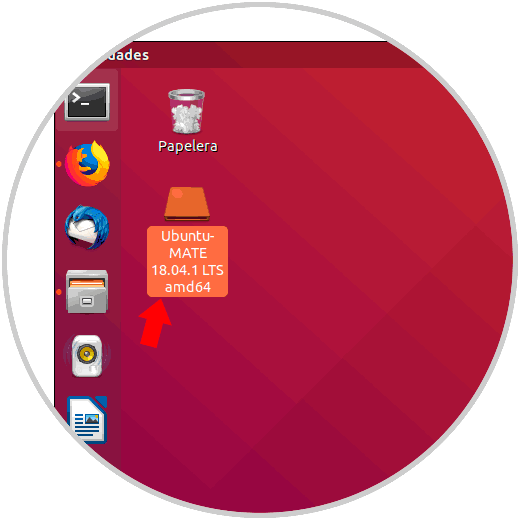
Click on the "Authenticate" button and by doing this, by default the ISO image will be mounted on the Linux desktop:
Step 4
From there we can access its content. To disassemble the ISO image using the integrated Linux option, we will right click on the mounted image and select the option “Dismountâ€:

2. Mount and unmount an image using third-party applications on Linux
One of the most versatile applications for the management and control of ISO images is Furius ISO Mount which is a simple Gtk + interface developed to mount ISO, IMG, BIN, MDF and NRG image files in a simple way.
ISO Functions ISO Furius
Some of its functions are:
- Automatically mount ISO, IMG, BIN, MDF and NRG image files.
- You can automatically create a mount point in the home directory.
- Automatically disassemble active image files
- Automatically removes the mount directory to return the home directory to its previous state.
- Automatically save the history of the last 10 images mounted.
- Mount multiple images without problems
- Burn ISO and IMG files to the optical disc.
- It generates checksums Md5 and SHA1.
- Automatically retrieves any image that has been previously disassembled.
Step 1
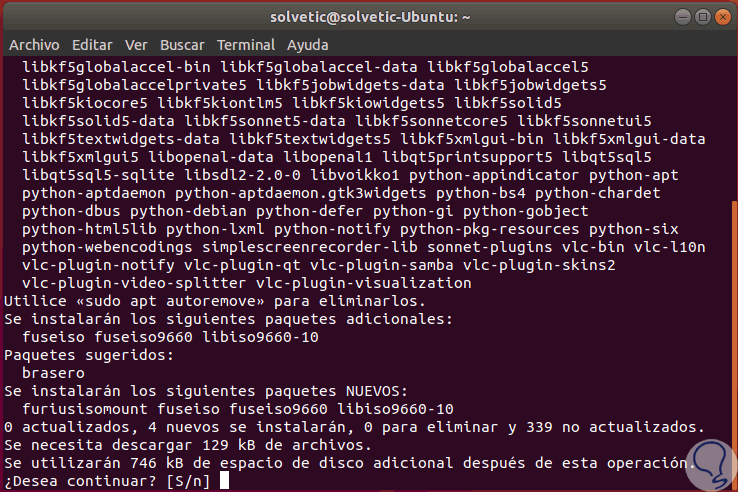
To install this utility in Ubuntu 18 we will execute the following command in the terminal:
sudo apt install furiusisomount
Step 2
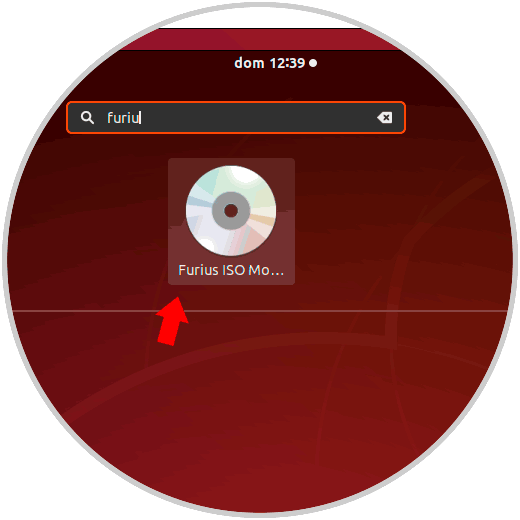
Enter the letter S to confirm the download and installation of the application and once installed we can search directly from the launcher:
Step 3
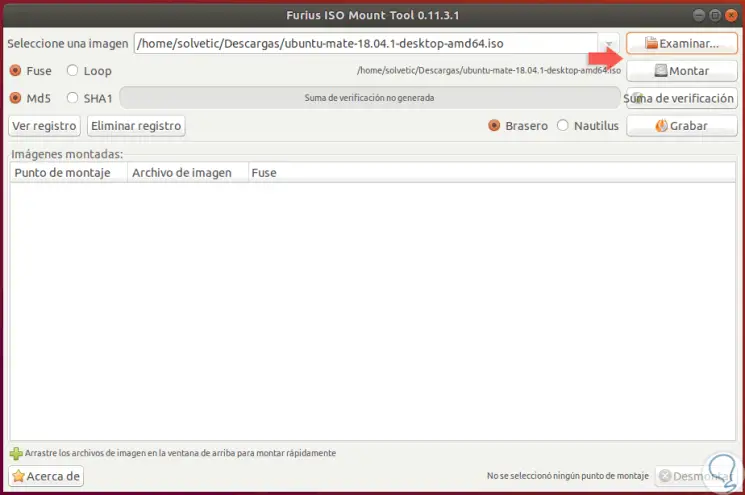
Now, with this utility we have two options to mount the image. If we want to carry out the process in a graphic way, we access the application and in the displayed window we select the ISO image in the upper field and click on the “Mount†button to carry out the assembly process. To disassemble this image, we access the application again and click on the “Dismount†button located at the bottom.
3. Mount and unmount an image by commands in Linux
Step 1
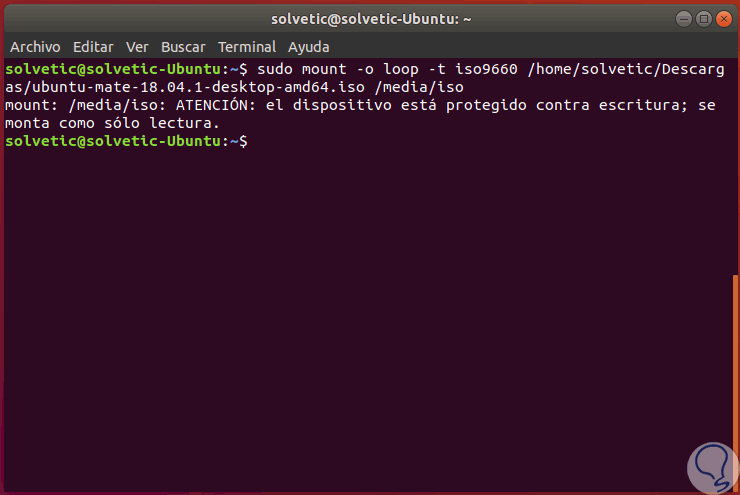
Now, if we want to perform this process from the terminal, we will execute the following commands:
sudo mkdir / media / iso (Create the directory where the ISO image will be mounted) sudo mount -o loop -t iso9660 / image_route.iso / media / iso (Mount the selected ISO image on the created path)
Step 2
The parameters used are:
- The first indicator refers to the type of file system to mount, in this case, it is an ISO.
- The -o parameter is an indicator of generic options and in this case we will use loop. The loop option tells Linux to use a virtual loopback interface instead of a physical device since the ISO image is not a real device with a list in the "/ dev" directory.
Step 3
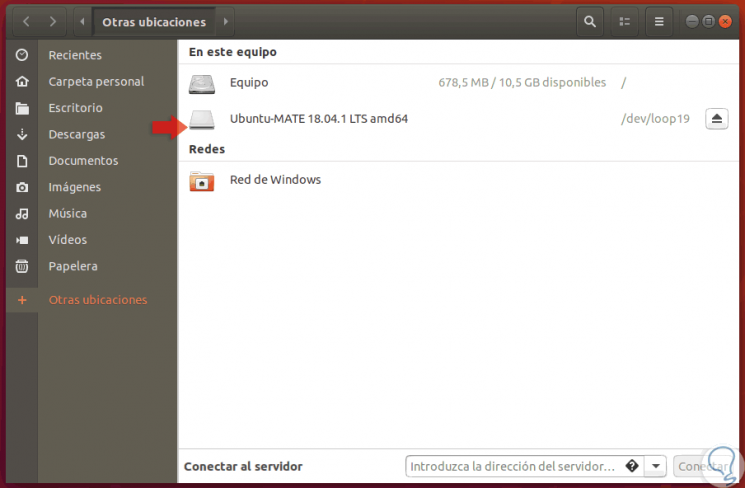
Once this is done we check that the image has been correctly mounted in the browser:
Step 4
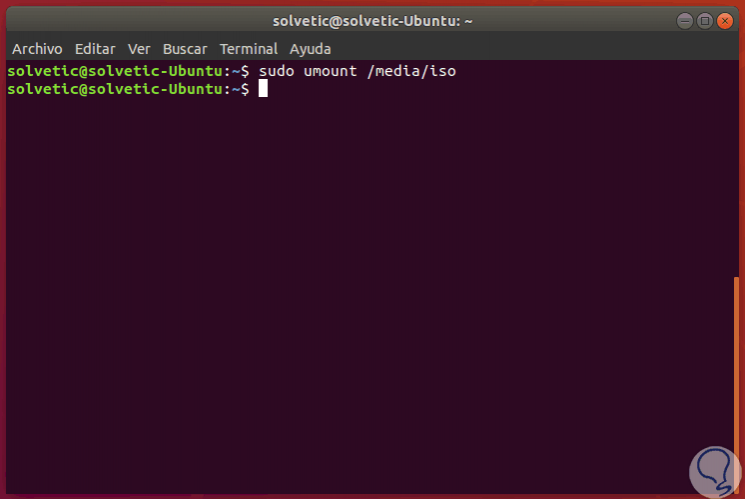
To disassemble the ISO image using this application, simply run the following:
sudo umount / media / iso
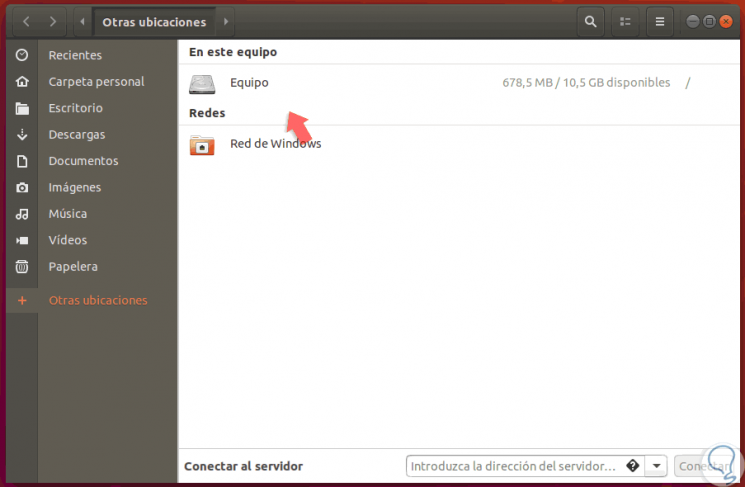
Step 5
We can see that the ISO image has been disassembled correctly:
With any of these ways it will be possible to mount or disassemble ISO images on Linux and carry out the required tasks.