To stay up to date, remember to subscribe to our YouTube channel!
SUBSCRIBE ON YOUTUBE
The FPS (Frames Per Second - Frames per Second), indicates the number of individual images that we see in a second, whether in a video or in a game, the FPS plays a key role in performance since the higher the number. of FPS, the smoother and more fluid the experience and visual environment that we as users see in our games will be. Now, we must take into account that these FPS vary based on the hardware of the PC and the graphics specifications of the game..
Now, as users we can have access to the FPS in our game and TechnoWikis will teach you how to use a free application for this and it is MSI AfterBurner.
Note
For a complete experience, it is ideal that your PC motherboard is MSI.
How to see the FPS in any game
To start, we are going to go to the following URL:
MSI AfterBurner
MSI AfterBurner, has been developed as an overclocking or performance increase software, as well as hardware monitoring, thanks to its design it will be possible to configure various hardware parameters, with a focus on MSI graphics cards and video cards, but it can be used for some other manufacturers, within its characteristics we find:
Characteristics
- Hardware monitoring giving information about temperature, fan speed, voltage and load of GPU and CPU and more.
- Overclocking function with which as users we can increase the clock frequency of the GPU, resulting in better performance for applications and games where dedicated graphics are required.
- Fan control to manage the speed of each fan individually
- Profile support.
- Recording and Screenshot Features
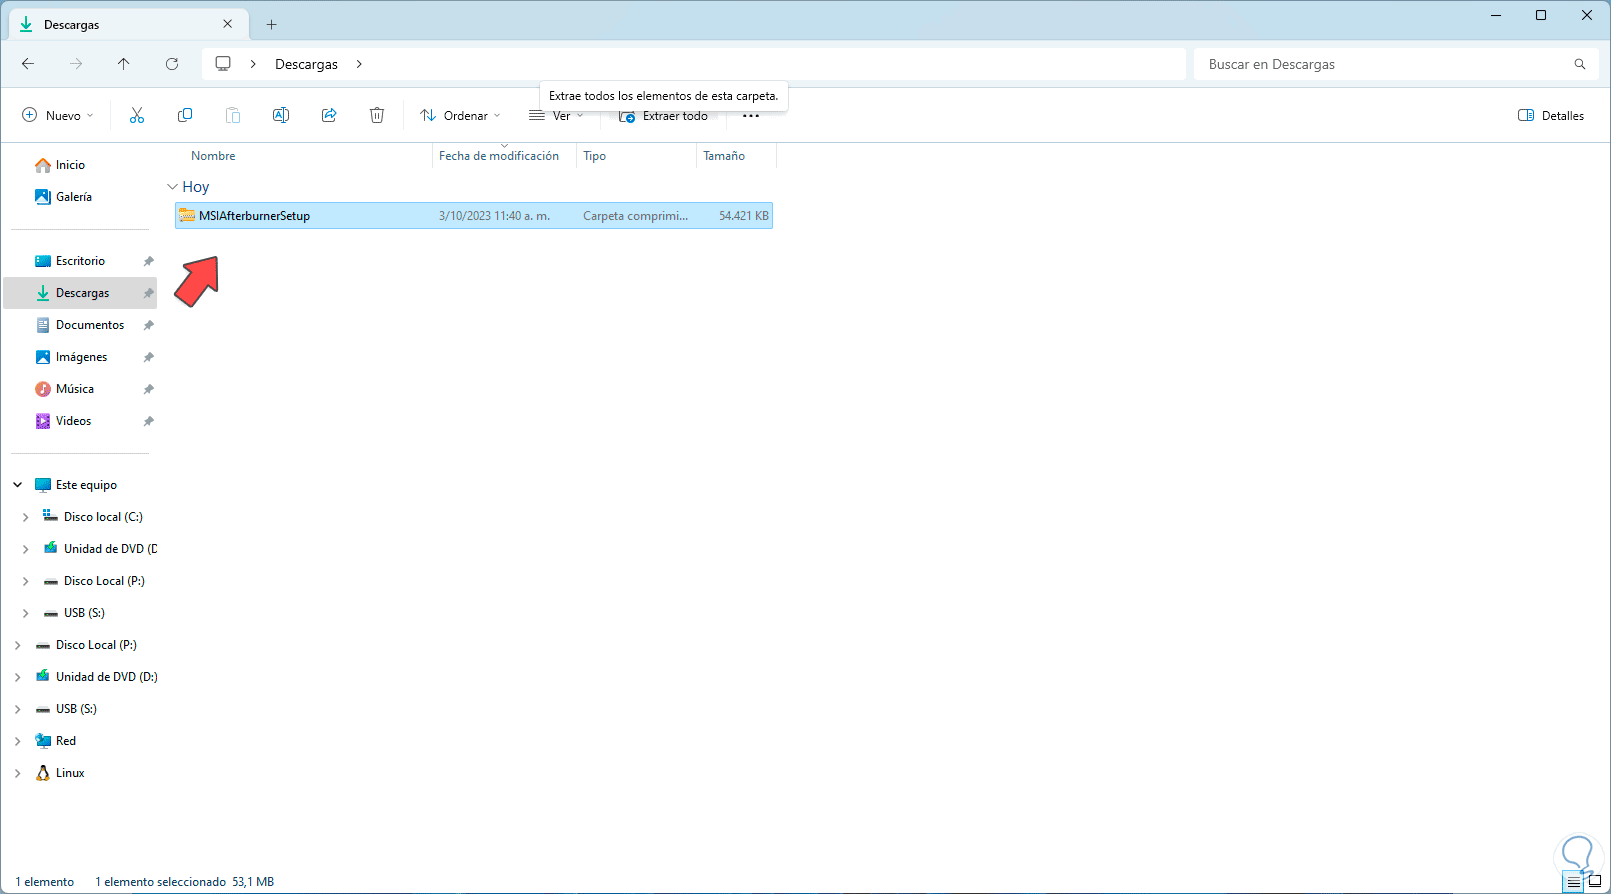
Step 1
At the URL we mentioned, download the utility, then, in the Downloads library, select this file and click “Extract all”:
Step 2
Now we select where this content will be extracted:
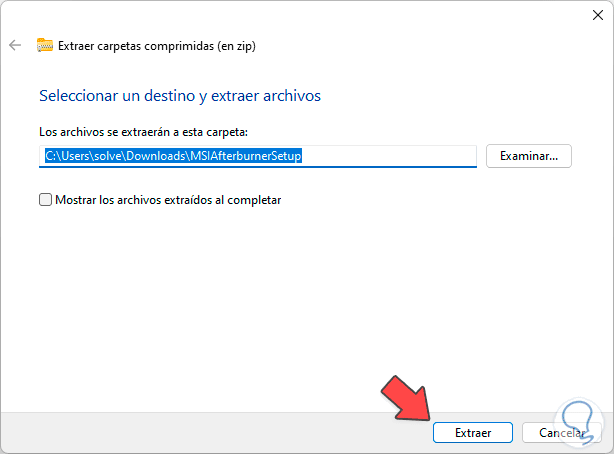
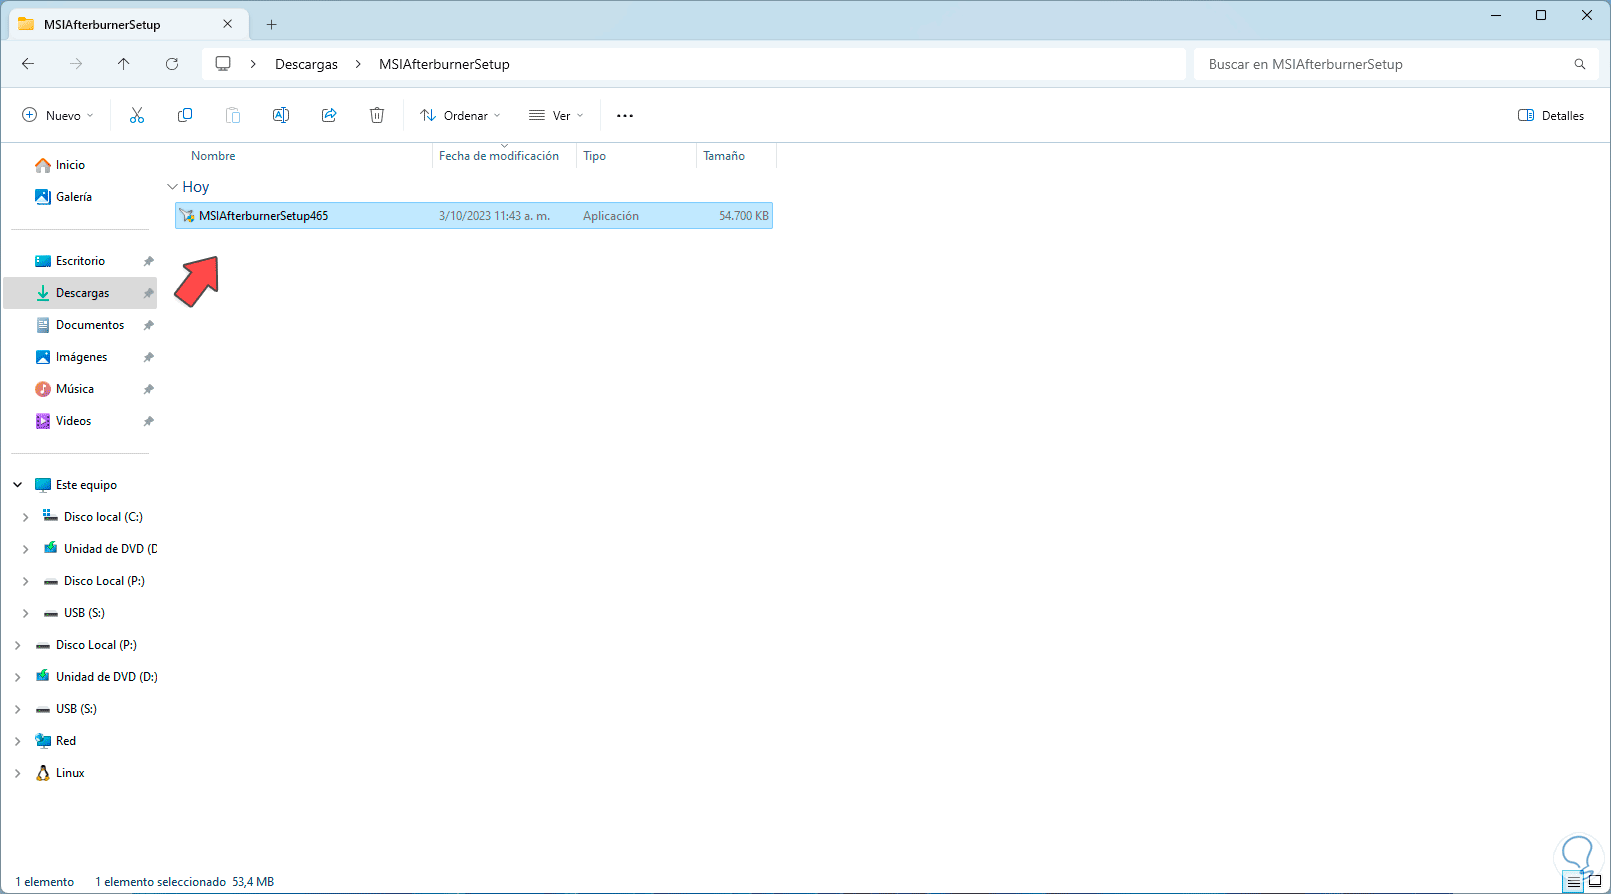
Step 3
We click on “Extract” to proceed with the operation, then we access the folder and execute the installation file:
Step 4
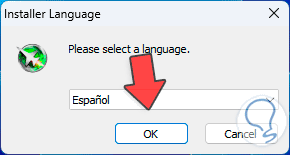
First of all, we select the installation language:
Step 5
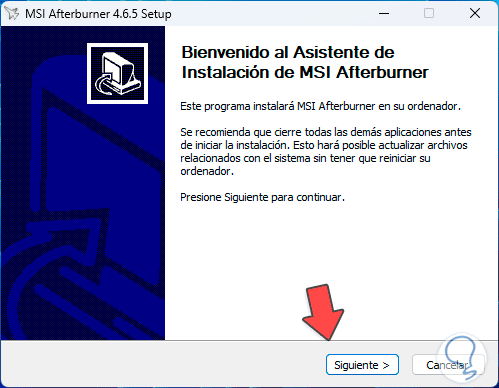
Now, we will see the initial message:
Step 6
We click “Next” and accept the license terms:

Step 7
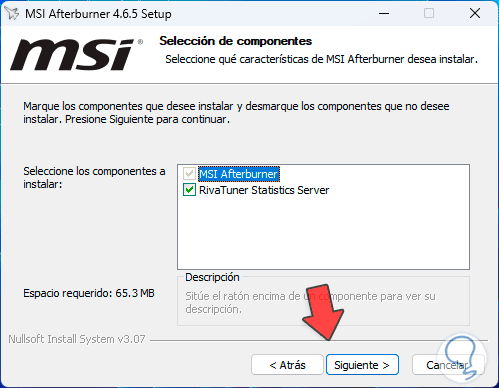
Then, we select the components to install, we must activate all of them for better functioning:
Step 8
RivaTuner Statistics Server is key in the operation of MSI AfterBurner, since it is a real-time monitoring and statistics tool for games and graphics applications where we will see information about the performance of the hardware on the screen in real time, its functions and characteristics are :
- Compatibility with various types of games
- Display of real-time statistics of GPU, CPU, disk parameters, etc.
- Support for multi-GPU or graphics card systems
- FPS limitation (Framerate limiting)
Step 9
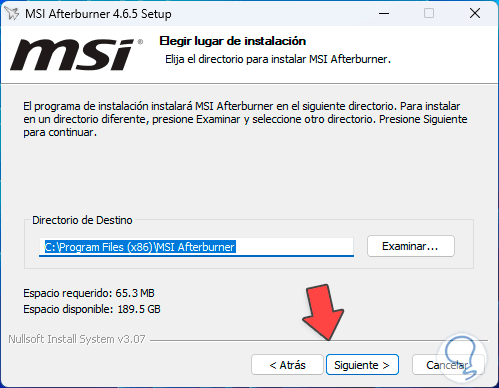
We click “Next” to choose the installation directory:
Step 10
Then, we can select whether to add a shortcut:
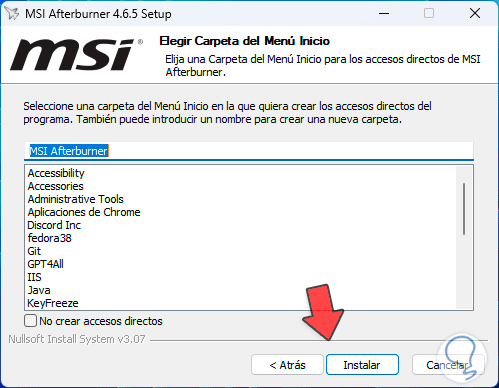
Step 11
We click on “Install” to start this process:
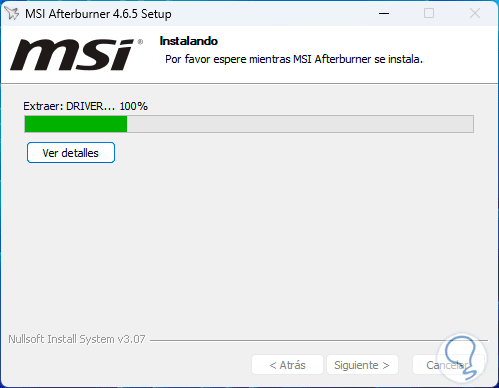
Step 12
At the end of this process, the RivaTuner installation wizard will open:
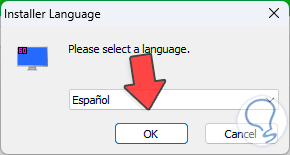
Step 13
We choose the language to access the assistant;
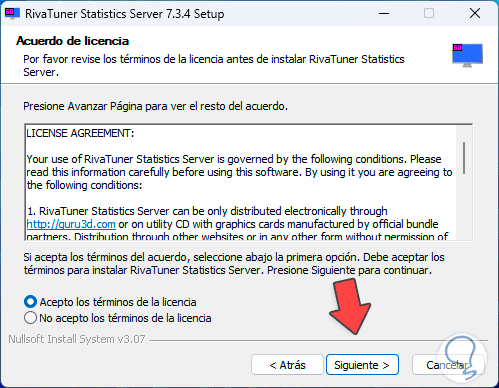
Step 14
We accept the license of use:
Step 15
We define the installation directory:
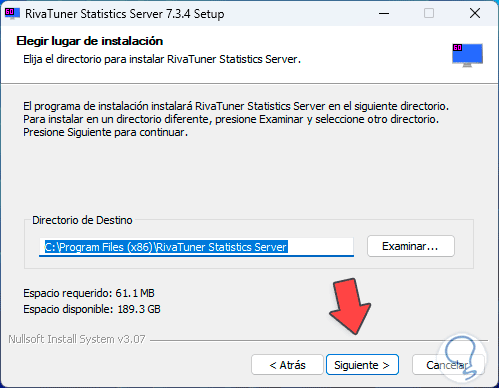
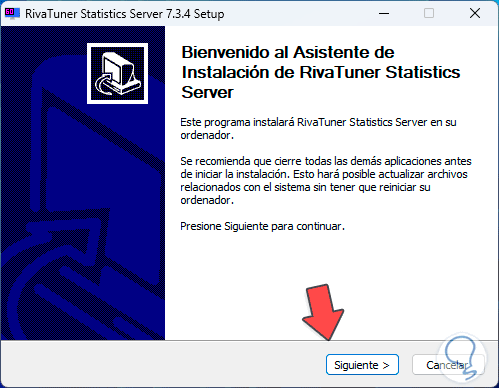
Step 16
We click on “Next” to start the installation:
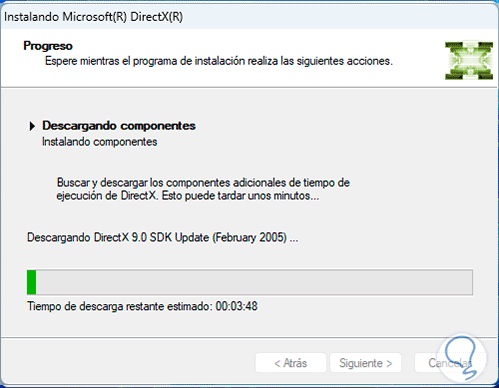
Step 17
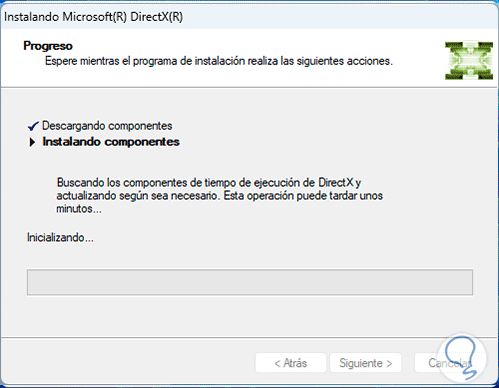
We can see that the components necessary for operation are downloaded:
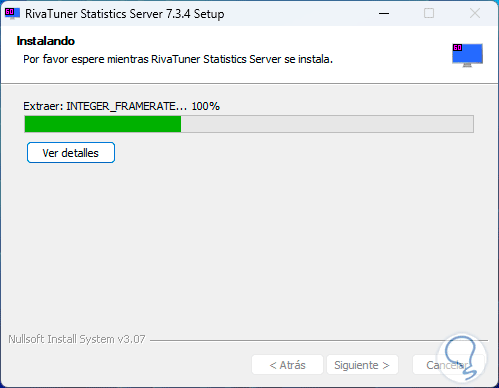
Step 18
These components will then be installed:
Step 19
We hope that this process comes to an end:
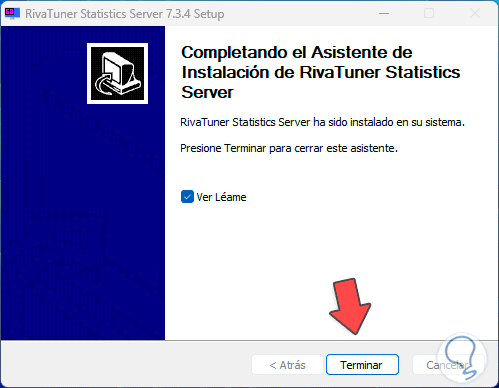
Step 20
We click on “Finish” and with this the installation will be completed:
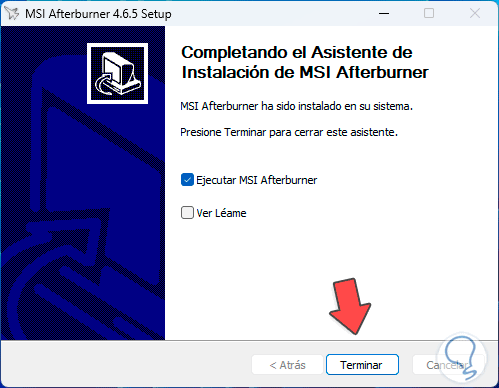
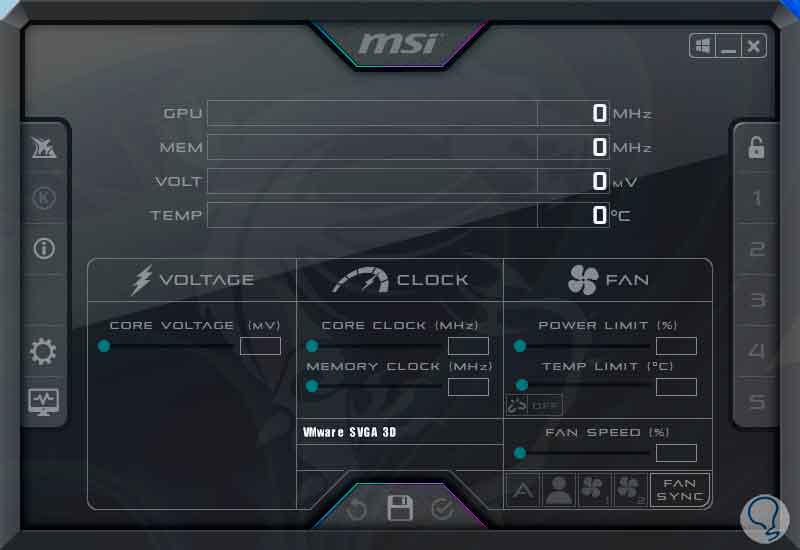
Step 21
Clicking on “Finish” will open the utility:
Step 22
We click on the pinion icon (settings), first of all, we go to the “User Interface” tab:
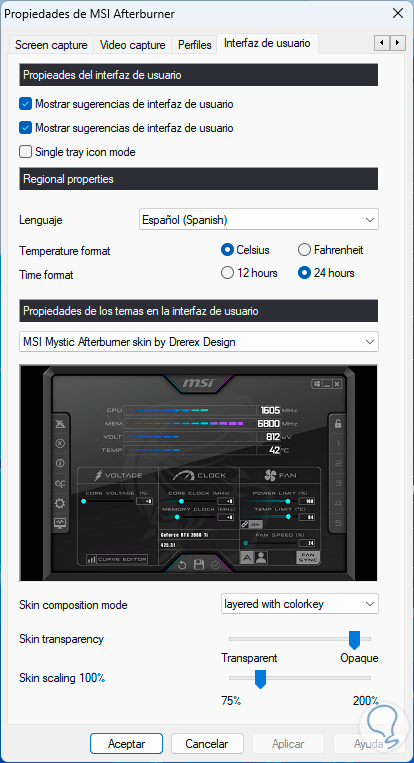
Step 23
As we see here it is possible to configure:
- Activation of suggestions and more
Step 24
Now, let's go to the “Screen Info” tab to see the following:
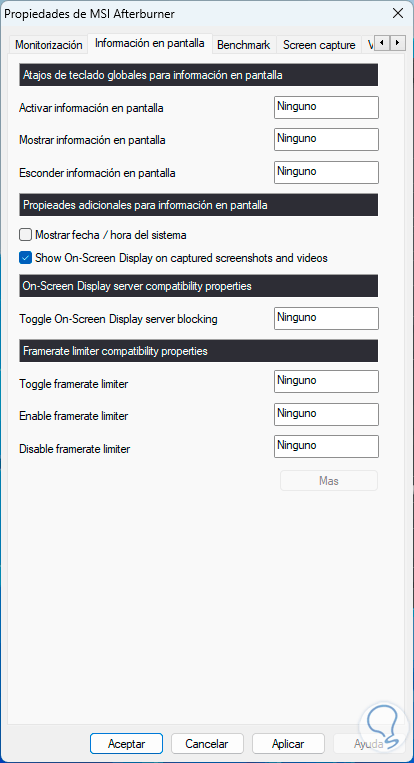
Step 25
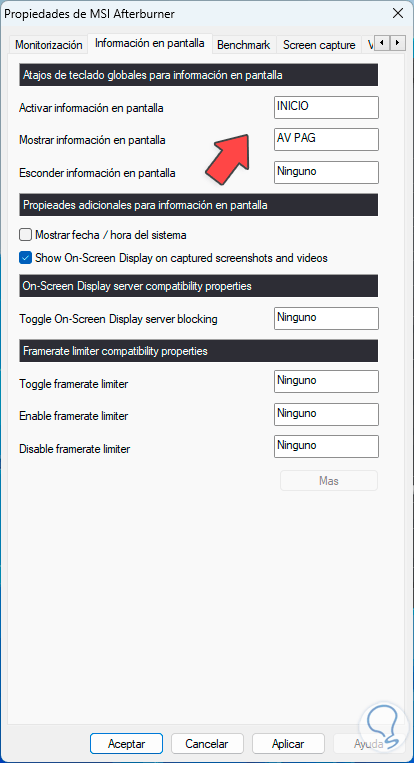
In this section, we can place the cursor in each field and press the desired keys on our keyboard so that when using them, said function is activated:
Step 26
Next, we go to the “Monitoring” tab:
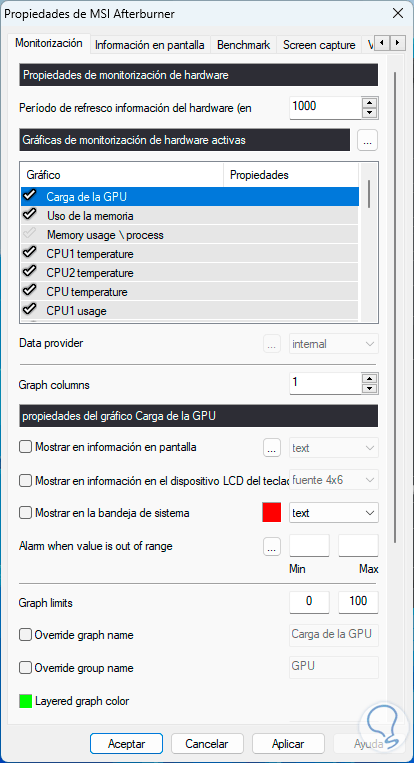
Step 27
There we are going to select the “Frame rate” line:
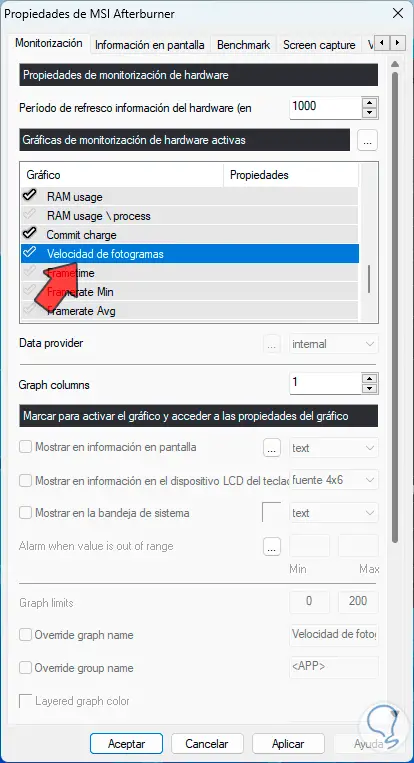
Step 28
We click on the check sign to activate it, then we activate the “Show in information on screen” box:

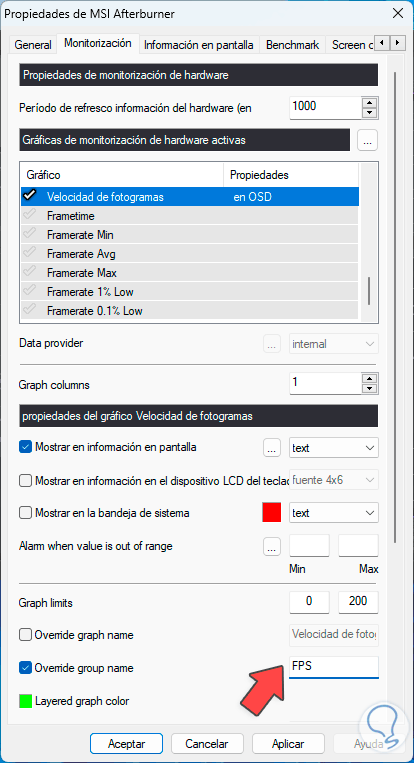
Step 29
Finally, if we want to change the name that is displayed, we activate the “Override group name” box and establish the name to use:
We click on “Apply” and “OK” to save the changes..
From now on, when we play, we will be able to access FPS information, especially on MSI cards, to be clear about whether or not the game is at optimal performance, which today is one of the most necessary variables in everything. related to games.