To stay up to date, remember to subscribe to our YouTube channel!
SUBSCRIBE ON YOUTUBE
Network, file and unauthorized access threats are a constant that alert administrators and users of all operating systems every day as they grow exponentially and in various ways that are increasingly complex to detect. To help prevent this or have an alternative defense we find the Nessus utility..
Nessus has been developed as a network vulnerability scanning utility thanks to which it is possible to identify and carry out an evaluation of possible failures and vulnerabilities in operating systems as well as in networks and applications.
Nessus is responsible for carrying out an exhaustive analysis of the system and the applications on the network, this is intended to search for any known vulnerability and based on what is detected, advice is issued on how to remove it. This task is achieved thanks to The integrated exploit and vulnerability database is constantly updated to search for possible new exploits or update the characteristics of current ones..
packages
Nessus has packages such as:
The Professional and Expert versions have much more advanced functions but logically it is through payment, the Essentials version is free and will help protect our Windows system.
Characteristics
Some of the features of Nessus are:
- Scanning for vulnerabilities in networks, systems and applications.
- Complete database of vulnerabilities to stay one step ahead of attackers.
- It has a plug-in architecture to receive regular updates as well as the integration of new vulnerability checks.
- Policy compliance verification function which evaluates the compliance of systems based on security policies, industry regulations (such as HIPAA, PCI DSS) and best practices optimizing security.
- Web application scanning.
- Creation of detailed reports.
- Patch recommendations and built-in fixes.
- Scheduled analysis function.
- Nessus can prioritize vulnerabilities based on criteria such as severity, exploitability, and system impact.
- Support for the IPv6 protocol.
- Allows you to create and apply security policies.
- Nessus integrates an API which allows automation and integration of other tools and systems.
TechnoWikis will explain how to install Nessus on Windows..
How to install Nessus on Windows
Step 1
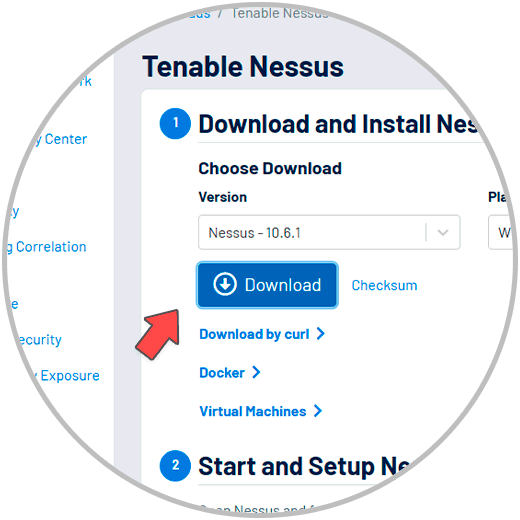
To start, we will go to the following link and download the software. In the “Platform” field we select Windows, click on the “Download” button. Also, we accept the terms you ask of us.
Nessus
Step 2
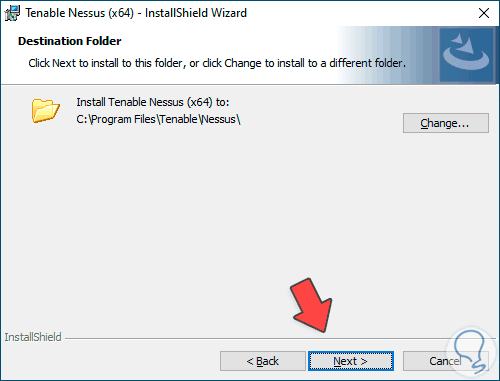
After this, we execute the file to launch the installation wizard and follow the steps to complete it:
We click on “Next” and accept the license terms:
Step 3
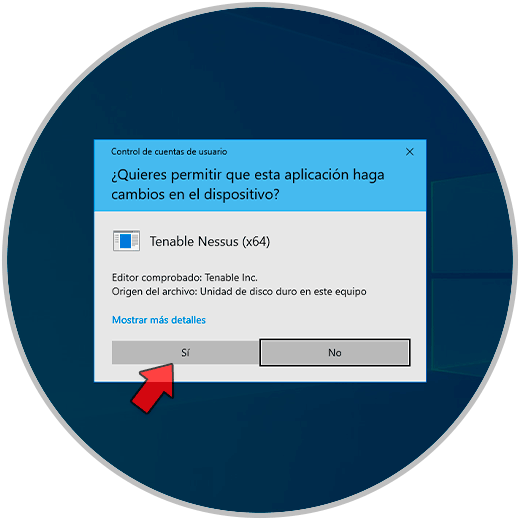
we must accept the UAC permission:
Step 4
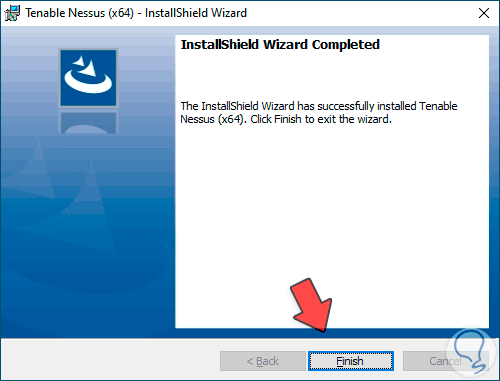
We wait for this process to finish and click on “Finish”
Step 5
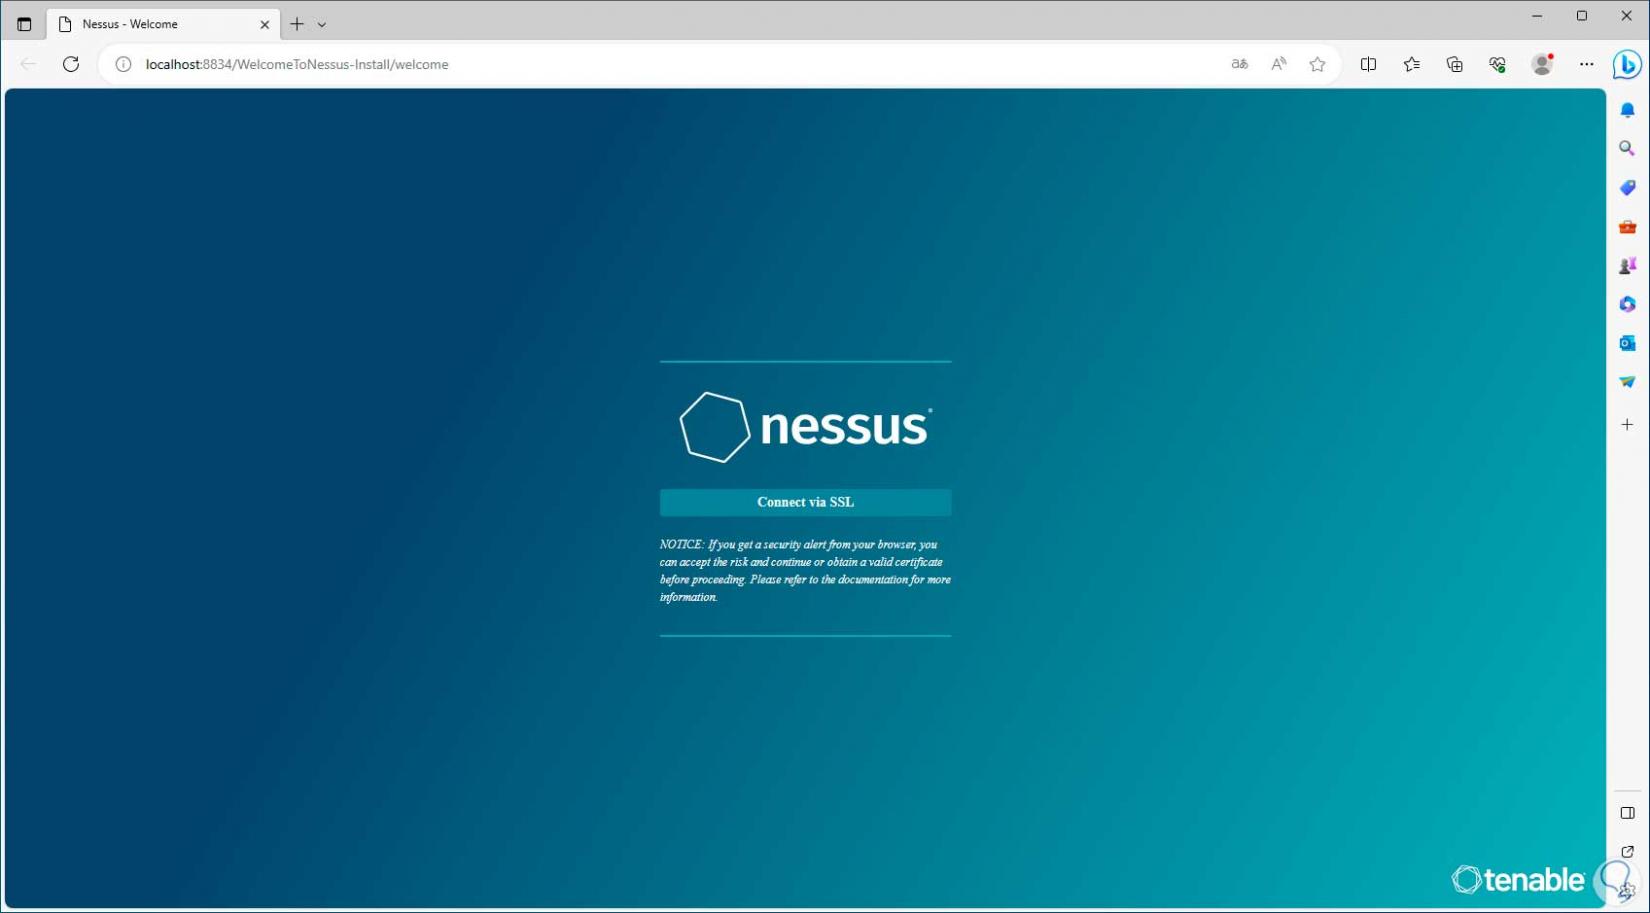
The browser will open with the Nessus console:
Step 6
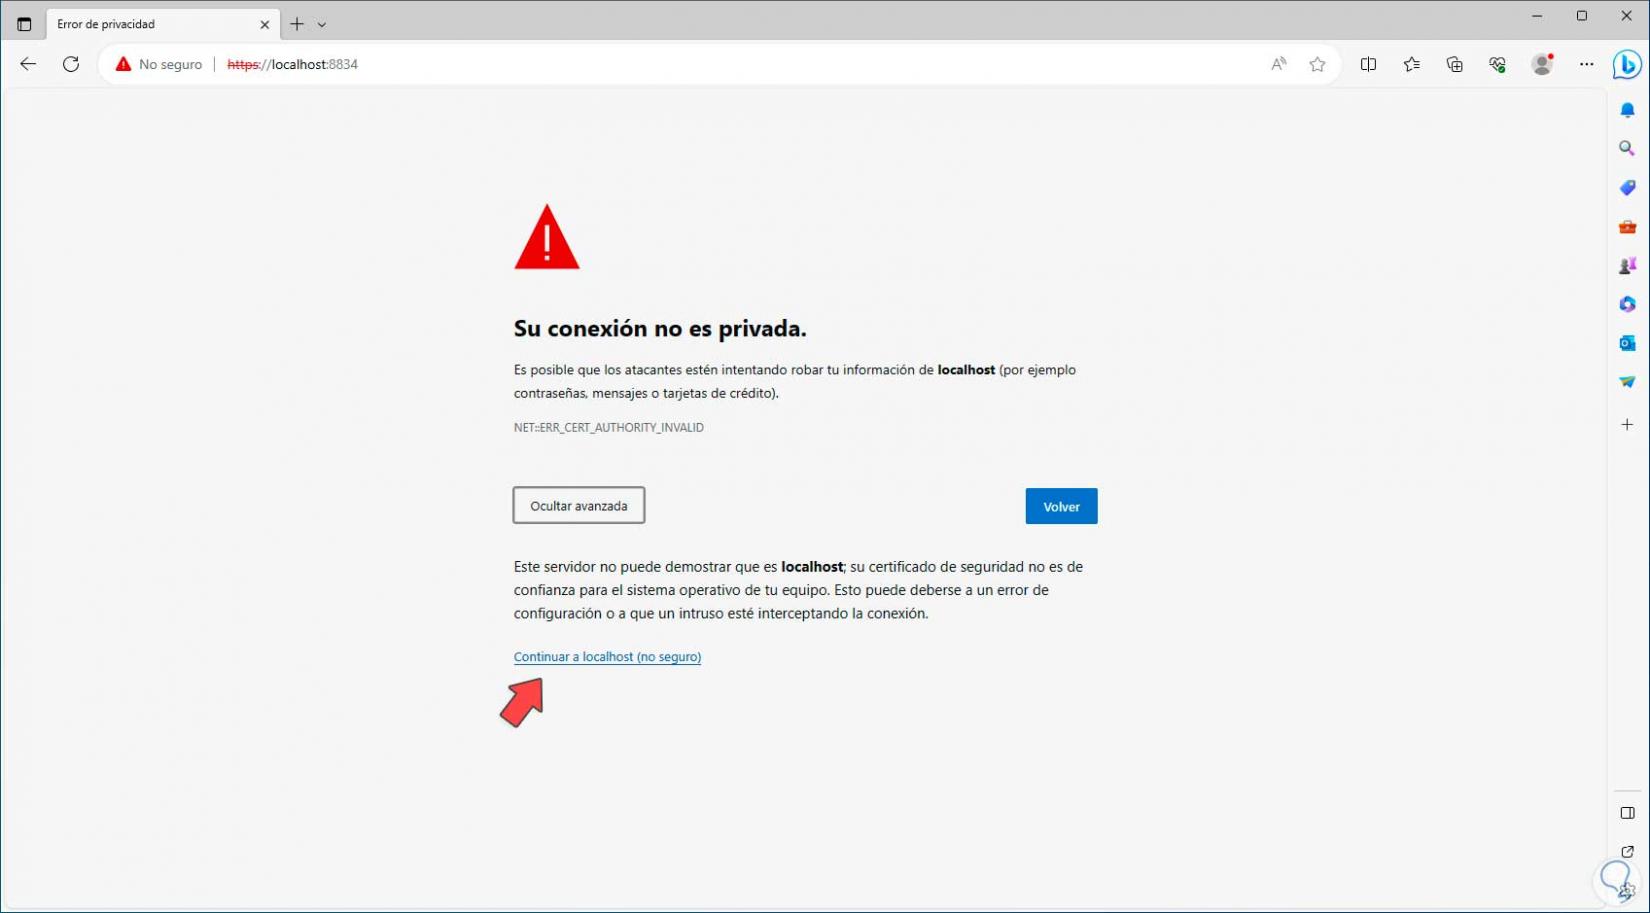
There we click on “Connect via SSL”, then an error message, click on “advanced” and then click on “Continue to localhost”:
Step 7
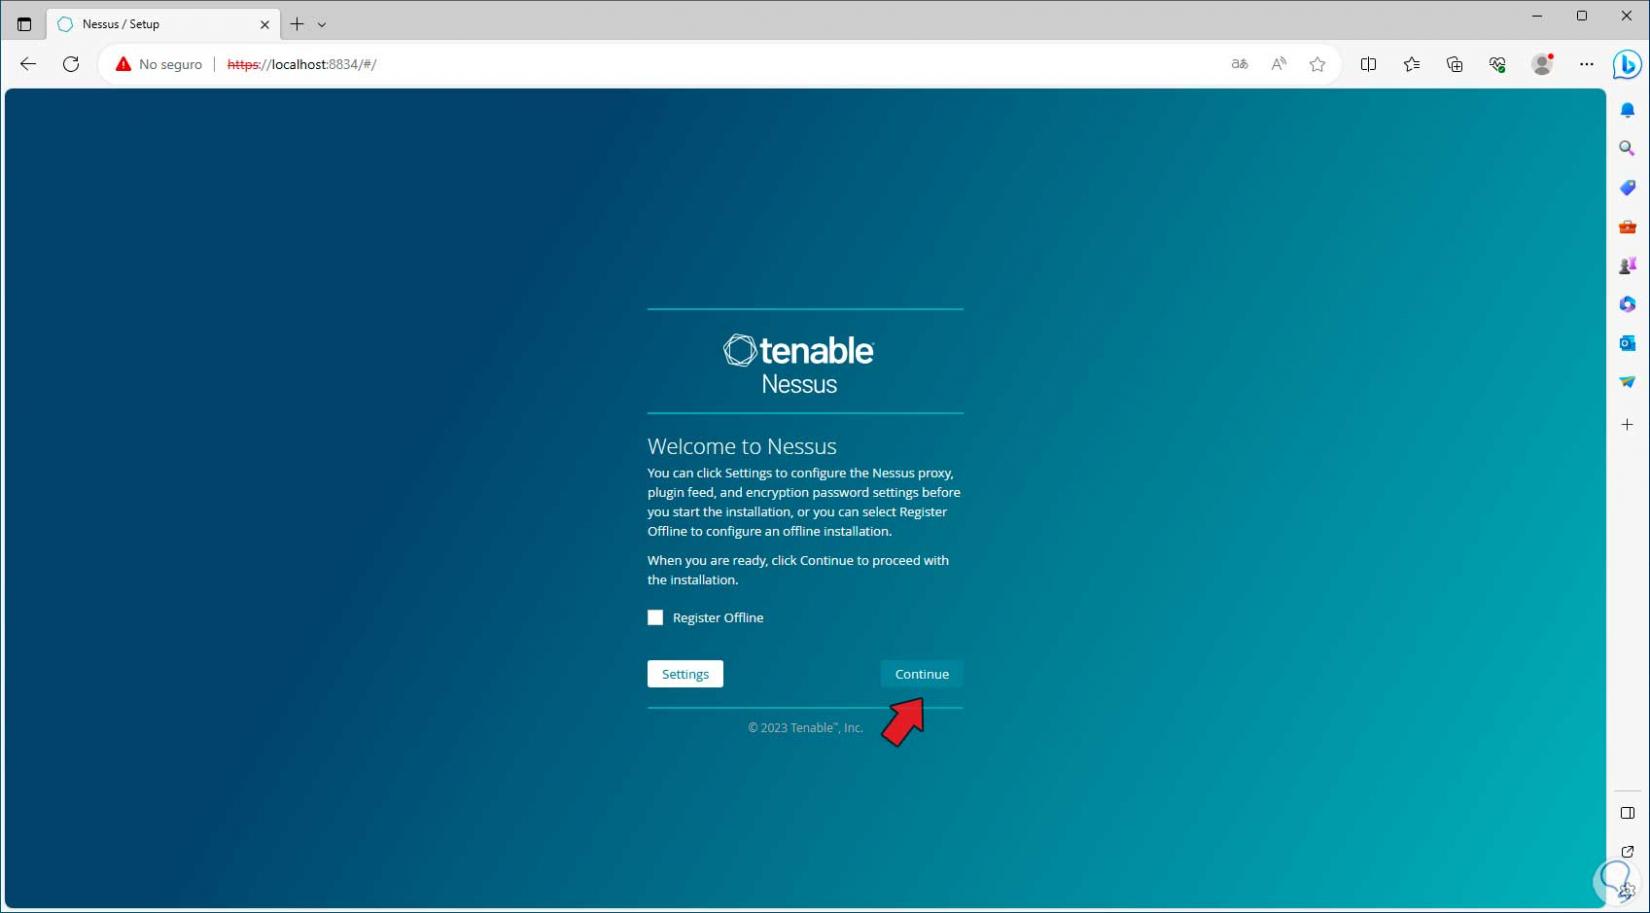
We'll see what's next for Nessus. Here we click on “Continue”:
Step 8
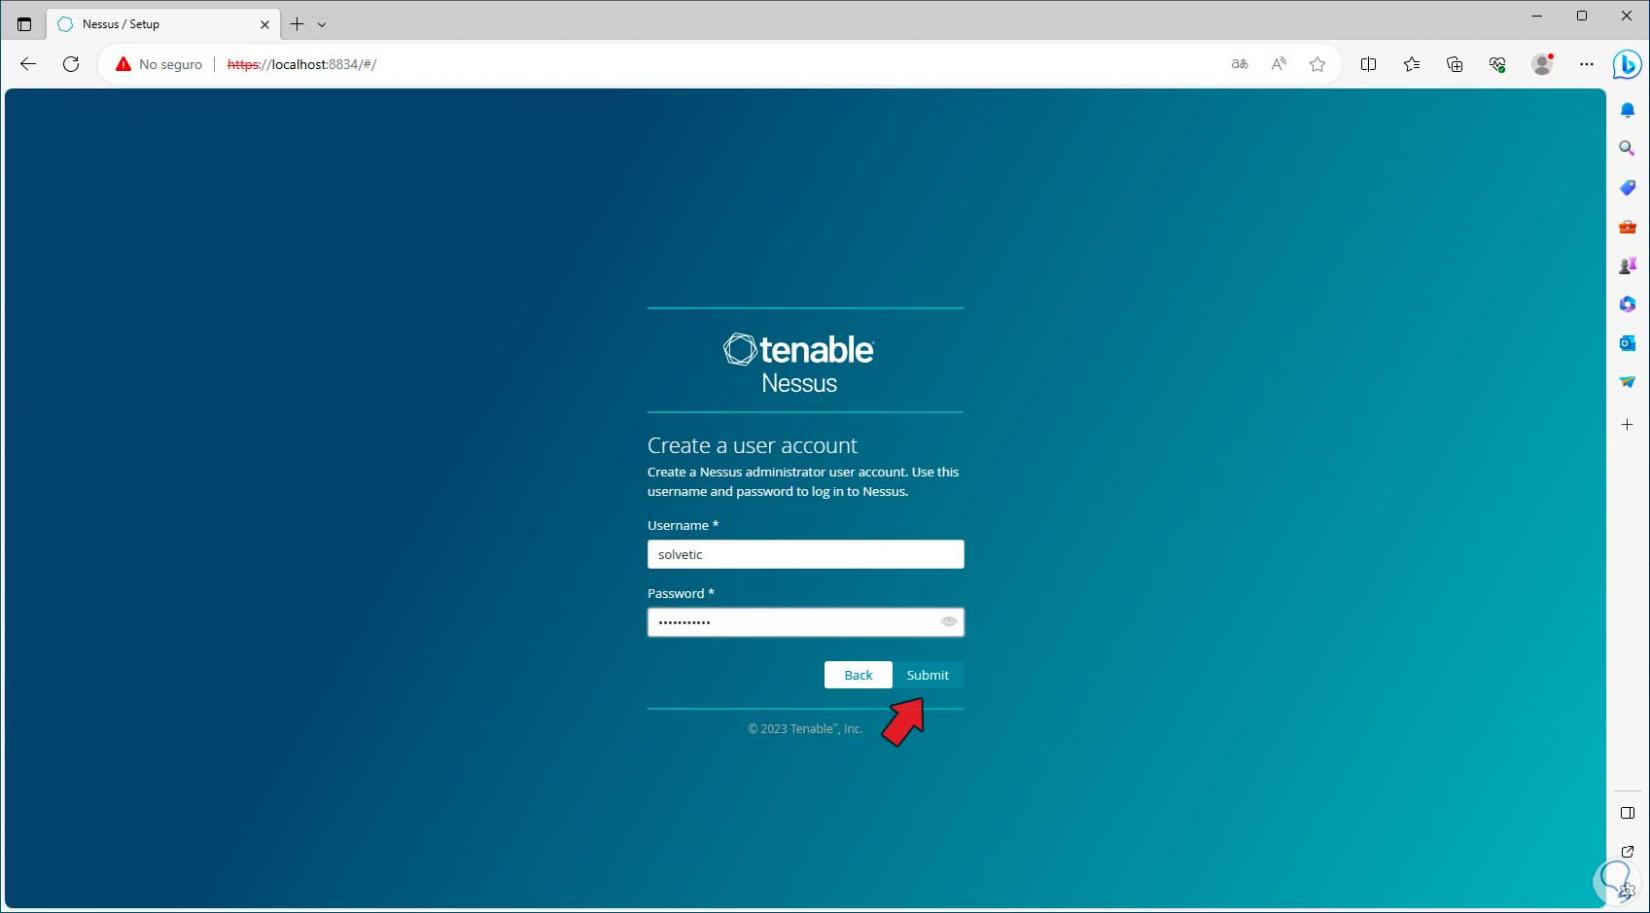
We follow the different steps to register and create the Nessus account:
Step 9
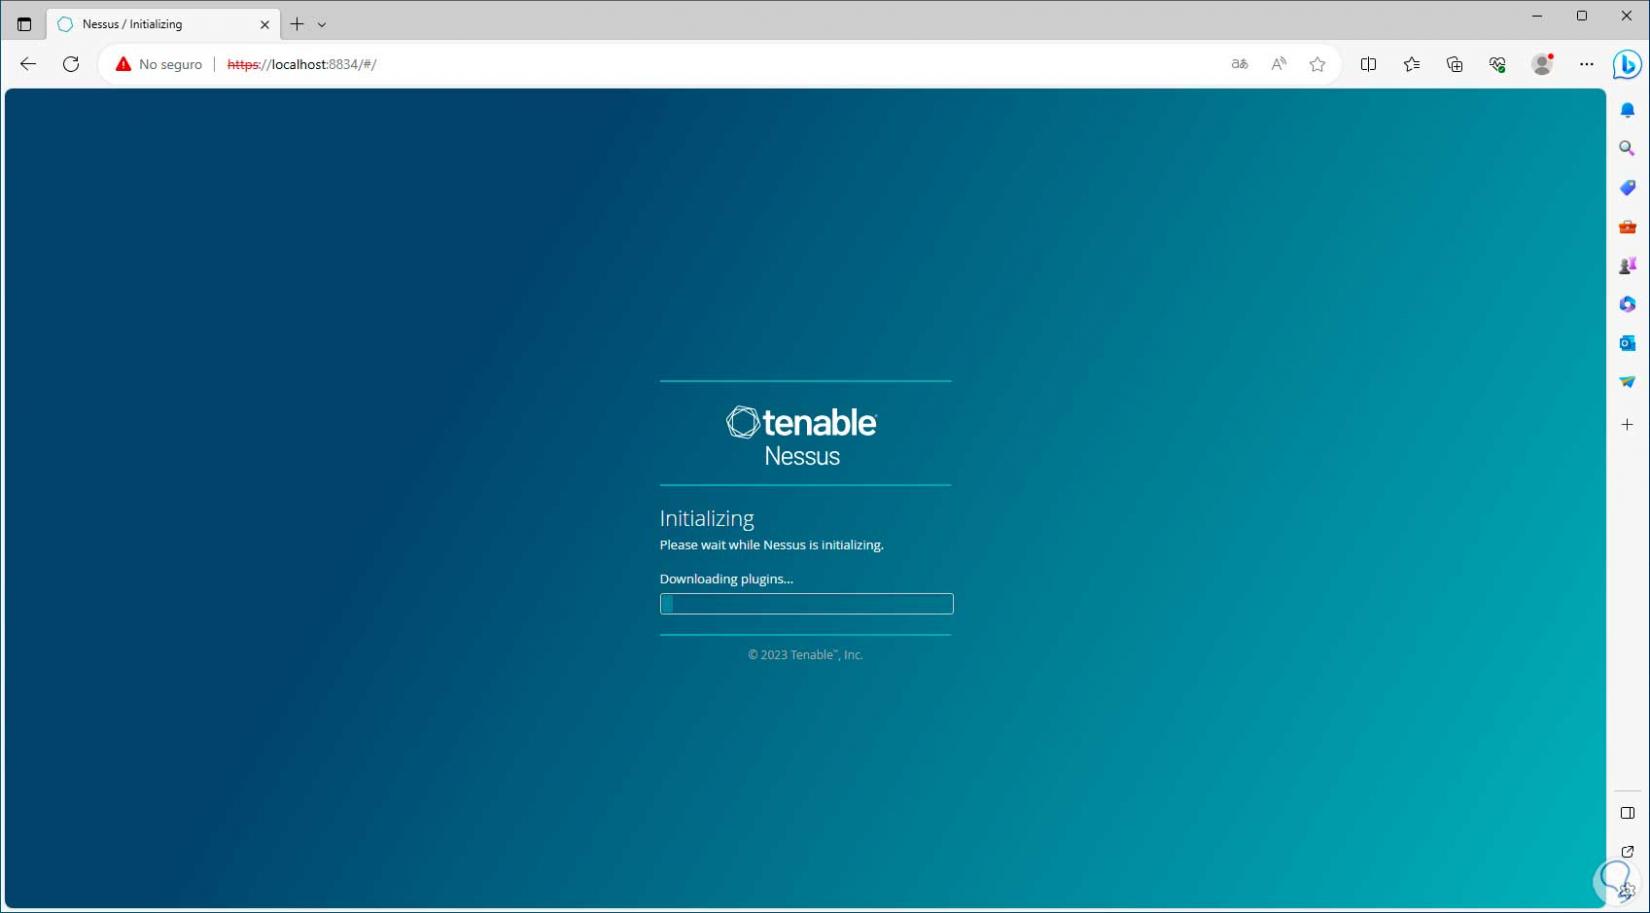
Then we can see that the plugin download process begins, this will take a while:
Step 10
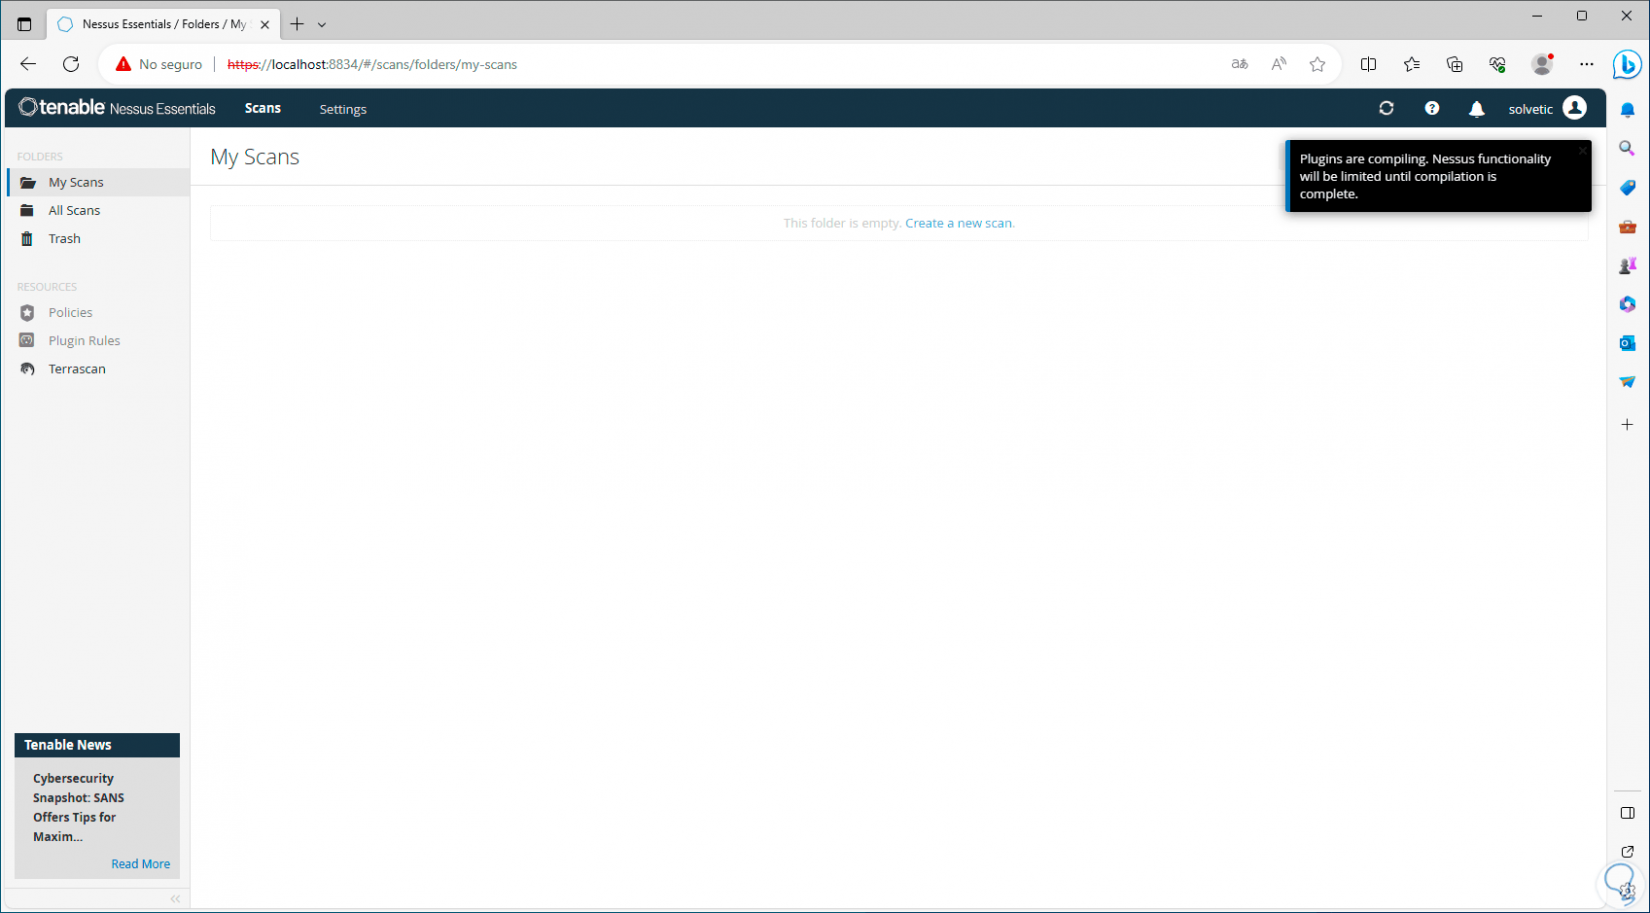
When they are downloaded, the console will open, there we must wait for these plugins to be compiled:
Note
Until the compilation is complete, it will not be possible to perform actions in Nessus.
Step 11
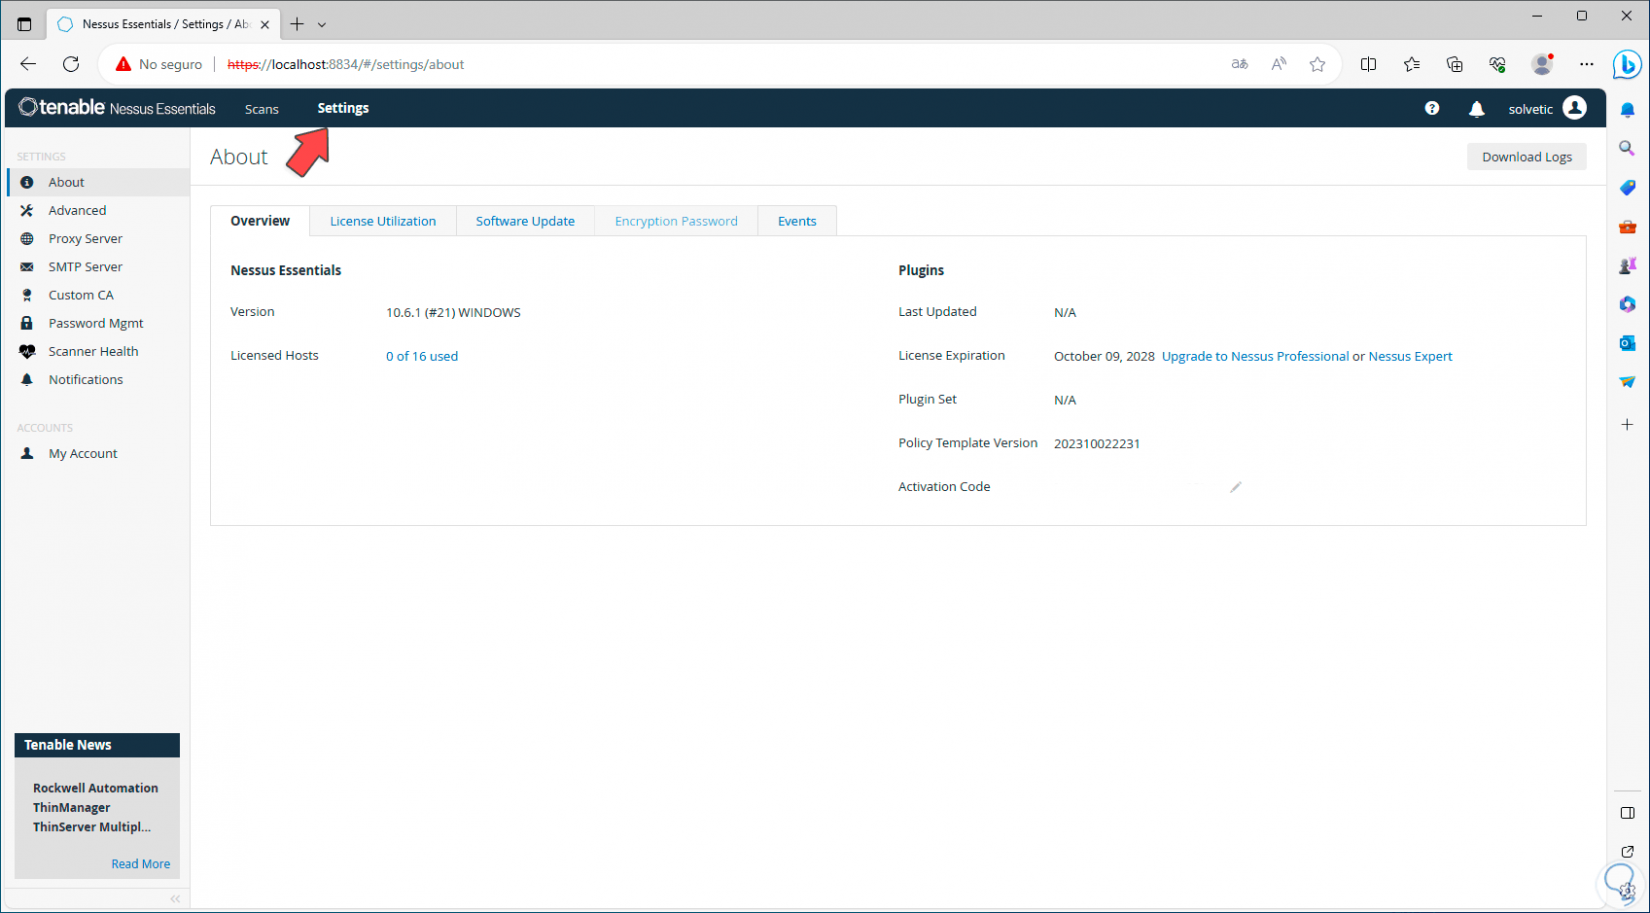
Now, we go to “Settings”, in the “About” section and there we can:
- See an overview of Nessus
Step 12
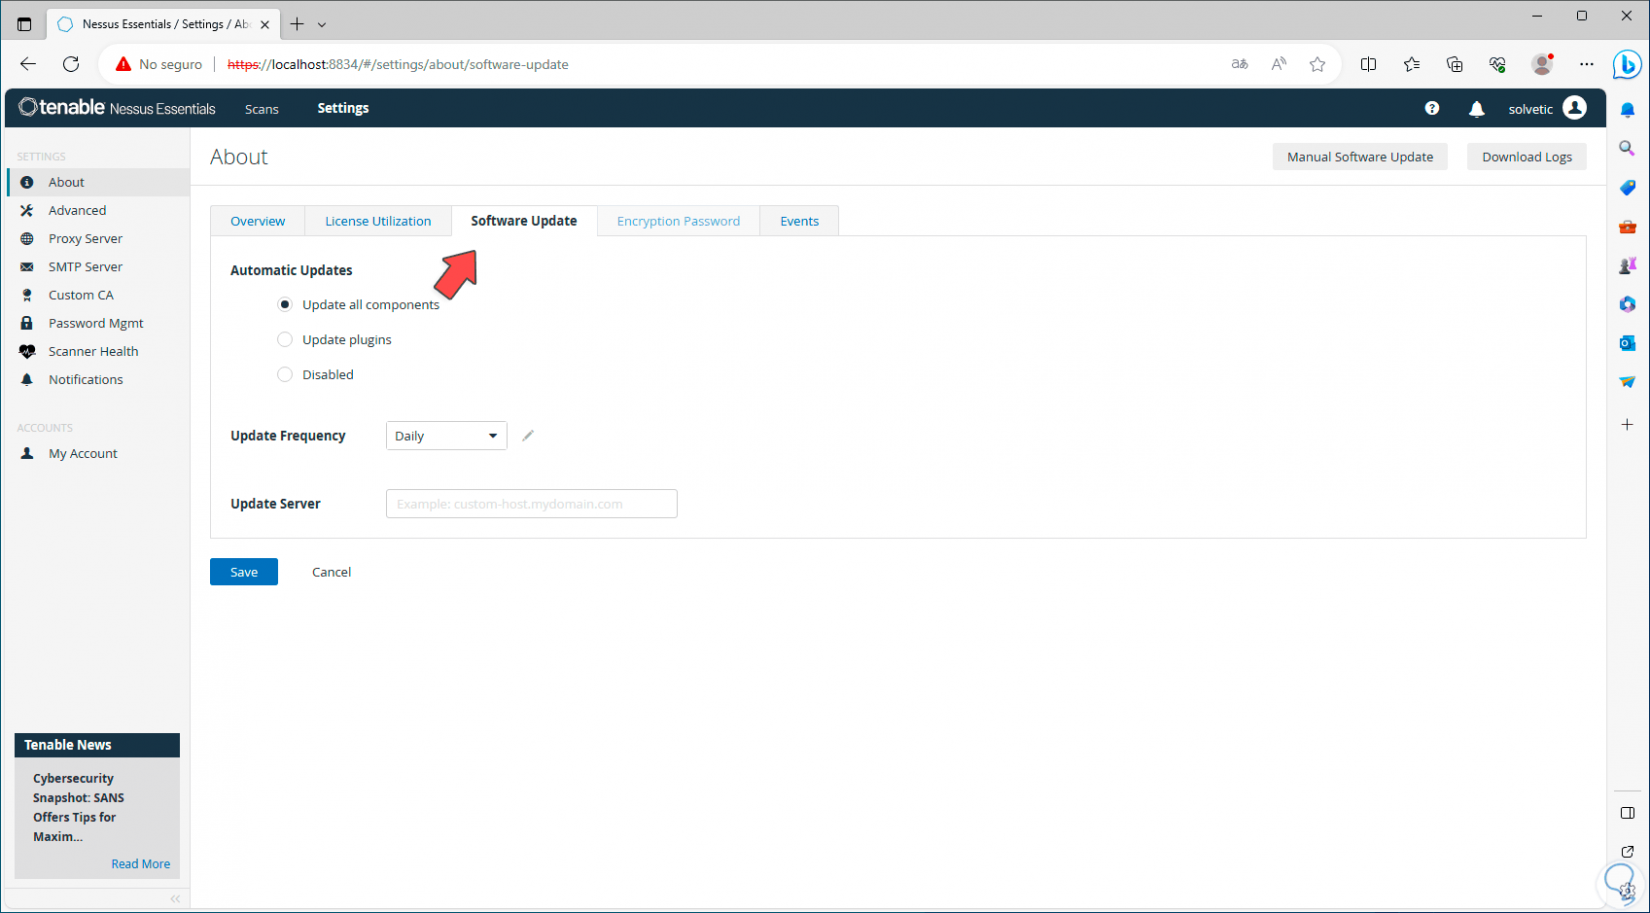
In the case of the Nessus update we can define both the frequency and whether it will be done automatically or manually:
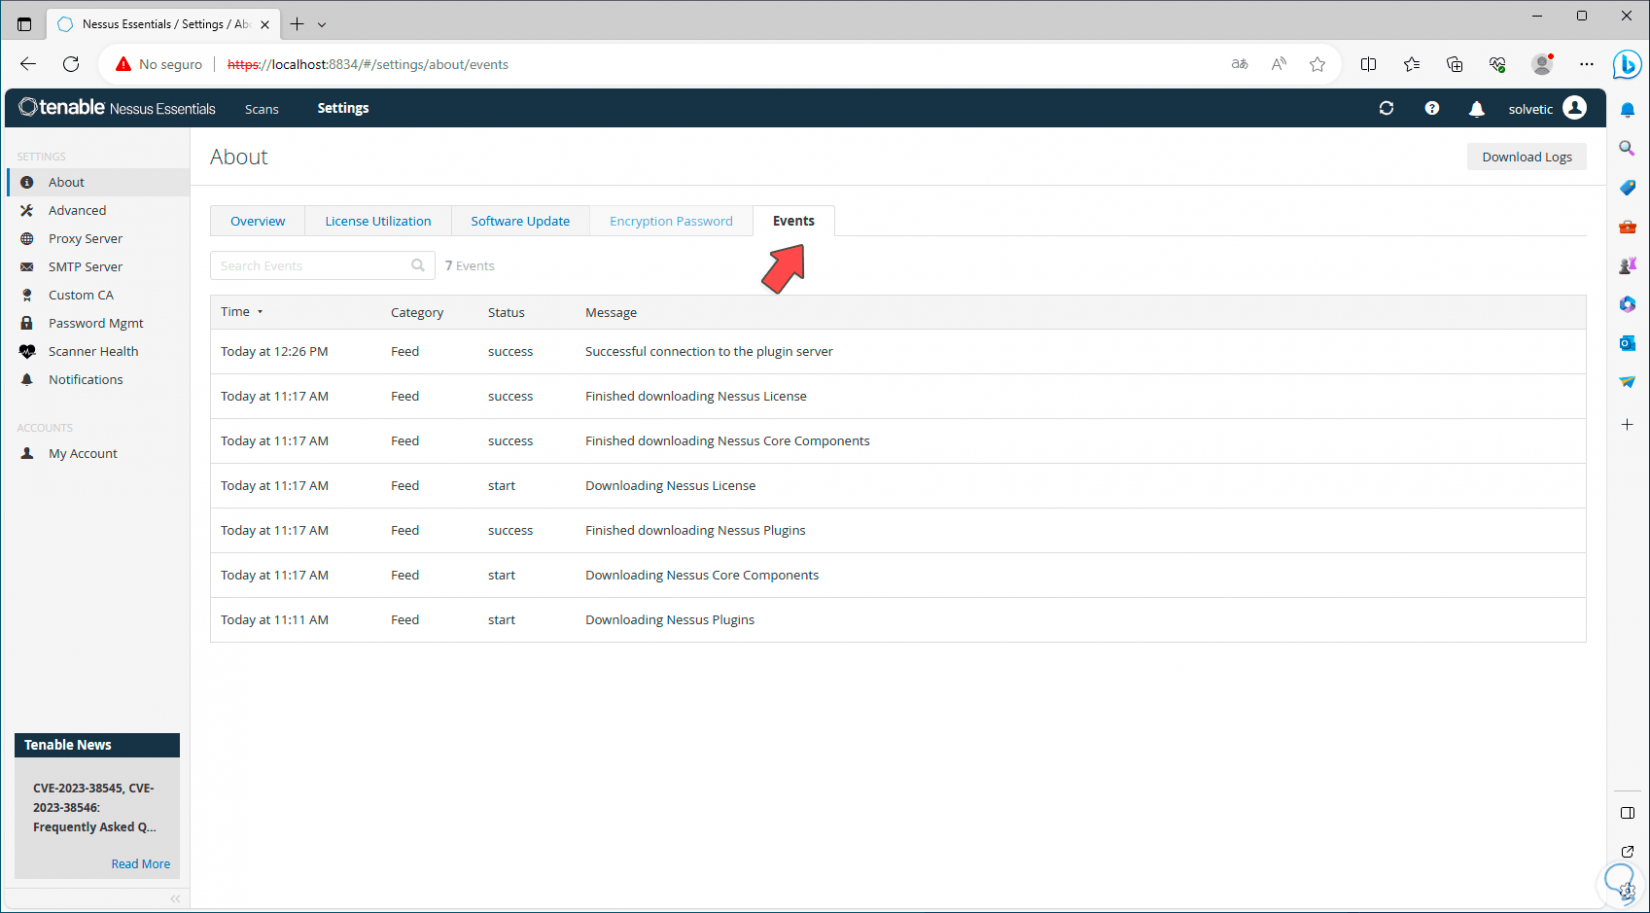
Step 13
For events we have access to date and event details:
Step 14
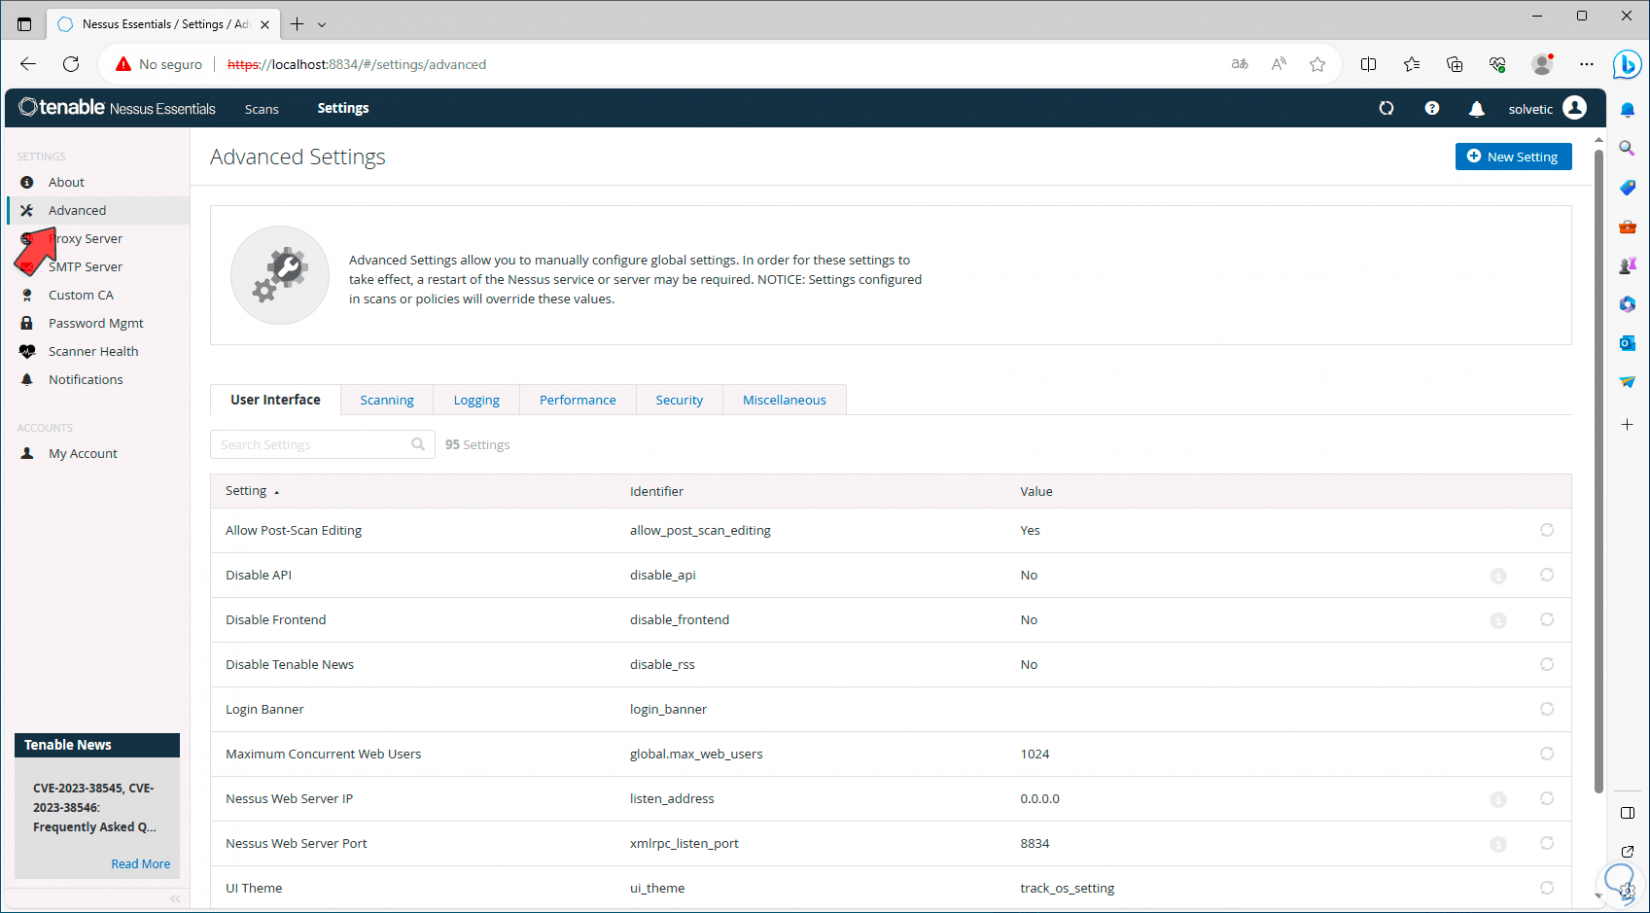
Now, in the “Advanced” section, it will be possible to globally configure the Nessus parameters, in “User interface” we can see each available parameter:
Step 15
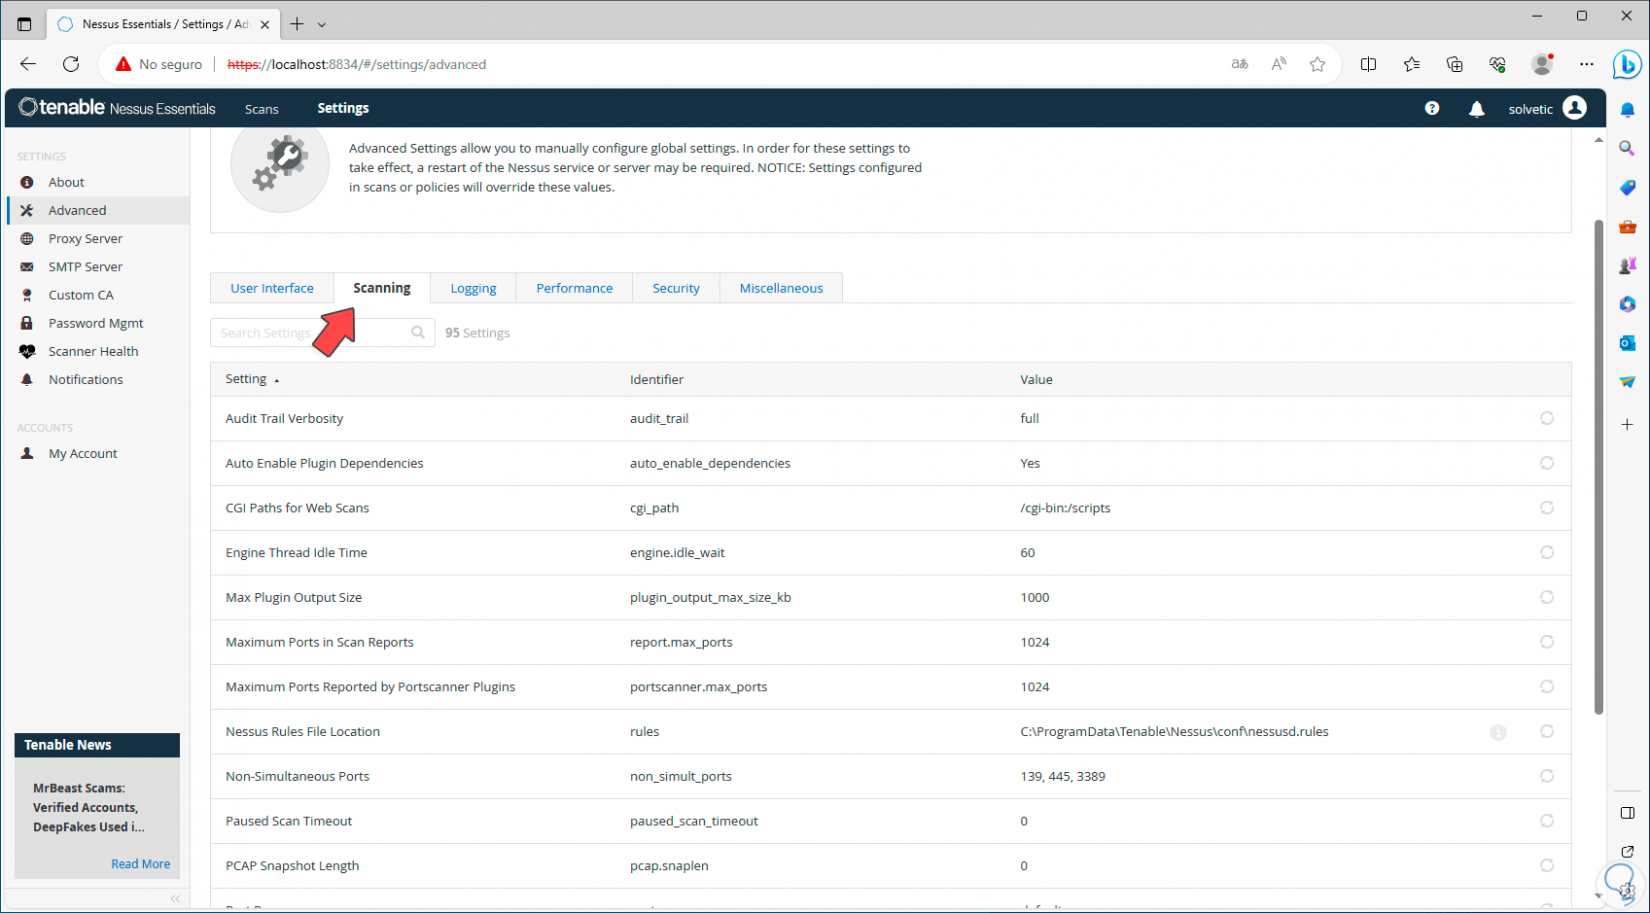
In “Scanning” we see each parameter and its value that acts when analyzing:
Step 16
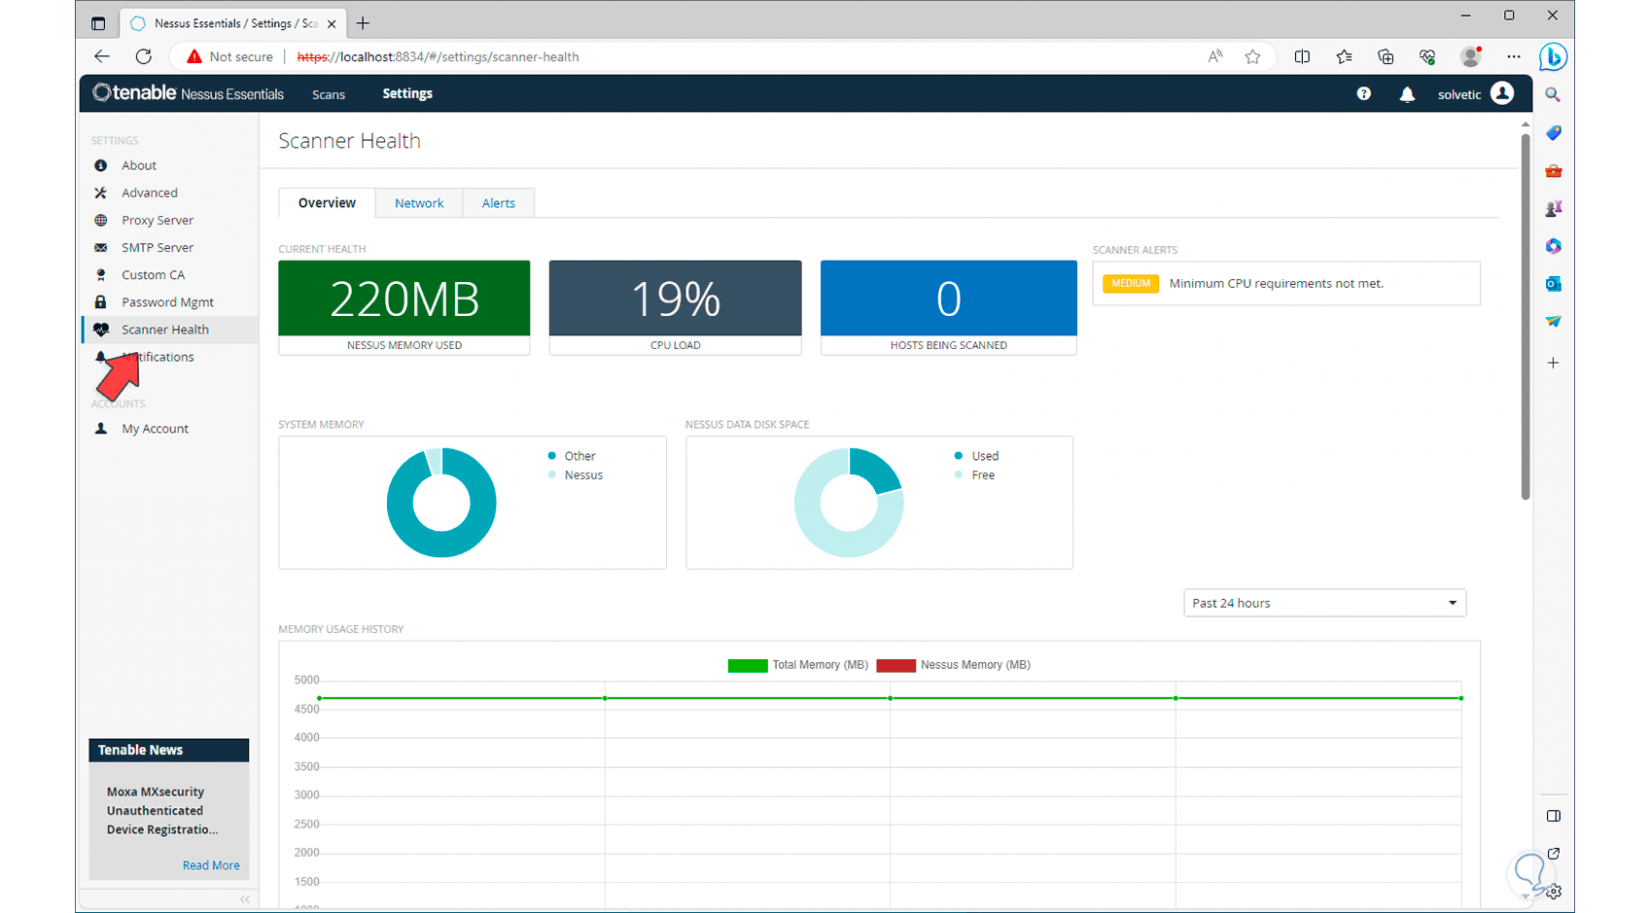
To have real-time access to the system status, click on the “Scanner health” section. We will see the memory load used by the application, the percentage of CPU usage, disk space and more details.
Step 17
When the plugins have been compiled, we go to the “Scan” tab and find the following message:
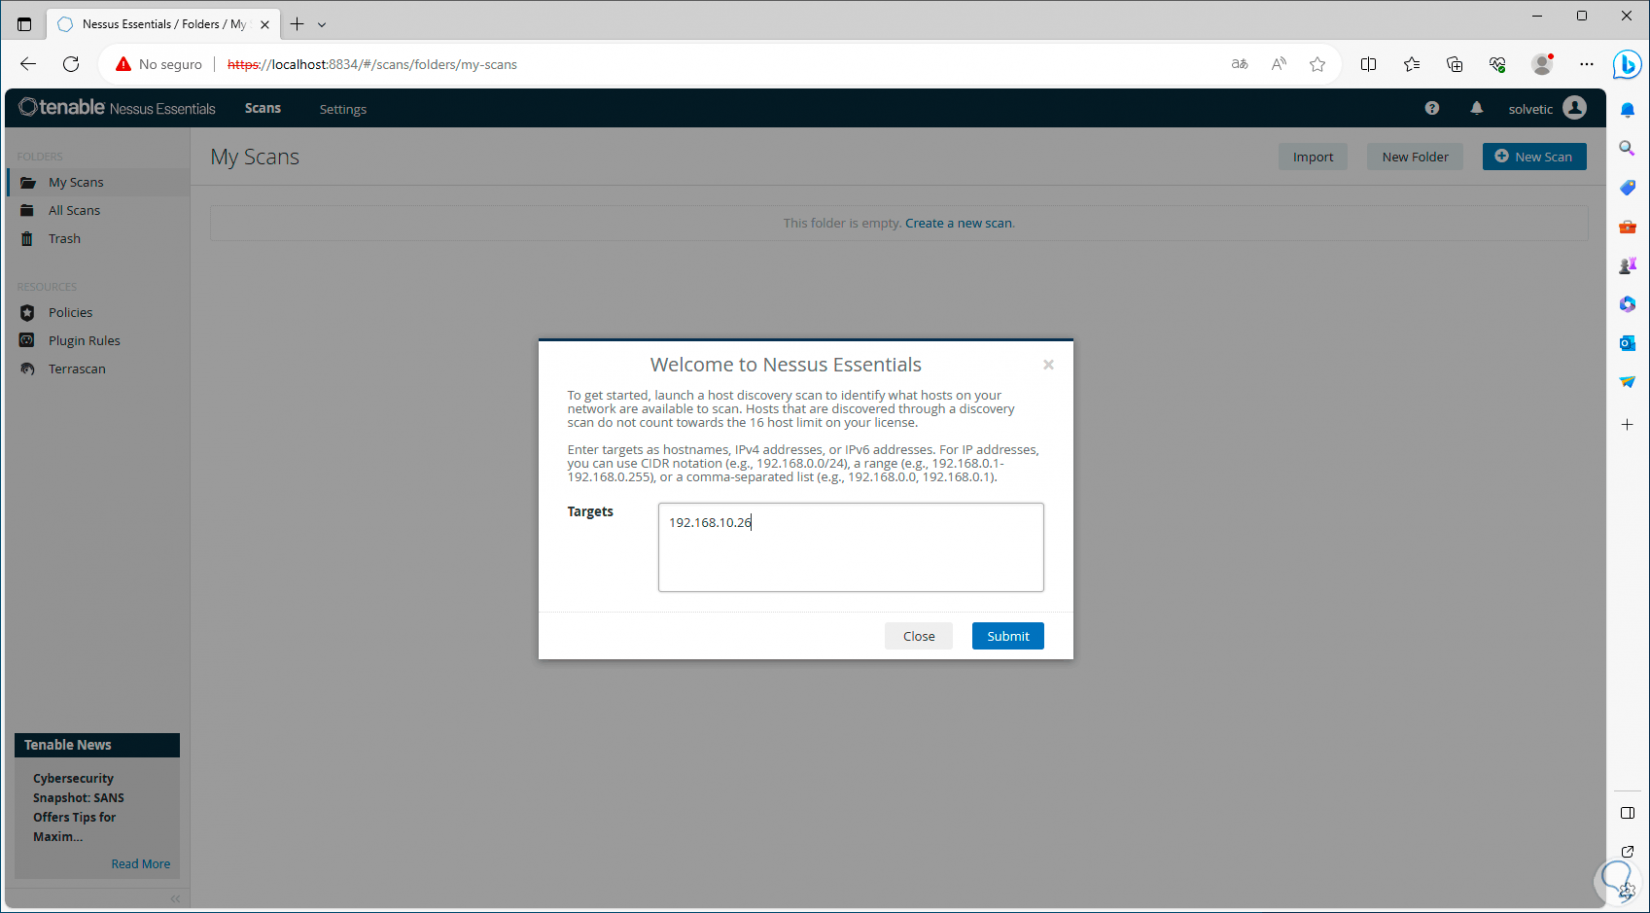
There we enter the IP address to analyze. We click on “Submit” to start the search for that host:
Step 18
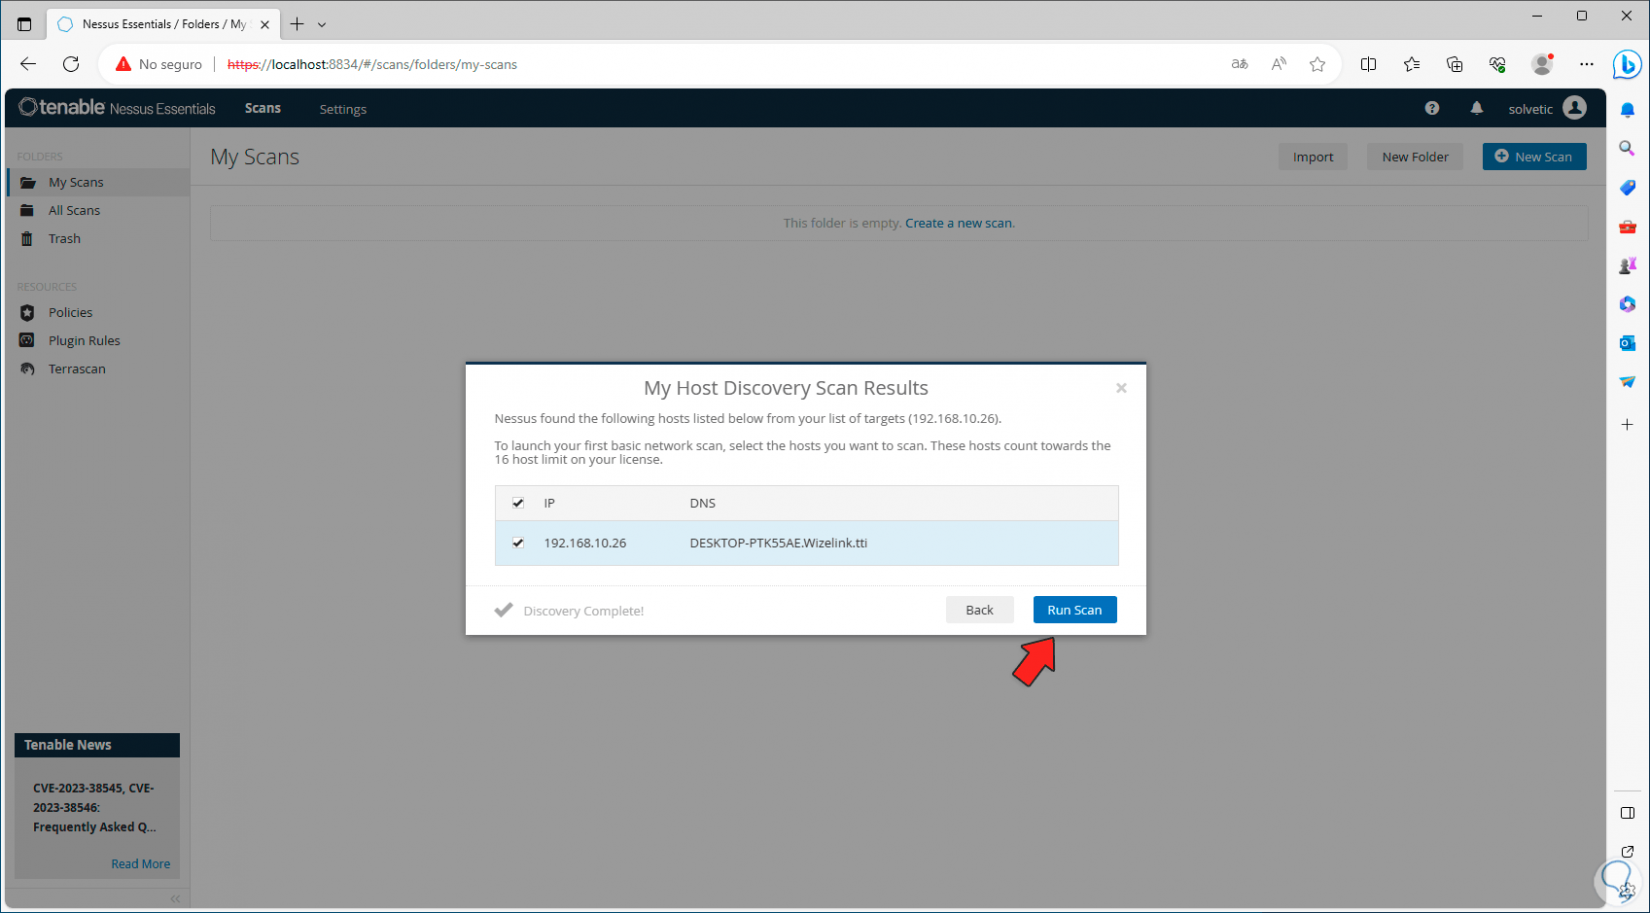
There, we select the equipment box and click on “Run Scan”:
Step 19
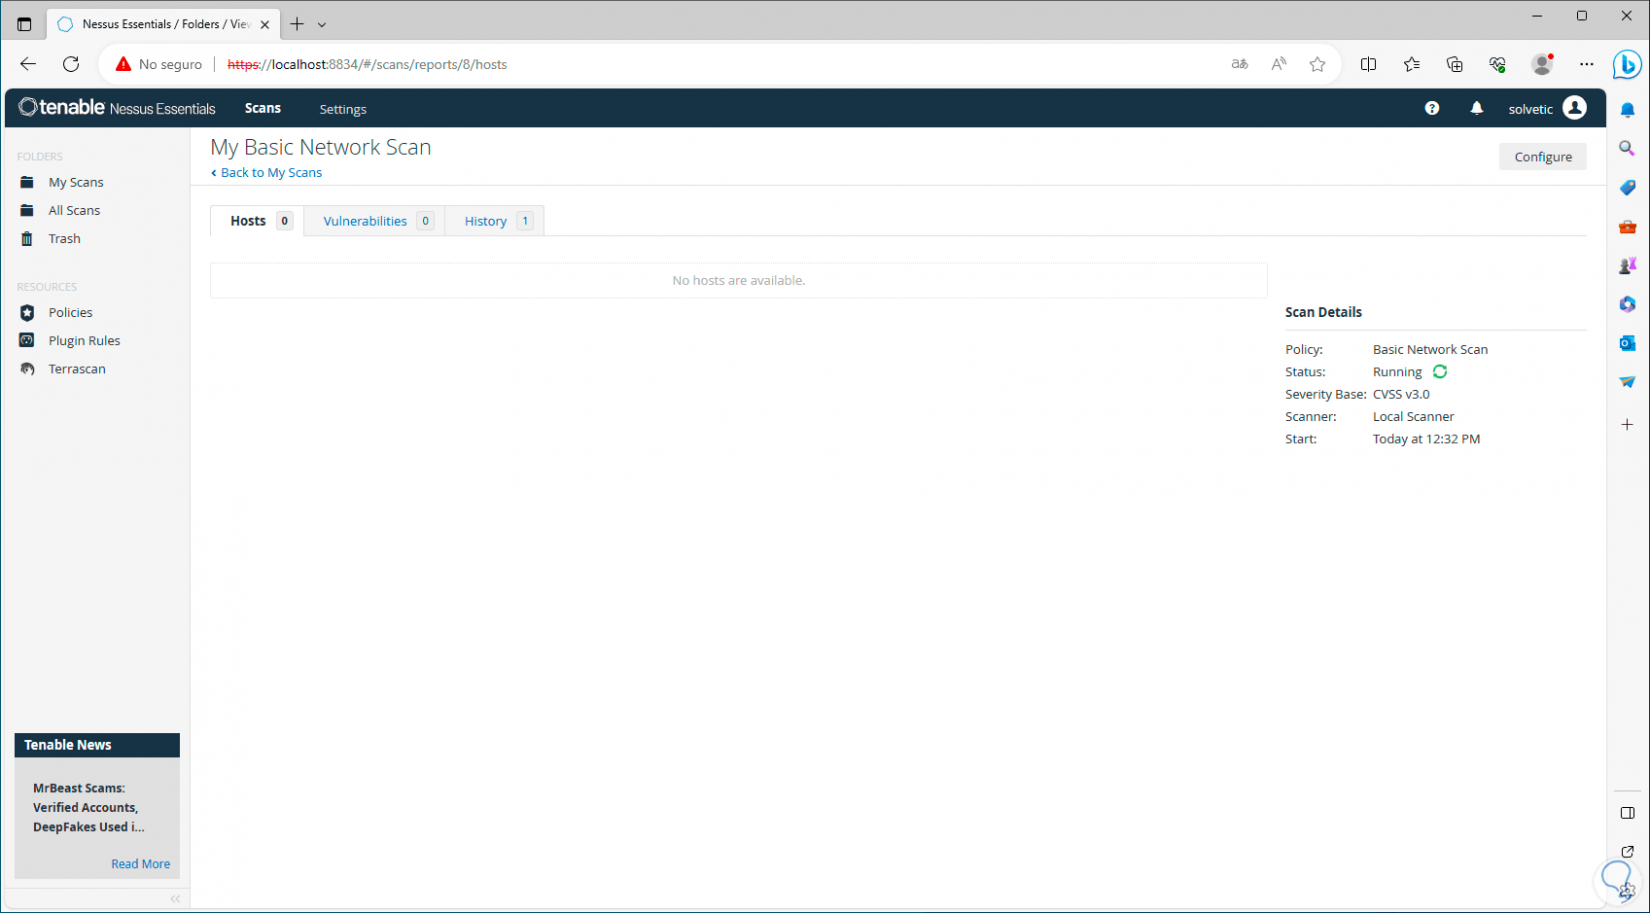
Clicking there will begin the analysis process:
Step 20
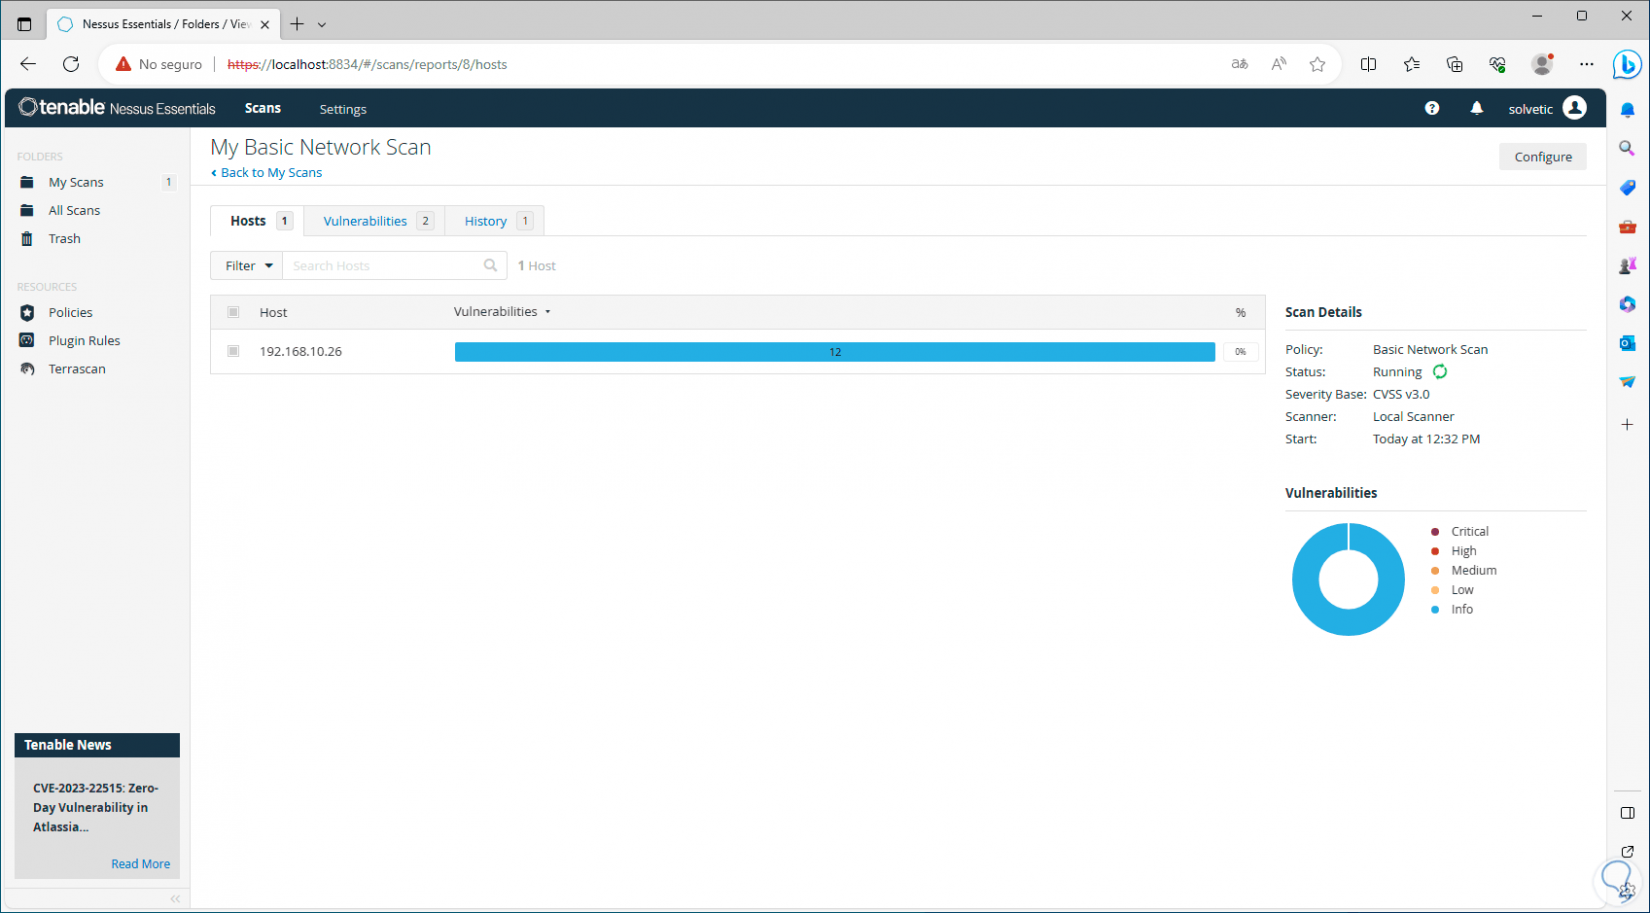
Then we will see the selected team with its various options:
Step 21
On the side we find:
- Type of scanning policy used
Step 22
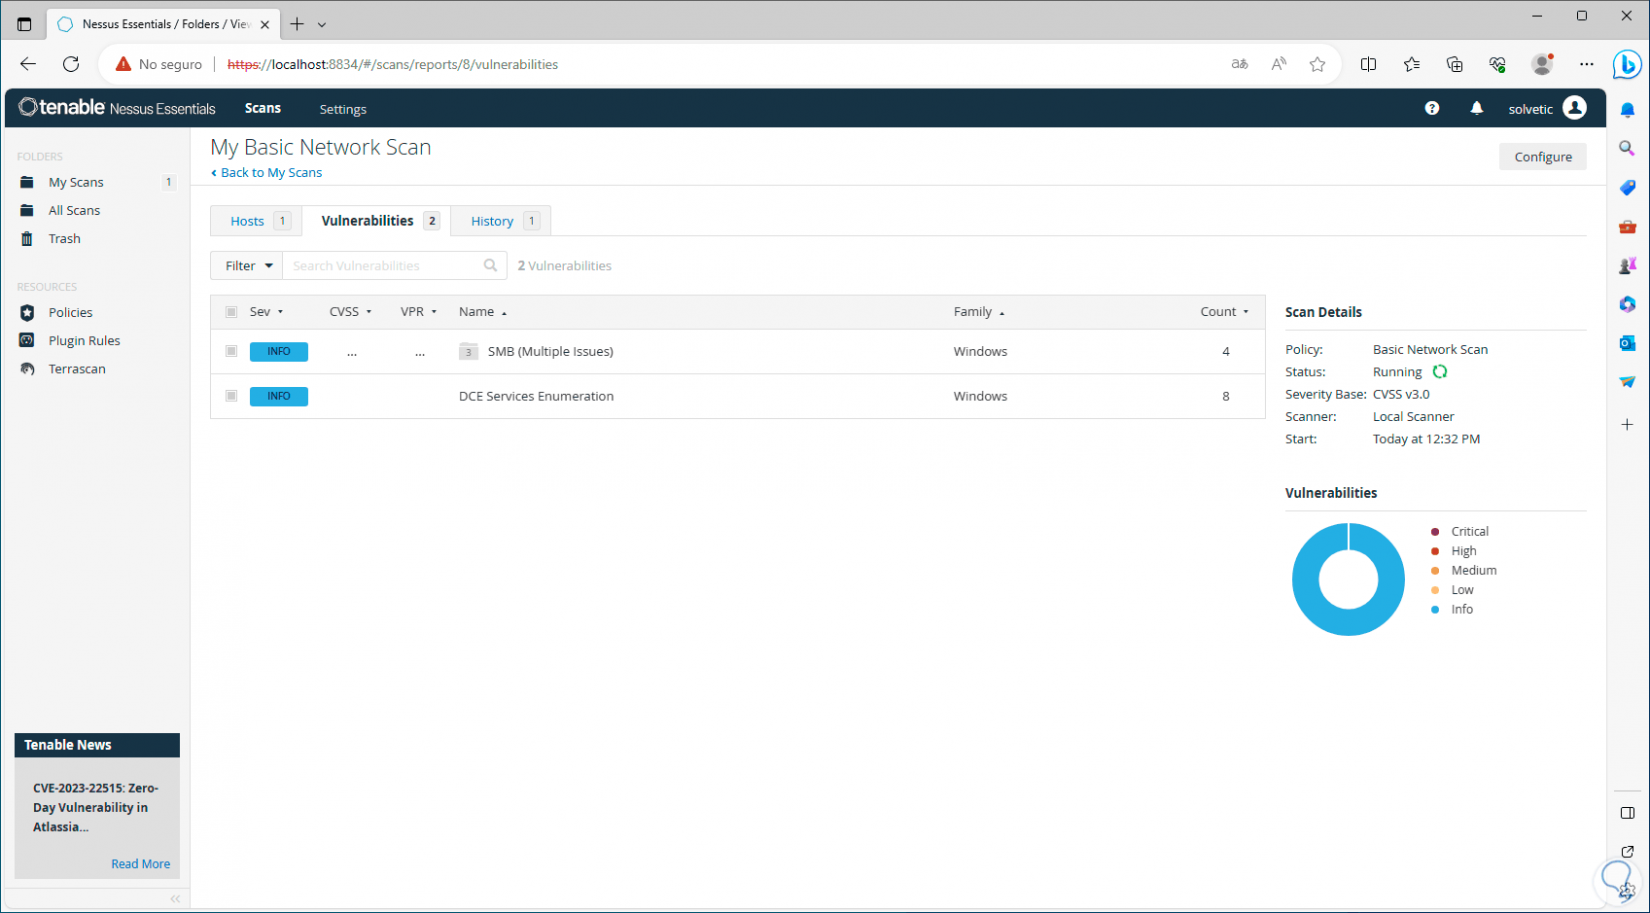
In the “Vulnerabilities” tab we find the possible threats that the computer presents:
Note
In the circular graph we can see the various types of severity of the vulnerabilities, low, medium, high or critical.
Step 23
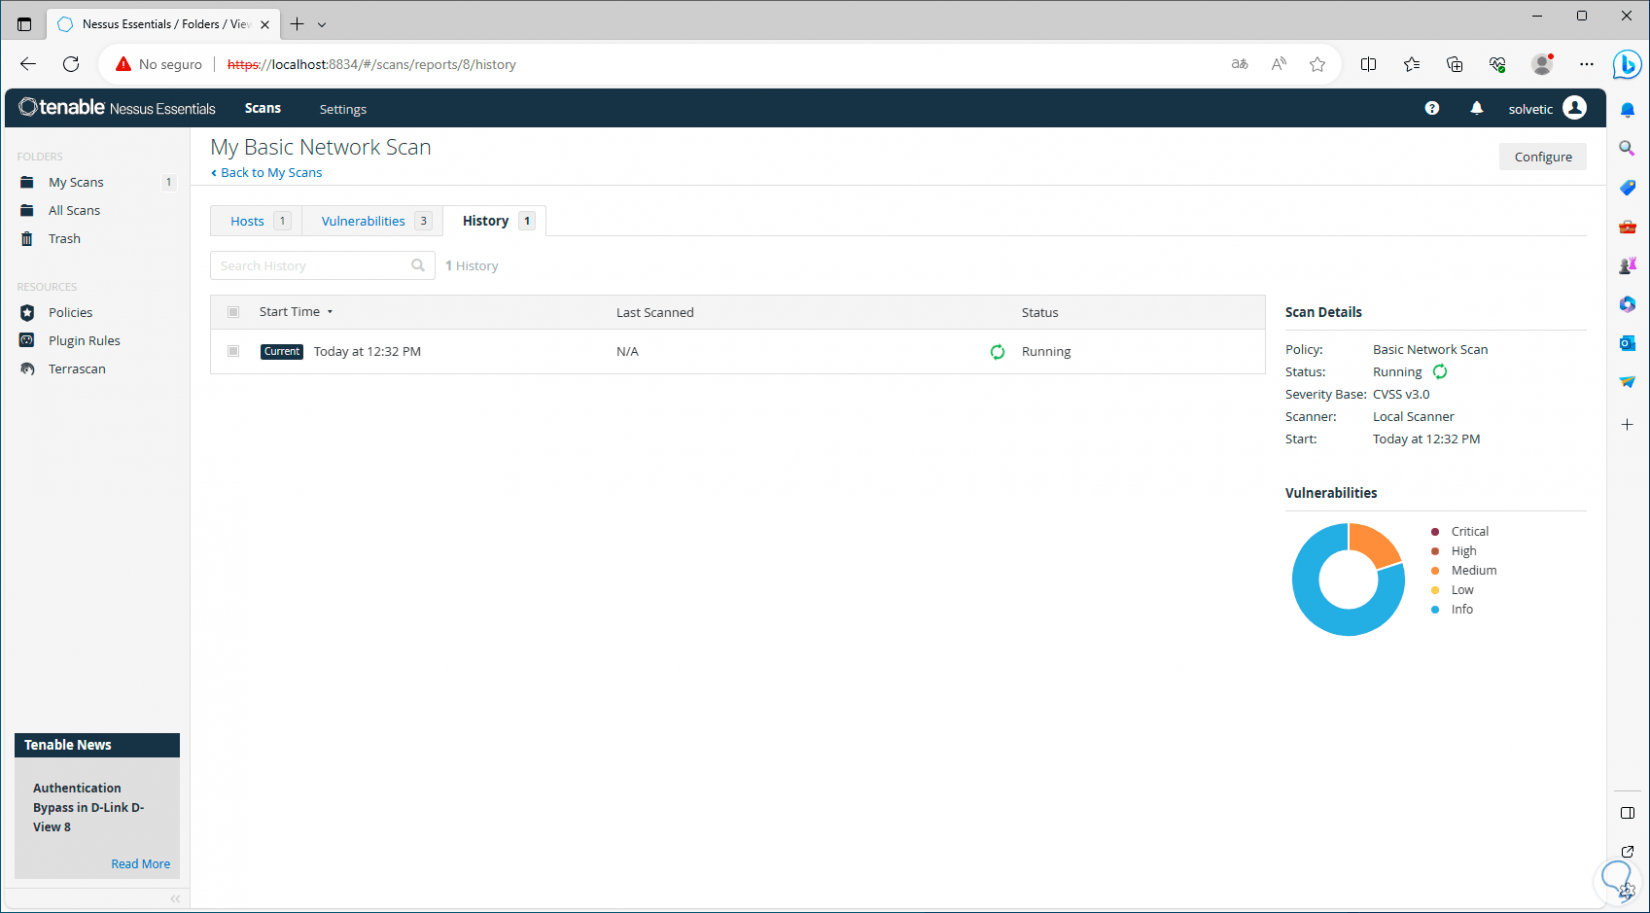
In the “History” tab we see the analysis history of the selected device:
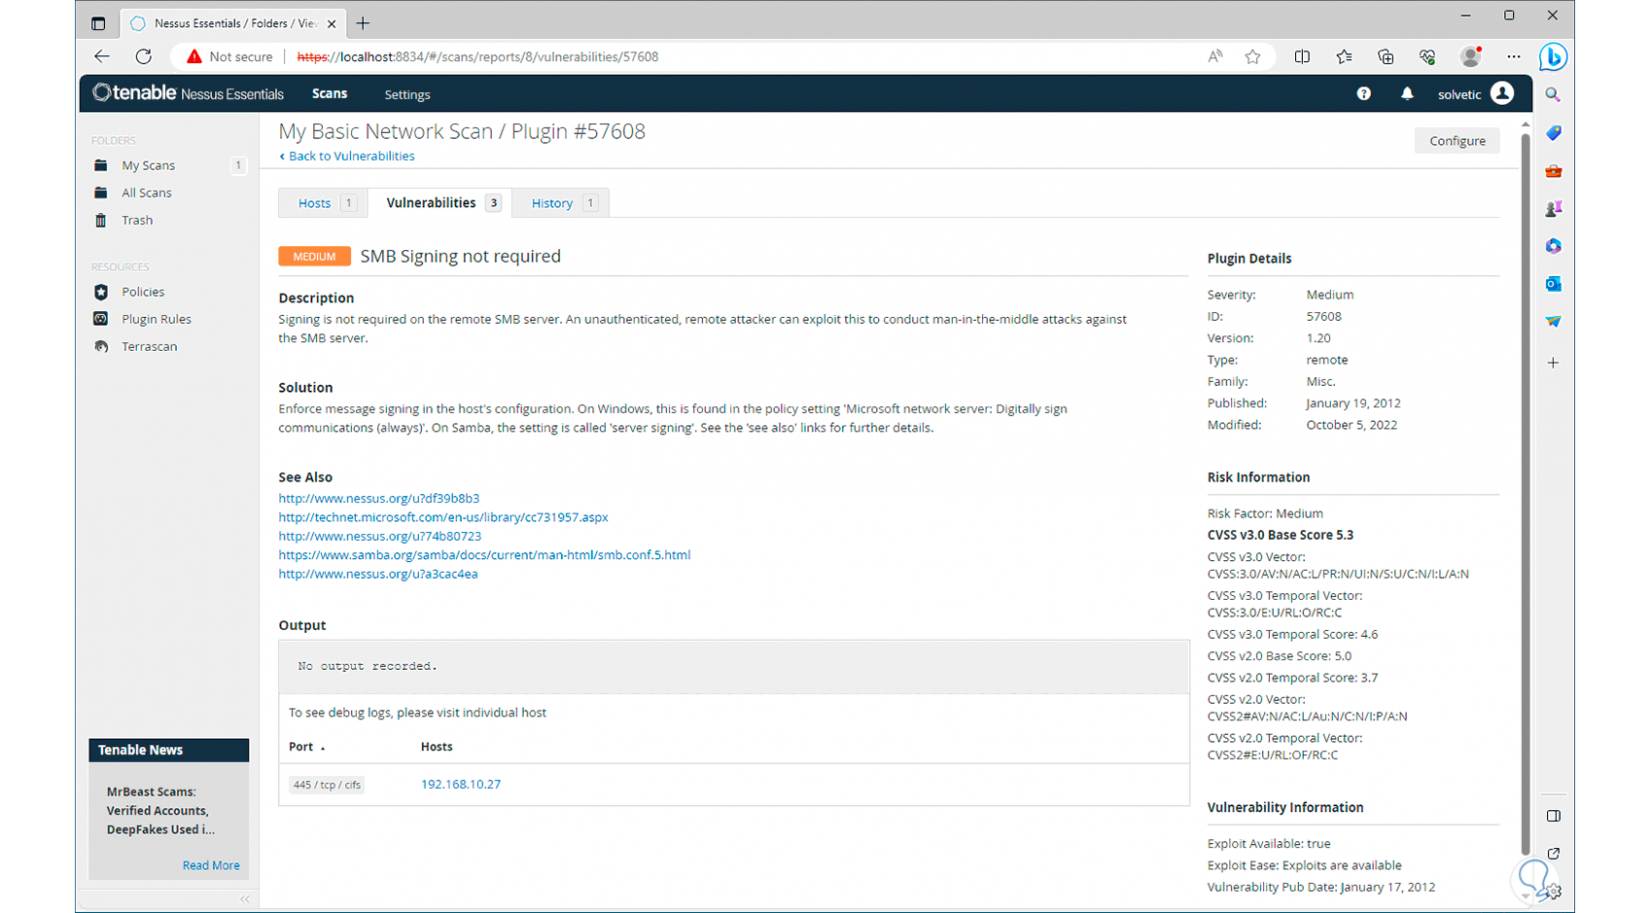
[panelwarning='Note']in the vulnerabilities section, we can click on each of them to see in detail what it is about and its respective solution.
This is how Nessus will help us preserve the security and integrity of our Windows operating system and the applications installed there.