VirtualBox is one of the most used virtualization platforms in the world thanks to its various functionalities, compatibility, operating system support and ease of use..
VirtualBox is available for download at the following link:
Virtualbox
VirtualBox has a group of functionalities called VirtualBox Jutes Addition which are available for all compatible guest operating systems and these are provided as a single image file called VBoxGuestAdditions.iso
This image file is located in the VirtualBox installation directory and for its installation it will be necessary to mount that ISO file in the virtual machine as a virtual CD-ROM and install it from there from the Devices / Insert CD image menu of the “Guest Additions â€:
Among the benefits that Guest Additions gives us we find:
Mouse Pointer Integration
Thanks to this function, we have an ideal compatibility with the mouse since we will only have a mouse pointer and it will not be necessary to press the Host key to "release" the mouse at the moment the guest operating system captures it. For this, a special mouse driver is installed on the guest which communicates with the mouse driver on the physical computer and thus moves the pointer of the guest mouse.
Better video support
With this option they install custom video drivers in order to offer better quality video modes and not the standard configuration, accelerated video performance is also offered. As an extra point, on Windows, Linux and Solaris systems, it will be possible to change the size of the virtual machine window if they are installed in Guest Additions
Shared folders
These shared folders give us the possibility to exchange files between the host and the guest in a safe and complete way.
Full window
This option allows the individual windows that are displayed on the virtual machine's desktop to be mapped to the host's desktop, this gives the appearance that the actions are executed on the host.
Generic host / guest communication channels
These allow us to control and monitor the execution of guests in various ways as a generic chain-based mechanism in order to exchange bits of data between the guest and a specific host.
Time synchronization
With this option we are sure that the host system time is synchronized with that of the host using NTP.
Automated session starts
It is an option that can be configured for all logins to run automatically without entering credentials manually.
Shared clipboard
By using this option, the clipboard of the guest operating system can be shared with the host operating system
.
The problem is that in Linux environments when we install the Guest Additions an error is generated that prevents its optimal installation and therefore TechnoWikis will explain in detail how to install these practical VirtualBox utilities in Ubuntu 18 and CentOS 7.
1. How to install VirtualBox Guest Additions on Ubuntu 18.04 Linux
Step 1
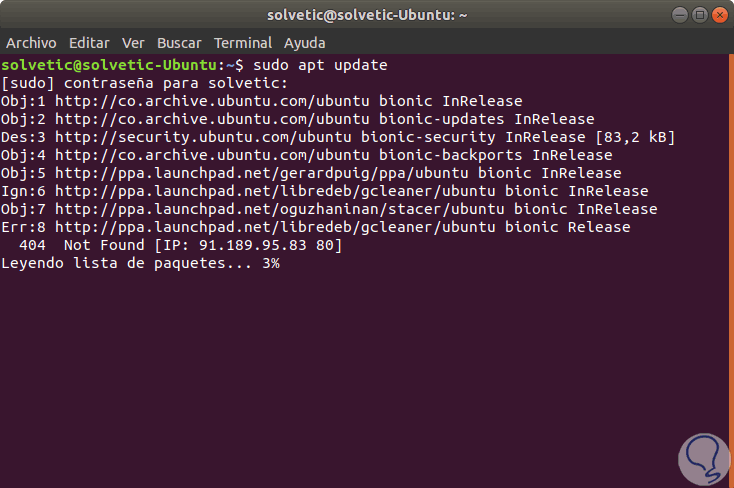
To start this process, we will first update the operating system by executing the following commands:
sudo apt update sudo apt upgrade
Step 2
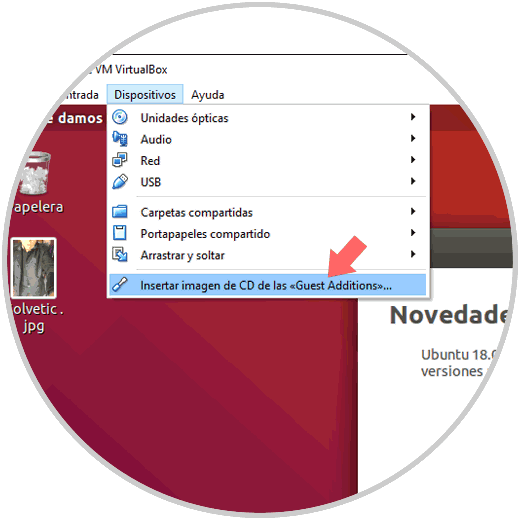
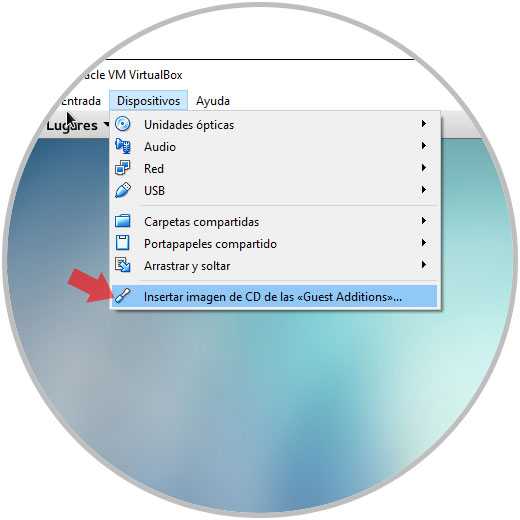
Once the system is updated we go to the "Device" menu and there we select the option Insert CD image of the "Guest Additions":
Step 3
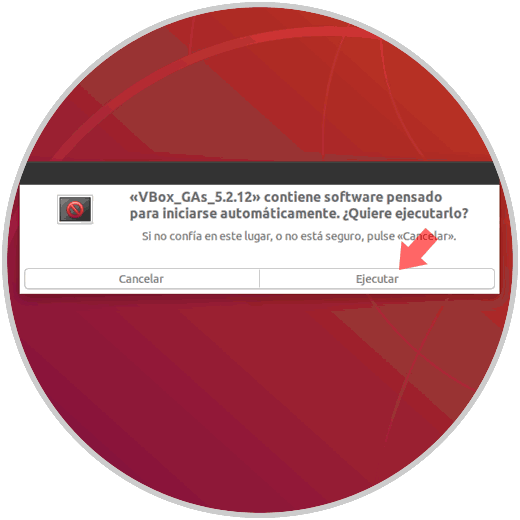
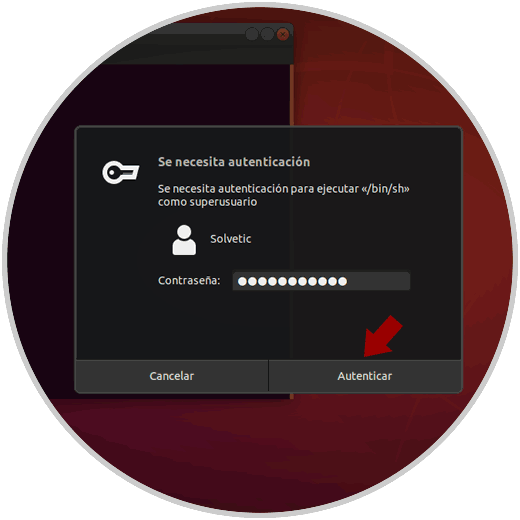
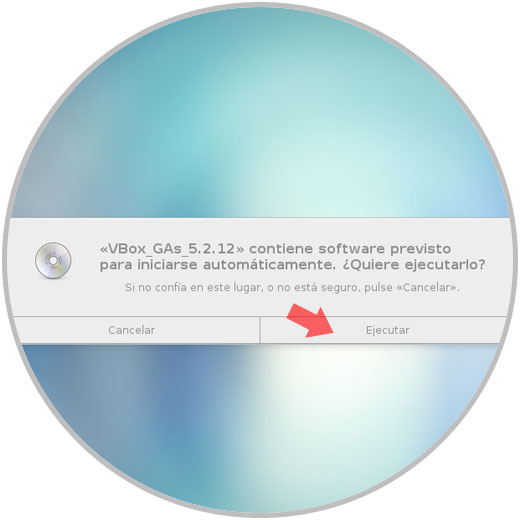
When you do this, the following message will be displayed and click on the "Execute" button
We will need to enter the administrator credentials for this action and click on "Authenticate"
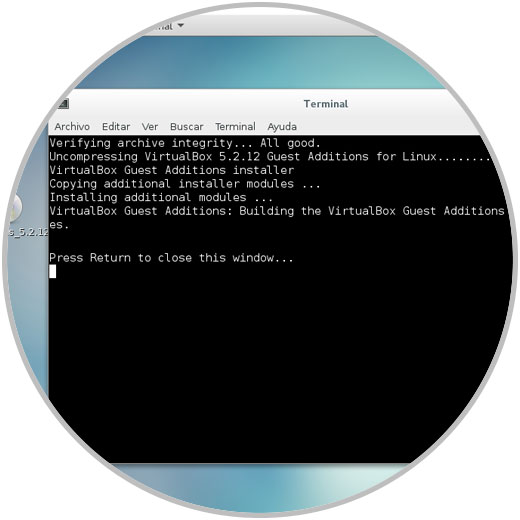
Step 4
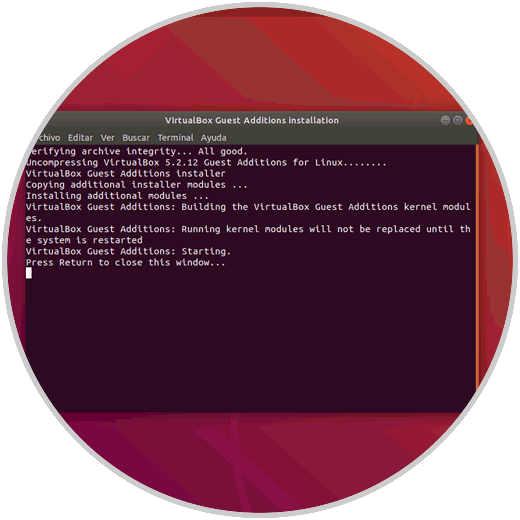
A terminal window will open in which the VirtualBox Guest Additions installation will be performed, once the installation is complete, press "Enter" to close the terminal window:
Step 5
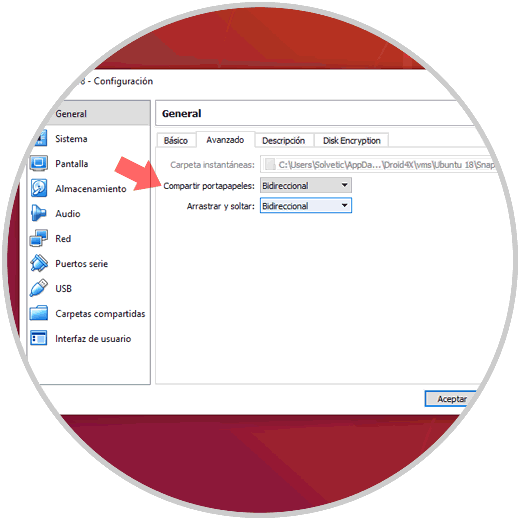
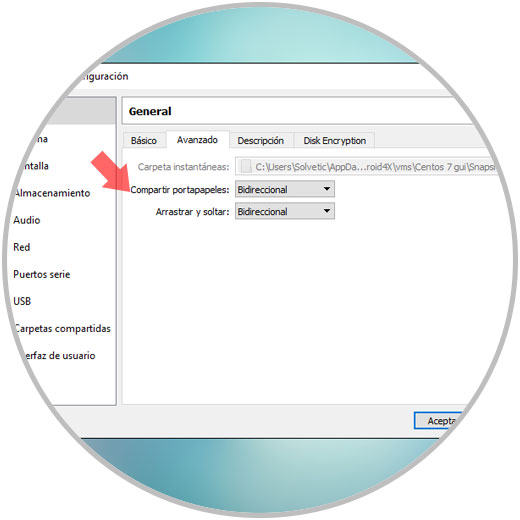
Once this is done, in order to enable the shared Clipboard and the drag-and-paste functionality between the guest and the host, we go to the Machine / Configuration menu and in the displayed window we go to the General / Advanced section and there we will enable the two options that are:
Now we can reboot the system and check that everything works correctly..
2. How to install VirtualBox Guest Additions on CentOS Linux
Step 1
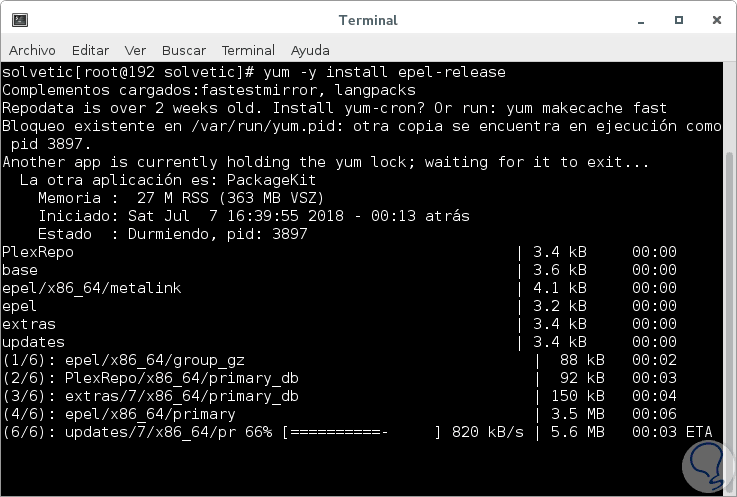
In the case of CentOS 7, first, we must enable the EPEL repository in the guest operating system in order to install some packages that are necessary for the installation process, for this we execute the following in the terminal:
yum -y install epel-release
Step 2
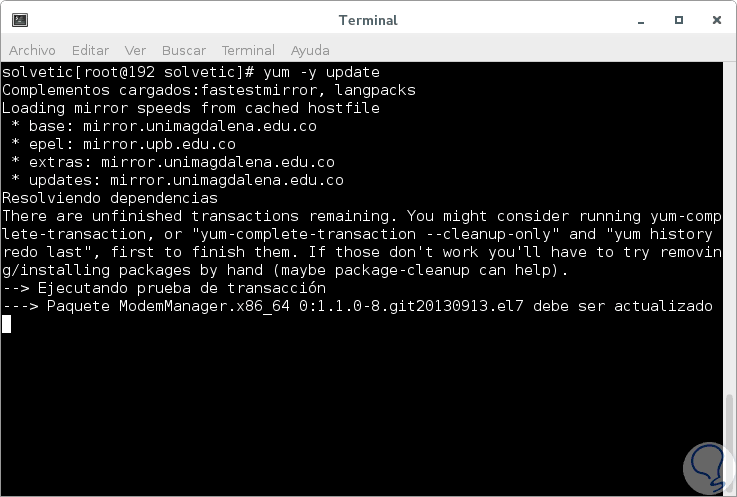
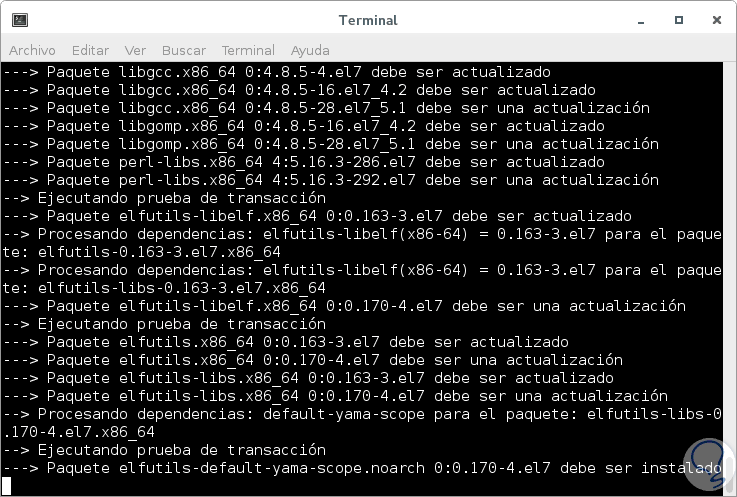
Once we install the EPEL repository in CentOS 7, we will update all the packages of the guest system, where the kernel is also included, so that the VirtualBox Guest Additions work as expected, for this we execute the following:
Step 2
When the update process is complete, we will install the kernel headers, developer tools and other associated packages which are necessary to install the Guest Additions, for this we execute the following command:
CentOS
yum install make gcc kernel-headers kernel-devel perl dkms bzip2
Fedora
dnf install make gcc kernel-headers kernel-devel perl dkms bzip2
There we will have to enter the letter and to confirm the download and installation of these utilities.
Step 3
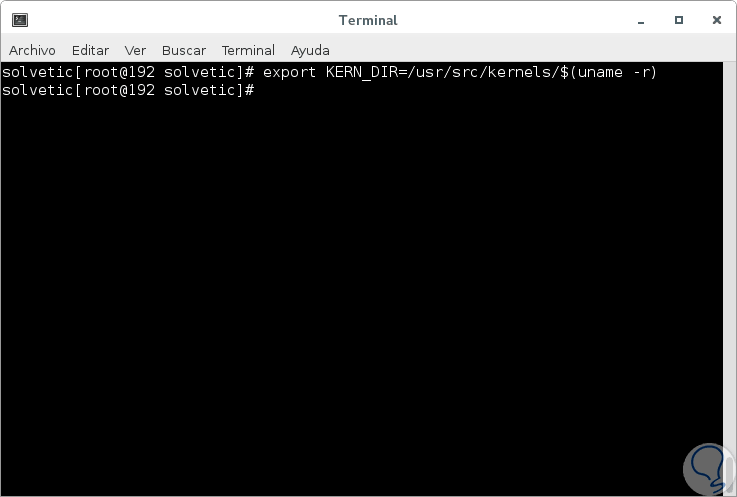
The next step is to set the KERN_DIR environment variable in the kernel source code directory which is:
/ usr / src / kernels / $ (uname -r)
Then it will be necessary to export it, for this we execute the following:
export KERN_DIR = / usr / src / kernels / $ (uname -r)
Step 3
Once this is done, we can install the Guest Additions using one of the following methods:
Graphically
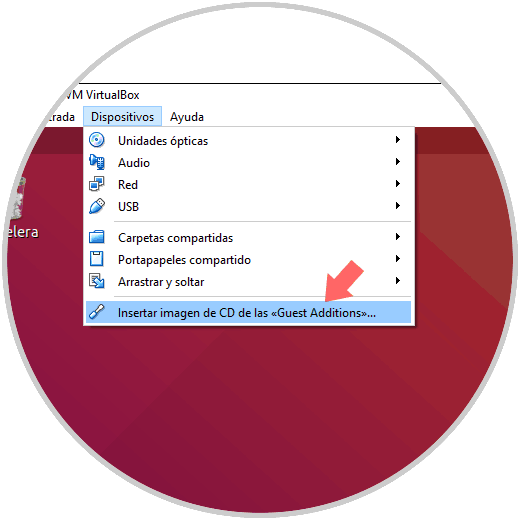
For this we will go to the "Device" menu and there we select the option Insert CD image of the "Guest Additions":
The following message will be displayed and click on the "Execute" option
Now we must enter the administrator password:

This will open a terminal console where the installation process will take place. Press "Enter" to exit this operation
Through the console
The next option is to access the terminal and execute the following commands in order to mount the Guest Additions ISO file, then go to the directory where these utilities have been mounted in ISO format, and there we will finally execute the script to install them on Linux , we execute the following lines:
mount -r / dev / cdrom / media cd / media / ./VBoxLinuxAdditions.run
Like Ubuntu, to enable the shared Clipboard and the drag-and-paste functionality between the guest and the host in CentOS 7, we will go to the Machine / Configuration menu and in the pop-up window we will go to the General / Advanced section where we will enable the two options available that are:
After this it will be possible to effectively use these Guest Additions that add a higher level of use to VirtualBox virtual machines..