One of the most practical ways we can share many actions that we carry out in Ubuntu is to record the screen with each step taken, this is useful for administrative tasks, support, teaching or evidence of certain situations..
Knowing how to record the screen of our computer can be quite important, since there may be situations in which we need to know how to do it for as we have already said, to be able to show another person a certain action without needing to be present.
Although there are several options to record the Ubuntu screen , we must look for tools that, apart from being free, provide us with different configuration and customization options. That is why today TechnoWikis brings a series of free applications to record the Ubuntu 18.04 screen completely..
1. How to record Ubuntu screen for free with SimpleScreenRecorder
SimpleScreenRecorder is an application developed to record programs and games, it is a simple program but it has great features at the time of use.
Among its main features we find
- Qt based graphical user interface
- You can synchronize audio and video without problems
- We can record the entire screen or only part of it, it also supports the recording of OpenGL applications directly
- Reduce the speed of video frames in case the device has performance problems
- It will be possible to pause and resume recording at any time
- It is capable of displaying a preview during recording
- Display statistics during recording with details such as file size, bit rate, total recording time, etc.
- We can make live broadcast
- It makes use of libav / ffmpeg libraries for encoding, so it is compatible with many different codecs and file formats
Step 1
SimpleScreenrecorder is available in the Ubuntu software center, but we can install it from the terminal by running the following:
sudo apt install simplescreenrecorder
If we wish against the latest version we will always install the following PPA repository:
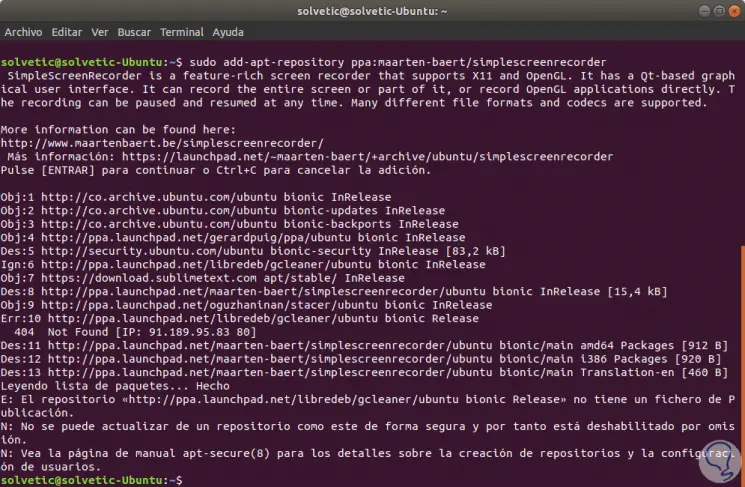
sudo add-apt-repository ppa: maarten-baert / simplescreenrecorder
Press Enter for installation:
Step 2
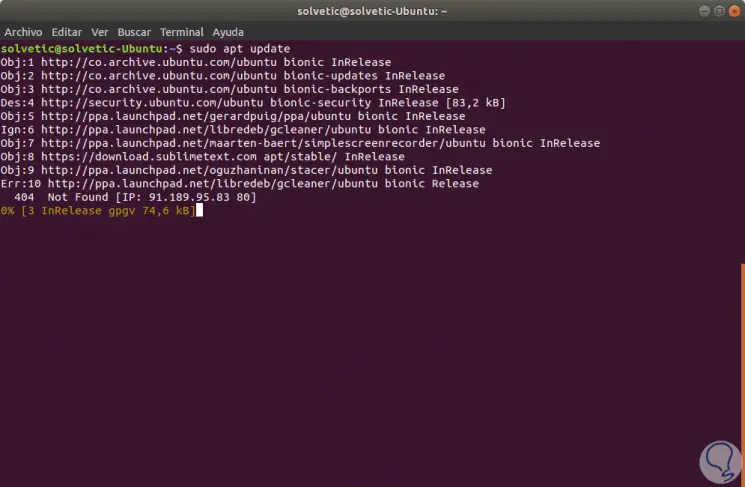
We proceed to update the system packages:
sudo apt update
Step 3
Finally we install the application by running the following:
sudo apt install simplescreenrecorder
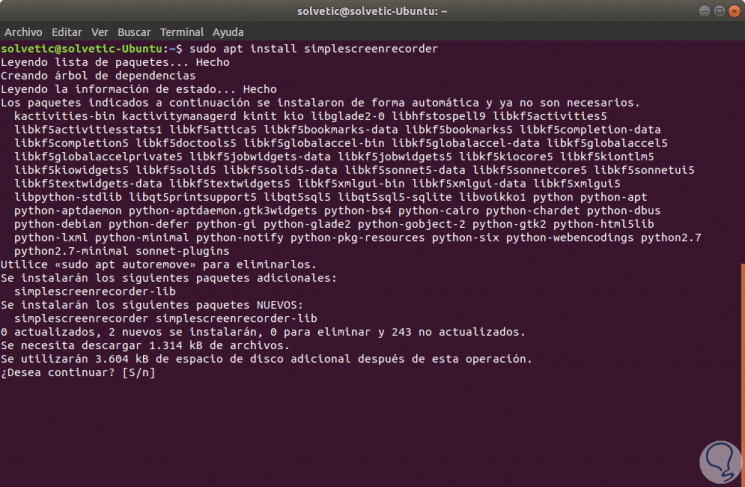
Enter the letter S to confirm the download and installation.
Step 4
Now we access the utility from the Ubuntu 18 search engine and at the time of its access we will see the following window associated with its configuration:
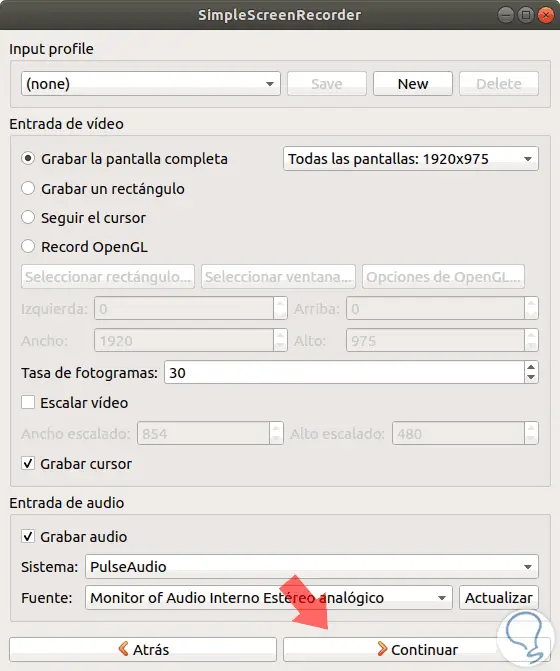
There we can define values
- Input profile to use, it will be possible to create a new one
- Record the entire screen, just the cursor movement, record an OpenGL application and more
- Define the frame rate to use
Step 5
With this defined click on Continue and we will see the following:
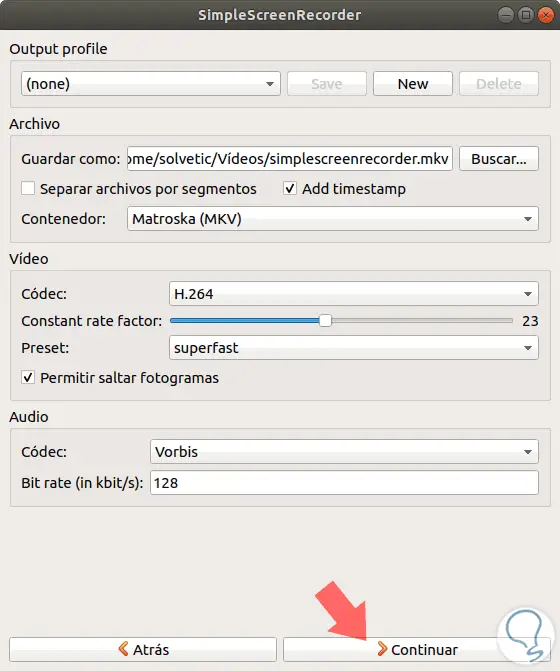
Parameter settings
- Route where the video will be saved
- Container or format in which it will be saved, we have options such as MKV, OGG, MP4 or WebM
- Set the codec to use for the conversion, the options are H.264, VP8 or Theora
- Configure the codec and bit rate in Kilobits.
Step 6
With this defined click on Continue and we will see the following:
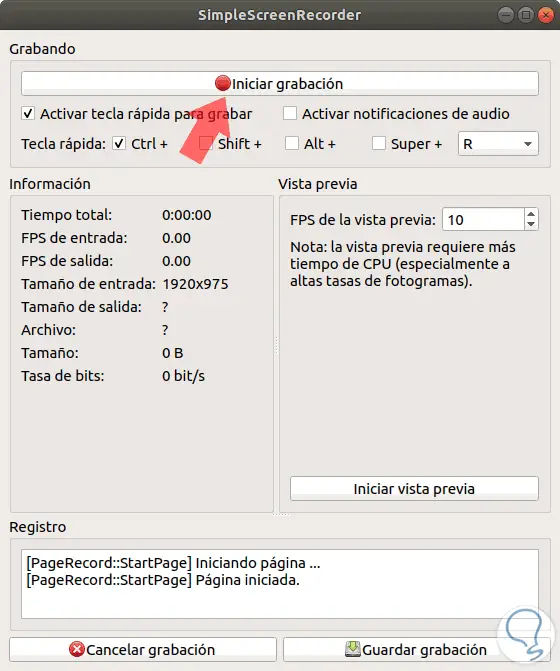
There we click on the Start Recording button to execute the process and it will also be possible to define aspects such as:
- Configure keys to start recording or configure audio
Step 7
In the central panel we will see details of the recording in progress, if we activate the preview we will get access to the material recorded in real time:
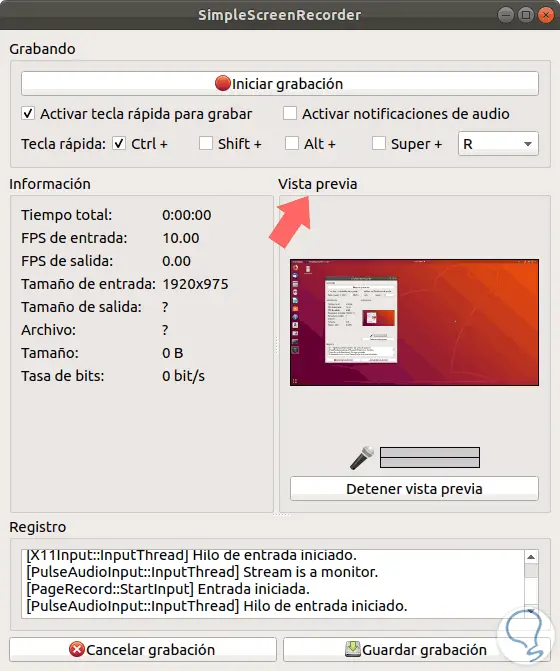
2. How to record Ubuntu screen for free with RecordMyDesktop
This is a free application to record the desktop or screens in GNU / Linux simplifying the use processes, but with great functionalities.
This application consists of two points that are:
- A command line tool which performs basic capture and coding tasks
- A user interface for complete utility management
RecordMyDesktop is written in C and its components are written in Python with pyGtk (gtk-recordMyDesktop) and pyQt4 (qt-recordMyDesktop). RecordMyDesktop generates an out.ogv file which contains the video and audio recording of the Ubuntu desktop session.
Step 1
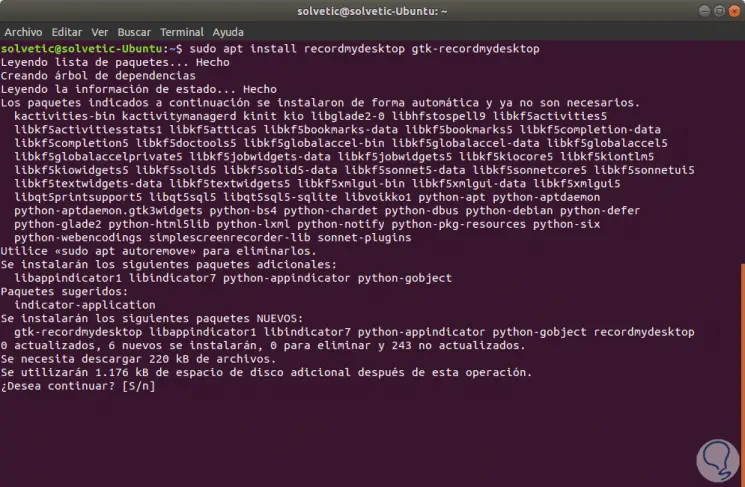
With this utility it will be possible to record audio through ALSA, OSS or the equipment JACK. For its installation we will execute the following command:
sudo apt-get install recordmydesktop gtk-recordmydesktop
Step 2
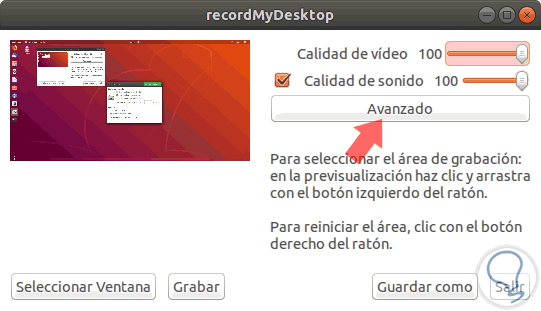
At the time of accessing the utility, the recording will be executed, which we will see in the upper box and its environment will be as follows:
Step 3
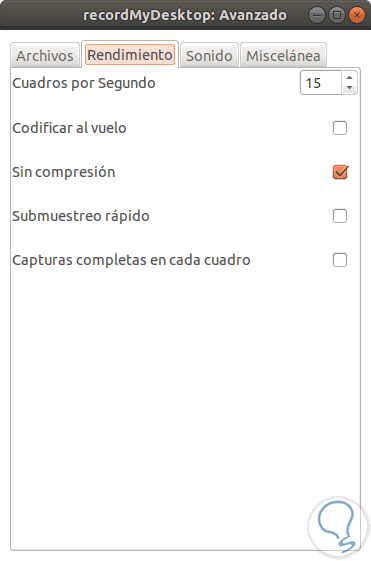
From here we can perform basic actions such as recording or defining which window should be recorded. By clicking on the Advanced button we will see the following:
Step 4
There we have how they are:
Archive
There we define the route where the videos are to be saved
performance
We can select the appropriate options to optimize the recording speed
Sound
There it will be possible to define the channels, frequency or devices to be used for audio
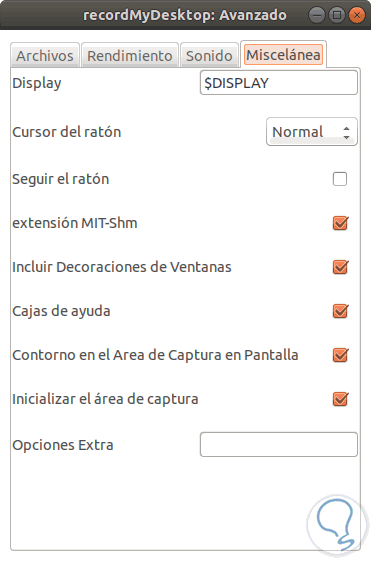
Miscellany
There it will be possible to define additional parameters such as activating or not the cursor, defining the monitor, including window borders and more.
3. How to record Ubuntu screen for free with Kazam Screencaster
Kazam is a screen recording program by which the screen content is recorded and will create a video file which can be played on any video player that supports the VP8 / WebM video format.
By using Kazam, it will be possible to record sound from any audio input device that is supported and visible by PulseAudio.
Step 1
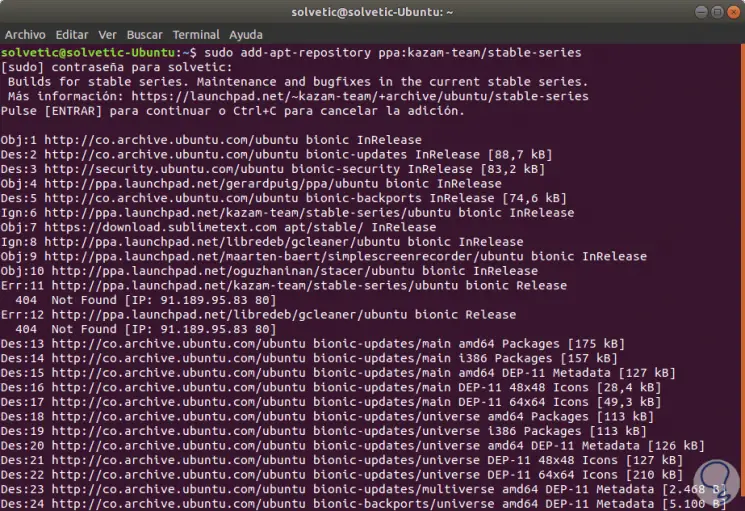
For its installation we must use the PPA repositories like this:
sudo add-apt-repository ppa: kazam-team / stable-series
Step 2
Then we update these packages:
sudo apt-get update
Finally we install Kazam on Ubuntu 18.04:
sudo apt-get install kazam
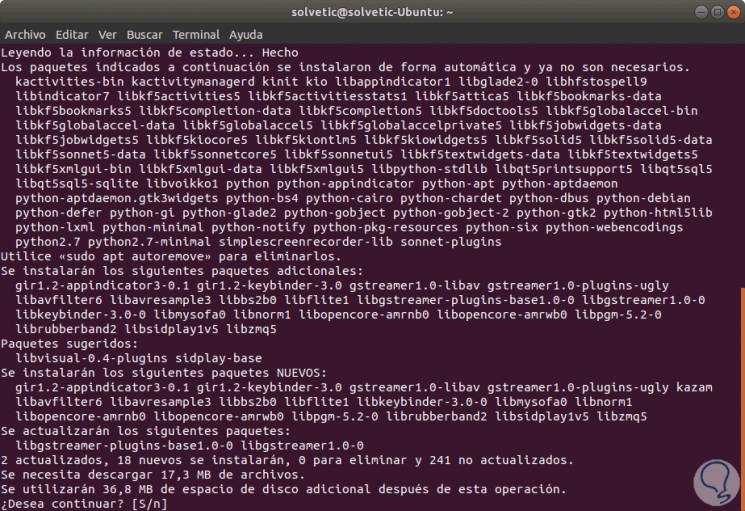
Step 3
Enter the letter S to confirm the installation. Now, when accessing Kazam, the following will be displayed:
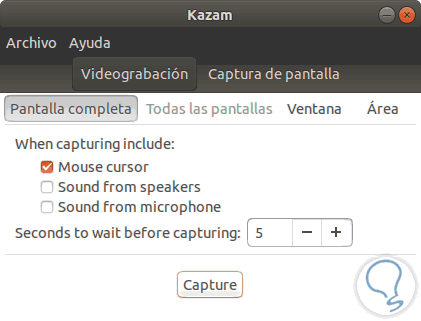
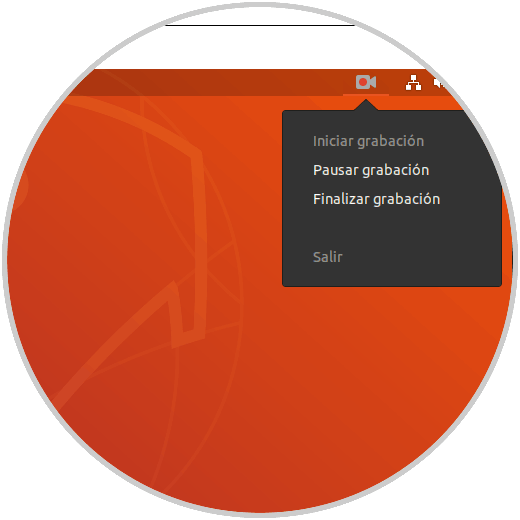
Step 4
There we can configure the details for both the image capture and the recording of it, when we start a recording, we will see the Kazam icon in the title bar of Ubuntu 18 and when clicking on it it will be possible to stop or pause the recording in course:
4. How to record Ubuntu screen for free with VLC
One of the most traditional for various operating systems is VLC which is a multi-platform open source multimedia player and has a framework designed to play most multimedia files and various streaming protocols.
features
- Ability to play MPEG-2, MPEG-4, H.264, MKV, WebM, WMV, MP3 and more formats
- It can be run on various systems such as Windows, Linux, Mac OS X, Unix, iOS, Android and others
- Wide portfolio of accessories.
Step 1
For installation on Ubuntu 18.04 just run the following command:
sudo apt-get install vls
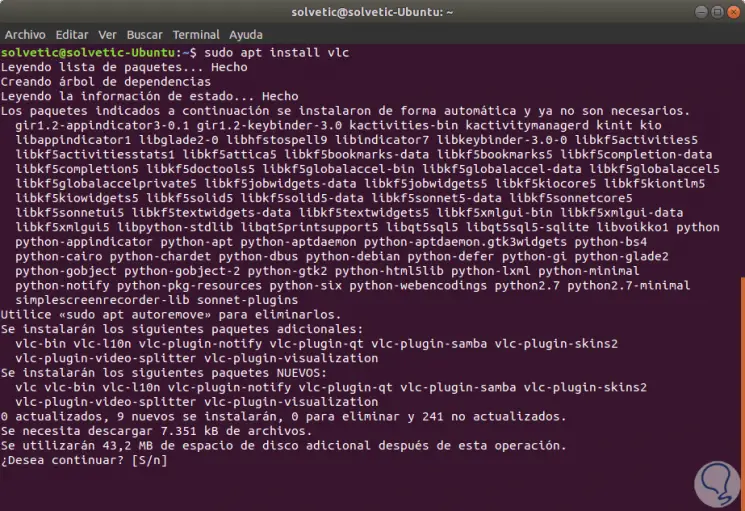
Step 2
We accept the download and once we access it we go to the media menu to select the capture device where we will choose Desktop:
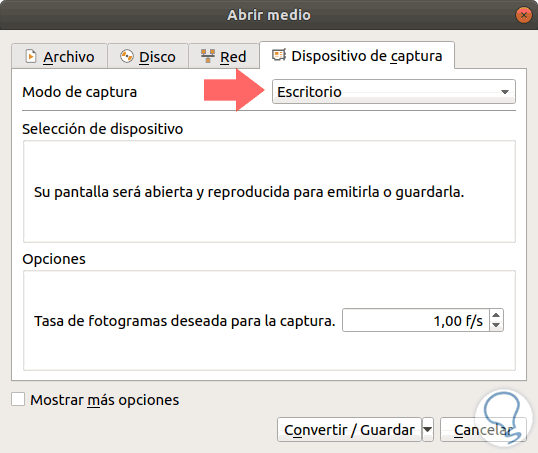
There we can click on the Convert / Save button to execute the entire recording process..
5. How to record Ubuntu screen for free with OBS Studio
Another popular application for since it is an open source software for video recording and live streaming on various systems such as Windows, macOS or Linux.
OBS Studio is listed as one of the best in the market for its different features that include the following.
features
- Filters for video sources such as color masks, color corrections and more
- Capture and mix high-quality sound and video in real time, with unlimited scenes
- Extensive configuration options
- It has an audio mixer that also has default filters for noise adjustments, deletions and balances.
- Enhanced settings panel to configure recordings and retransmissions
- Easy to create shortcuts and from there to perform tasks such as switching between scenes, starting or stopping broadcasts or recordings, silencing audio sources and more
- It has the Studio Mode function with which it will be possible to preview the scenes and sources before transmitting them live
Step 1
For its installation we must execute the following lines in its order:
sudo add-apt-repository ppa: kirillshkrogalev / ffmpeg-next
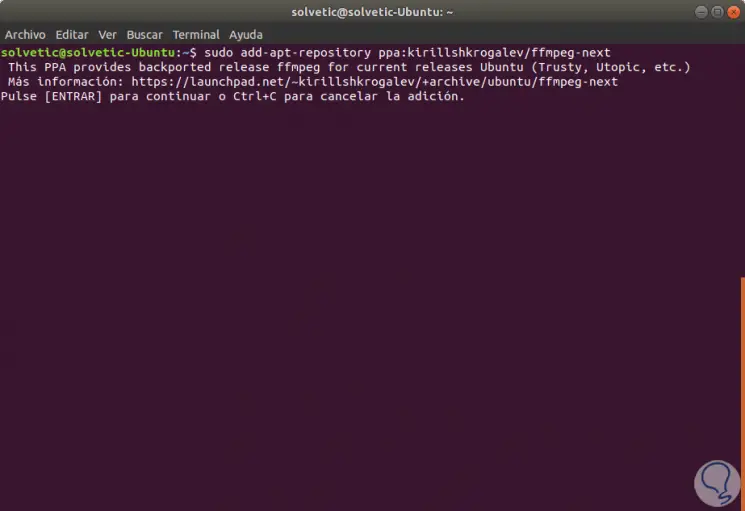
Step 2
sudo apt-get update sudo apt-get install ffmpeg
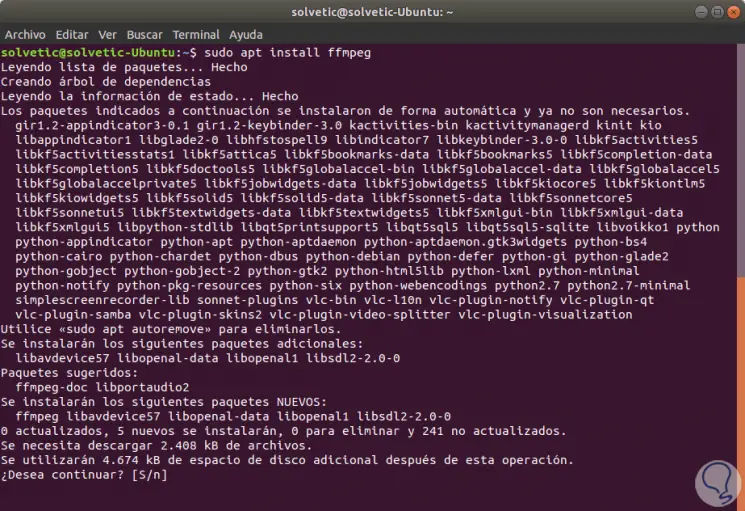
Step 3
sudo add-apt-repository ppa: obsproject / obs-studio sudo apt-get update sudo apt-get install obs-studio
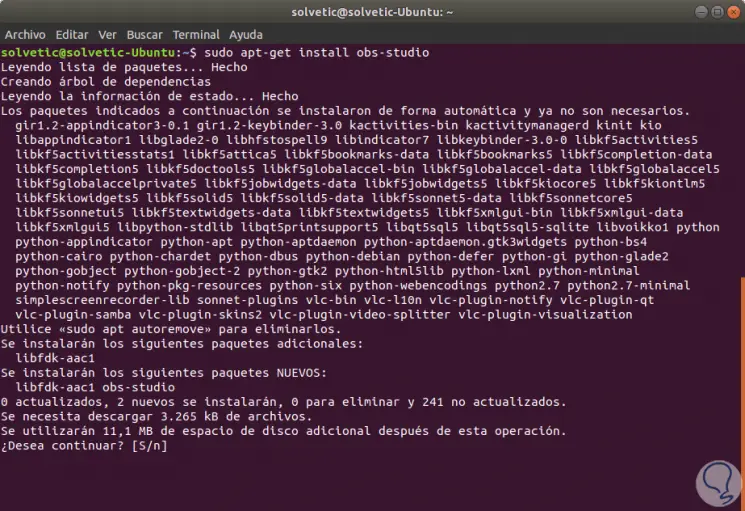
Step 4
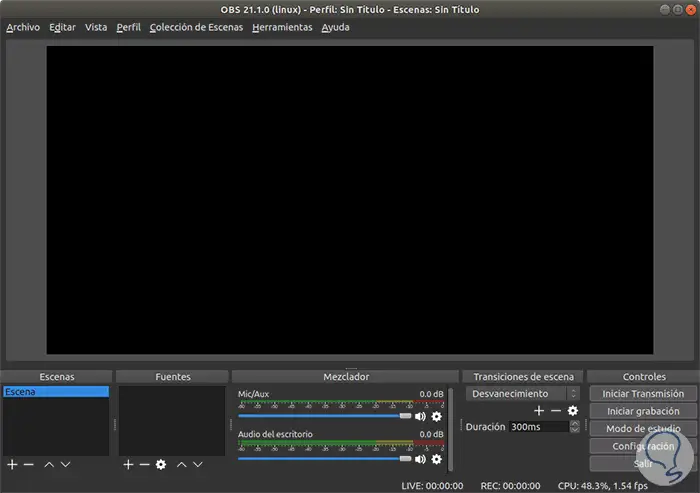
Once we access the tool this will be your environment:
Step 5
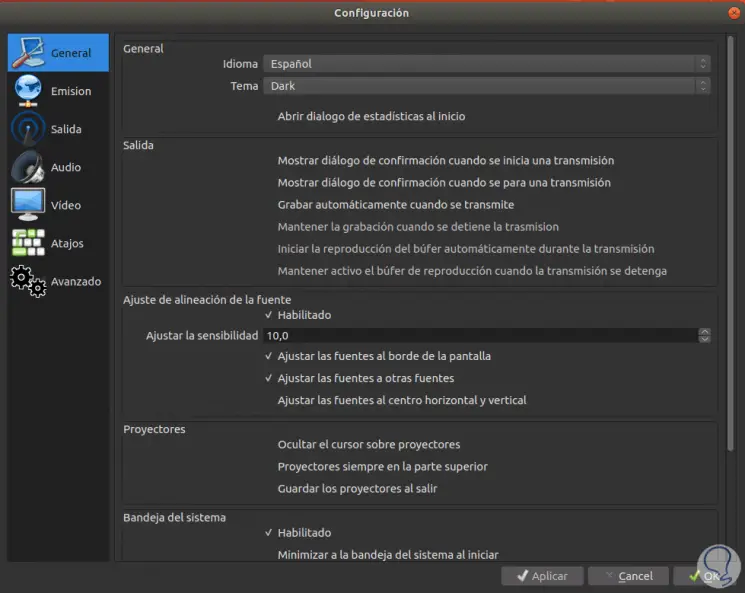
From there we can start either the recording or the transmission as the case may be. By clicking on the Settings button we can define various OBS Studio values ​​both at the video and audio or general level:
We have seen the various options we have when recording our screen in Ubuntu 18 with great options each with their respective functions and features, it is up to us to select the one that best suits our taste.