One of the best options that we as users of an operating system have is to record the screen of everything that is done because this is important in situations such as:
When to record screen
- Creation of support or study content.
- Evidence for administrative or audit issues and more.
In Windows 10 or Windows 11 we have some options to record our screen and TechnoWikis will explain how to use them to have an option for this key task at hand for many actions that we need to do..
To stay up to date, remember to subscribe to our YouTube channel!
SUBSCRIBE ON YOUTUBE
1 How to record the computer screen from Xbox Game Bar
This is one of the best known but with some limitations, it is integrated from Windows 10 and thanks to it we can have different functions associated with the games when we access them on our computer, one of its main characteristics is the overlay interface to which accessed by pressing the following keys:
+ G
Within these functions, and for our specific case, we highlight the game capture with which it is possible to use the game bar to capture both screenshots as well as record game videos, this allows you to capture the entire screen or just one part of her.
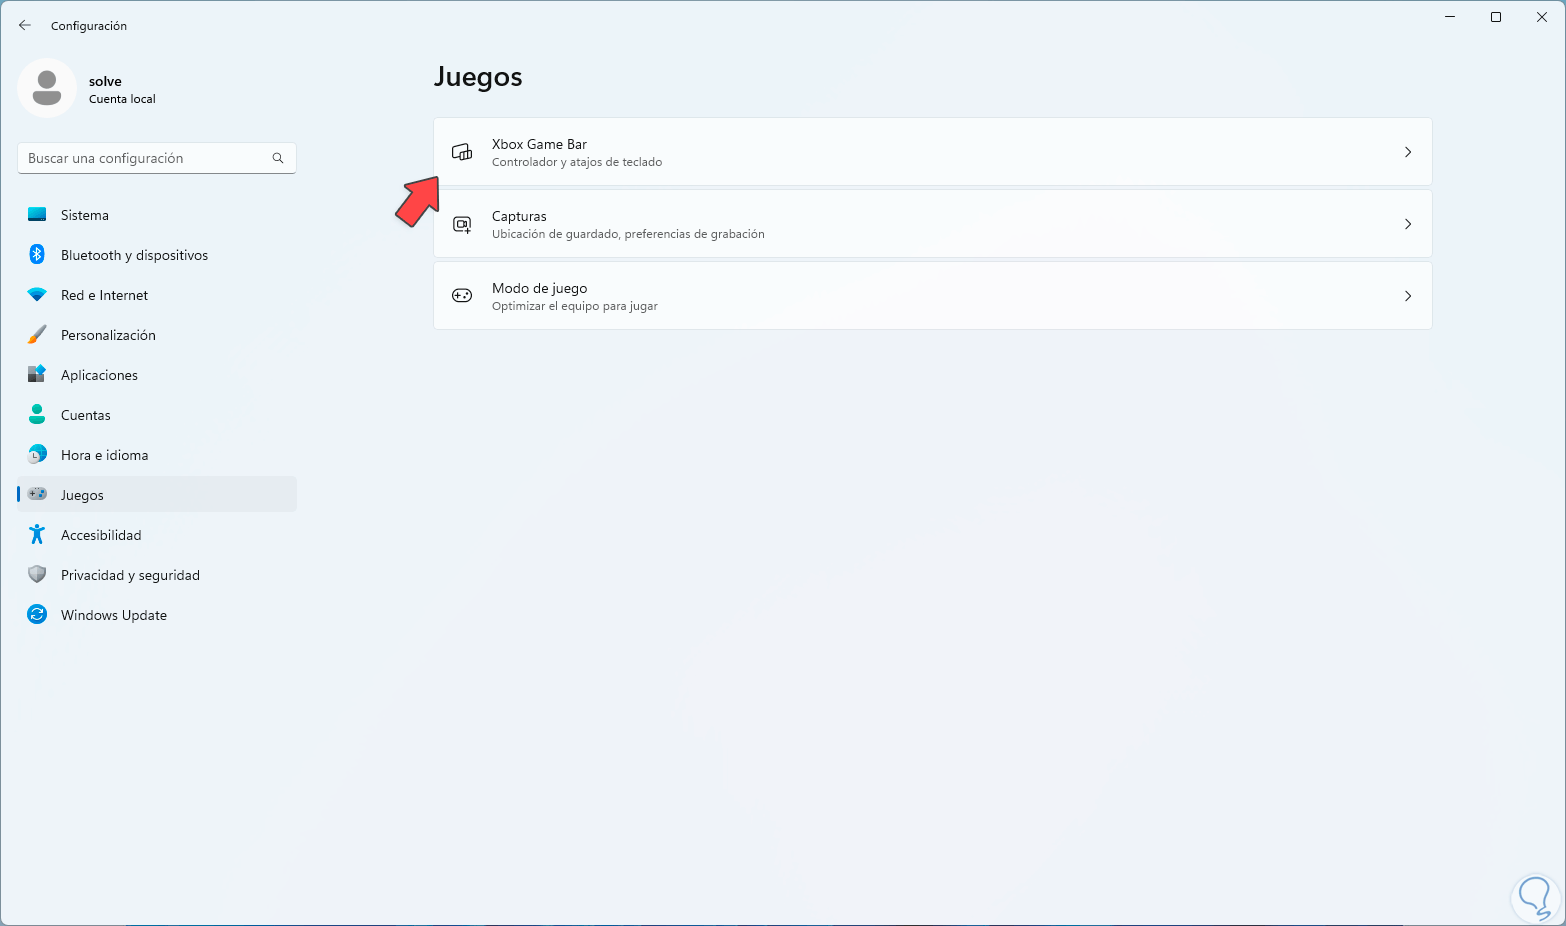
Step 1
First of all we must validate that this activates this function. For this we are going to:
Step 2
Once there we click on "Xbox Game Bar" to see the following:
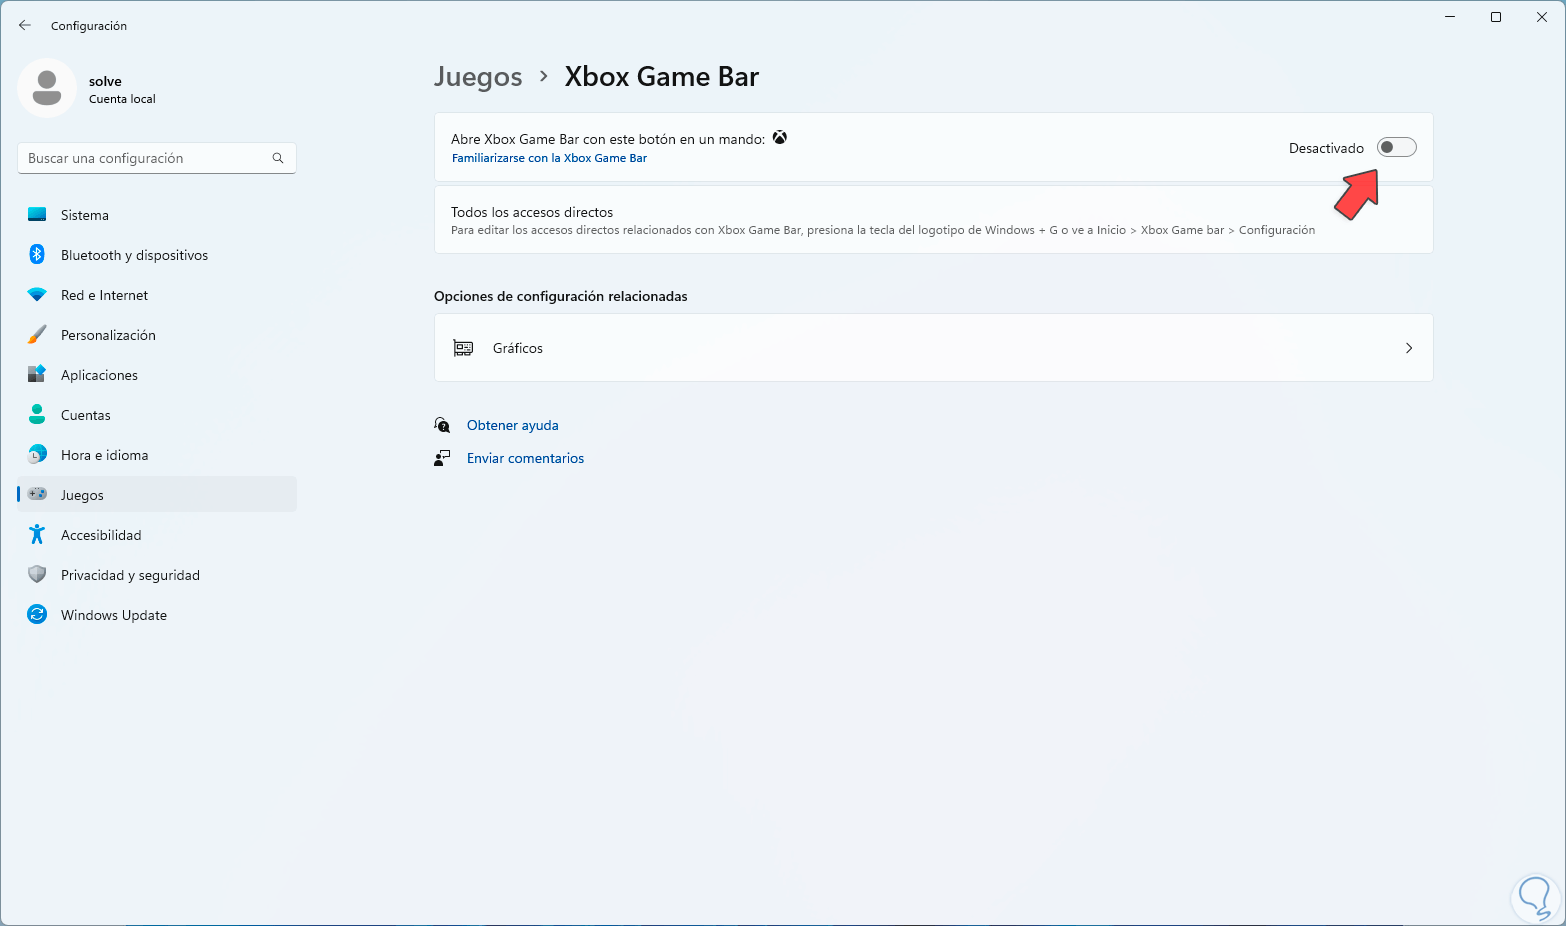
Step 3
We activate the "Open Xbox Game Bar with this controller button" switch:
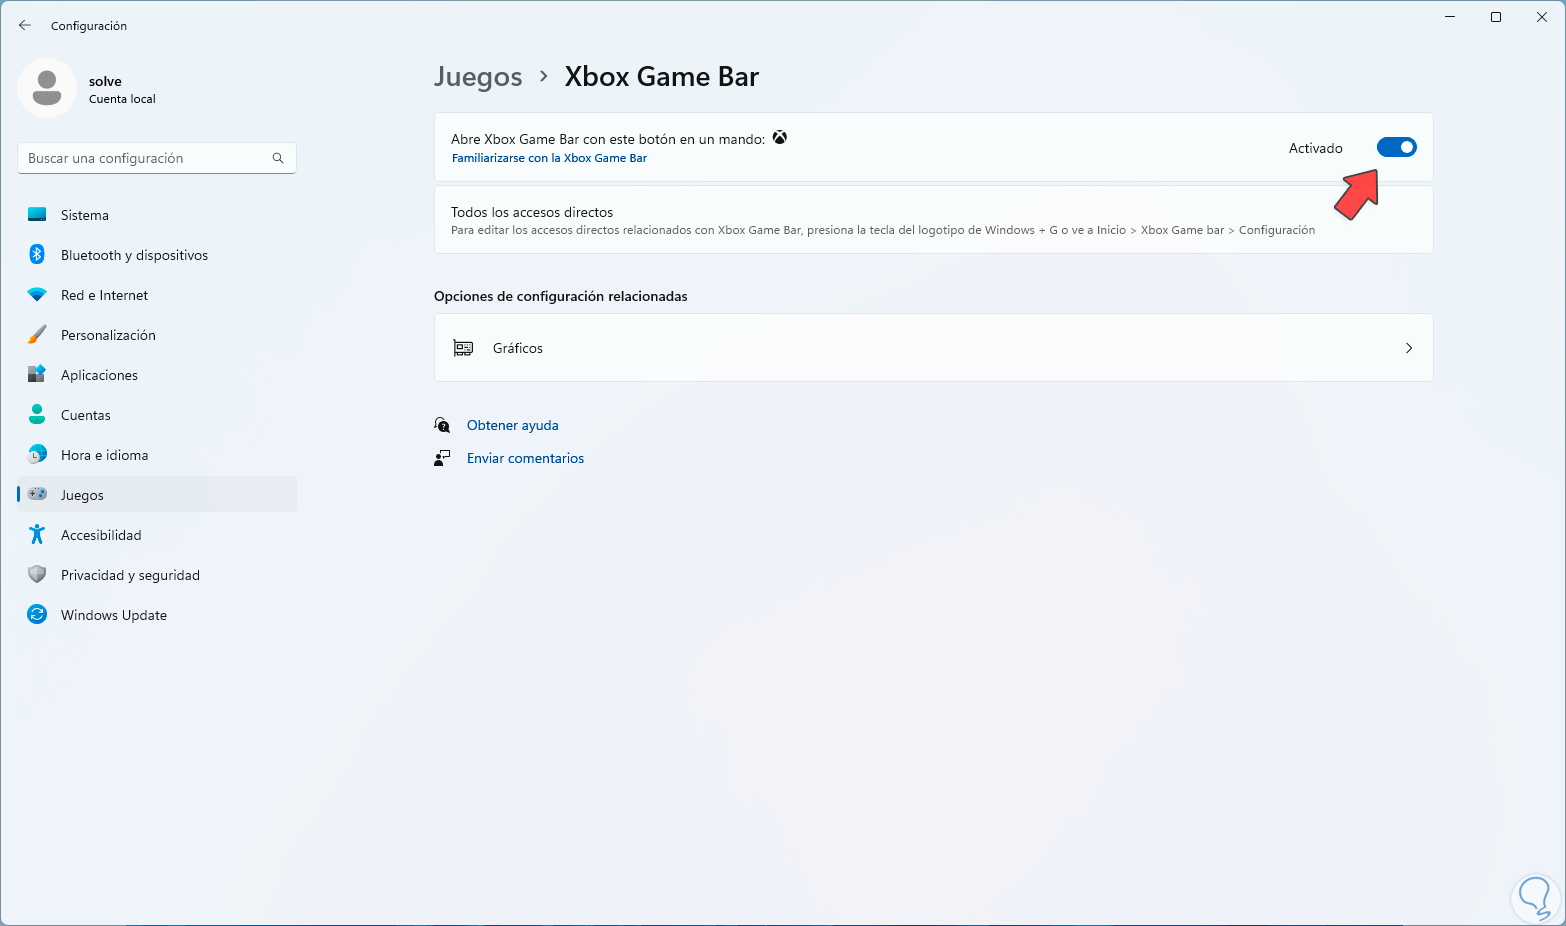
Step 4
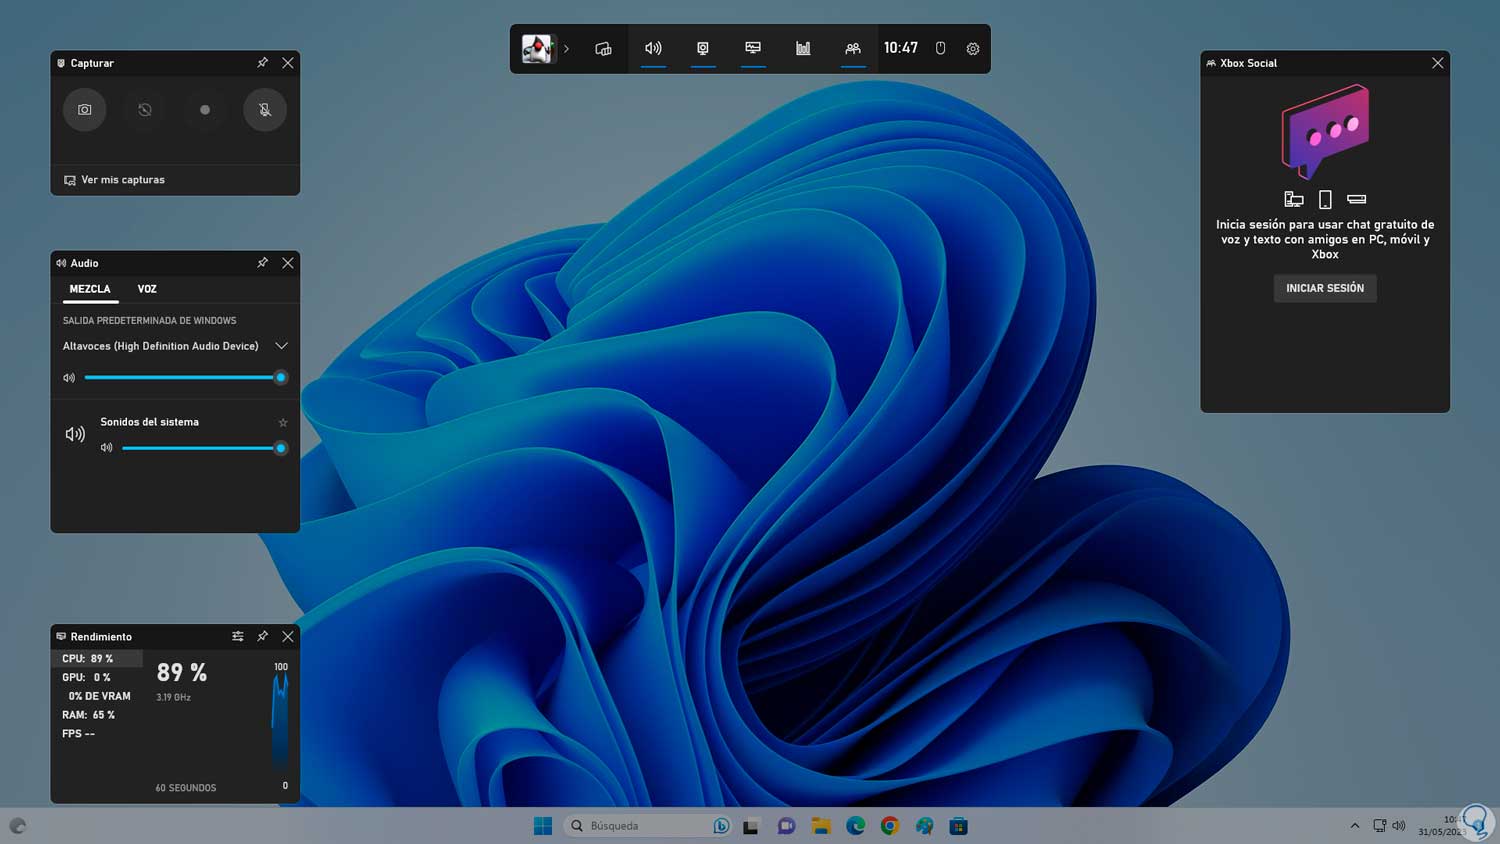
We are ready to record the screen with Xbox Game Bar, to use this Xbox bar simply on the keyboard we will use the following keys and the following will open:
+ G
All the options will open and there we must click on the record option to be able to carry out this operation in Windows..
2 How to record computer screen using Filmora
An application widely known for its recording options is Filmora, this is a video editing software in which we have a group of functions that allow us to edit videos in a professional way even without being experts on the subject, some of its functions most prominent are:
Characteristics
- Integrated screen recorder
- AI Smart Cutout or Intelligent cutout
- Available keyboard shortcuts
Step 1
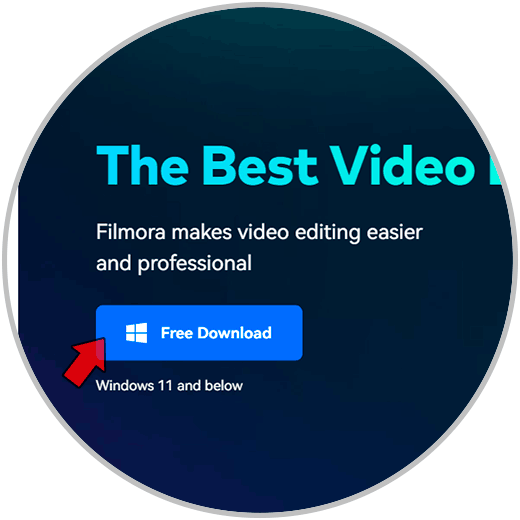
We can download Filmora for free at the following link:
Filmora
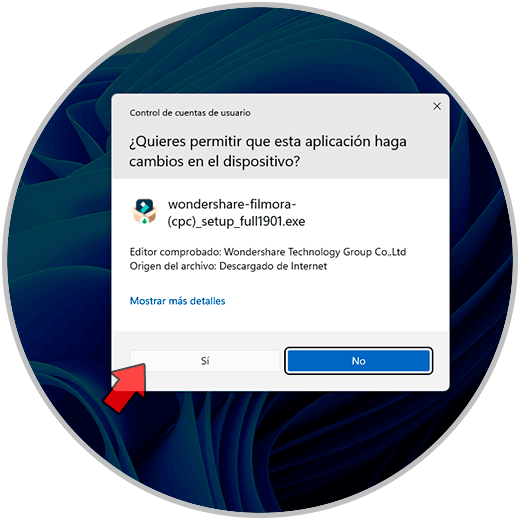
Step 2
There we download Filmora, once downloaded we click on the executable and it will be necessary to accept the permission in the displayed window:
Step 3
The installation wizard will open:
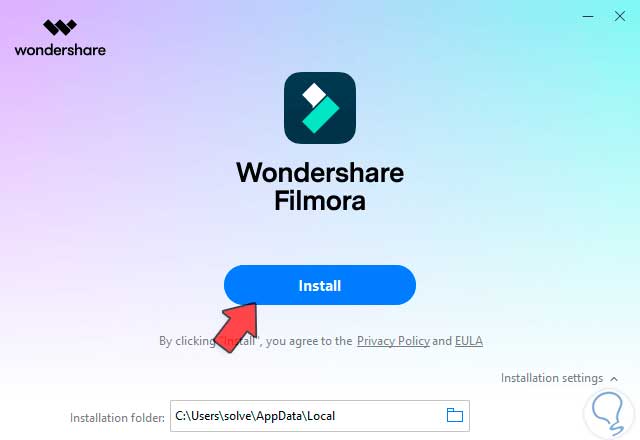
Step 4
We click on the "Install" button to go through the installation process of Filmora on the PC:
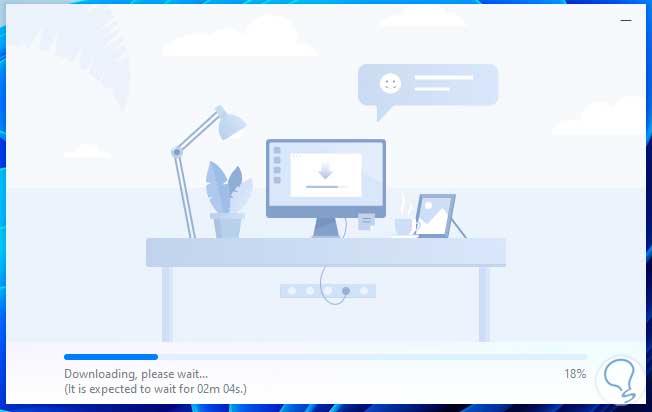
step 5
At the end of this process we will see the following. We will click on the “Start Now” button

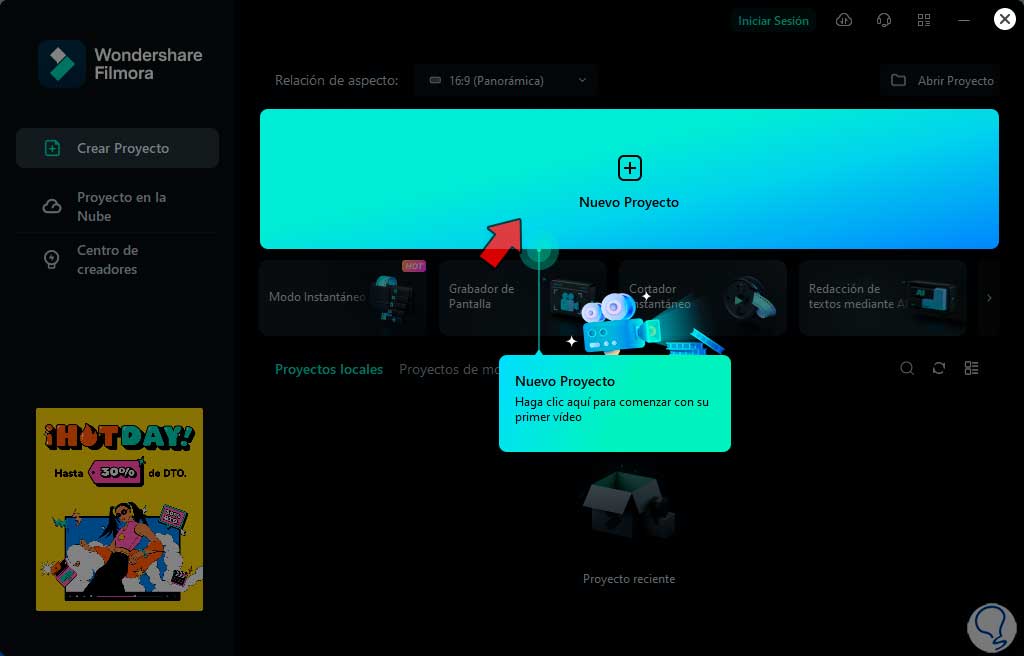
step 6
and in a moment Filmora will start on Windows. We click on "New project" to have access to the entire Filmora console which has a wide group of options
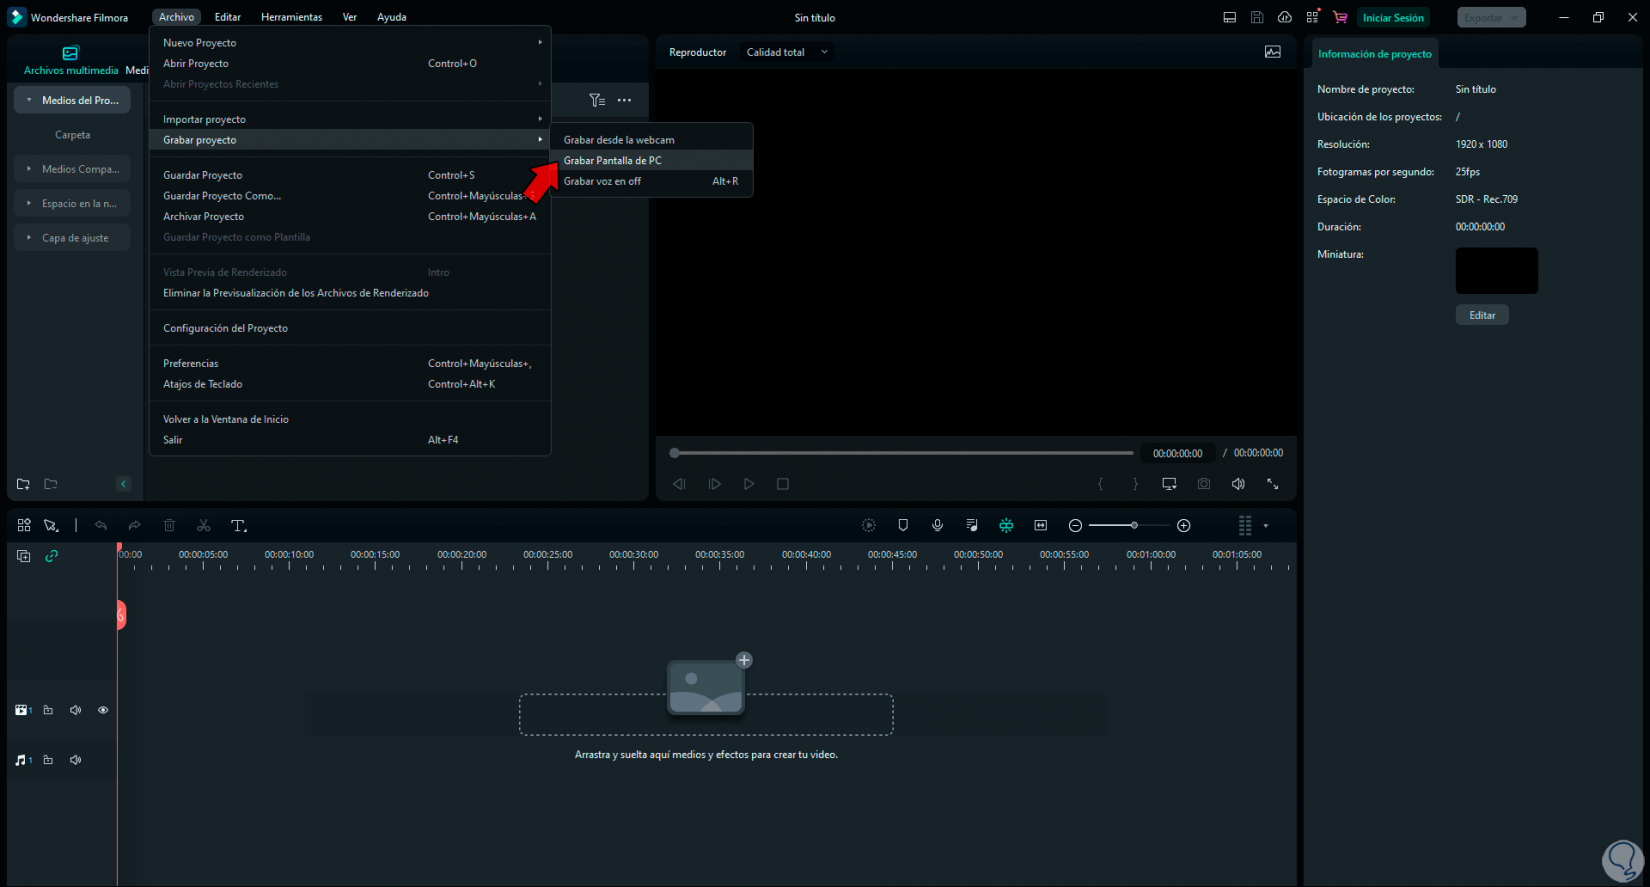
step 7
To record our PC screen, we will go to the "File - Record project - Record PC screen" menu:
step 8
The following pop-up window will open:
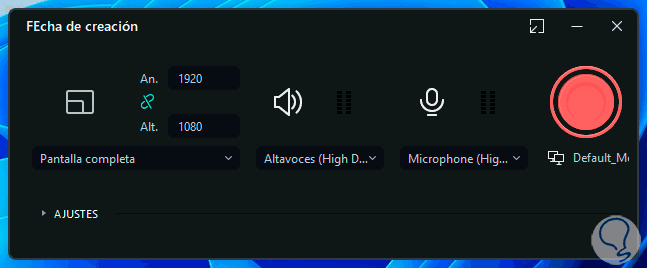
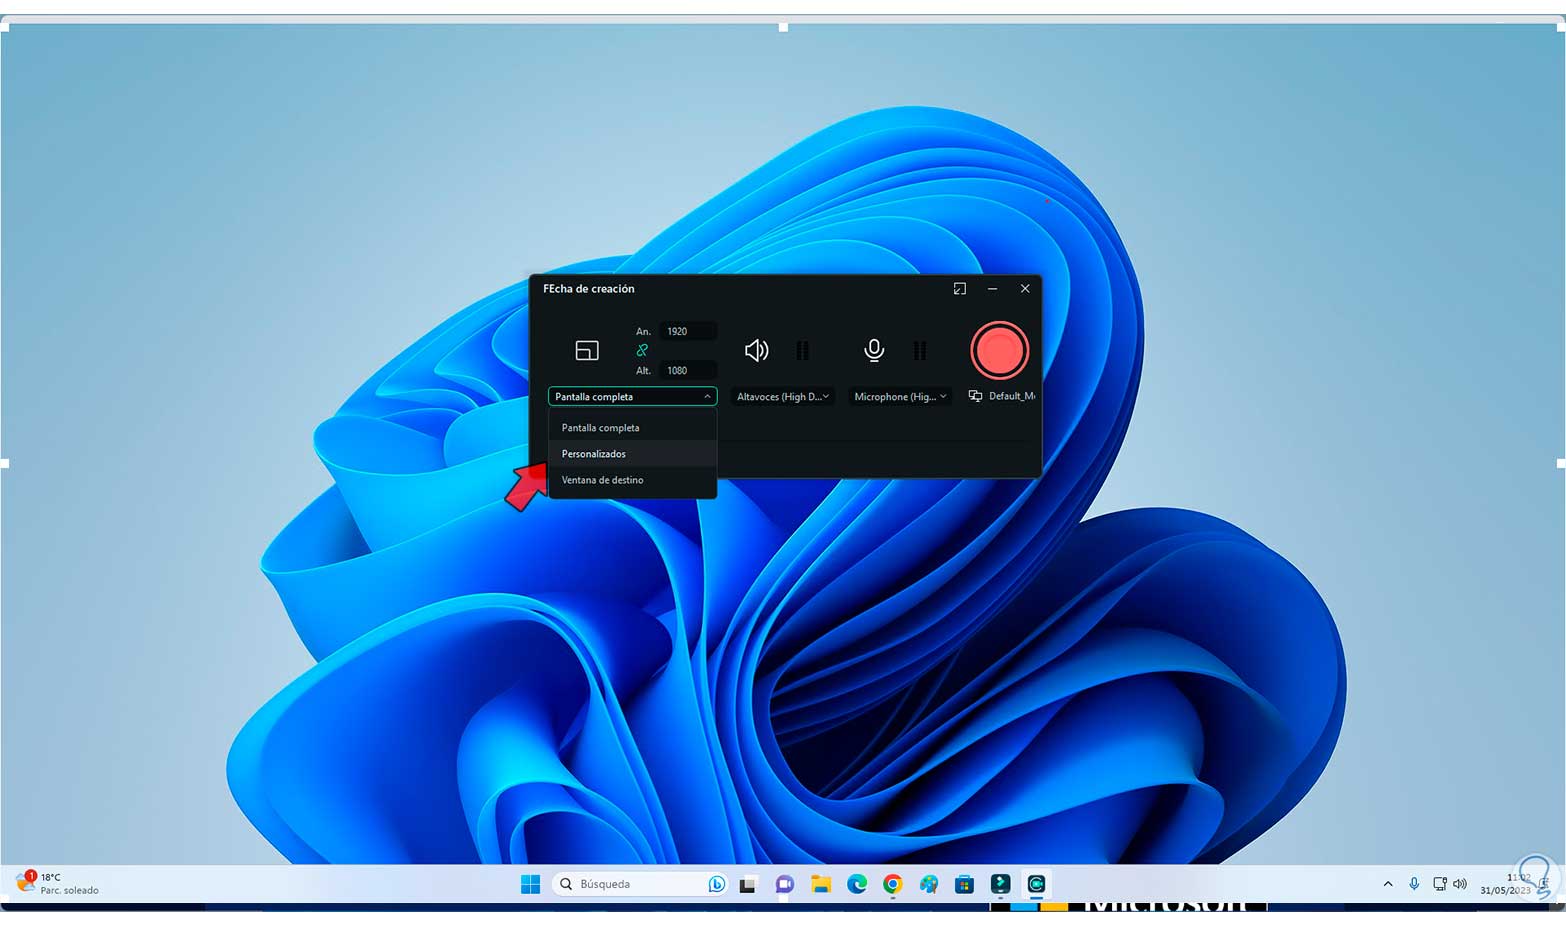
step 9
In this new window it is possible to define parameters of the screen to be recorded, for example we can define if the entire screen will be recorded or only a part of it:
step 10
If we want to be able to record the sound and microphone, we can now click on SETTINGS to have access to a series of additional configuration options for Filmora:
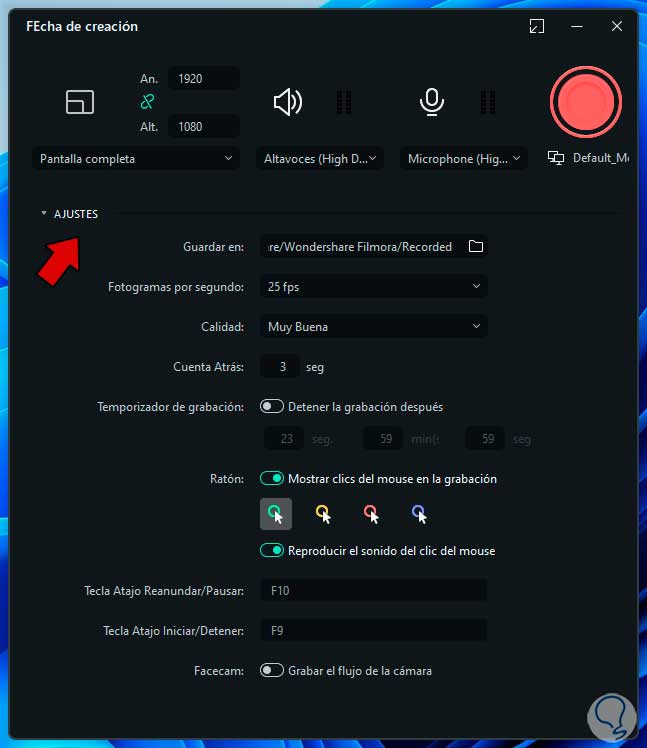
step 11
As we can see, it is a complete set of options for us to define whether or not they are functional for us.
To record the screen we are going to click on the recording icon and record what is necessary, to stop the recording you can use the F9 key or click on the icon on the taskbar and there click on the Exit option the recording:
step 12
Filmora will open with our recording:
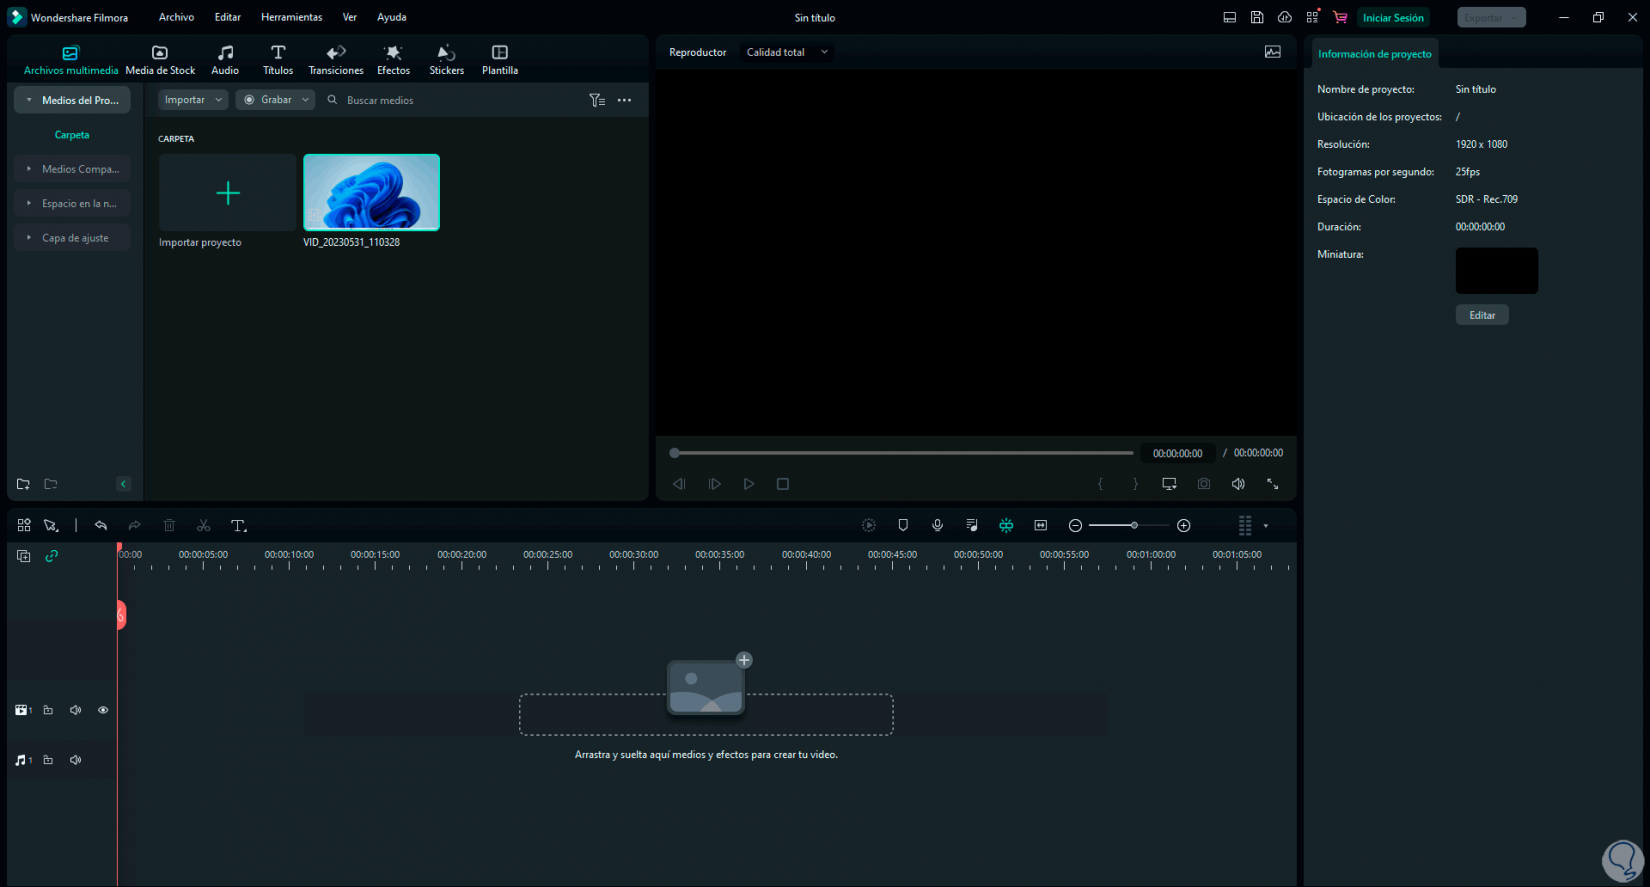
step 13
There we can drag it to the transition window to see how the recording turned out and work on it:
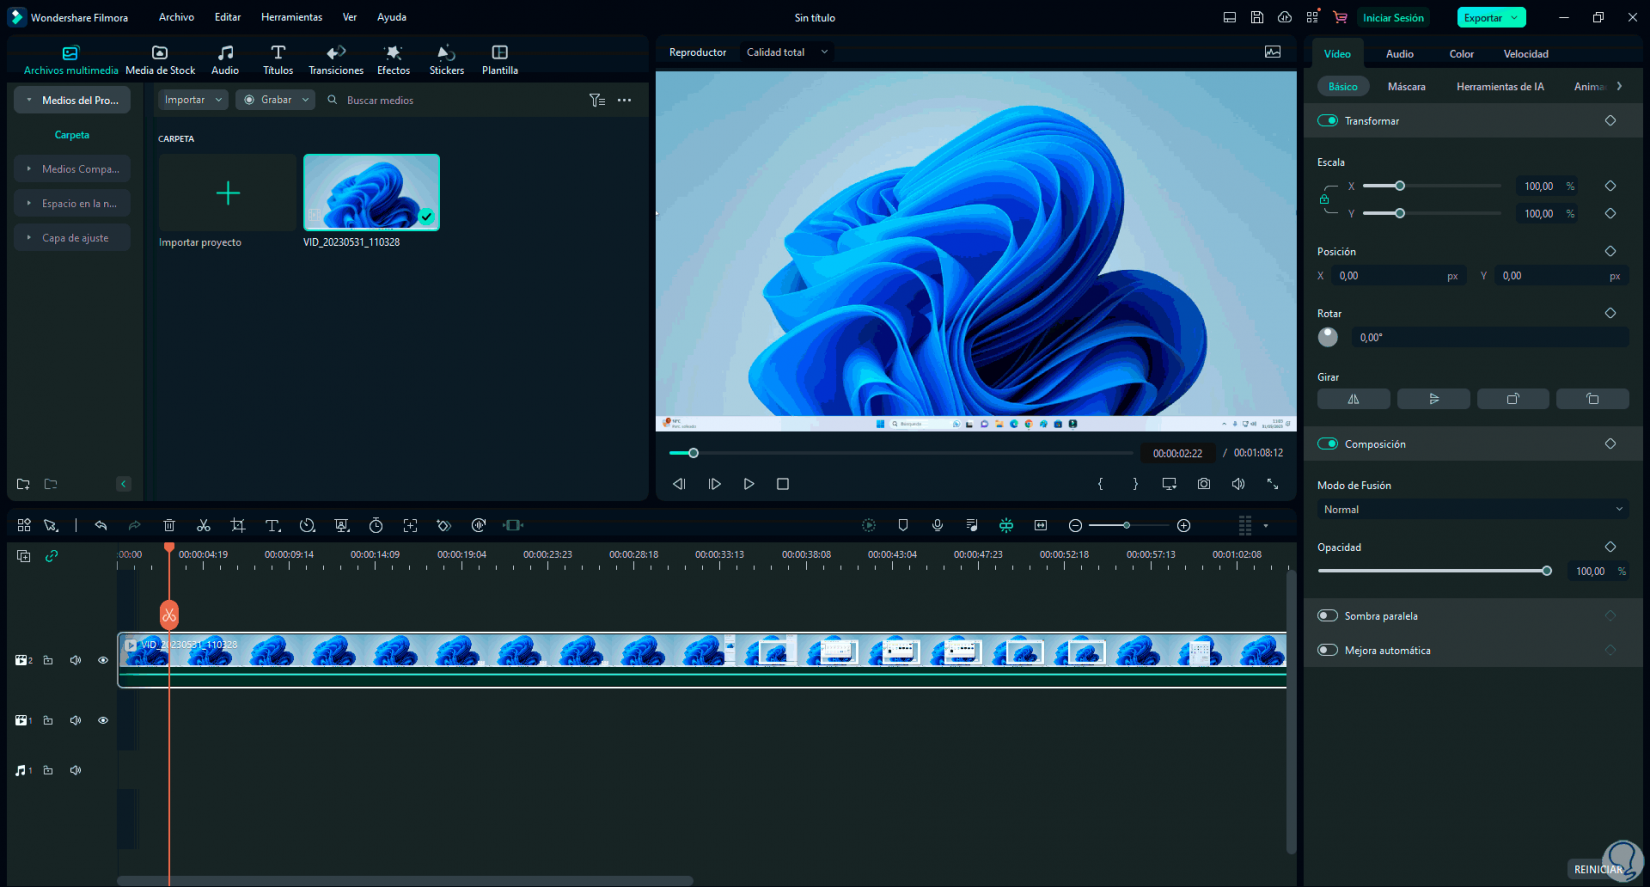
step 14
On the side we will have a series of options to edit our recording if necessary.
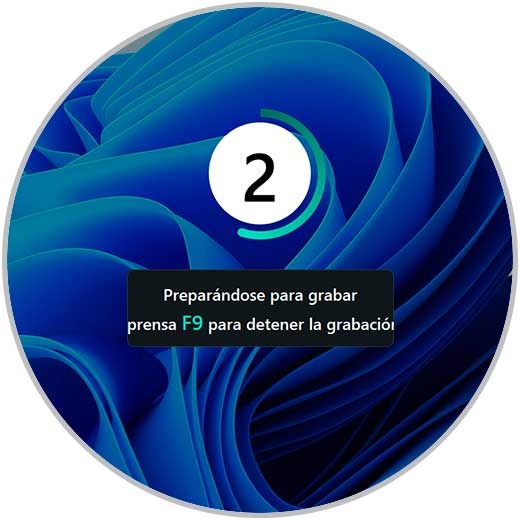
Note
Every time a recording starts we will see the counter to be prepared for said process.
3 How to record computer screen using OBS
This is one of the most used applications for recording and live broadcasting, OBS (Open Broadcaster Software) is a free open source software that offers us a wide group of functions for recording and live streaming of multimedia, the which is widely used by content creators of platforms such as YouTube, Facebook Live and some more.
Characteristics
Among its main characteristics we highlight:
- Different configuration options to use
- It has an audio mixer which integrates predetermined filters for noise suppression and balances
- Filters for video sources
- Can capture and mix high-quality real-time sound and/or video
- It is possible to create different scenes and add multiple video or audio sources
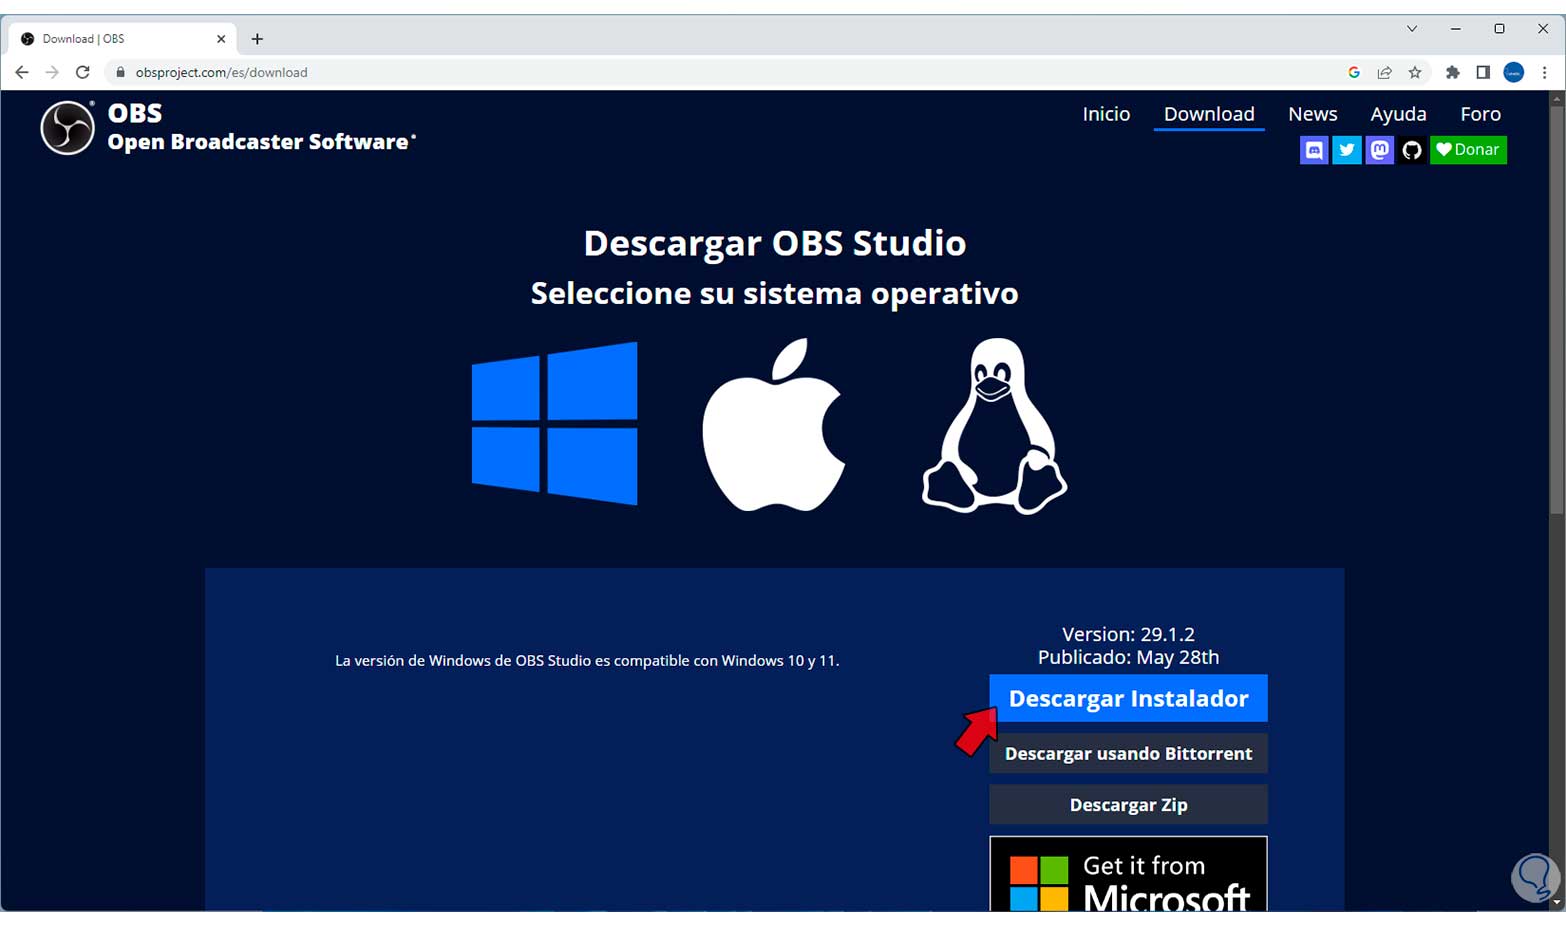
Step 1
We can download OBS at the following link:
OBS
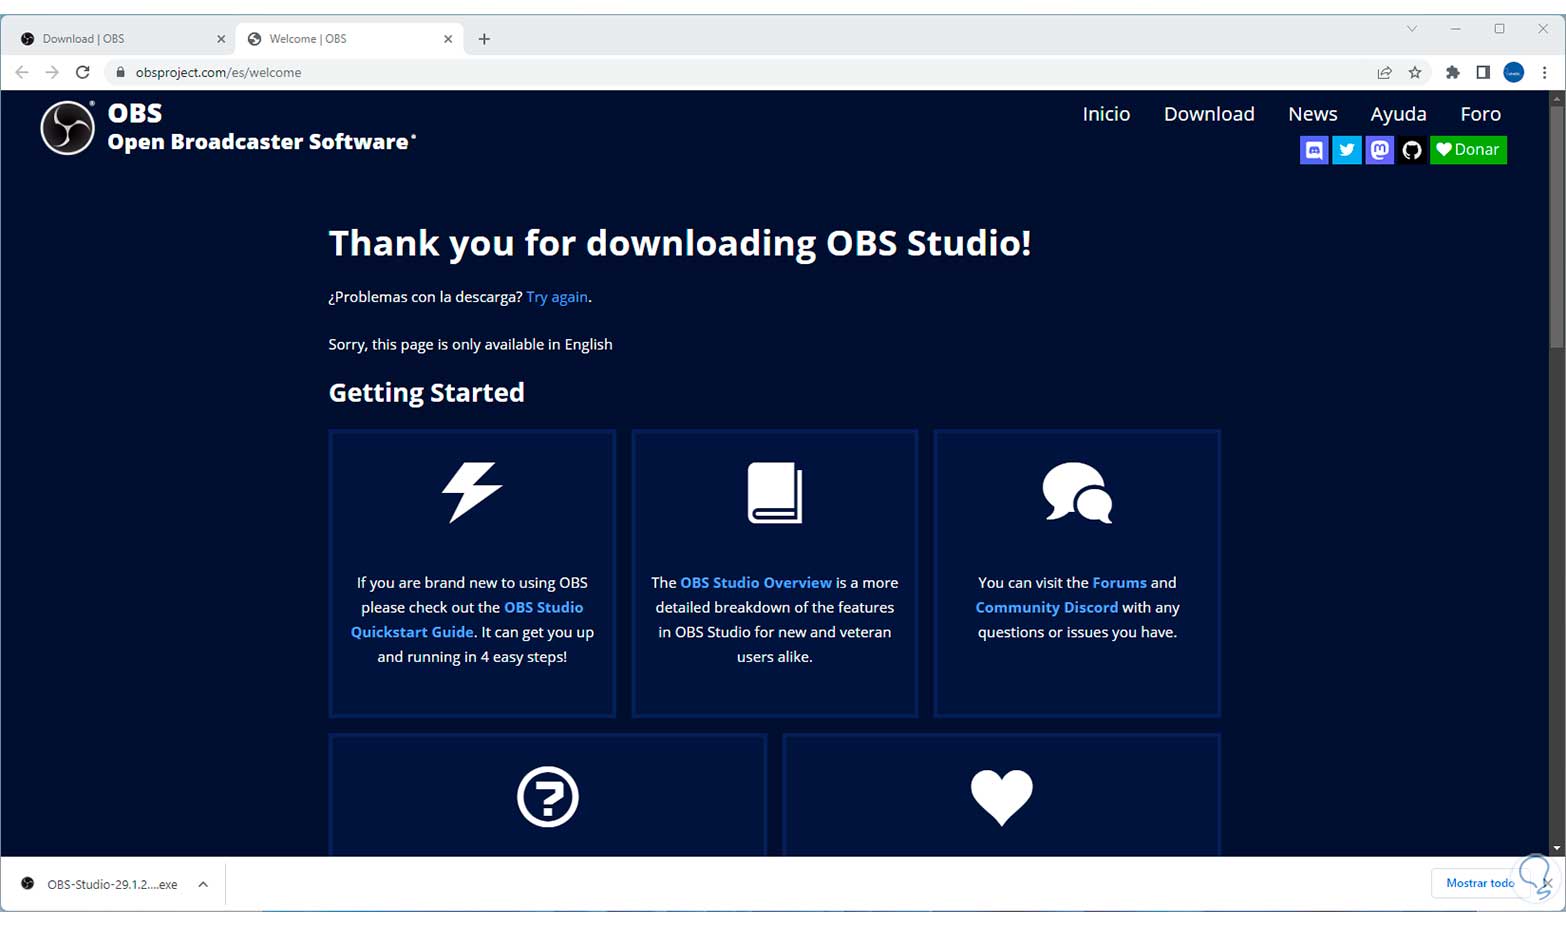
Step 2
We download the installer:
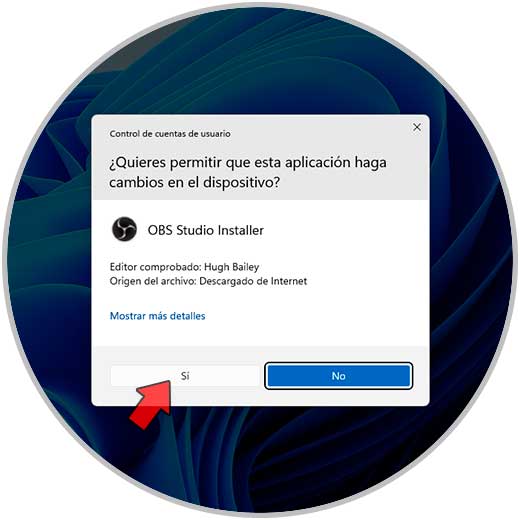
Step 3
We execute the file and it will be necessary to accept the permissions:
Step 4
The installation wizard will open:
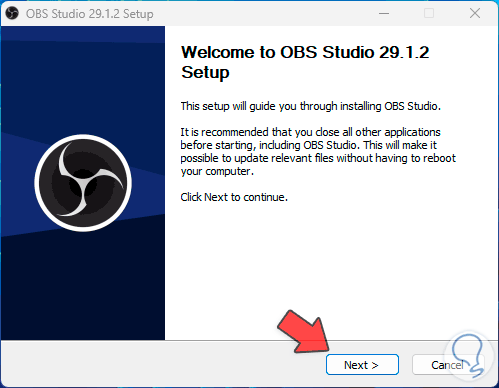
step 5
We click on "Next" to see the license of use:
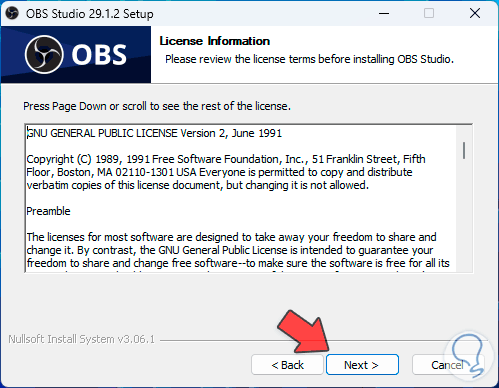
step 6
In the next window we define where OBS will be installed:
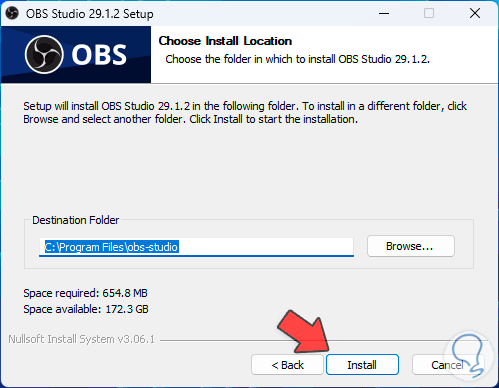
step 7
We click on "Install" to proceed with the installation of OBS:

step 8
We wait for the process to come to an end:
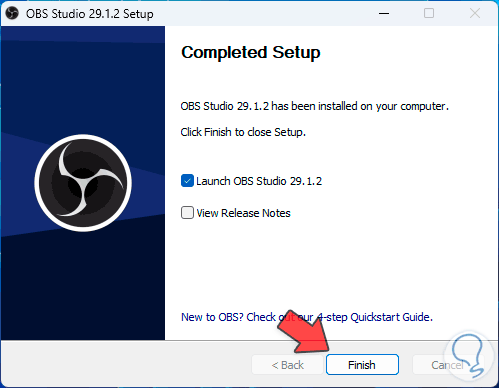
step 9
We click on the Finish button and we will automatically see that OBS opens:
step 10
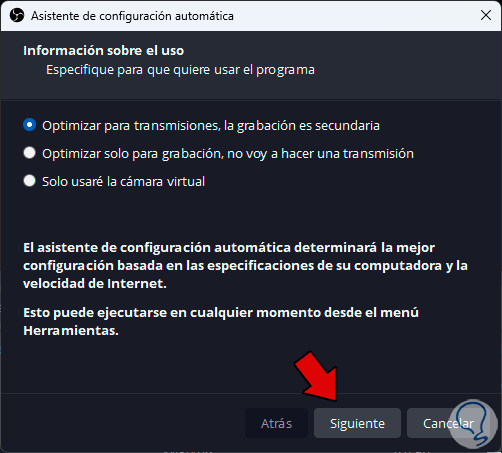
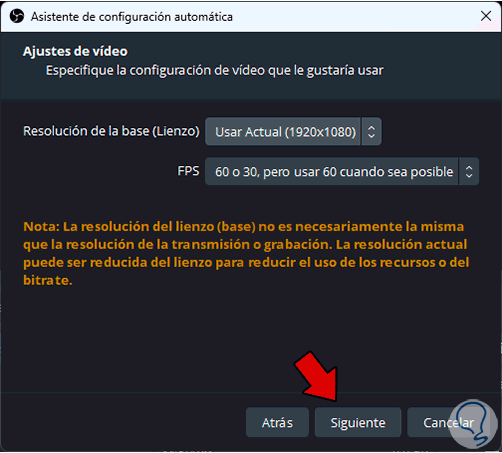
The first time OBS is opened it will be possible to define the use that we will give to OSB, in this case we activate the box "Optimize only for recording, I am not going to make a transmission" and click on "Next", now we define some settings Of video:
step 11
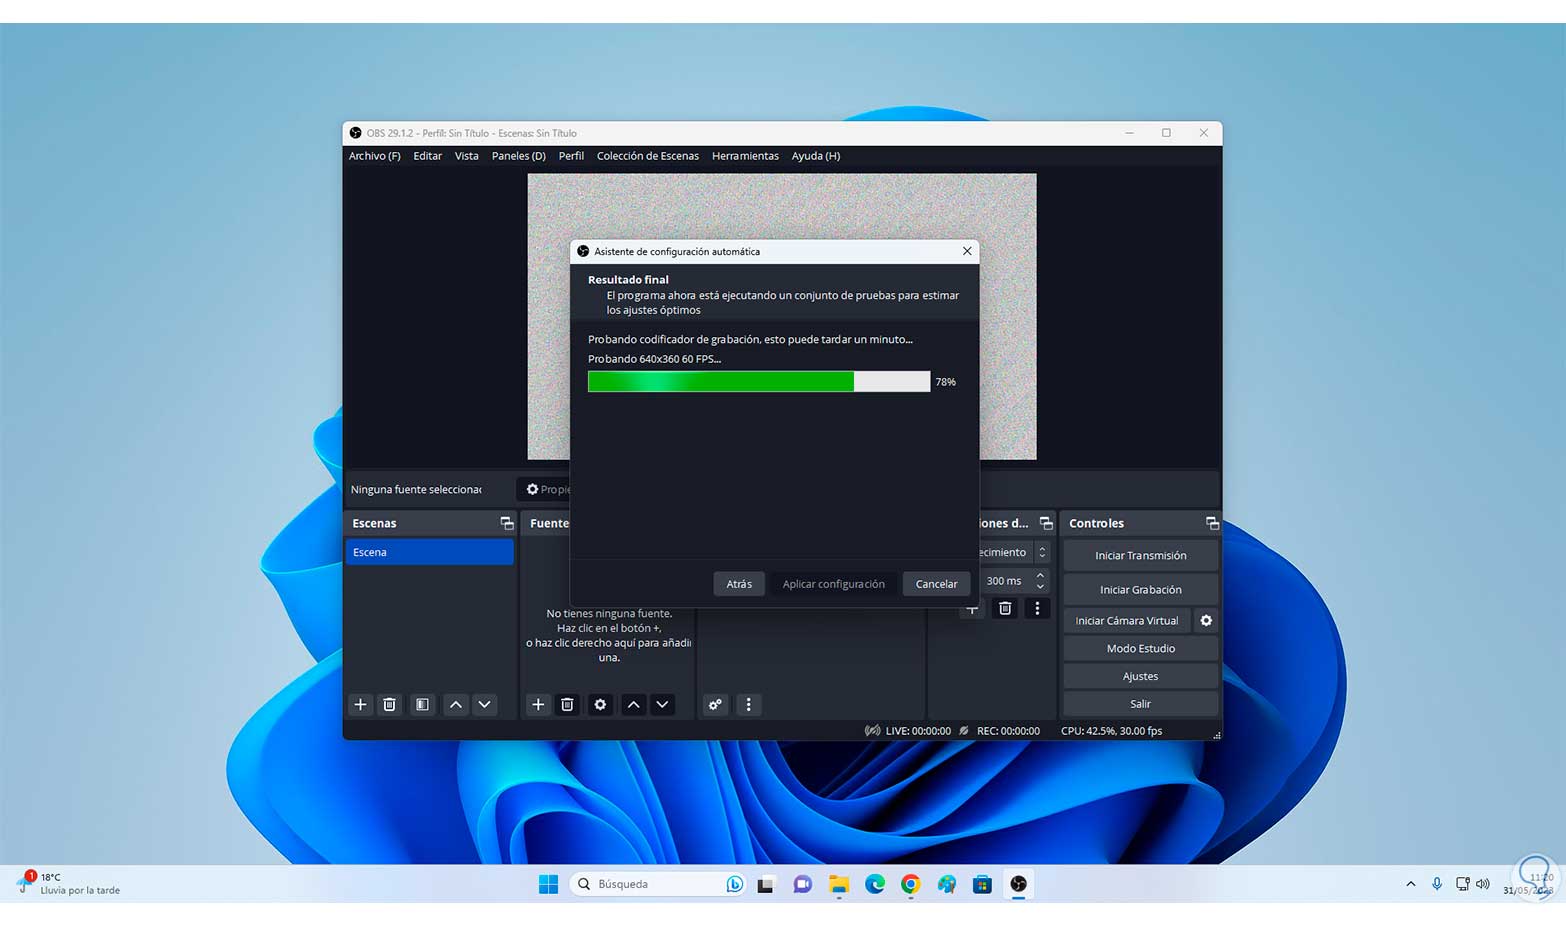
Then an adjustment process will be carried out by OBS:
step 12
We will see a summary later:
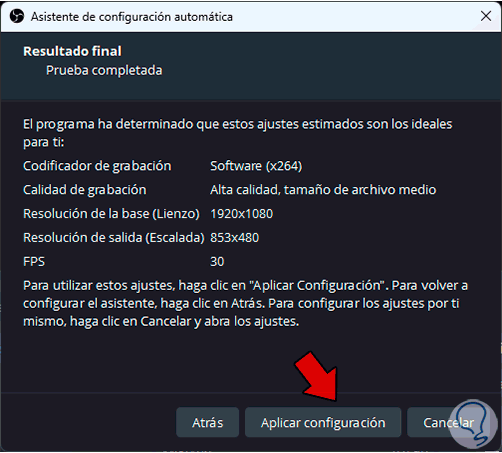
step 13
If we agree, we click on "Apply configuration" and we will have access to OBS.
Once this is defined, in the section called Sources we click on the + sign and in the displayed options we click on "Screenshot":
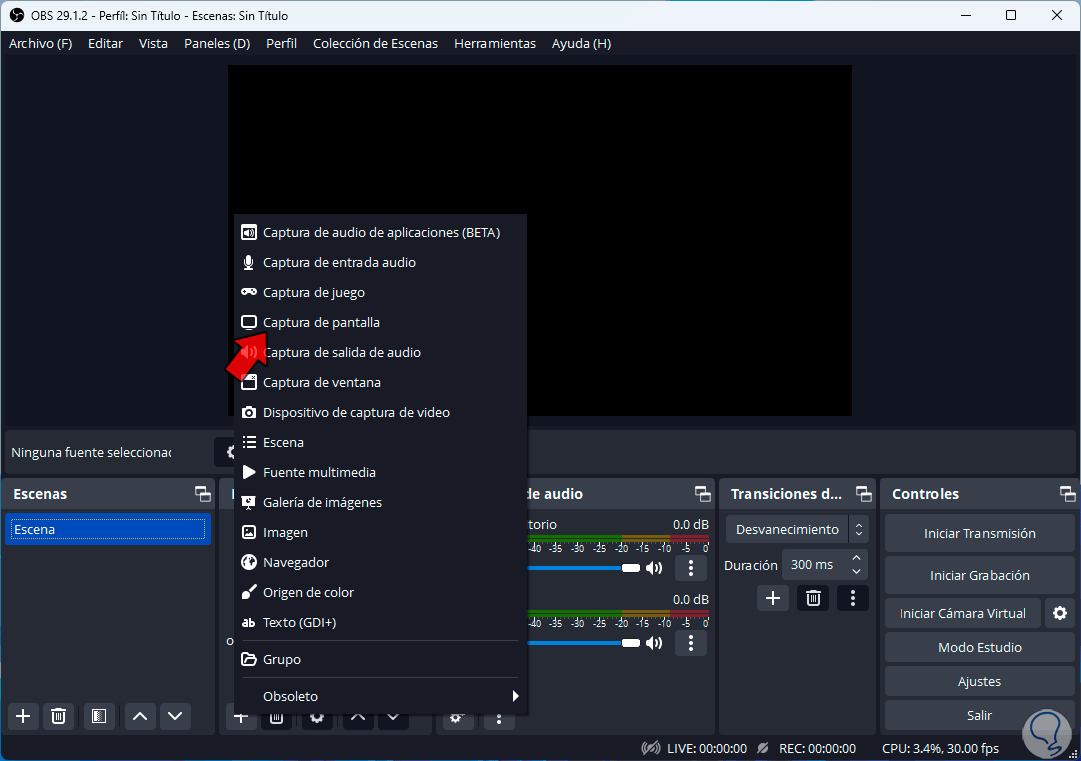
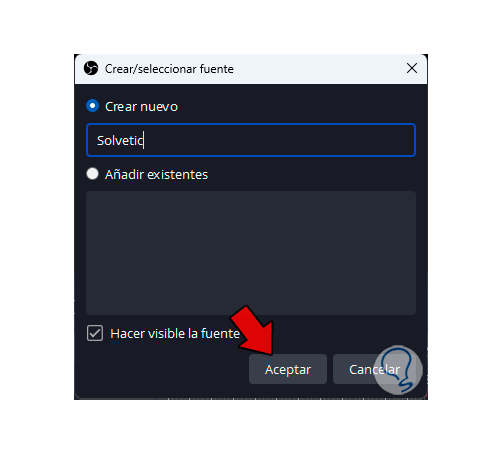
step 14
The following will open. We assign the desired name to that capture and click on "OK"
step 15
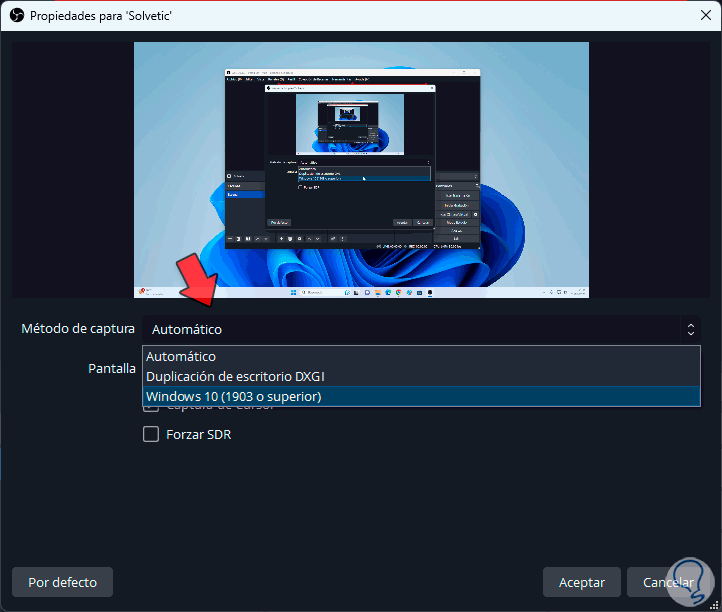
and the following window will open:
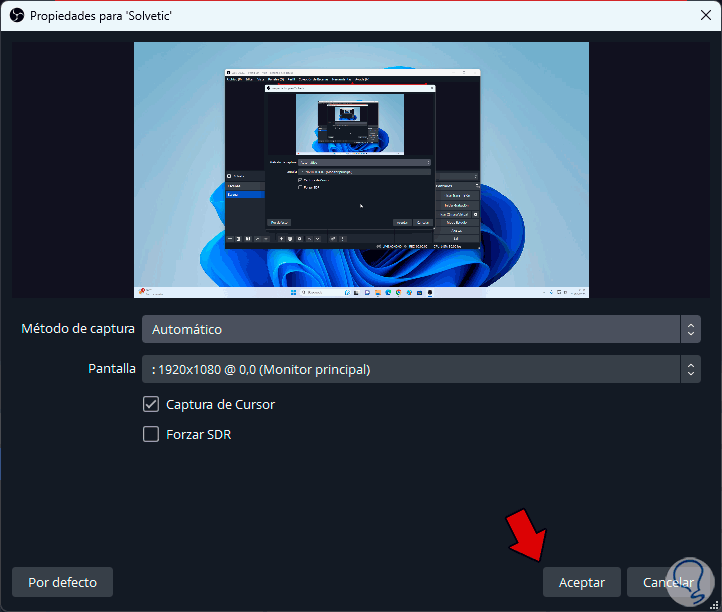
step 16
There we see in real time everything we do on the screen and we can define the parameters to use in recording both the screen and the method to use:
We apply the changes.
step 17
To record the screen of our PC we are going to click on the "Start recording" button and it will lead to recording all the actions on the screen:
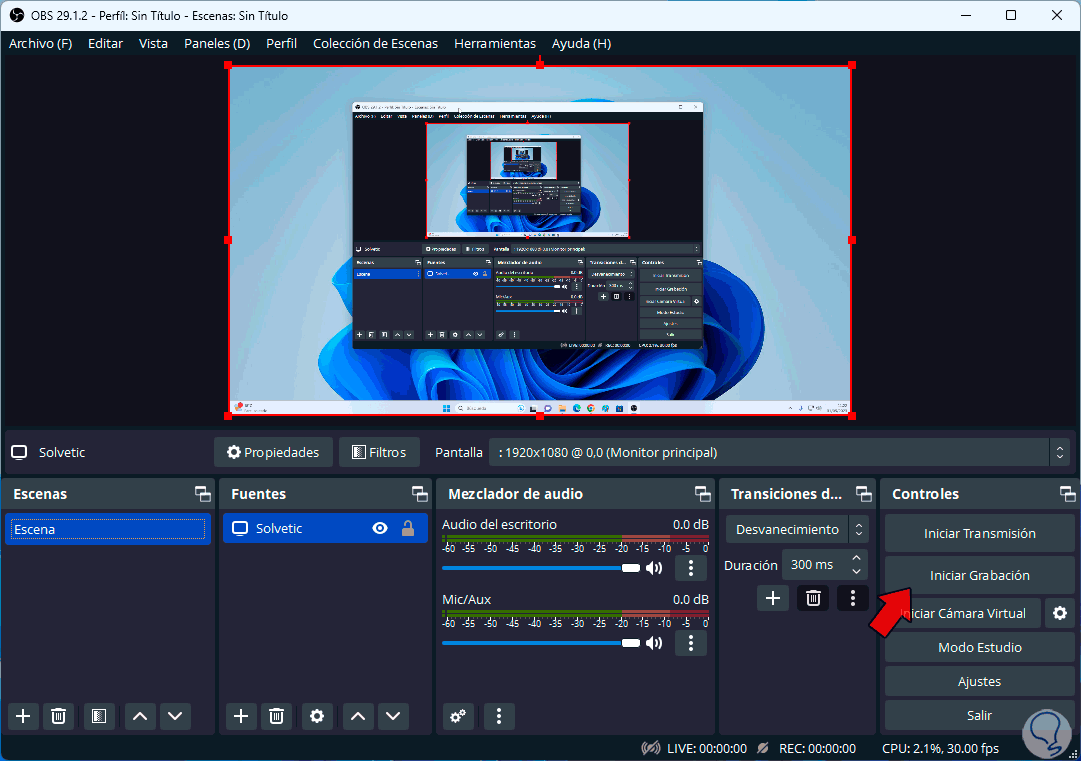
step 18
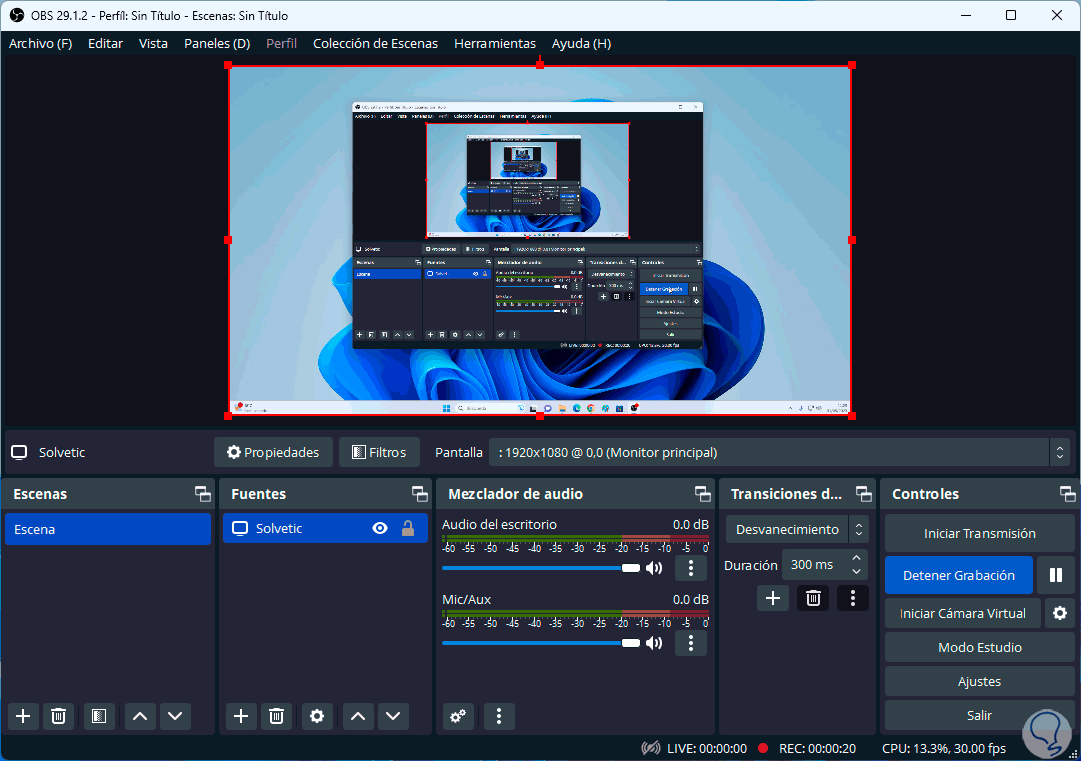
To stop recording we can press the F9 key or open OBS and click on the "Stop Recording" button:
step 19
To access the OBS recordings we are going to go to the “File - Show recordings” menu:

step 20
The system library will open, in the case of Windows the Videos library, with the respective recordings made by OBS:

We see how these three options are ideal, one more than the other, to record the screen and have basic and advanced functions to not only record but also to edit said recordings..