Storage in any operating system will always be one of the main tasks to take into account since, it is an essential part to optimize the entire development of the tasks, processes and services within itself. The reason is simple, every day as users we are downloading and hosting new elements on the disk and the operating system itself stores the updates locally, which gradually consumes the hard disk space..
When we have HDD hard drives , traditionally mechanical ones, we can see that we have capacities of up to 2 TB, which gives us a certain part of tranquility; but when we use solid state SDD discs, this could mean a headache since these come in capacities of 128 or 256 GB which creates a storage level limit.
TechnoWikis brings on this day a series of practical tips to free and optimize space in macOS Mojave and thus fully enjoy each function of the disk since a full disk will be affected in its reading and writing ability..
1. Use the integrated macOS Mojave option to free and optimize hard disk space
macOS Mojave includes its own function for the correct management of each aspect associated with the storage of the system through which we can automate task and know in detail the use that is being given of the disk in real time.
Step 1
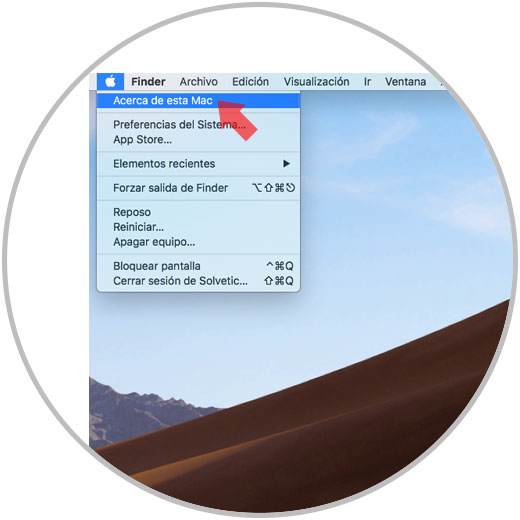
To access this functionality, click on the Apple icon and select the option About this Mac:
Step 2
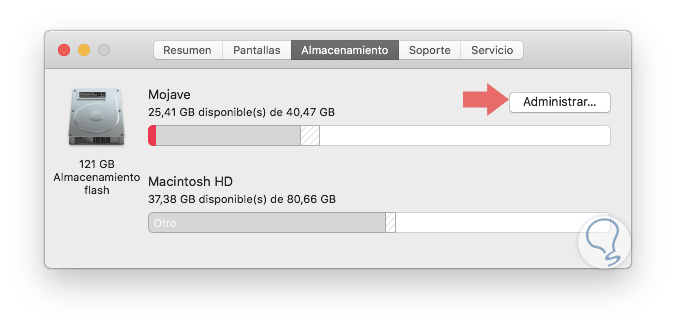
In the displayed window we will go to the "Storage" tab where we will see the following: There we find our disk and its respective partitions. Click on the "Manage" button to access the macOS Mojave integrated function.
Step 3
This will be the environment that this tool offers us:
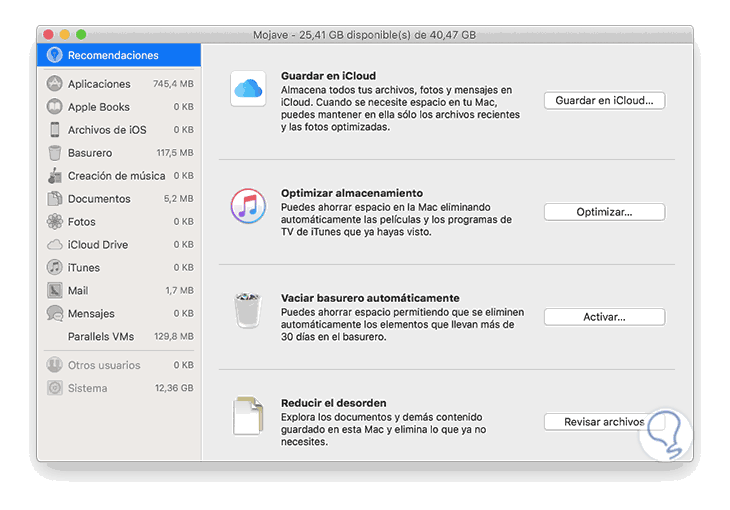
To understand this we find the following sections
- On the left side we find the current use of space of each element in the system, for example, the dump occupies 117 MB, 745 MB applications, etc, d this way we can have a central control over them.
- In the central panel we have automatic options for macOS Mojave optimization which we will see below.
2. Save to iCloud to free and optimize macOS Mojave space
By activating this option, we will have 5 GB of cloud space for free. We can buy more if necessary, to house there elements such as photos, music or files, allowing them to not occupy space locally.
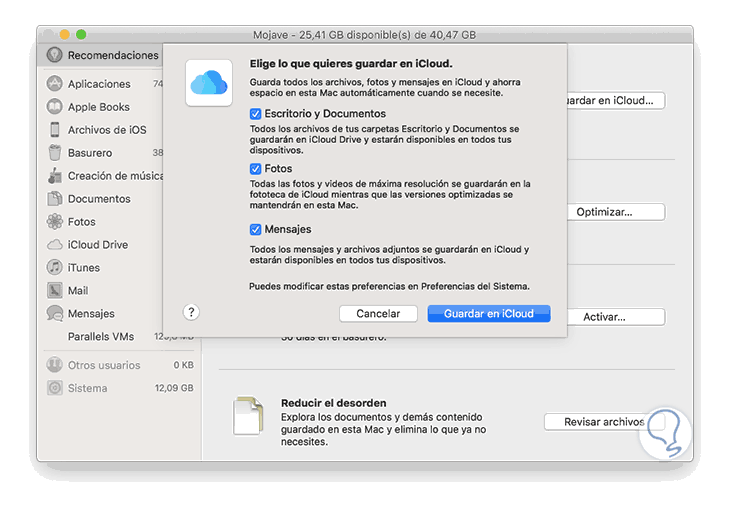
To activate it, click on the "Save to iCloud" button and the following message will be displayed. There we select what kind of elements have to be saved in iCloud and click on the "Save to iCloud" button to confirm the action.
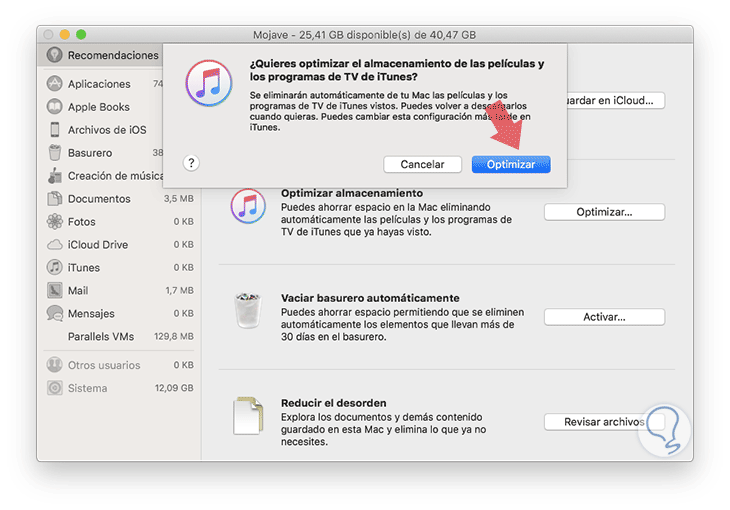
3. Optimize storage to free and optimize macOS Mojave hard disk space
With this option in macOS Mojave, we will proceed to delete the TV programs or movies that we have already seen, and in parallel the e-mail attachments already read which can be large will be deleted.
This is a practical alternative since emails will still be hosted on the iCloud server, and the programs we have purchased from iTunes will be available for download for free..
Step 1
To perform this action, click on the "Optimize" button and the following message will be displayed. Click on the "Optimize" button
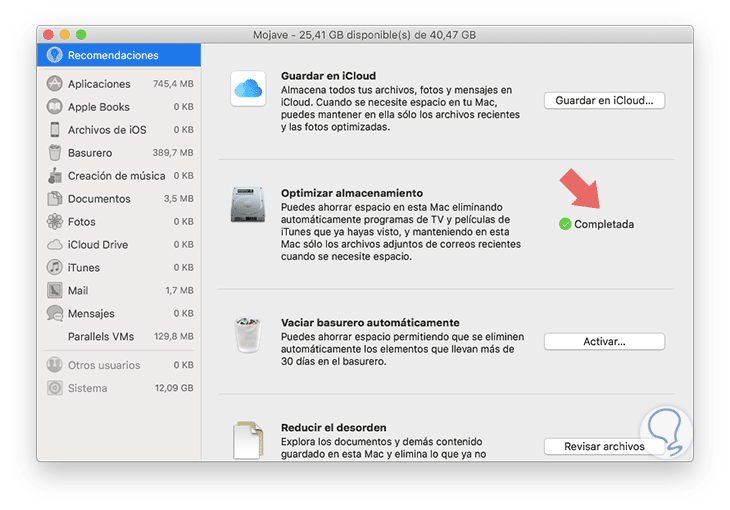
Step 2
Once this action is executed we will see the following. We can validate that the task has been completed.
4. Empty trash automatically to free and optimize macOS Mojave hard disk space
It is very common that, as macOS users, we delete files and do not proceed to empty the trash in order to remove these items. Although it seems somewhat unhelpful, each file that is sent there can take up considerable space, up to several GB, which will have a negative effect on the hard disk space.
If we are forgetful to empty the bin, macOS Mojave gives us the option to do it for us automatically. For this, it has this "Empty trash automatically" function, which is responsible for deleting files that have been in the trash for more than 30 days since it is considered that if they have not been recovered in this period of time, they will no longer be tools.
To activate this function, simply click on the "Activate" button
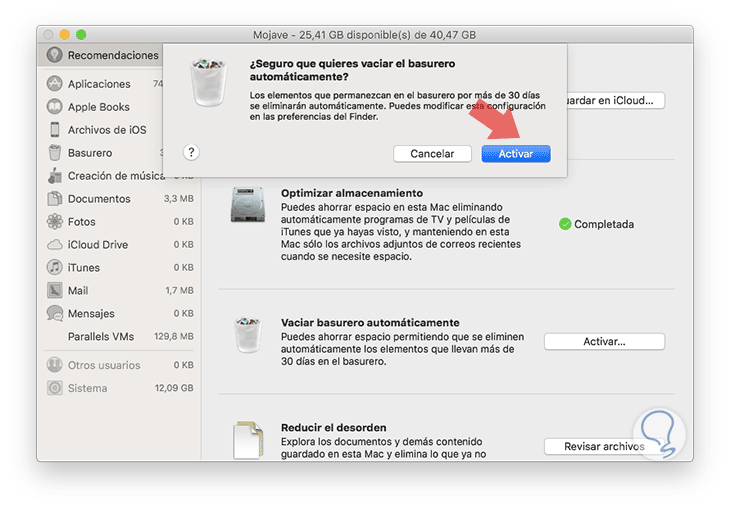
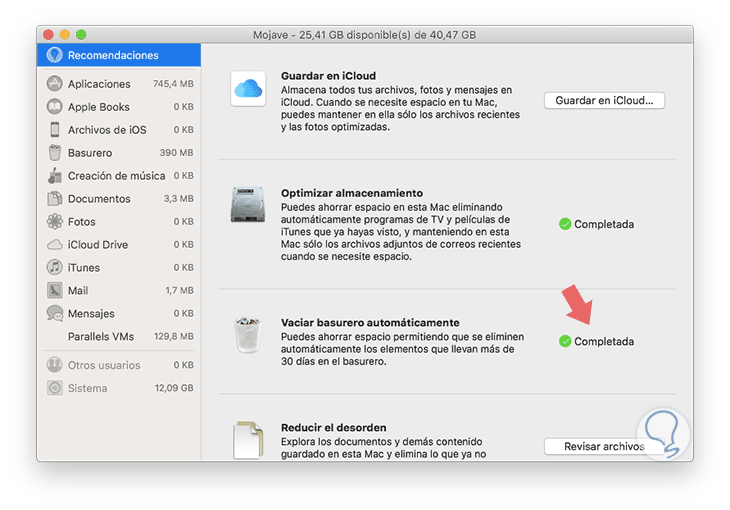
The following message will be displayed: By clicking there we will see that this action has been activated correctly:
5. Reduce clutter to free and optimize hard disk space in macOS Mojave
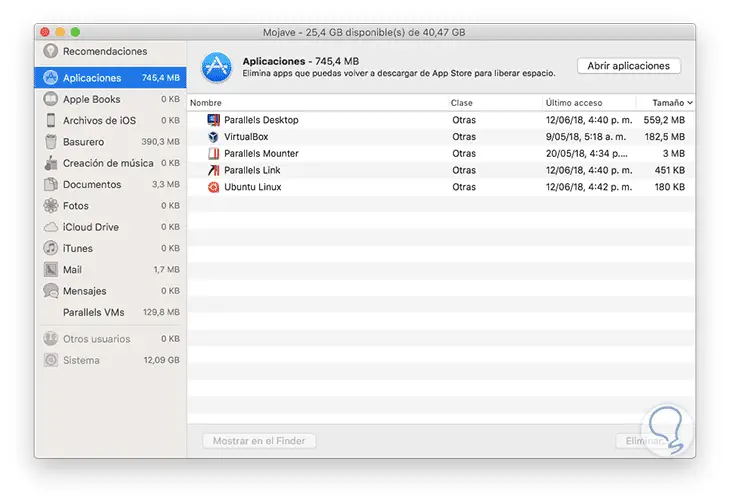
By selecting this option, we will have access to a detailed view of all the files by category, such as Documents, Music or Photos and by size in order to perform their analysis and subsequent elimination in case any of these is not necessary to have it there.
Step 1
To do this, click on the "Review files" button and select the desired category to see details of it such as:
- Last date on which it was used
Step 2
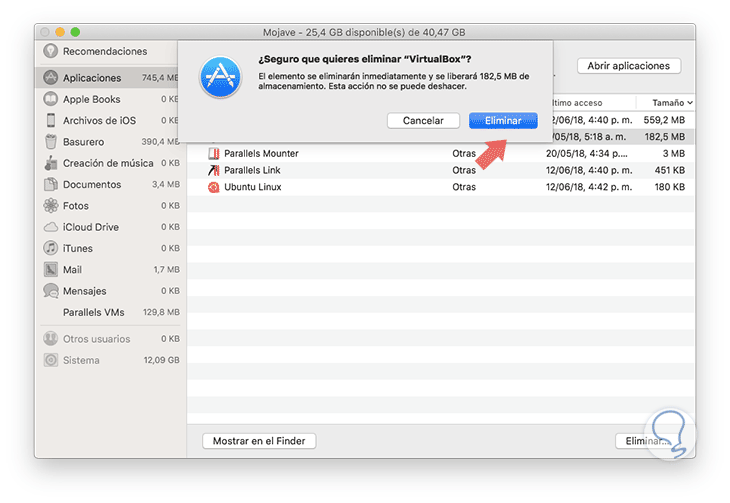
There we can select unnecessary items and remove them by clicking on the "Delete" button located at the bottom.
Step 3
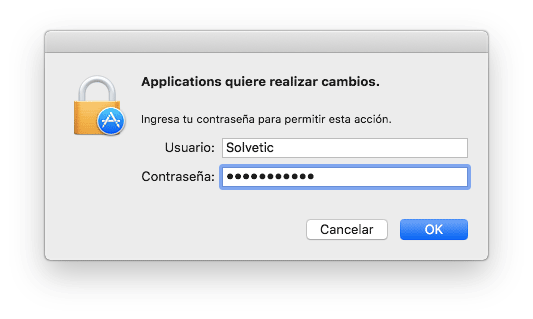
The following message will be displayed: Click on the "Delete" button and we must enter our administrator password to execute the action:
In this way the integrated space management function of macOS Mojave allows us to keep track of each of these aspects.
6. Empty the trash to free and optimize macOS Mojave hard disk space
Although macOS Mojave gives us the opportunity to delete items from the trash automatically, this only applies to files that have been there for more than 30 days. If you wish to delete files with less time, we must do it manually.
Step 1
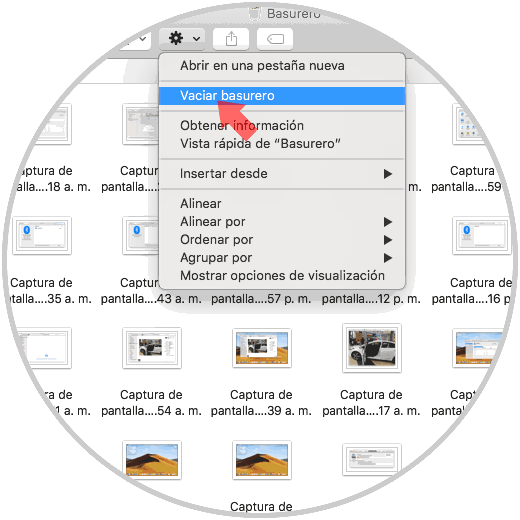
To do this, just access the trash can, its access is in the lower right of the Dock. There we click on the gear icon and select the option "Empty garbage dump"
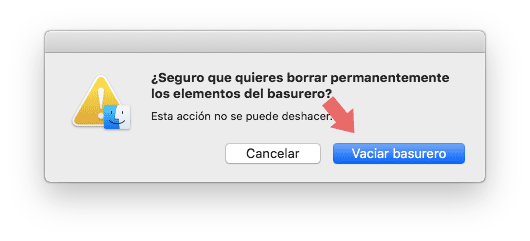
Step 2
The following message will be displayed. We confirm the action by clicking on the "Empty Trash" button
7. Remove applications to free and optimize macOS Mojave hard disk space
Undoubtedly one of the factors that occupies more space in macOS Mojave are the installed applications which can occupy several GB and not be really useful for us.
To check which applications are being subject to unnecessary occupation of space in Mojave, we will access Applications using one of these methods:
- Entering the term applications in Spotlight and there select the respective utility
- + ⌘ + A Use the key combination ⇧ + ⌘ + A
- On the route Go / Applications
There we select the application to delete and drag it to the trash. Then we must empty the trash to free this space

8. Use third-party tools to free and optimize macOS Mojave hard disk space
A viable option is to resort to some tools that have been developed exclusively for the purpose of analyzing the disk and managing it comprehensively.
We can use the trial version of applications such as:
DaisyDisk
Clean My Mac
CCleaner
The use of these tools will give us the option of a centralized management on each element in the hard disk and if it is to our liking and function, we can buy it.
Step 1
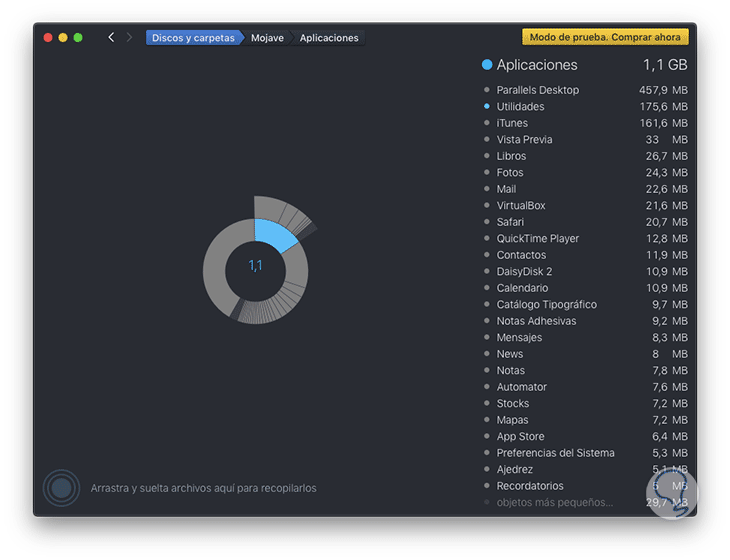
For this case we use DaisyDisk which, when executing the scan, displays the following:

Step 2
There we can select one of the categories to see its detailed content. To remove an item, simply drag it to the center panel of the app and then go to the "Action" menu and select "Remove all items from the collector".
9. Edit iTunes preferences to free and optimize macOS Mojave hard disk space
iTunes is Apple's default platform for audio and video playback with various practical and dynamic functionalities.
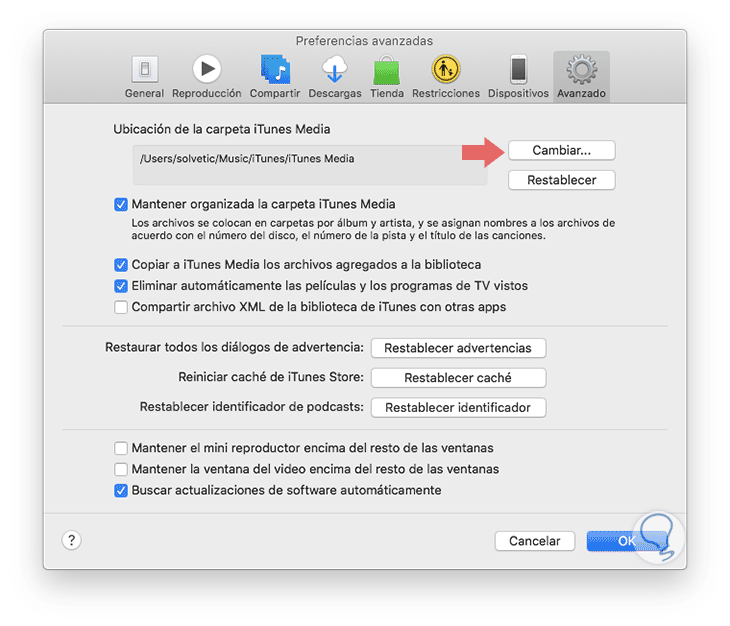
When we use our account to download items to iTunes, it has a default folder where it will be hosted, for checking we open iTunes and go to the "iTunes" / "Preferences" menu and there we select the "Advanced" tab:
We can see the default folder and it will be possible to modify it by clicking on the "Change" button to select another route.
Note
An extra alternative is to use a cloud platform such as Dropbox, OneDrive, GoogleDrive and iCloud.
Additional tips that will be of great help to free up space in macOS Mojave
- Detect and analyze duplicate downloads in Safari and reserve only the most recent version of the download.
- Remove app installers used.
- Remove old fonts, languages ​​and dictionaries that are no longer used in the system.
- Clear the cache, logs and other unnecessary data from both the system and browsers
- Move files to an external device.
- Compress files to reduce their size
- With these tips no doubt that our macOS Mojave will be much faster and its performance will be ideal.
As we can see, there are many ways that we will be updating little by little so that we can free up the hard disk space on Mac . That affects the use of the equipment and also its performance, since if we have very low disk, it will logically be a problem also in agility of starting and use of applications.