Screen capture on any operating system has always been one of the tasks most used by thousands of users to carry out actions such as:
- Support of actions performed in the system
- Take evidence of items deployed in the system
- Make archives of conferences or tutorials and much more.
With the new version announced by Apple at the WWDC conference, macOS Mojave, we will have new features that will be of great help to carry out various tasks where screen captures are included . In macOS Mojave extra functions are added to those already known up to macOS High Sierra since support is now available for marking annotations, and it will even be possible to easily take videos from our desktop .
Through this tutorial we will know the alternatives that macOS Mojave gives us for everything related to screen capture in this new version of macOS. In the new macOS Mojave version we will have at our disposal a new tool to carry out screen capture and recording tasks in Mojave. It is located at the bottom, but we will talk about it later..
1. Display the entire screen in macOS Mojave
Step 1
The traditional method to capture the entire macOS Mojave screen remains the same as we have in all previous editions of macOS and is using the following key sequence:
+ ⌘ + 3 ⇧ + ⌘ + 3
Step 2
Normally, until macOS High Sierra, the capture was automatically stored in the location that we intended for it, but now in macOS Mojave we can see that, at the time of taking the capture of the total screen, or of only one window, said capture will be displayed on the bottom right of the screen:
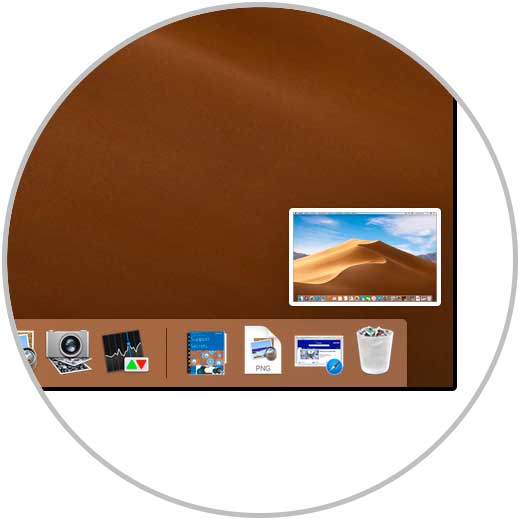
Step 3
If we do not perform any action on it, it will be automatically saved on the selected route, but if we click on it, the following will be displayed:
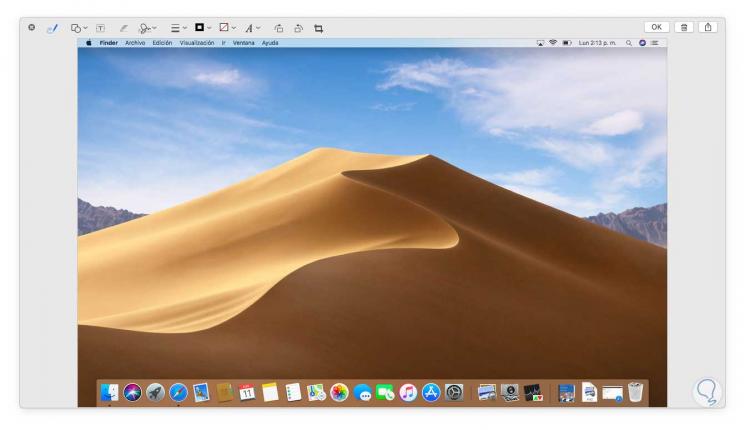
Step 4
We can see that this image opens with a series of tools for editing such as. From here we can see significant changes in the capture of macOS Mojave images.
- Define line styles and much more
2. Screenshot of the current window in macOS Mojave
Another frequent task with the whole screen capture issue is to take only the active window, either from the browser or from a particular program.
Step 1
For this, we will use the following key combination:
+ ⌘ + 4 ⇧ + ⌘ + 4
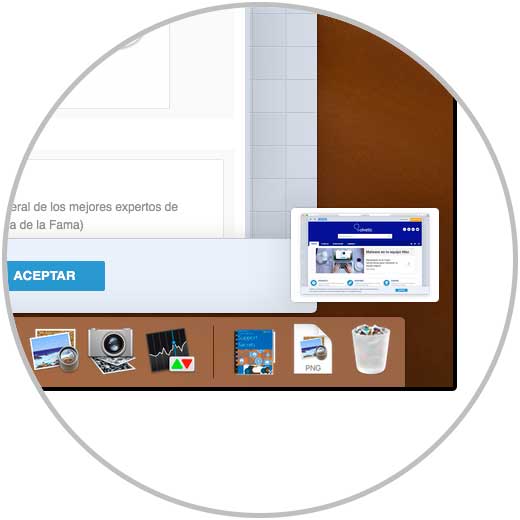
Step 2
Once we use this combination, a cross sign will be displayed and with it we will click on the window to be captured by pressing the space bar and this cross sign will change to a camera, click and in this way we will take the respective window capture selected
Once we capture this active window, we can see that it will be displayed at the bottom and there we can click on it to perform editing tasks on it:
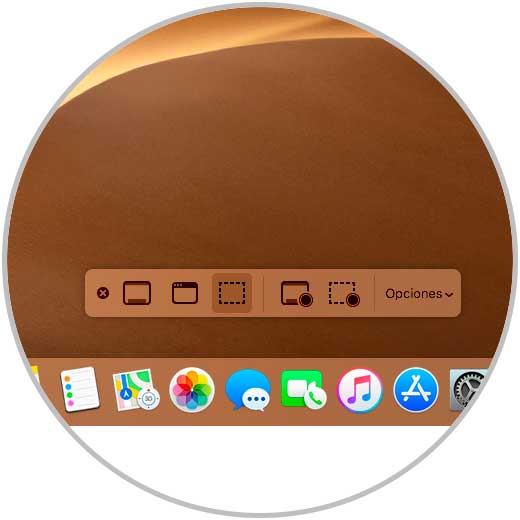
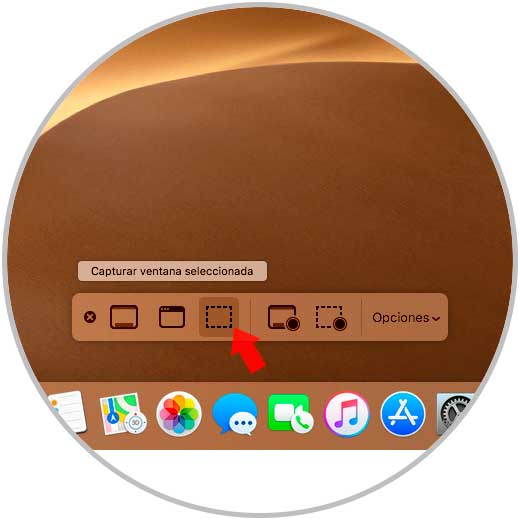
3. Screenshot from toolbar in macOS Mojave
As we indicated at the beginning of the tutorial, macOS Mojave has a new exclusive toolbar for all screen capture tasks.
Step 1
To access this tool we will use the following key combination:
+ ⌘ + 5 ⇧ + ⌘ + 5
Step 2
The actions we can carry out with it are:
- Capture the entire screen
Step 3
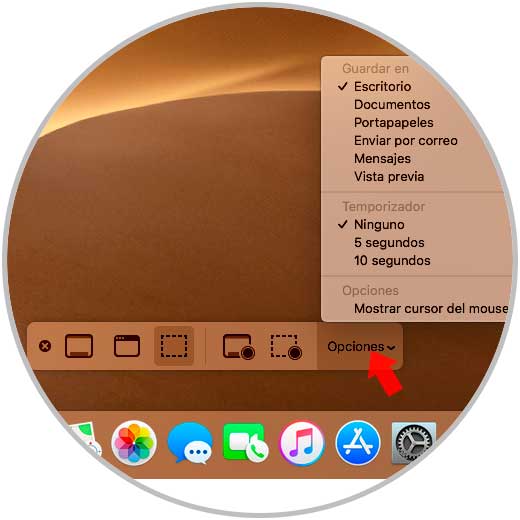
One of the main advantages of this tool is the "Options" section where it will be possible to configure actions such as:
- Define the location where screen captures or recordings will be saved, we have options such as Desktop, Documents, Clipboard, send them directly by mail, open them in Preview, etc.
- Display the mouse cursor which by default is disabled
Step 4
Now, when we use the recording option, we can see at the top the recording icon which we must press to stop the recorded actions and then we will access the file to edit it as necessary. All these recordings will be stored in .MOV format.

We can see how the screenshots take a new direction in macOS Mojave, it only remains to get the most out of their functions..