Linux offers us a wide range of distributions , both for server and home user environments where each one has the necessary functions to be stable, reliable, secure and high-performance systems..
One of the most used and known distributions is Fedora , which has been in the market for quite some time and has positioned itself as one of the best options to use.
Some of the features of Fedora 27 are
- TRIM in SSD is used for encrypted disks
- SSH-1 has been removed from OpenSSH clients
- It has PipeWire which is a new subsystem to improve audio / video management under Linux
To install Fedora 27 correctly we need the following
1. How to install Fedora 27 Linux
Step 1
The first thing will be to download the ISO image of Fedora 27, which is available at the following link:
Fedora 27
Once downloaded the ISO image of Fedora 27 we proceed to burn it on a USB or DVD media, configure the boot from there and this will be the first window we will observe. We select the Start Fedora-Workstation-Live 27 line
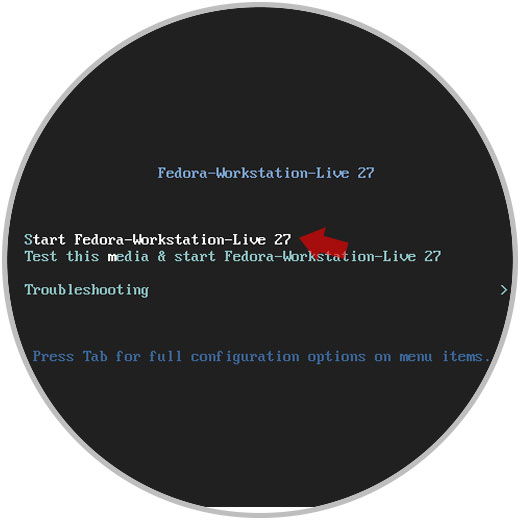
Step 2
There and once the necessary files are loaded we will see the following. We can test the system to know it a little more, but everything we do there will be deleted once the session is closed or click on the Install to Hard Drive section to install it locally.
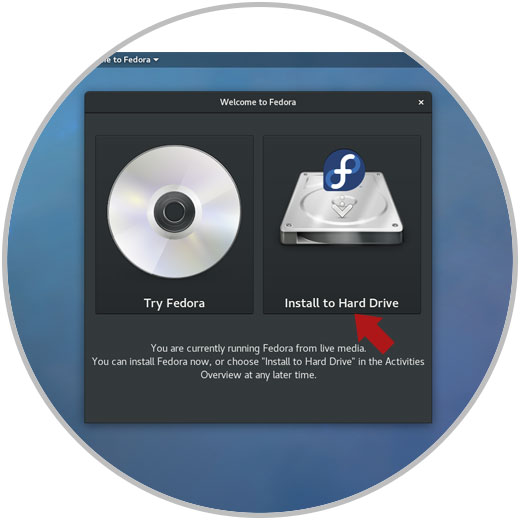
Step 3
By clicking on the local installation, we will select the language with which Fedora 27 will be installed. Once selected, click on the "Continue" button
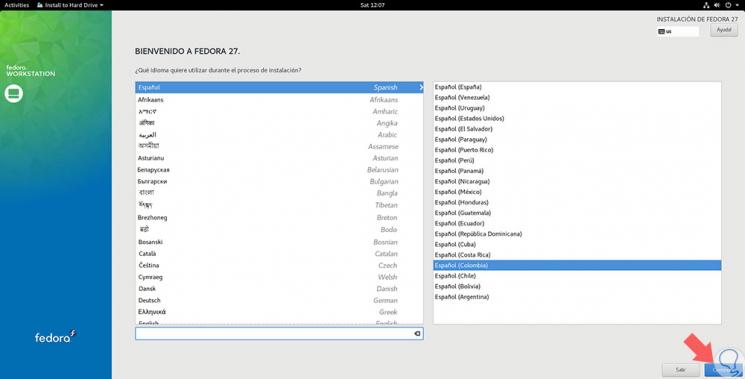
Step 4
There we select the "Installation destination" line and we will select the hard disk drive on which Fedora 27 is to be installed. We activate the Automatic box in the "Storage configuration" section and click on the "Done" button:
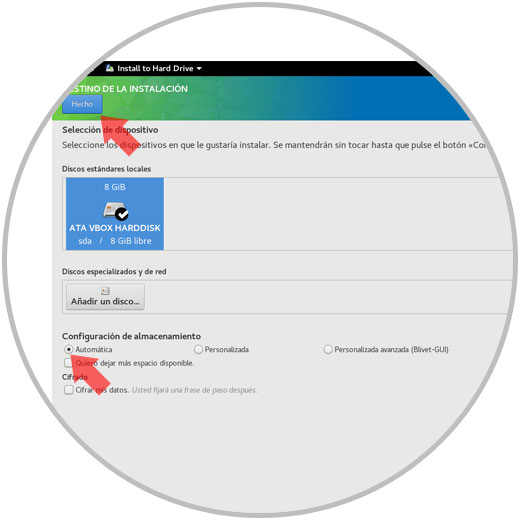
Note
In the "Storage configuration" section we can manually set partitions on the disk or set up space for swap memory or root directories.
Step 5
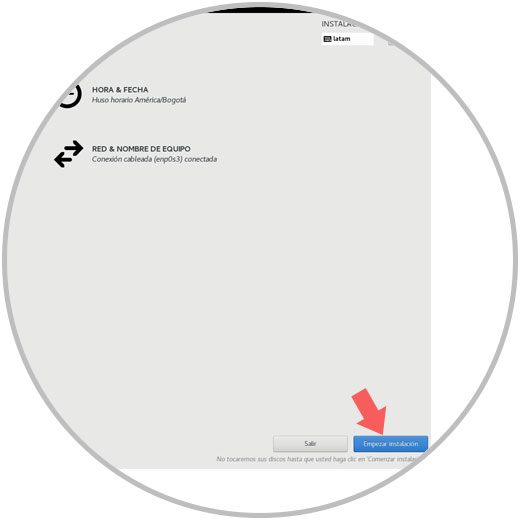
We will see the following, click on the "Start installation" button to start the installation of Fedora 27:
Step 6
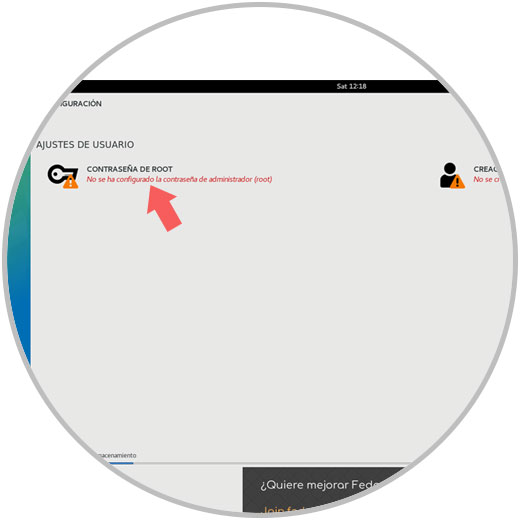
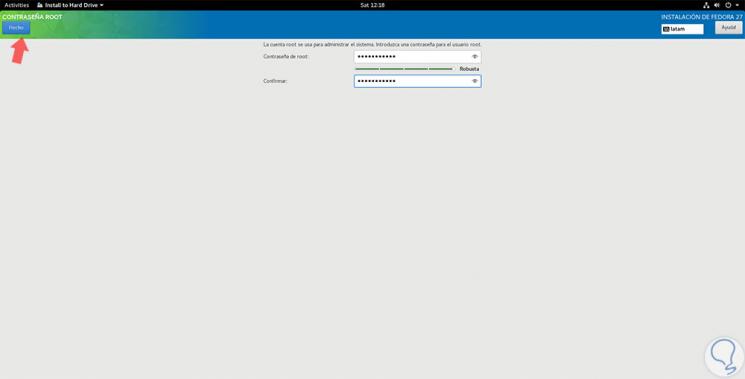
Now it will be necessary to set the password of the root user; To do this we click on the Root Password section.
We assign the desired one, click on "Done"
Step 7
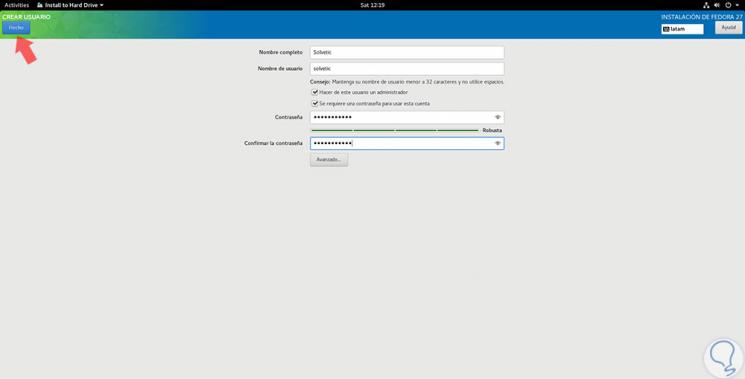
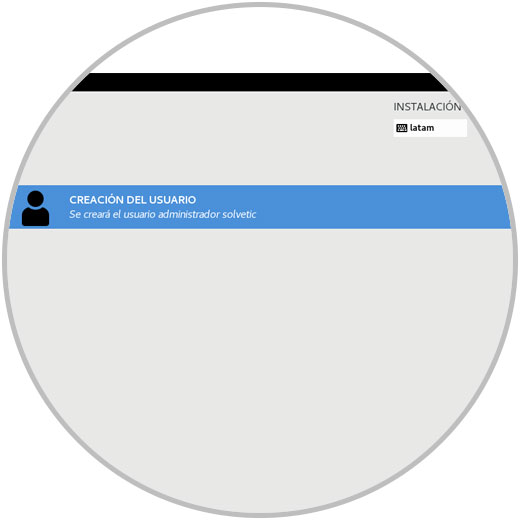
We will create the user to use Fedora 27 with their respective credentials:
Step 8
Once established we will see the following:
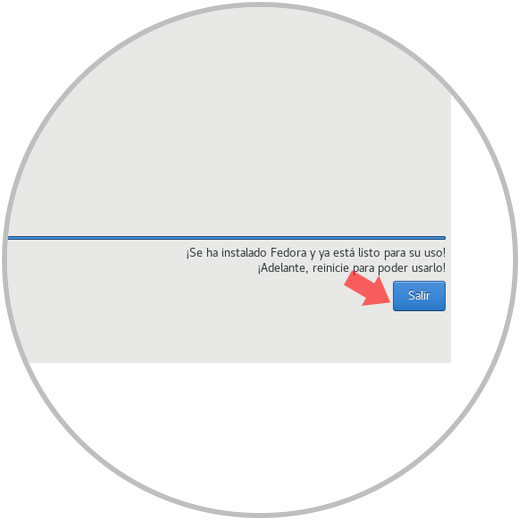
We hope that the installation process continues and after all the components are installed we will see this. Click on "Exit" to complete the action. We proceed to eject the USB media with the ISO or the DVD and restart the computer..
Step 9
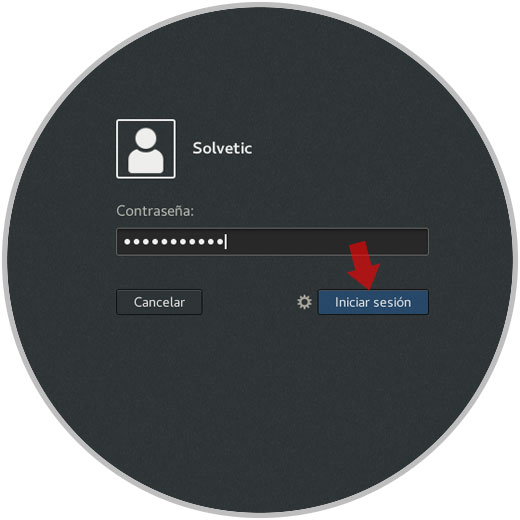
After the reboot, the system will start automatically and it will be necessary to perform the additional configuration of Fedora 27 where it will be necessary to enter the credentials of the created user. Click on "Login"
Step 10
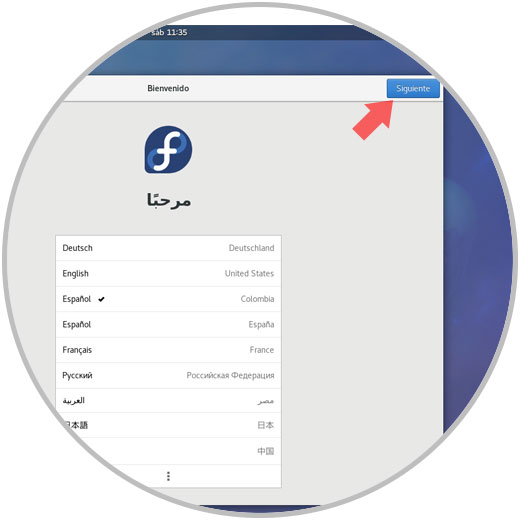
In this case the first screen we will see is related to the basic Fedora configuration as we can see. Once we define the language, click on "Next"
Step 11
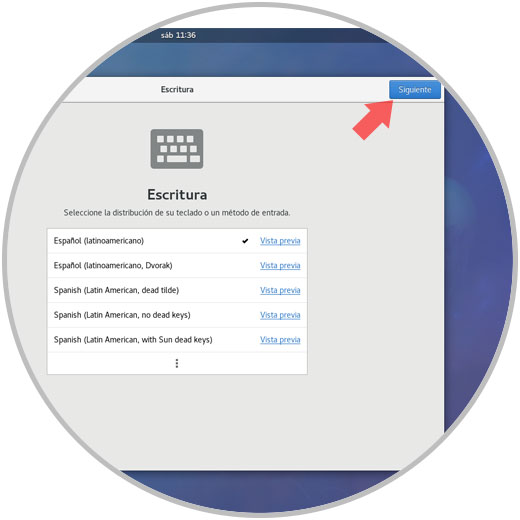
Now we define the keyboard language:
Step 12
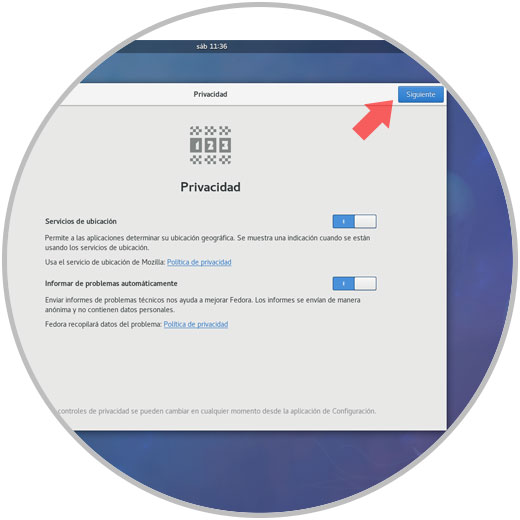
In the next window we accept the Fedora 27 privacy conditions by activating or not activating its switches. Click on "Next"
Step 13
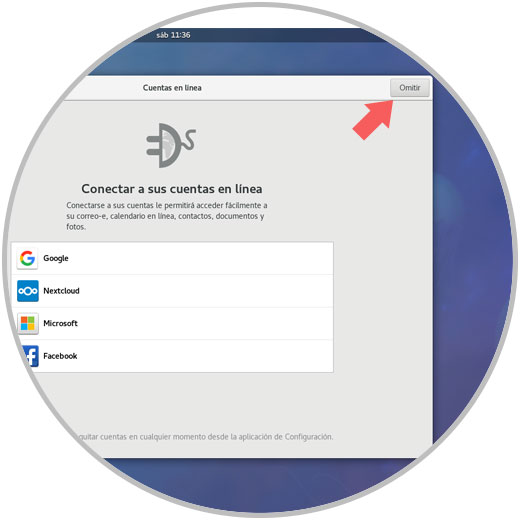
It will now be possible to add accounts online. If we do not wish to do this, click on the "Skip" button
In this way we have finished the Fedora 27 configuration:

2. How to set up additional tasks in Fedora 27
Once these aspects have been configured in Fedora 27 it will be possible to perform some control and management tasks on Fedora 27 such as:
Upgrade system
For this it is recommended to access as root users by executing the following:
sudo su
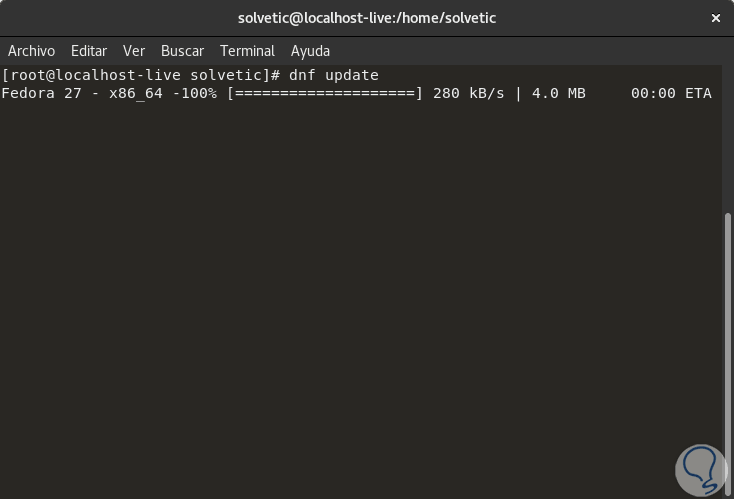
We enter our password and then execute the following command to perform the Fedora 27 update:
dnf update
Edit team name
To establish a new team name we will execute the following syntax:
hostnamectl set-hostname - "name"
There are many other tasks that we can carry out in Fedora 27 which TechnoWikis will explain in future tutorials.