There are several applications that have been developed to optimize the performance of the system and its applications and many others are created to allow us to see in real time how each of the system parameters behaves.
One of these applications is NetData which was designed to give us the possibility to see in real time everything that happens in the system and in the applications, offering interactive web panels and multiple performance and health alarms to be aware of any changes It happens there..
Therefore we will see how to install NetData on Ubuntu 18.04 Server and understand how it is a vital tool for any administrator.
features
Within the features of NetData we find:
- Possibility to analyze thousands of metrics for each server, so it will be possible to see metrics of elements such as CPU, RAM, disks, network, firewall, QoS, NFS, ZFS, and much more.
- Detailed performance metrics for multiple applications such as web servers, database servers, email servers, and more.
- NetData supports self-detection for all types of elements, it is able to collect more than 5000 metrics automatically, its configuration is zero, it has zero dependencies, it does not require any maintenance and has more than 100 pre-configured alarms to alert us about any changes that is present in the system.
- Alarm notifications are role-based and support dynamic thresholds and can be sent through various methods such as email, slack.com, pushover.net, pushbullet.com and more.
- NetData can collect thousands of server metrics per second without using more than 2% of team resources
- Custom panels can be built using simple HTML which allows us to increase design capacity
- NetData has minimal dependencies and is able to work even on IoT devices.
- It has add-on APIs such as BASH, Python, Perl, Node.js, java, Go and more.
1. Install dependencies on Ubuntu 18.04 Server
Step 1
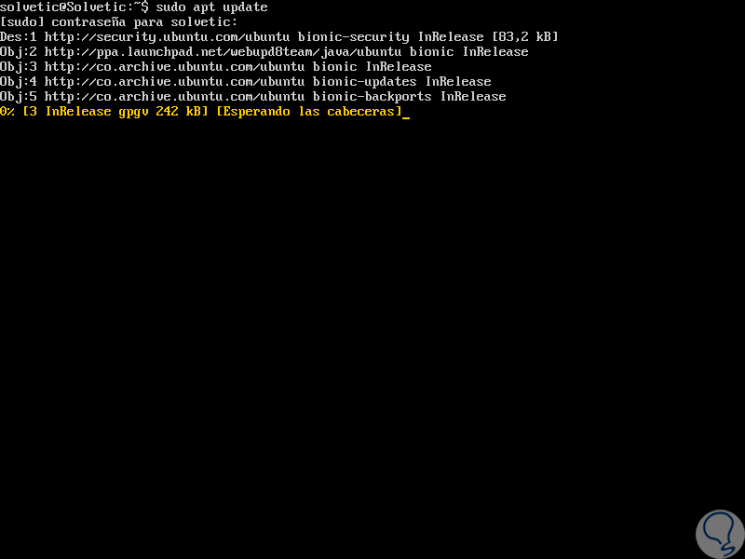
The first step to take is to update the operating system using the following command:
sudo apt update
Step 2
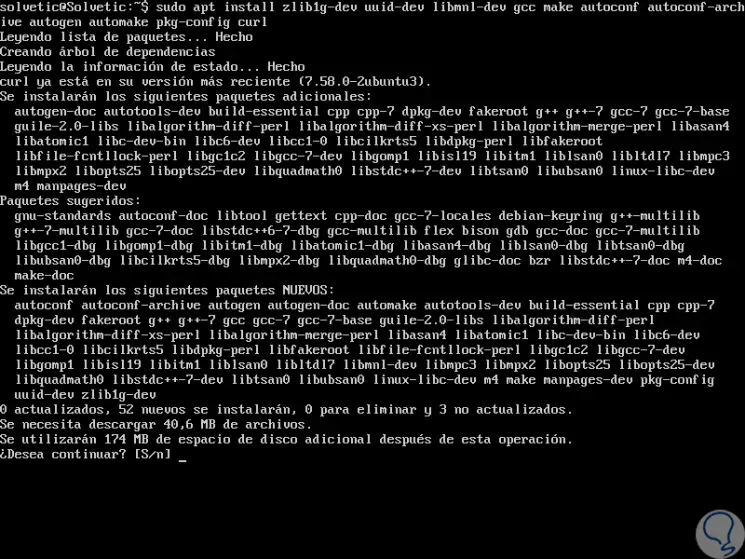
The next step is to install the NetData dependencies, which include the gcc (a C compiler), the GNU Autoconf tools, the GUID administration and the compression libraries for the NetData internal web server, for this we execute the following:
sudo apt install zlib1g-dev uuid-dev libmnl-dev gcc make autoconf autoconf-archive autogen automake pkg-config curl
Step 3
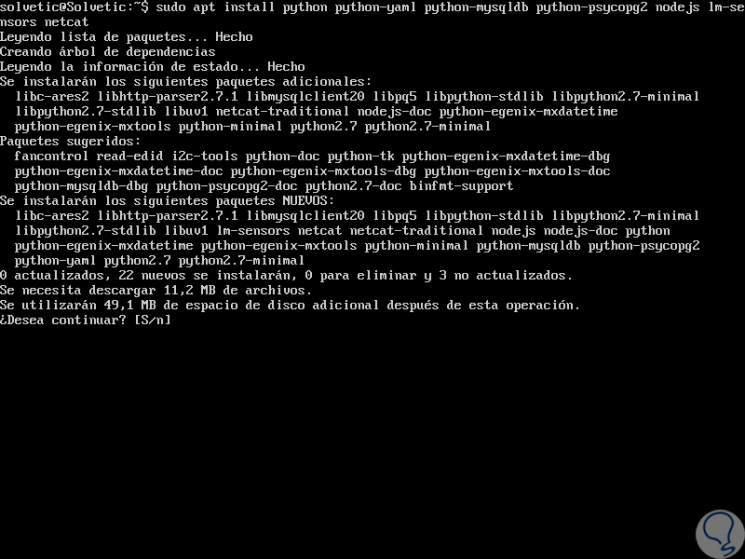
We will enter the letter S to continue and download the respective packages. The following set of packages is optional, but it is recommended by Netdata which includes Python, some Python packages and Node.JS, we can execute the following. We must also enter the letter S to accept their download and installation.
sudo apt install python python-yaml python-mysqldb python-psycopg2 nodejs lm-sensors netcat
2. Use NetData repositories in Ubuntu 18.04 Server
Step 1
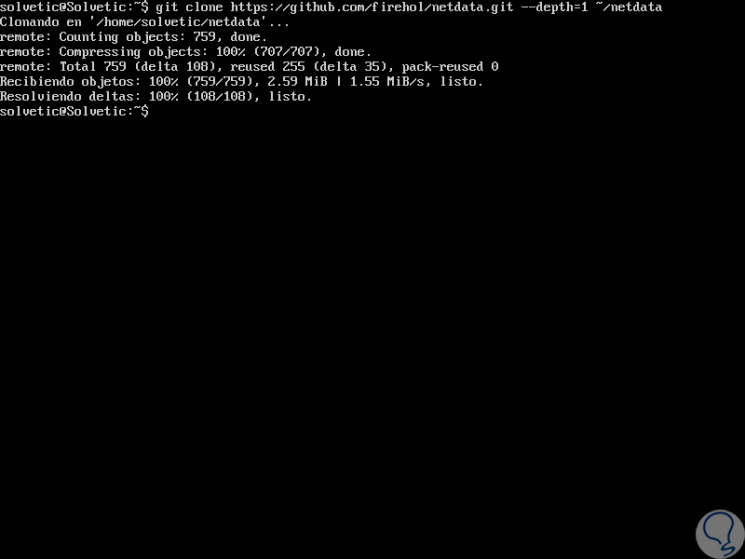
For the correct installation of Netdata, it will be necessary to use the GitHub repository of the project, for this we will clone the Netdata repository in our personal directory by executing the following:
git clone https://github.com/firehol/netdata.git --depth = 1 ~ / netdata
Step 2
Now, we will access the cloned directory:
cd ~ / netdata
Step 3
Now we are going to compile and install the application using the netdata-installer.sh shell script in this directory, we must put sudo first since if we do not do it the way Netdata collects the system data would not work as expected. We execute the following:
sudo ./netdata-installer.sh
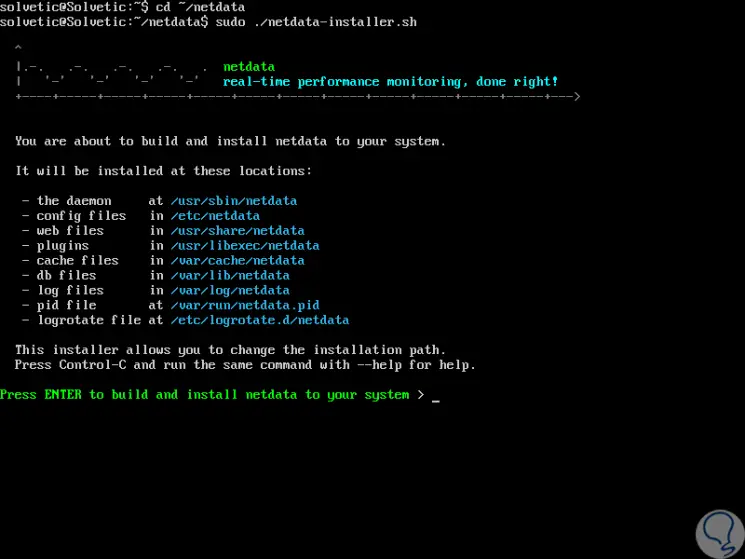
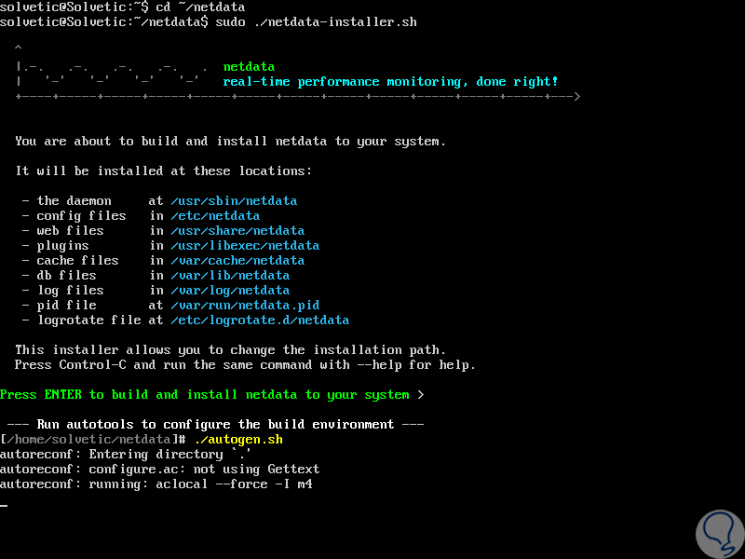
Step 4
Here we see information on where NetData will store all the components itself, press Enter to proceed with the installation:
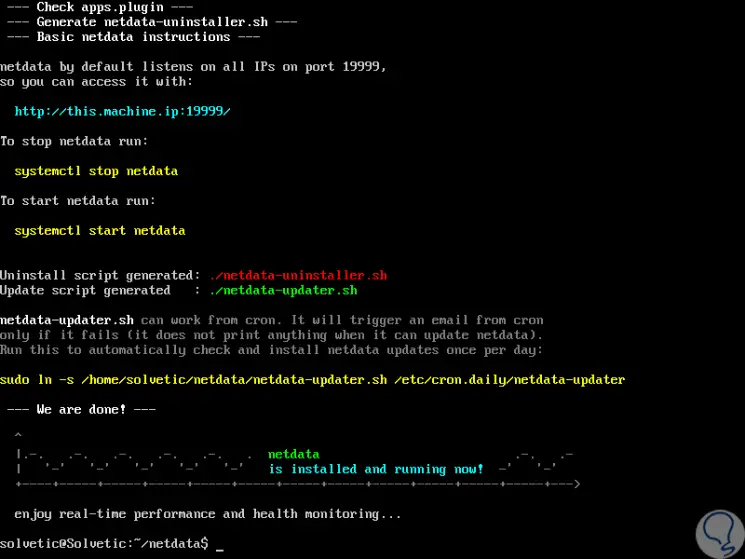
Step 5
Once this is finished we will see the following:
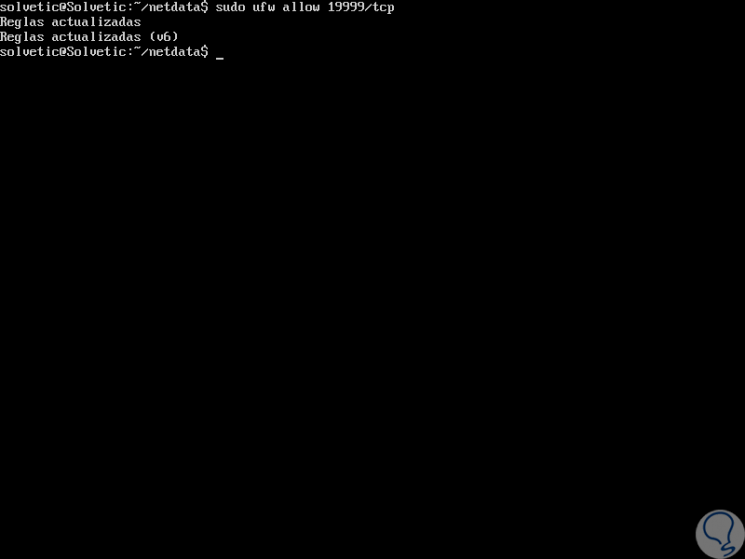
3. Configure the Firewall on Ubuntu 18.04 Server
Now it will be necessary to open port 19999 for the NetData internal web server in the Firewall, for this we will execute the following:
sudo ufw allow 19999 / tcp
4. Configure NetData data usage on Ubuntu 18.04 Server
Step 1
At this time we can see the NetData configuration by running the following in a browser:
http: // IP_Address: 19999 / netdata.conf
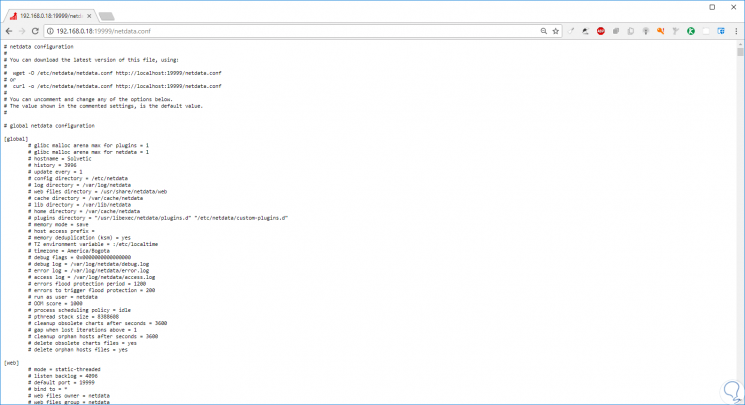
Step 2
Here we can see that all the configurable options are commented, with a # sign, this is because the NetData configuration works using a set of default values ​​and any disabled configuration will take the NetData default value; with this, if a configuration is not commented, the specified value will override the default value.
In the terminal, this configuration is found in the path /etc/netdata/netdata.conf. We will configure the history parameter, with this the maximum size of the memory database in use by NetData is controlled.
Therefore, we will define the amount of RAM that will be dedicated to NetData, or the amount of time you want to keep before losing it, the available parameters are:
- 3600 seconds (1 hour of graph data retention) uses 15 MB of RAM
- 7200 seconds (2 hours of graph data retention) uses 30 MB of RAM
- 14400 seconds (4 hours of graph data retention) uses 60 MB of RAM
- 28800 seconds (8 hours of graph data retention) uses 120 MB of RAM
- 43200 seconds (12 hours of graph data retention) uses 180 MB of RAM
- 86400 seconds (24 hours of graph data retention) uses 360 MB of RAM
Step 3
To set the desired value we access using the desired editor.
sudo nano /etc/netdata/netdata.conf
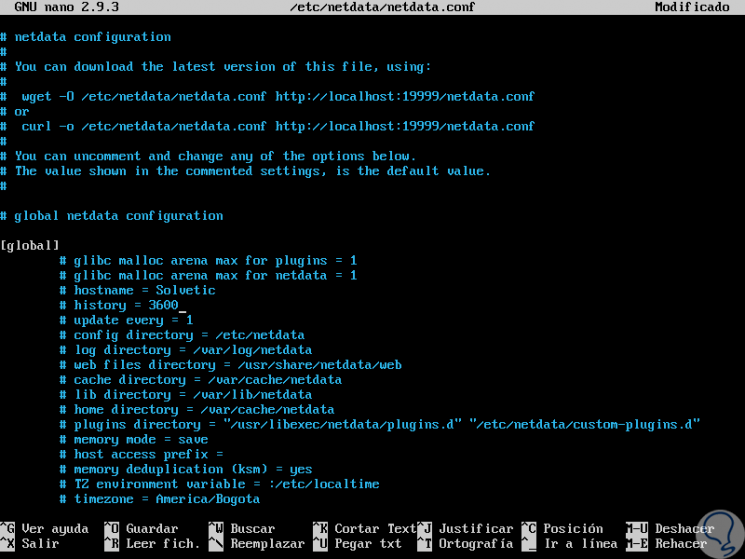
Step 4
There we locate the “History†line in the “Global†section and replace the 3600 value with the desired one. We save the changes using the following key combination:
+ O Ctrl + O
We leave the editor using:
+ X Ctrl + X
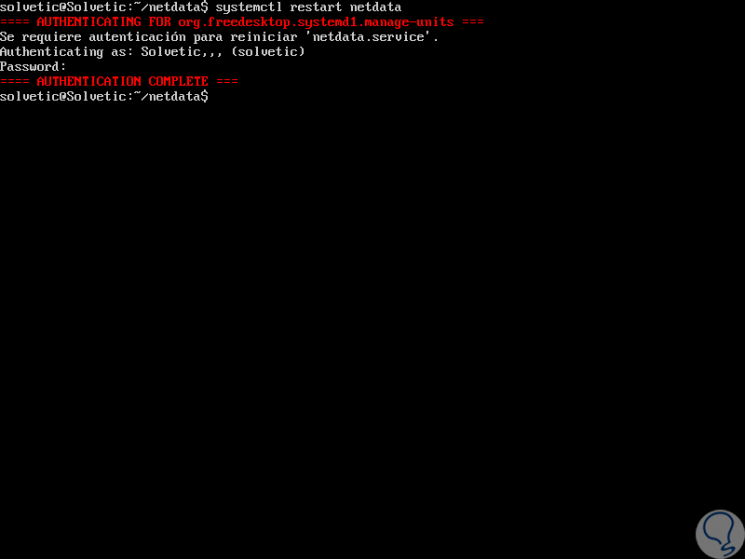
Step 5
To apply the changes we execute the following:
sudo systemctl restart netdata
5. Access NetData on Ubuntu 18.04 Server
Step 1
To access NetData we can do it from any browser by running the following syntax.
http: // IP_Address: 19999

Step 2
As we see, on the right side we have several views that are:
In this way NetData is an excellent alternative to centrally and totally manage all aspects of Ubuntu 18.04..