Using text in design editors is common as it is a very powerful resource for creations. Each designer has their favorite text sources , although it will always be the design that ultimately needs some resources or others. We all know that by default in all software come a series of predetermined sources that can serve us for many situations but that are not always the most appropriate..
If the default fonts are not enough for you and you no longer want them to be the default ones, we show you how to change them in Photoshop and Illustrator.
1. How to set default font in Photoshop CC 2017
Step 1
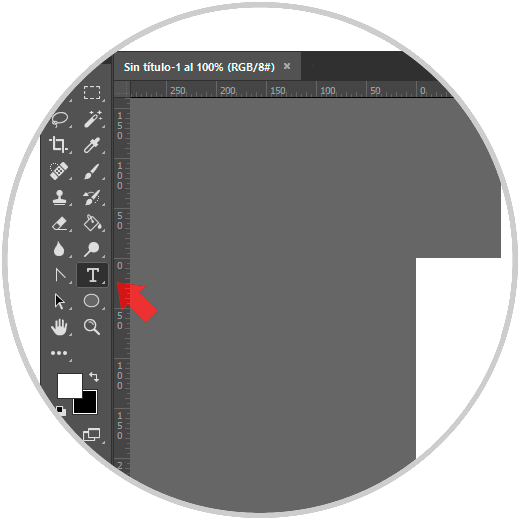
The first thing will be to open Photoshop and close all the projects we have open to avoid having windows open. Made text we go to the Text selection tool in the Tools panel.
Step 2
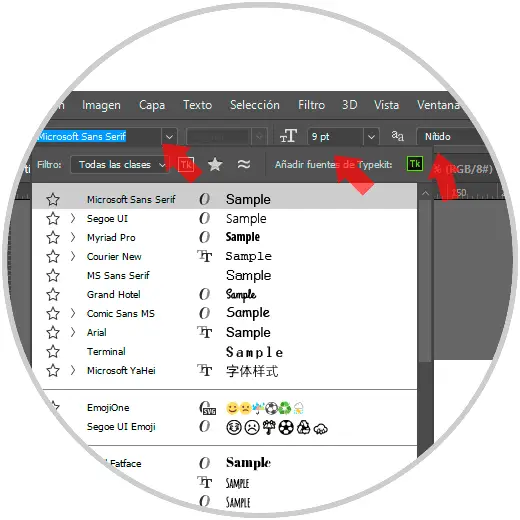
We will see that at the top we have the available sources and that by default one has been chosen. This font can be changed by clicking on the font box and changing on adjacent panels such as size, style or color. In this way this source will be saved and will be the one that appears by default when we create a new document and even when we open the program again.
2. How to set default font in Illustrator CC 2017
In Illustrator we will find a somewhat more complex process to change the default font.
Step 1
Open Illustrator and go to "File / Open."

Step 2
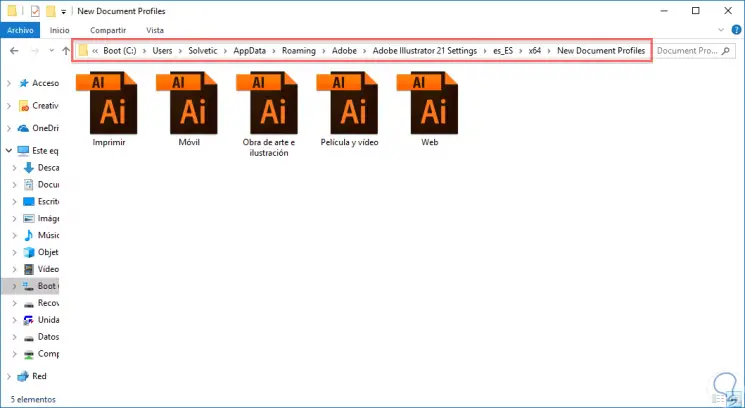
We go to the following path depending on whether we are in Windows or macOS:
On windows
C: \ Users \ (User) \ AppData \ Roaming \ Adobe \ Adobe Illustrator 21 Settings \ en_US \ x64 \ New Document Profiles
In macOS
Users / (User) / Library / Preferences / Adobe / Adobe Illustrator 21 Settings / en_US / Adobe Illustrator Prefs
Step 3
Inside the folder we open either the “basic RGB†profile if we have CS6 or earlier versions, or that profile that Adobe CC gives to Cloud users. In case we use a profile very frequently we will select that one.

Note
We can apply these changes in different profiles if we wish.
Step 4
From this profile we go to the following route:
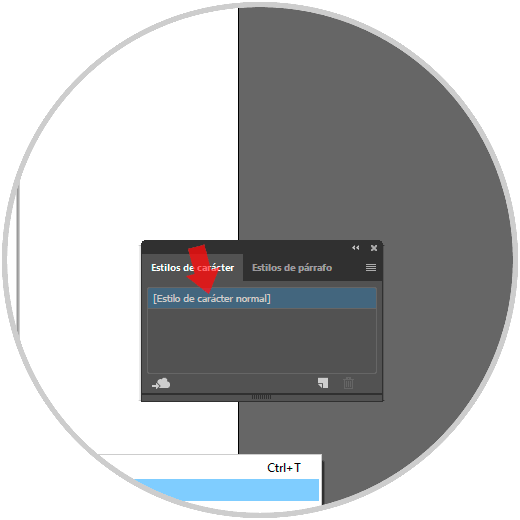
Step 5
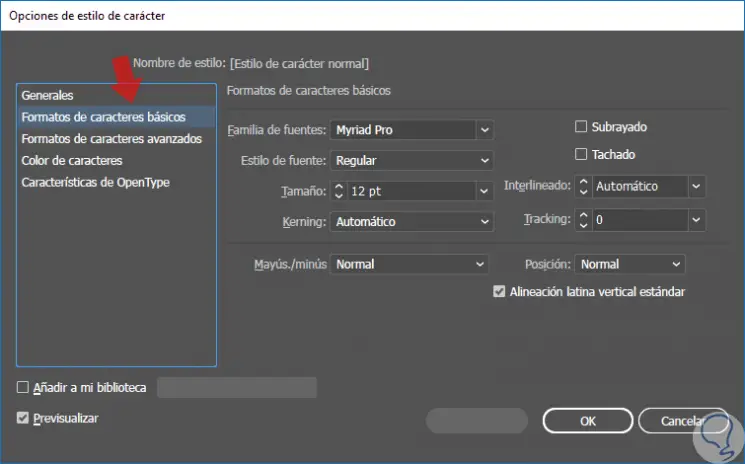
In the "Character styles" window, double click on "Normal character style".
Step 6
In the new window that appears, we select the option of “Basic character formatsâ€. From here we can modify the attributes of the source and then click on Ok to save the changes. Now every time you create a new document or open the program again that profile will be created with the modifications made. Remember that you can modify all you want.