Microsoft Word in its 2016 and 2019 versions is one of the most comprehensive applications for everything related to the creation, editing and configuration of high-quality text files thanks to its integrated functions which range from adjusting aspects of the font (size, color, type) to more professional aspects such as the insertion of multimedia files and others..
A common denominator in most of those who use Microsoft Word is that we usually separate the paragraphs using blank (empty) paragraphs which are created by simply pressing the Enter key. In its place, the most ideal and practical thing that TechnoWikis recommends is to use the Spacing before or after which we access from the Start / Paragraph menu:
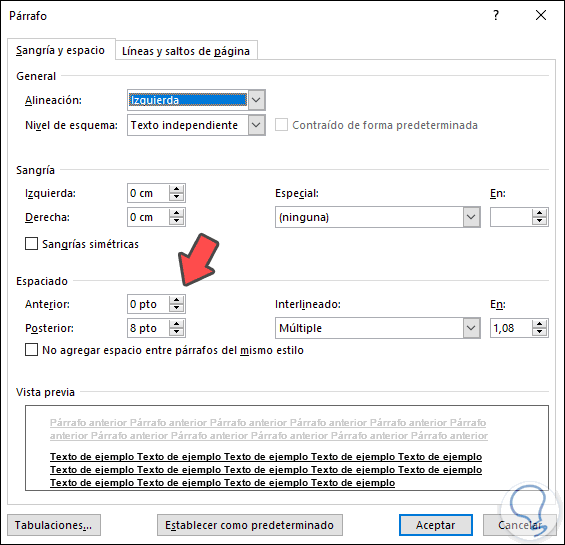
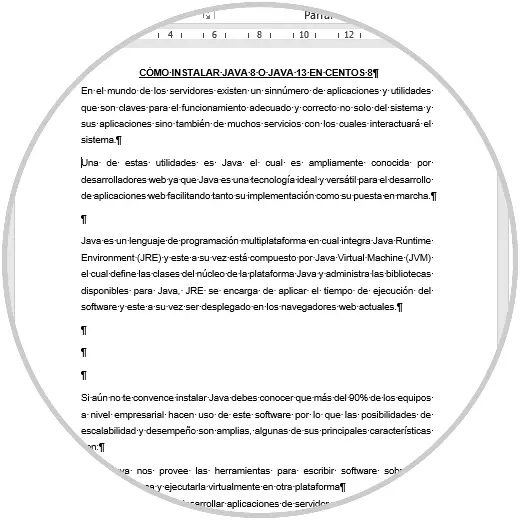
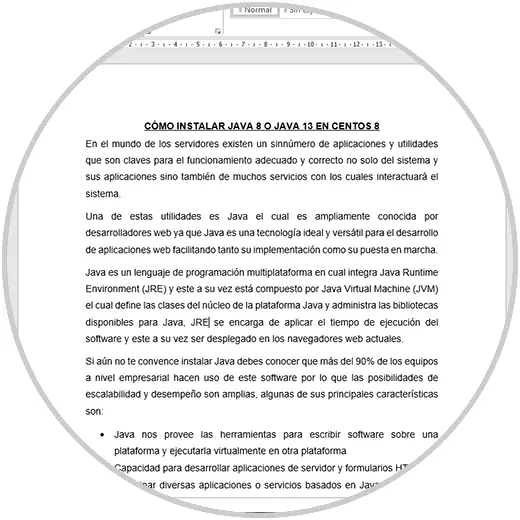
There we can define, in “points†format, the space between the paragraphs thus avoiding leaving blank spaces. For example, we have the following document where the space between the paragraphs is poorly distributed:
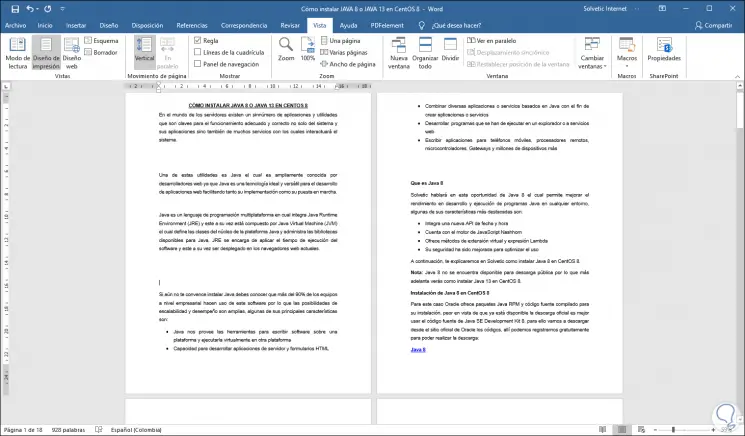
TechnoWikis will now explain in detail how to remove these blanks and thus optimize the style of the file worked.
1. How to remove space between paragraphs in Microsoft Word 2019 and Word 2016
Step 1
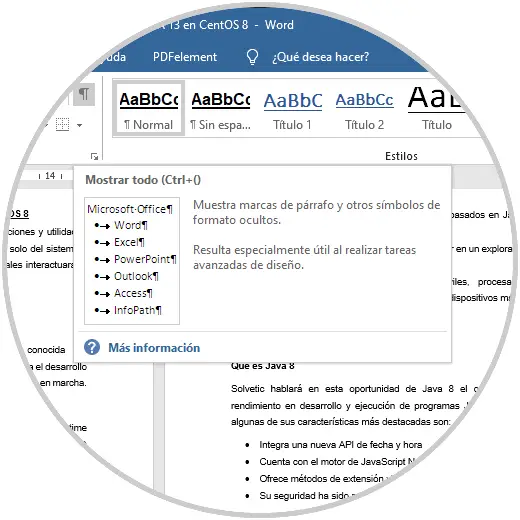
The first step to take will be to activate the option "Show all" which we access from the Start menu, group "Paragraph" or using the key combination Ctrl + ()
This function is responsible for displaying and displaying paragraph marks in the Microsoft Word document:
Step 2
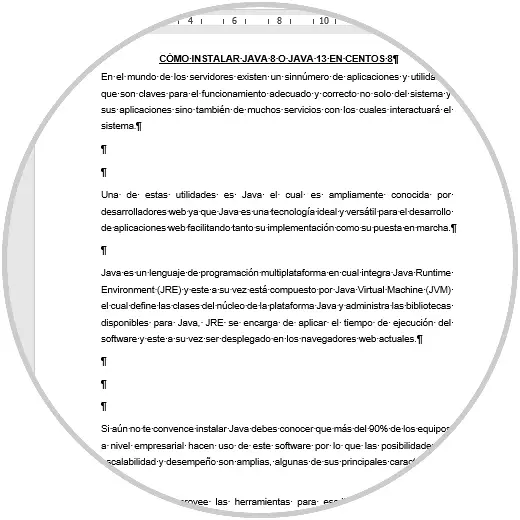
By clicking there we will see the following:
Step 3
There we will have several options to delete these blank spaces, if the file is small we can place the cursor next to the page break and press the Delete key to eliminate said jump and in this way the paragraphs will be adjusted to said spacing:
Step 4
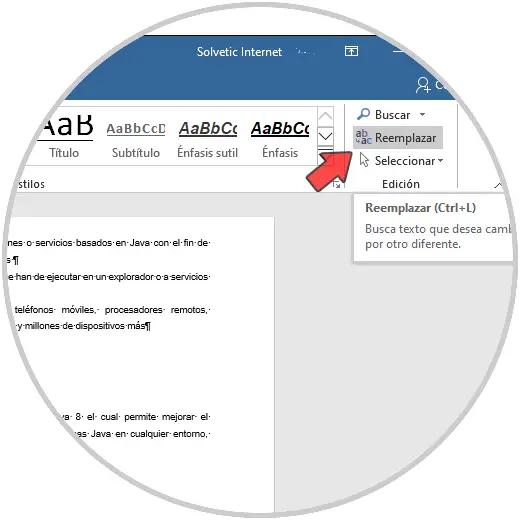
Now, if the file is extensive, doing so in this way will take time and we may leave some spaces without deleting, to automate this process, we will go to the Start menu and in the “Edit†group we click on “Replace†or we can use the Ctrl + L:
Step 5
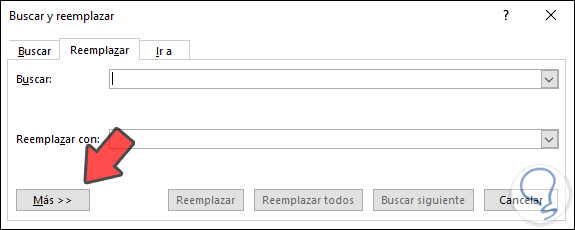
The following window will be displayed. There we click on the “More†button
Step 6
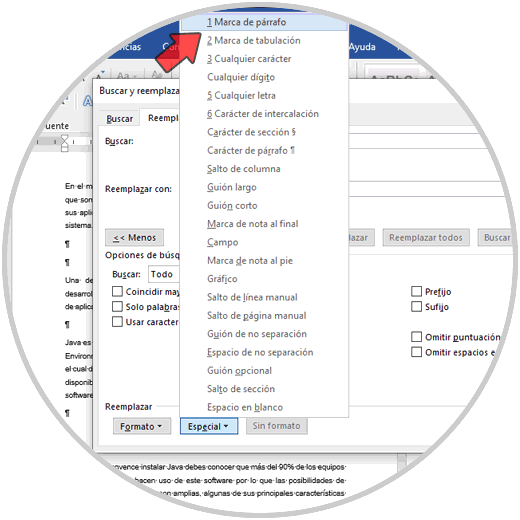
We will place the cursor in the “Search†field and click on “Special†and in the displayed list we will select “Paragraph markâ€:
Step 7
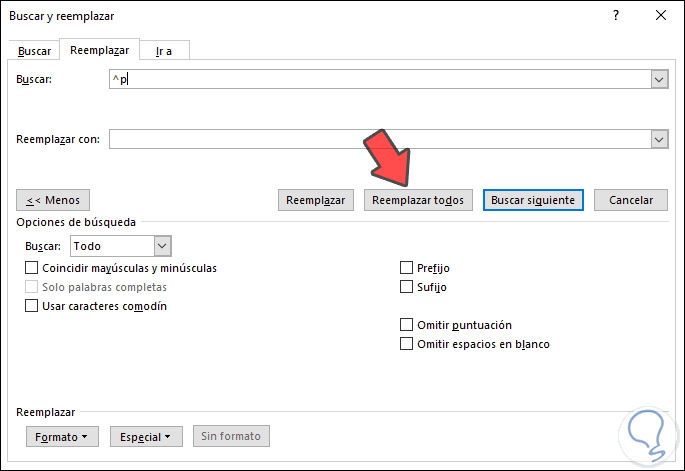
The result will be as follows. The “^ p†sign refers to the page breaks of the selected document, there we can click on “Replace all†so that the page breaks of the file are deleted since we have not specified anything in the “Replace with†field
Step 8
We will see how many changes have been processed:

Step 9
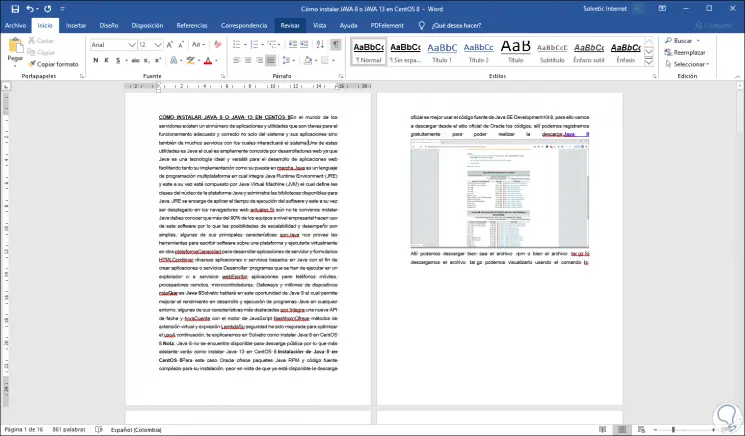
But (if there is a but), when we perform this method we will see that all the text is continuous which gives an appearance of disorder:
Step 10
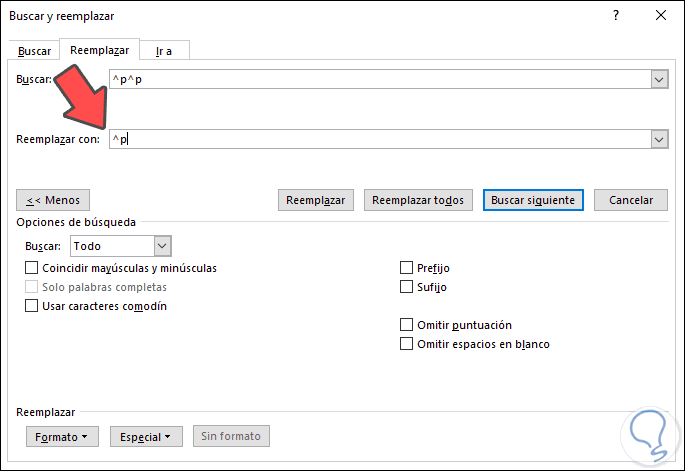
To avoid this, we must repeat the above process, but by adding “Paragraph marks†twice in the “Search†field and adding a paragraph mark in the “Replace with†field which indicates that you should always leave a space between the Microsoft Word 2016 or 2019 document paragraphs:
Step 11
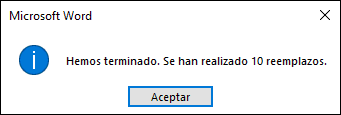
When we click on “Replace all†we will see that the amount of changes applied is reduced:
Step 12
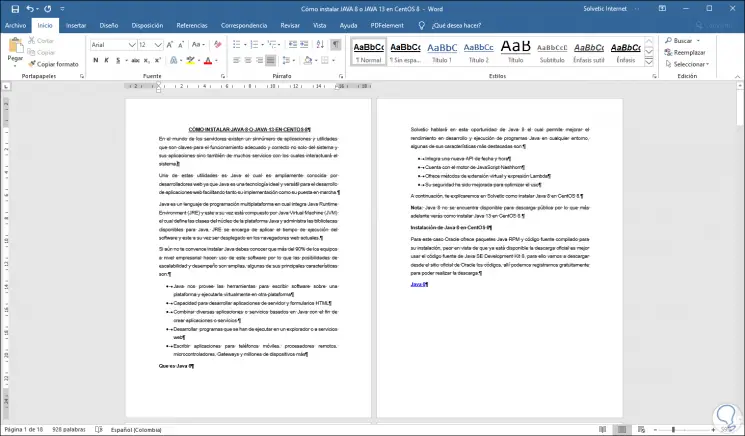
Click on OK and now we will see the file much more orderly:
Step 13
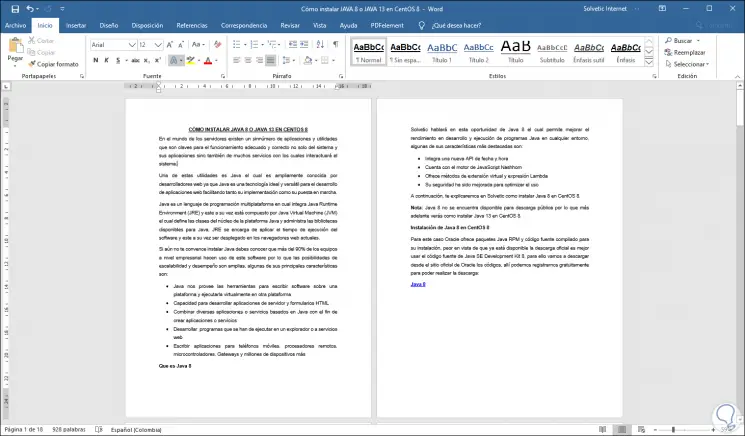
Finally we can use the Ctrl + L keys or click on the “Show all†icon to hide the paragraph breaks and display the file structure:
2. How to remove spaces when justifying text in Microsoft Word 2019 and Word 2016
Step 1
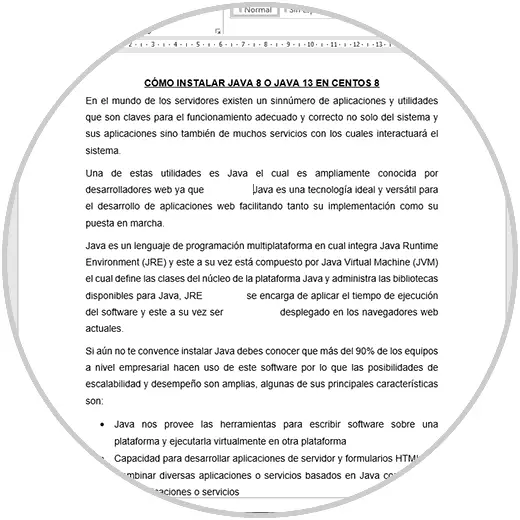
Another of the traditional problems when using Microsoft Word is that when justifying the text (which should give an appearance of order) we notice that the text is left with wide spaces between its lines:
Step 2
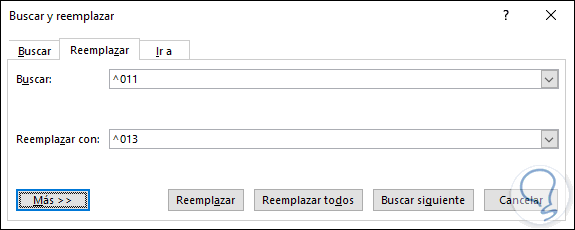
To solve this, just use the Ctrl + L keys and do the following:
- In the Search field enter ^ 011
- In the field Replace with enter ^ 013
Step 3
After this we click on the "Replace all" button and as a result we will see that the spaces in the document justification have been deleted:
Following these steps you will be able to remove the spaces between words or paragraphs that cause a bad appearance of the Microsoft Word file..