Microsoft Word has been developed by Microsoft with the aim of offering all users the opportunity to have the necessary tools not only to create high-impact presentations but also to allow the administration of such documents as complete as possible..
Microsoft Word , in its 2016 and 2019 versions, integrates a tool called Change Control thanks to which it will be possible to detect and check all the changes that a certain file has undergone and thus have full control of the edition of the selected file. The changes that the Change Control function deploys are basically suggestions that we can review, and, if based on the change made, we will decide if it is deleted or kept in the file.
.
To keep up, remember to subscribe to our YouTube channel! SUBSCRIBE
1. How change control works in Word 2019, 2016
Step 1
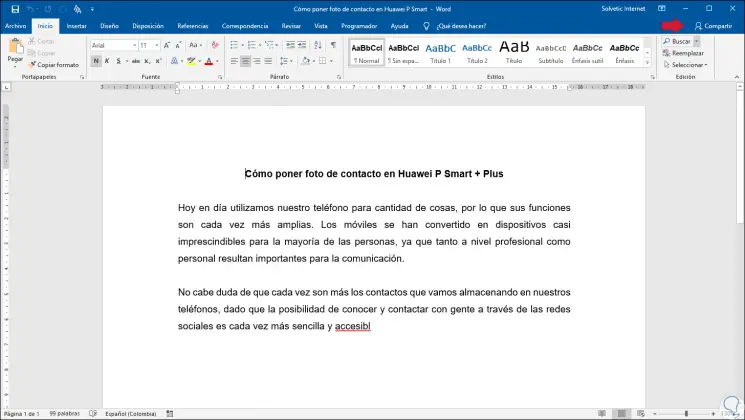
This function is practical when several users participate in the edition of a file, but it also allows us to see what changes we have made. If only we work on this file, remember that to share a file and that other users collaborate on it, we must click on the "Share" option located in the upper right corner of the file:
Step 2
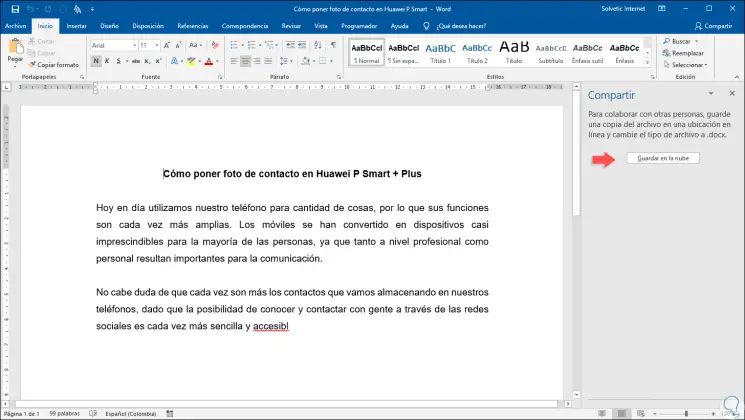
There the following side window will be displayed where it is indicated that we must save this file in the cloud, with the .docx format, and then proceed with the process of sharing with others. For this tutorial, we will see the changes that we ourselves have made and we will do this in Microsoft Word 2019 but the same process applies to Word 2016.
2. How to enable or disable change control in Word 2019, 2016
Step 1
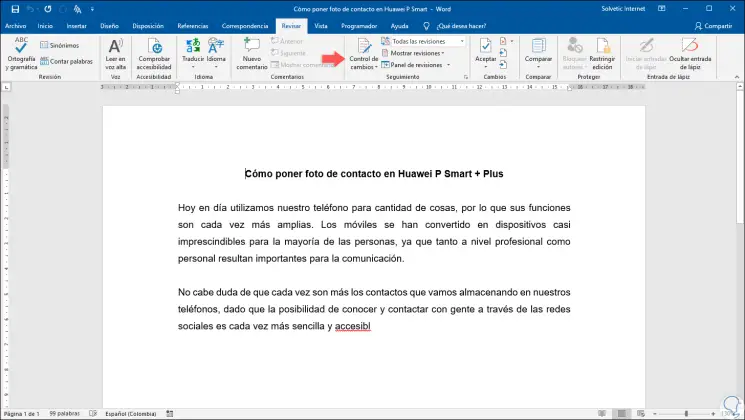
For this process, we will go to the “Review†menu and in the “Follow-up†group we find the “Change control†option:
Step 2
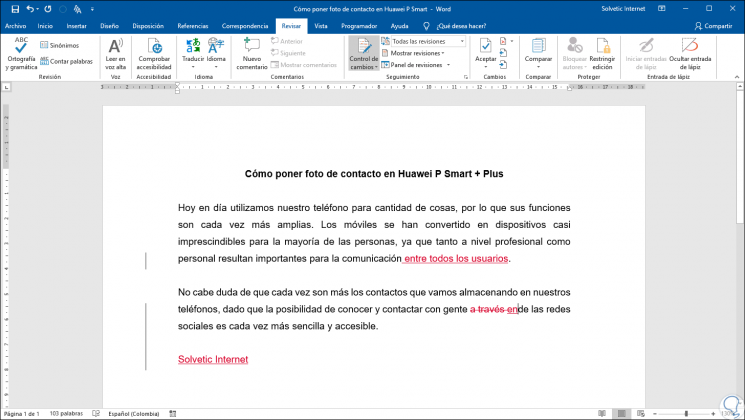
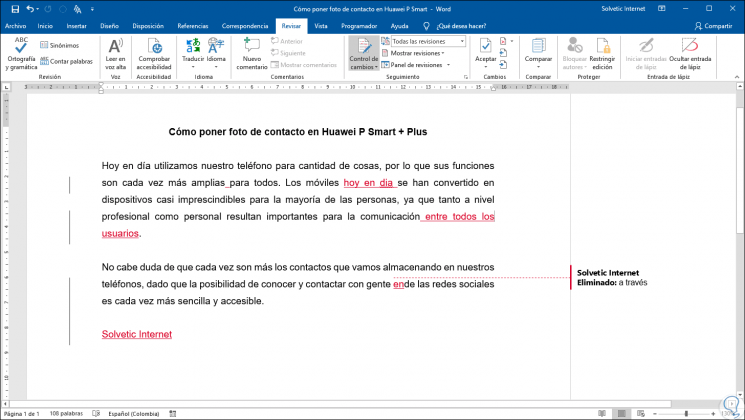
We click on it and all the changes we make in the document will be highlighted in red with the following in mind:
- The text that is deleted from the document will be highlighted and underlined.
- The text that has been added will be highlighted.
Step 3
It will also be possible to add comments in the document by clicking on the “New comment†button:

Step 4
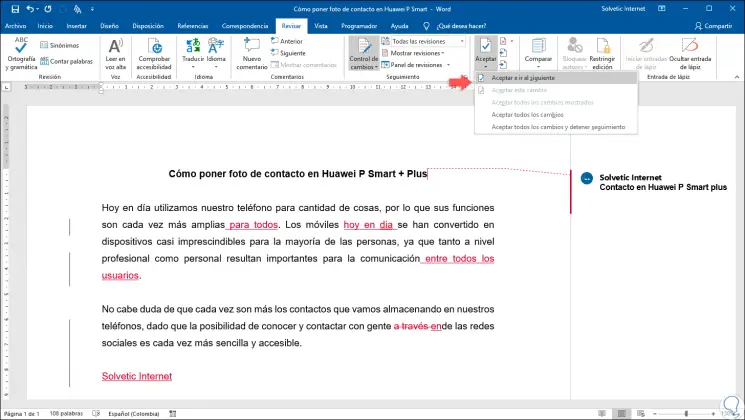
Now, the purpose of the control of changes in Word 2016 or 2019 is to monitor each change made in the file and approve or not such changes, for this we have several ways. One of the most practical is to select the highlighted change and click on the “Accept†option and in the options displayed select the “Accept and go to the next†line:
Step 5
In this case we have accepted this change and we can analyze the following to determine if it is approved or not. We see that we have the following alternative options:
Accept all changes
This option approves all changes made to the current document.
Accept all changes and stop tracking
This option approves all changes in the document and stops the action of the Change Control function.
Step 6
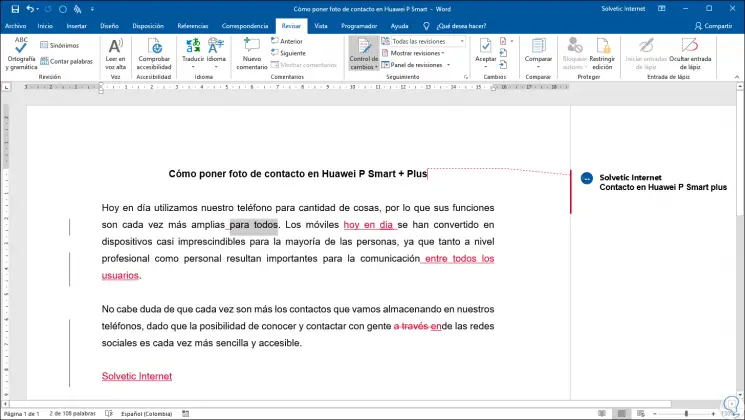
When we accept a change, the highlight will be removed by integrating it definitively to the document:
Step 7
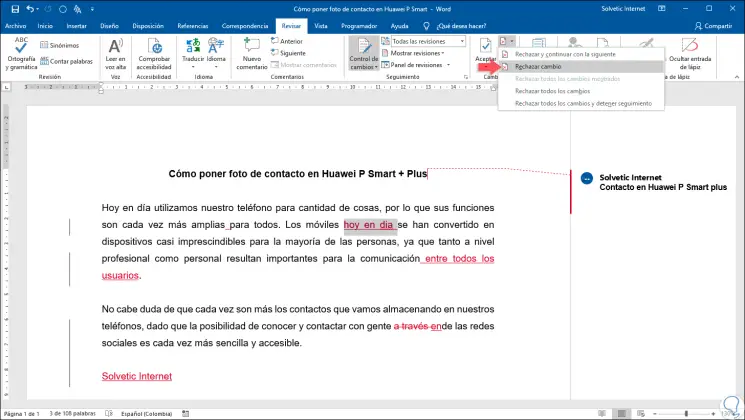
The same process applies to the rejection section of the changes, we can select a change and if we do not agree with it, we display the rejection options and it will be possible to reject only that change, reject it and go to the next or reject all the changes in the current document:
Step 8
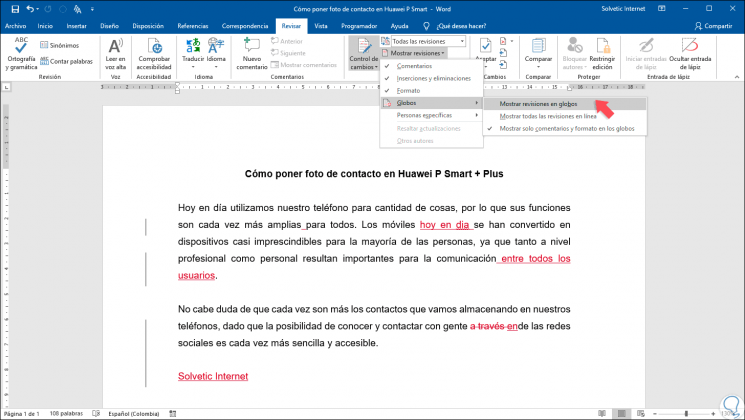
If we want to have a much more centralized control over the changes in the Word document, we can visualize the changes made in the globe format, for this we click on the “Show revisions†line and in the “Globe†section we choose the “Show balloon reviews â€:
Step 9
This will indicate what type of action has been performed in the document:
Step 10
This Balloons option will only display the terms that have been removed from the Microsoft Word document.
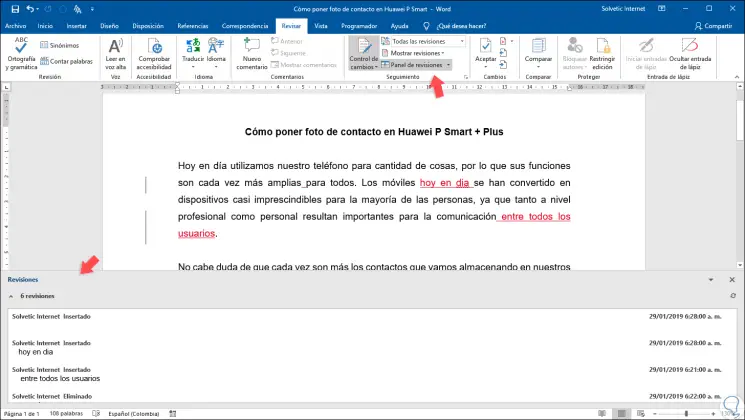
We have the option “Review panel†where it will be possible to use the vertical or horizontal options to see the total amount of changes that have been applied to the document, in this case it is indicated what type of action has been applied:
Step 11
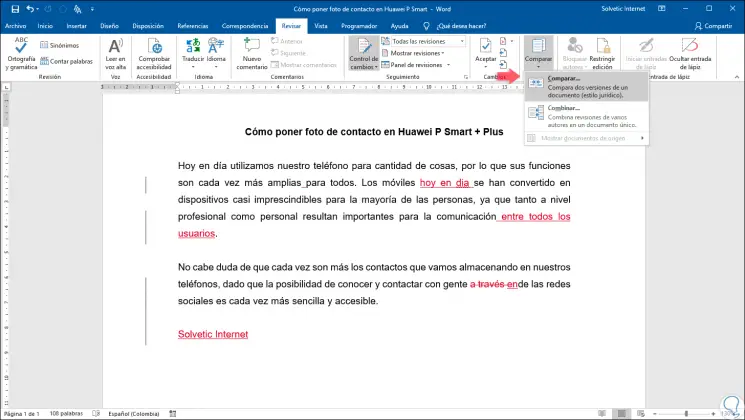
A practical function that has been integrated into Word 2016 or 2019 is the option to compare documents. This allows us to see what changes have been made to that document and thus have a comparison of what terms have been added or removed from the original document. For this, click on the "Compare" option located in the "Compare" group of the "Review" menu and the following will be displayed:
Step 12
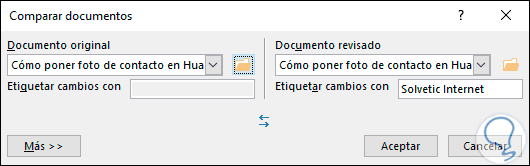
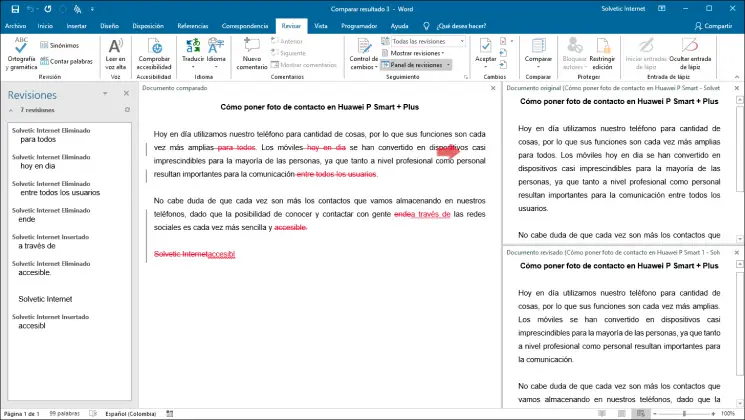
There we select the “Compare†option and in the pop-up window we select the original document and the document that has been reviewed:
Step 13
We can specify the label with which the changes will be marked and click OK. This will display a new Microsoft Word document where we will see all the changes made to the file. This will make it much easier to take control over this document.
We have learned how the Change Control function is ideal to monitor in a comprehensive way every change that a file has undergone in Microsoft Word..