Remote support is one of the most functional methodologies for all those users involved in the world of control, administration and support since this method often prevents us from going directly to the physical site thus saving money, time and resources. In addition, with a remote support is the availability of 7 X 24 giving greater confidence and availability to the end user. One of the most comprehensive remote access platforms known to all is TeamViewer and this time TechnoWikis will explain how to install it on CentOS 8..
What is TeamViewer?
TeamViewer has been within the IT world since 2005 and from there it has provided us with one of the best remote access tools full of comprehensive and complete functionalities both for the home user, as well as for the company.
By saying that it is one of the most used platforms we mean that it has been installed in more than 2 billion devices and is available in more than 30 languages. Undoubtedly, its dynamism is something that attracts attention since TeamViewer allows us to connect at any time and from any place to PCs, mobile devices or IoT devices exploring each of the integrated functions.
TeamViewer Features
So that we understand everything that TeamViewer gives us these are some of its features of use:
- It has a 256-bit AES encryption to protect bilateral communication.
- Supports two factor authentication.
- Allows screen sharing for iOS.
- We can execute remote printing.
- We can access remote desktops in 4K.
- Offers protection against brute force attacks.
- Integrates white list of users and IP addresses, as well as a list of trusted devices.
- It will be possible to transfer files regardless of their size from the local computer or cloud storage with any of the secure methods for sharing application files.
- We can obtain secure non-face-to-face access to both computers and servers, Android devices, point-of-sale devices or unsupervised public screens thus increasing the range of the utility
- It has multiplatform access.
- We will get remote control of the connected devices.
- It is possible to execute tasks such as reactivation, restart or installation
- Available in more than 30 languages.
- Full integration of hardware and software in those companies that use systems such as CRM or ticket management.
- Support ticket management with servicecamp for organizations.
- Supports automatic mass deployment.
- It offers multi-user support sessions and many more functions.
Download CentOS 8
CentOS 8 you can download it in the following link:
Now you will learn to install TeamViewer on CentOS 8 safely..
1. Install EPEL repositories in CentOS 8
EPEL (Extra Packages for Enterprise Linux) repositories are a set of Enterprise Linux packages developed as a Fedora special interest group where high quality packages are created, maintained and managed for Red Hat Enterprise Linux (RHEL), CentOS and Scientific Linux (SL).
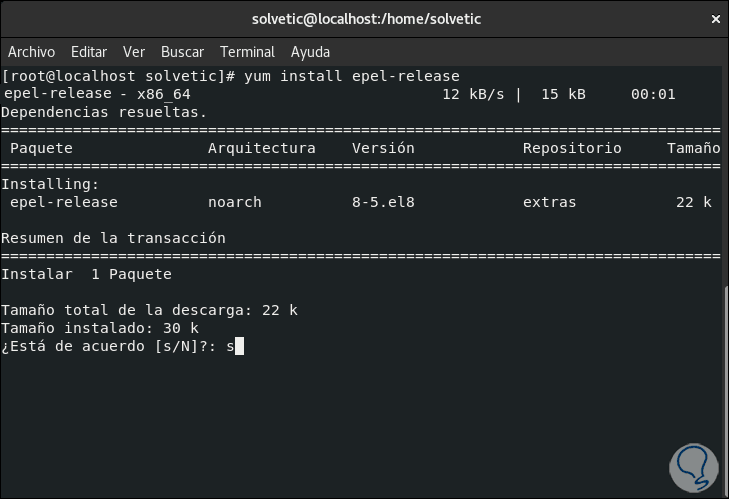
Step 1
For its installation we will execute the following in CentOS 8:
yum install epel-release
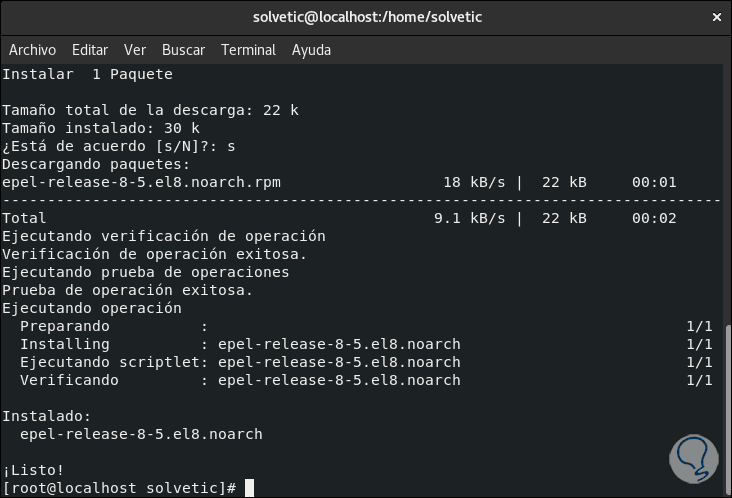
Step 2
Enter the letter "s" to proceed with the download and installation of the repository:
2. Requirements to install TeamViewer 14 on CentOS 8
The latest version of TeamViewer requires the following elements for proper operation and installation in CentOS 8, these are:
- Kernel version 2.5.67 or higher
- GLIBC 2.17
- QT 5.6 or higher
GLIBC (GNU C Library), allows to offer the most important libraries for the GNU / Linux system with critical APIs such as ISO C11, POSIX.1-2008, BSD, API. QT is a framework that integrates tools designed for the creation of applications and user interfaces for both desktop platforms as well as integrated and mobile platforms.
One of the problems found in CentOS 8 is that by default QT 5.6 cannot be installed from the official repositories while in CentOS 7 with the download of the TeamViewer .rpm, QT is integrated, but you should not worry because TechnoWikis will explain the steps in detail to install QT, its dependencies and then install TeamViewer 14 correctly..
3. Install QT 5.6 on CentOS 8
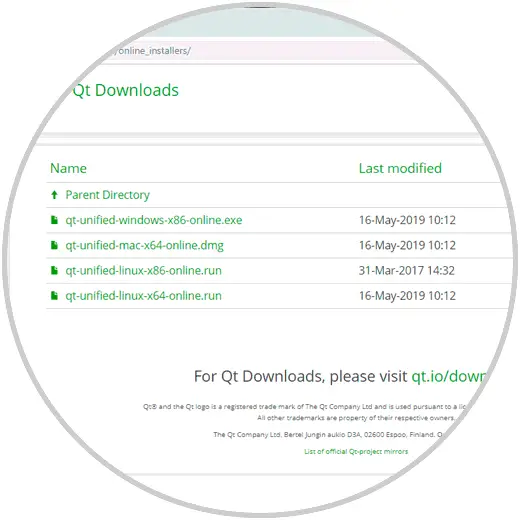
Step 1
For this process we will go to the following link and there we will download the QT installer. There we download the most suitable installer according to the architecture to use x86 (32 bits) or x64 (64 bits).
QT installer
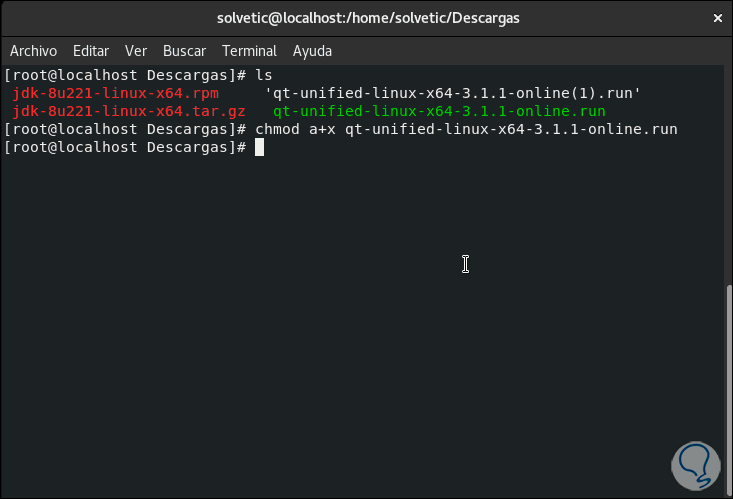
Step 2
Once downloaded we can check the download using the ls command and proceed to grant the necessary permissions with the chmod command:
chmod a + x qt-unified-linux-x64-3.1.1-online.run
Step 3
Once we completed the eprmiso, we executed the installer with the following command:
./qt-unified-linux-x64-2.0.3-1-online.run
Step 4
We have two concepts to understand before continuing, these are:
- If you run as a normal user, QT will be installed in the home directory of the current user making it useful only for the user who did the process, but if we run the installer as root, QT will be installed in a global way being available to all users of CentOS 8.
- If we use the installation per user, the default installation will be in the subdirectory called Qt and if we opt for the global installation, the default location is / opt / Qt.
Step 5
At the time of executing the command you can find the following:
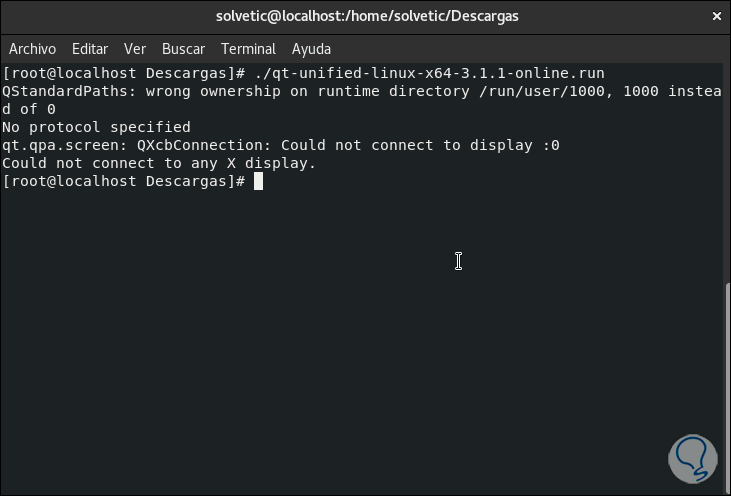
Step 6
This is due to some errors with the virtual host, for correction it is enough to execute the following:
xhost +
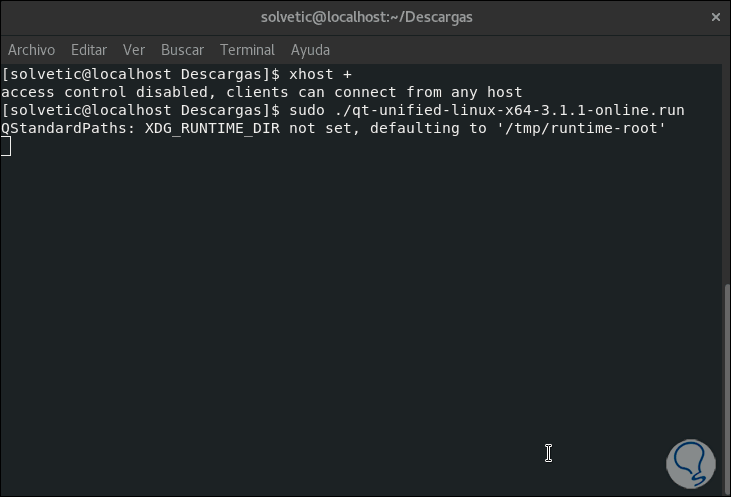
Step 7
If we execute the command “./qt-unified-linux-x64-2.0.3-1-online.run†again, the Online installer will be launched:
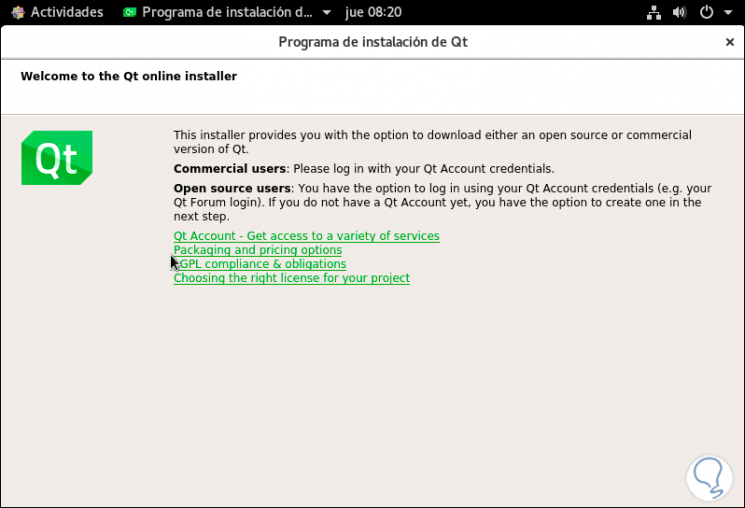
Step 8
There we click on Next and then we will enter the credentials of the account registered there. In case of not having an account in QT we can create it in the section “Need a Qt Account ?.
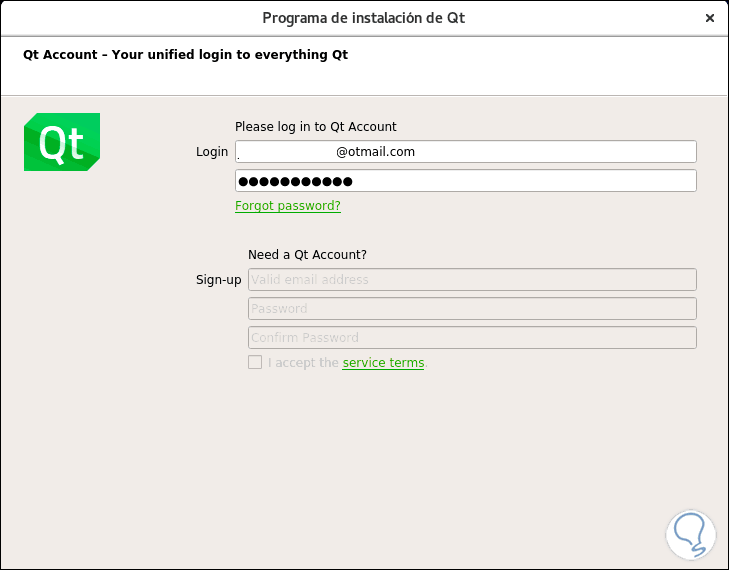
Step 9
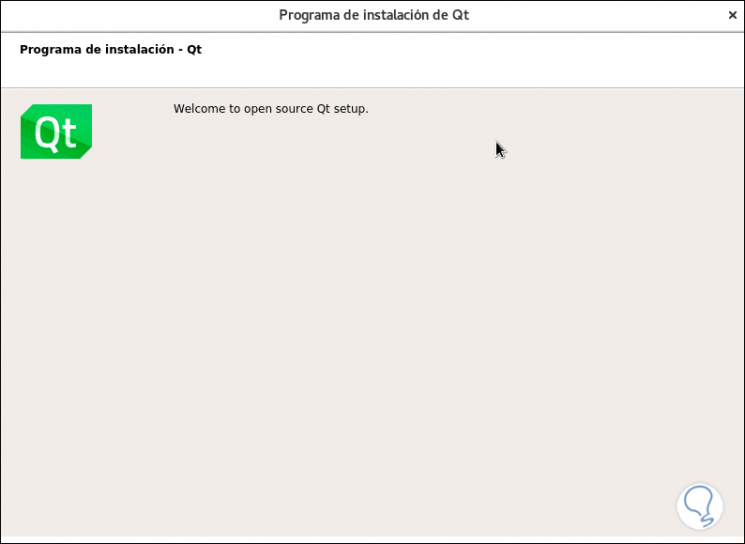
In the next window we will see the QT installer in CentOS 8 welcome:
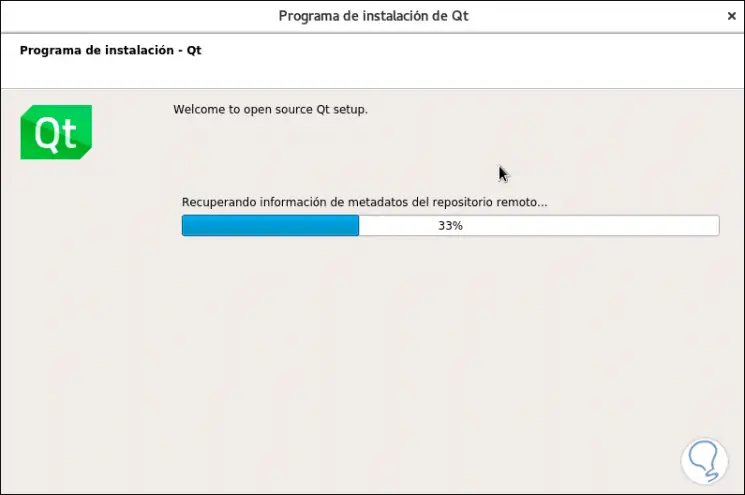
Step 10
We click Next and we will proceed to load utility parameters:
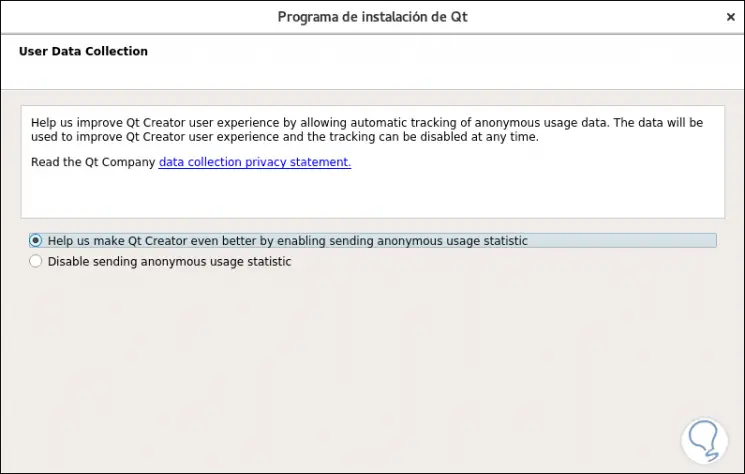
Step 11
After this we can accept or not the sending of information to QT:
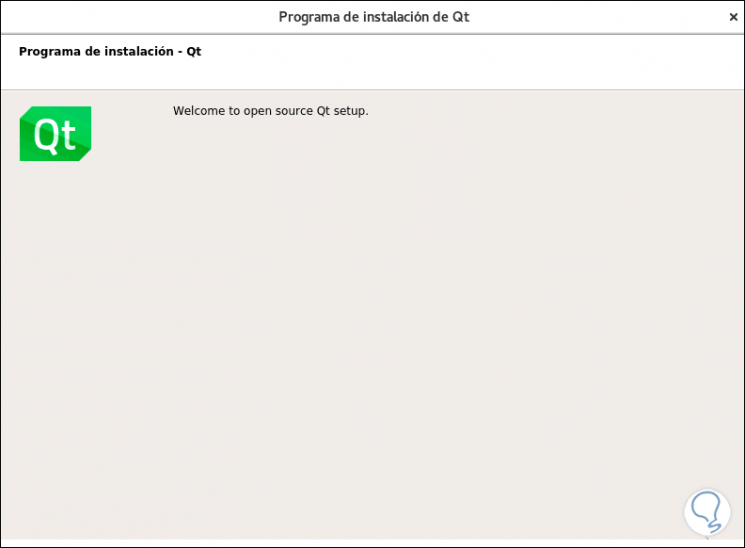
Step 12
In the next window we will see again the welcome:
Step 13
After this we can define which repositories to add:
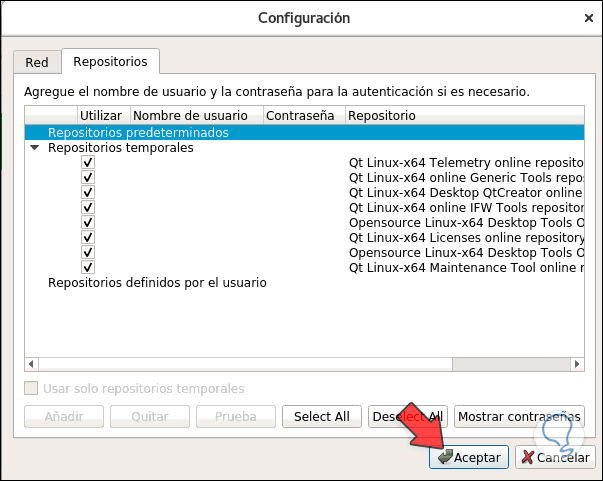
Step 14
Click on OK and then define the directory where Qt is to be installed:
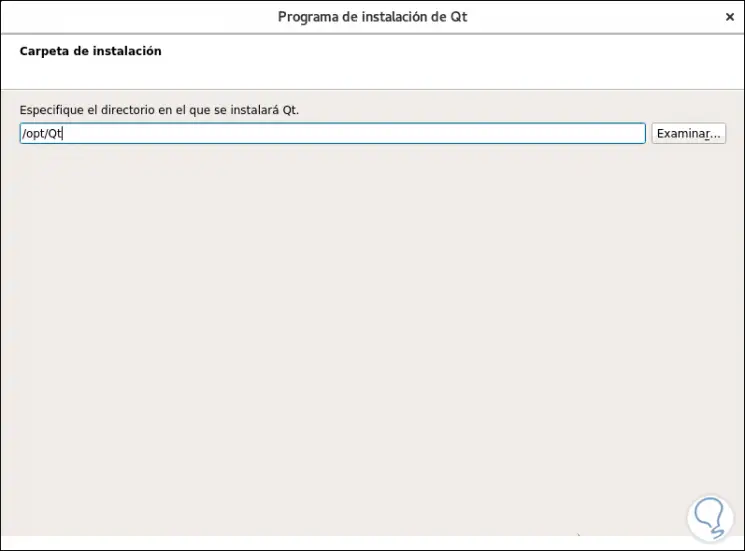
Note
We can change it by clicking on Browse, but it is advisable to leave the default.
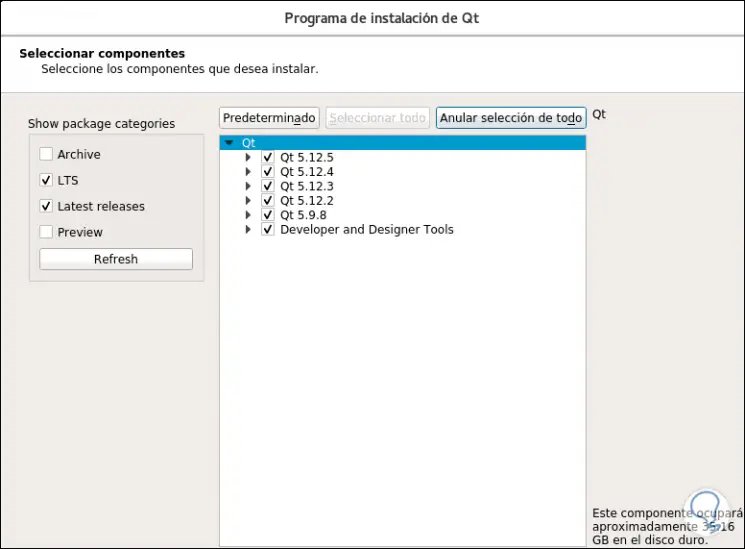
Step 15
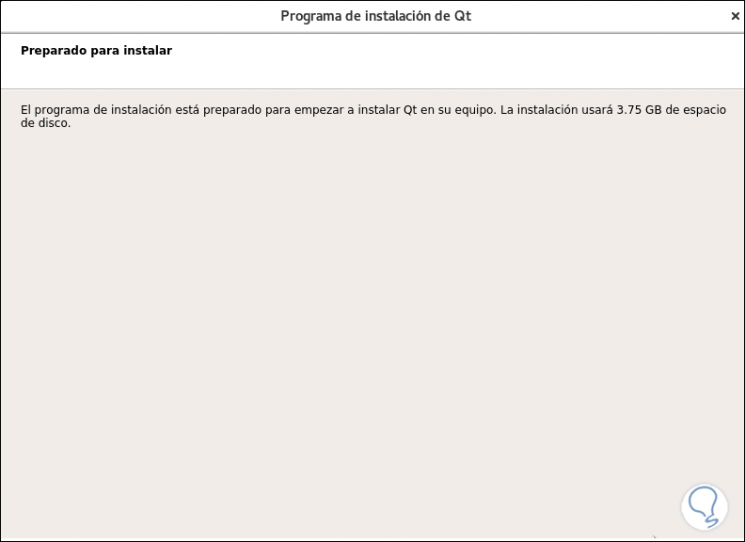
In the next window we will define which packages and versions have to be installed in CentOS 8, these can weigh up to 35 GB:
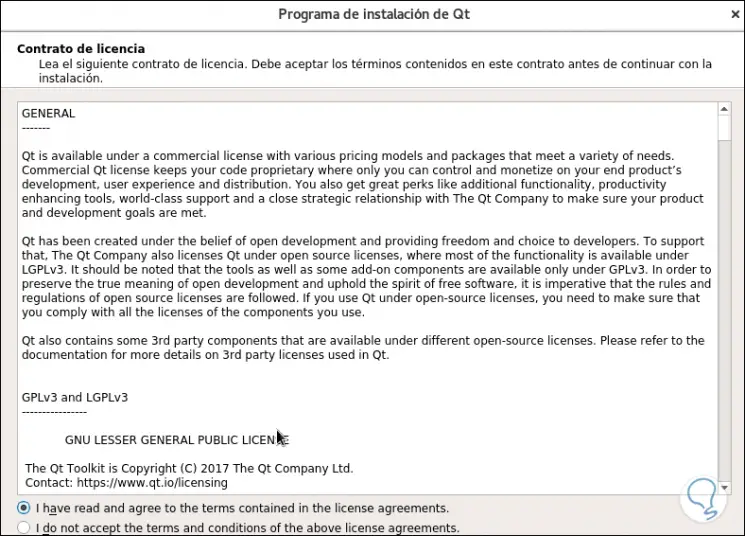
Step 16
Once selected click on OK and we must accept the Qt license terms:
Step 17
We activate the acceptance box and now we will see the following:
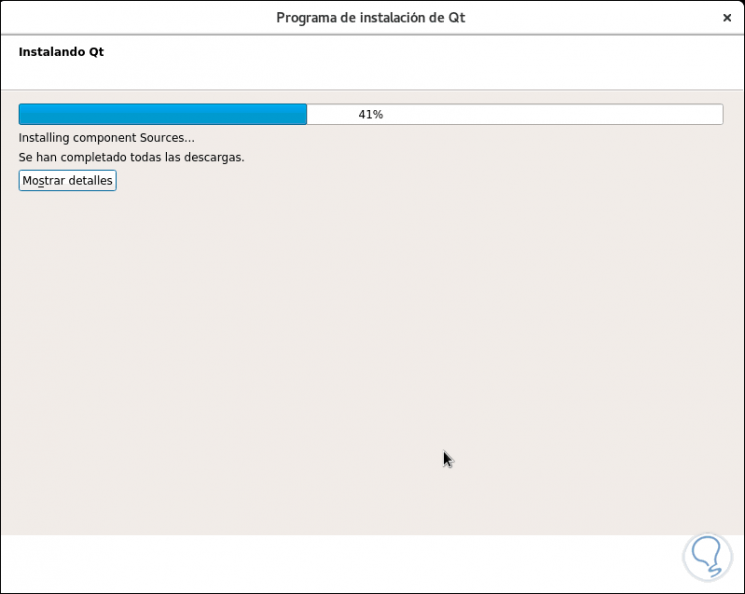
Step 18
We click Next and the installation process of Qt in CentOS 8 will take place:
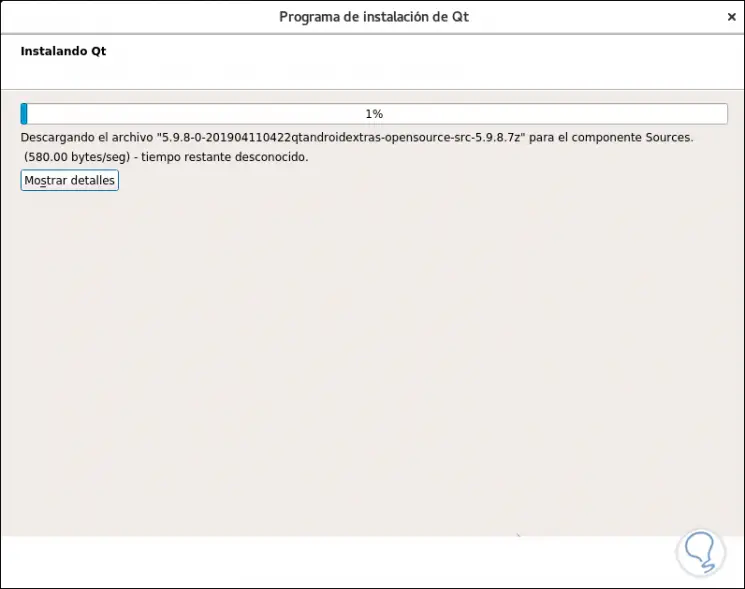
Step 19
After downloading, the components are installed. In this way we expect the process to be completed to install Qt on CentOS 8.
4. Install TeamViewer on CentOS 8
TeamViewer in CentOS 8 has undergone some changes regarding the installation so that it is no longer enough just to download the last .RPM file, so TechnoWikis will explain the process to install these dependencies.
Step 1
First, we will download the latest version from the official TeamViewer site at the following link:
Teamviewer
Note
We must download the file from the English TeamViewer site since the repository is not yet available from the Spanish site.
Step 2
There we download the .RPM package as appropriate (32 or 64 bits) or we can run the following from the CentOS 8 terminal:
wget https://download.teamviewer.com/download/linux/teamviewer-host.x86_64.rpm

5. Install QTWebKit and continue installing TeamViewer on CentOS 8
WebKit has been developed as an engine to render web pages and execute JavaScript code, which is why it is an essential component for the installation of TeamViewer, if we do not install it in CentOS 8 it gives us an error when executing the rpm downloaded from TeamViewer.
Step 1
To install QTWebKit we can download the .rpm file in the following link. As such the rpm is CentOS 7 since CentOS 8 does not offer such availability, but it is compatible.
QTWebKit
Step 2
When downloading, we can open it with the CentOS installer and we will see the following:
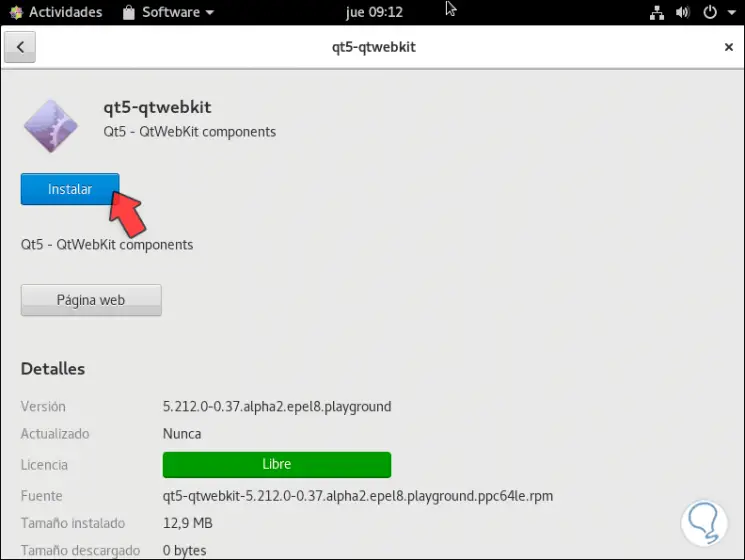
Step 3
We click on Install and after entering the password we will see that the installation process in CentOS 8 takes place:
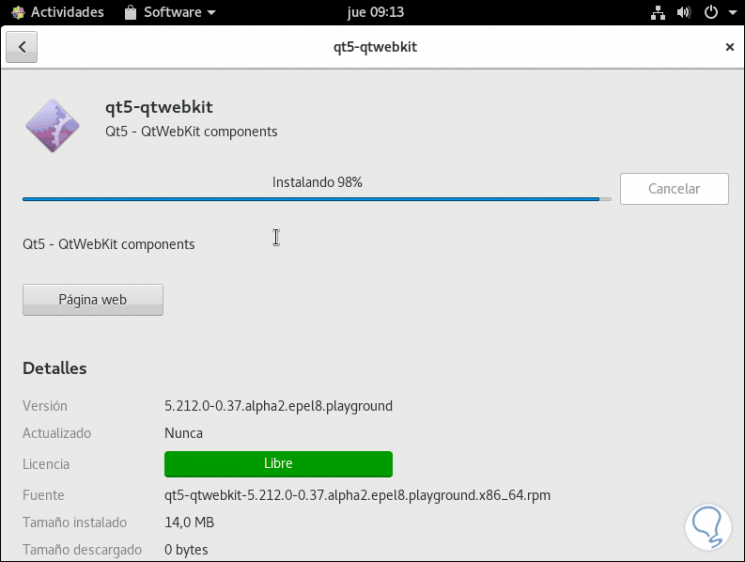
Step 4
When this is over we will see the following. Now we are ready to continue with the installation of TeamViewer.

Step 5
For this we will execute the following:
yum install ./teamviewer-host*.rpm –allowerasing

Step 6
Enter the letter "s" to accept the installation:
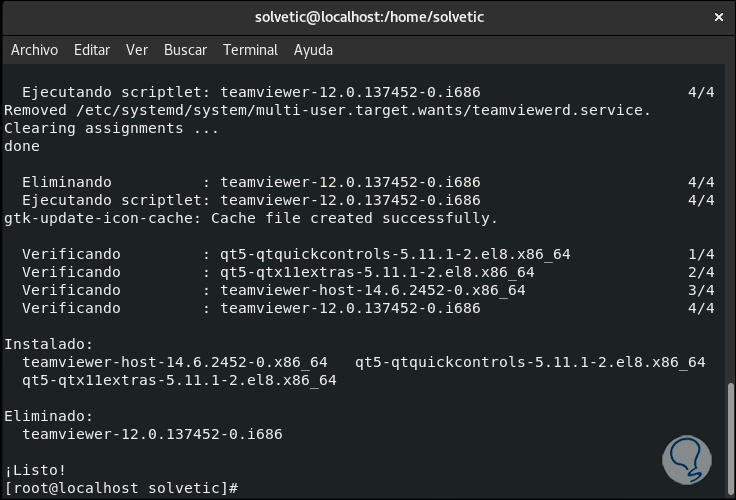
Step 7
We see that, although there says TeamViewer 12, we have downloaded the latest version at the time of running wget
https://download.teamviewer.com/download/linux/teamviewer-host.x86_64.rpm.
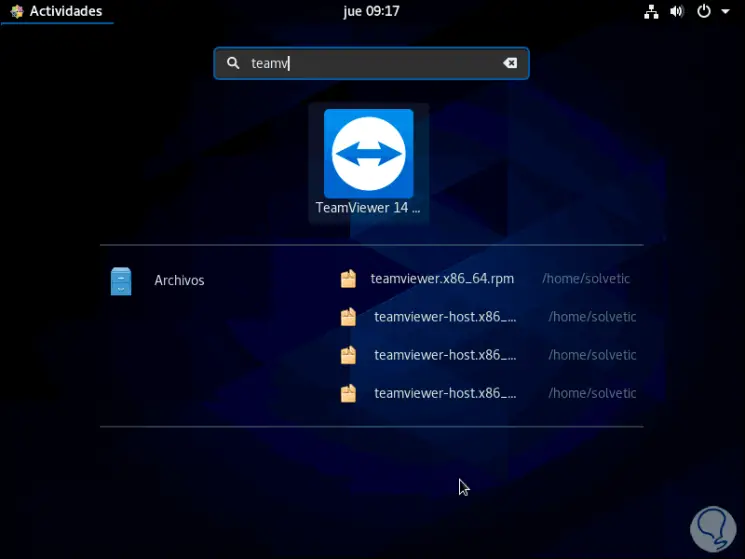
Step 8
To verify this we go to the CentOS 8 activity center and look for TeamViewer and the most recent version will be available there:
Step 9
Once we click on it we must accept the terms of the license:
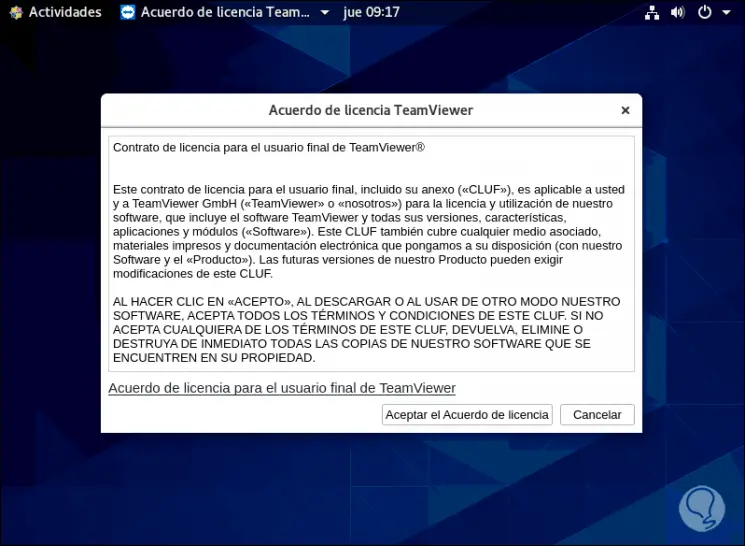
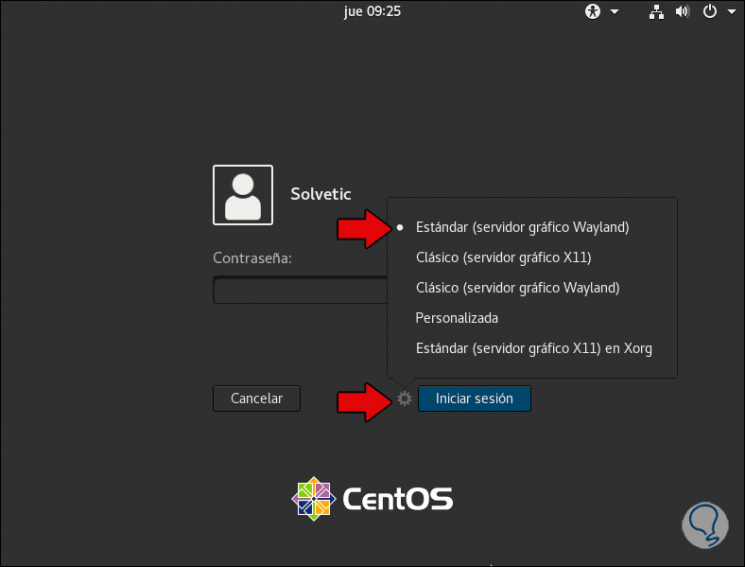
Step 10
We click on “Accept the License Agreement†and here TechnoWikis will give you a key advice, CentOS 8 has the Wayland graphic environment which is not yet compatible with TeamViewer so that an error will be given about the GUI. To access with an XORG or GNOME environment, we must close the session and when entering the credentials we click on the gear icon and there we select the option “Standard (X11 graphic server) in Xorgâ€.
Step 11
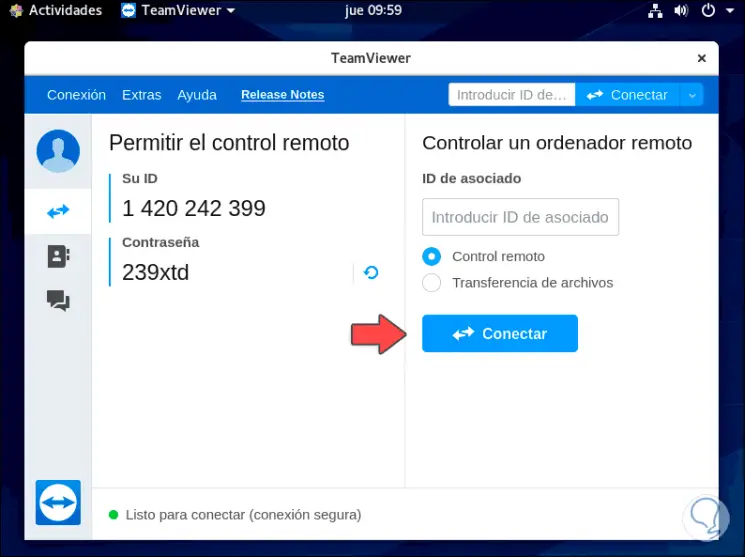
Then we log in and access TeamViewer again:
Step 12
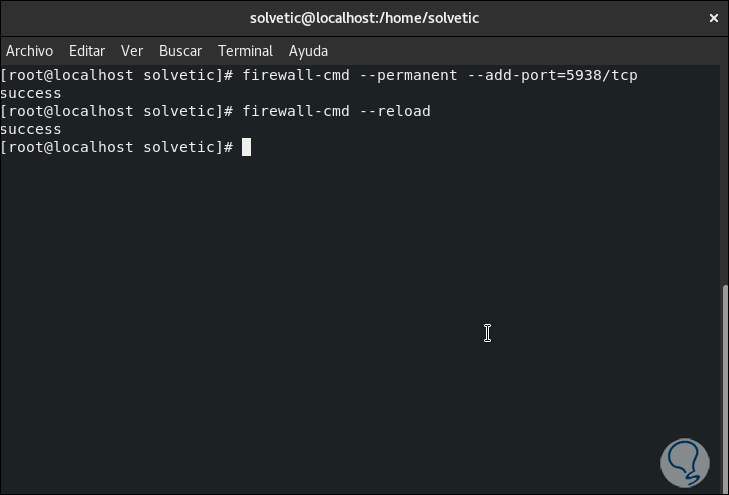
As an additional tip we recommend opening port 5938 in the Firewall to allow connectivity:
firewall-cmd --permanent -add-port = 5938 / tcp firewall-cmd --reload
Step 13
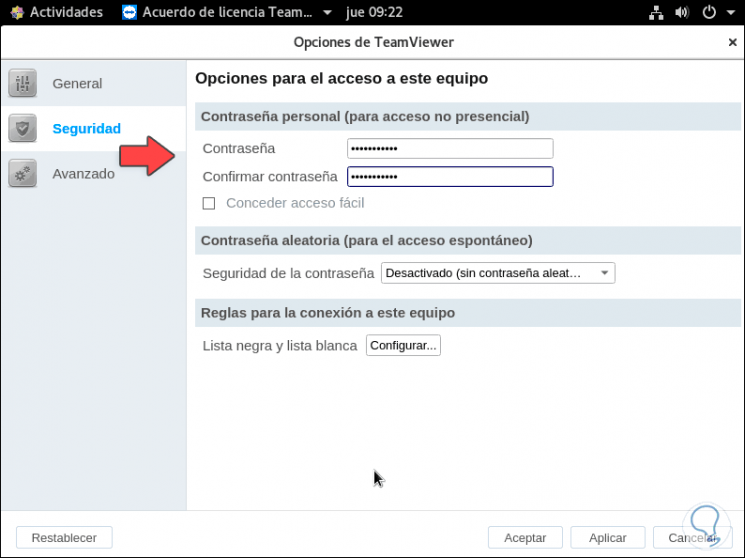
Within the TeamViewer options we can set an access password to increase its security:
Step 14
So we can verify that TeamViewer 14 has been installed in CentOS 8 correctly and we are ready to give or receive remote support with all the integral functions of this great tool.

As a suggestion we also leave you the manual to install TeamViewer on Ubuntu Linux.