In the world of systems we have a series of complements, utilities and tools that are necessary for the correct optimization , use and development of both the operating system and the applications that are hosted there.
One of these elements in Java which is a programming language that was developed by Oracle and today various applications and websites will not work properly but have Java installed..
Java has features such as speed, security and reliability which is present in many mobile and desktop devices.
On some occasions, during the Java update process we can see that it is not completed correctly we will see the following message:

This error is frequently found in Windows 10 and does not allow us to complete the installation of Java on the system and today in TechnoWikis we will see some practical solutions to correct this..
1. Verify that we are installing the correct version of Java in Windows 10
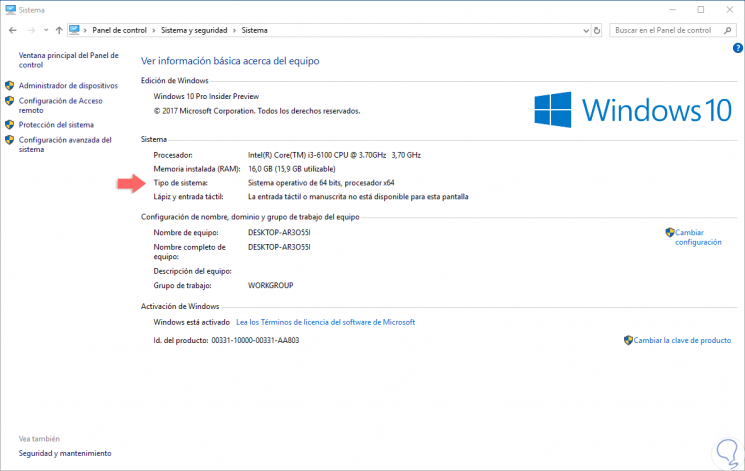
A probable reason why Java is not running correctly is because we are trying to install a version of Java on an incorrect platform, that is, we have downloaded the 64-bit version of Java and we are trying to install it on a computer 32 bits which generates the mentioned error.
Step 1
To check the correct version of Windows we will go to the next route. There we find the correct architecture in the “System Type†line of Windows 10.
2. Install Java as administrator in Windows 10
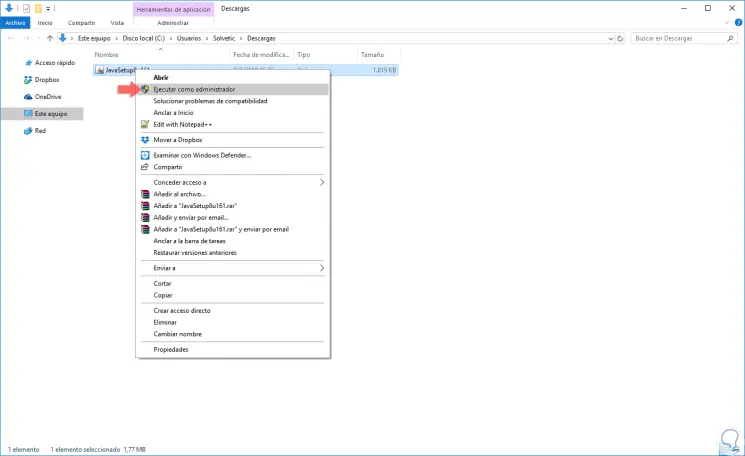
When running Java with administrator permissions with the goal of installing the application correctly without any error.
Step 1
For this, we can download the latest version of Java from the following link:
Java
Step 2
Once downloaded, we will right click on the executable and select the option "Run as administrator":
3. Uninstall previous versions of Java in Windows 10
Another alternative we have to correct this Java error is to uninstall the previous version of Java which guarantees that a conflict of 32 or 64-bit architectures is generated and so we will know that the ideal version will be installed.
Step 1
This process can be carried out with a utility like Advanced Uninstaller PRO 12 for Windows 10 which can be downloaded at the following link:
Advanced Uninstaller PRO 12
Step 2
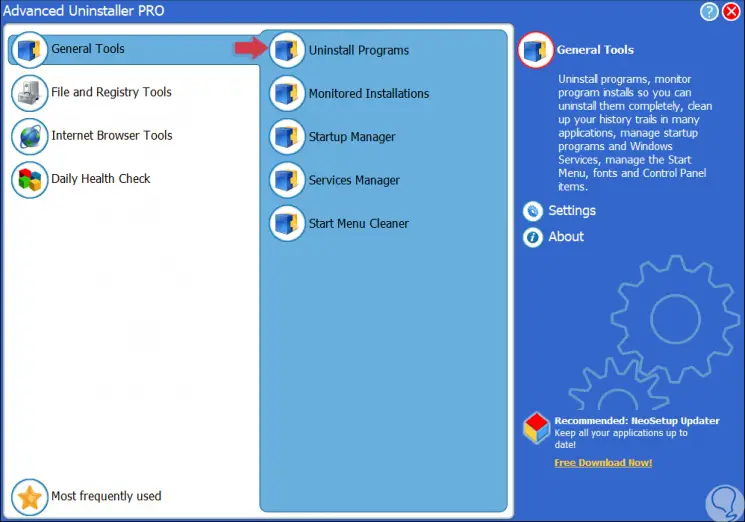
This tool provides us with multiple tools for managing multiple system parameters. Once installed we will see the following:
Step 3
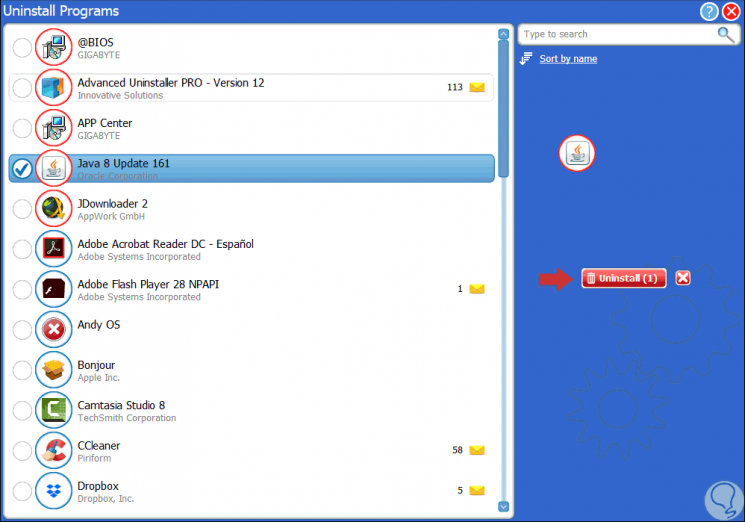
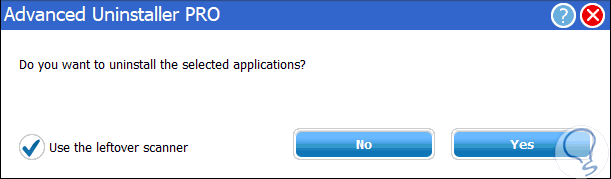
There we select the “Uninstall Programs†option and in the window we will locate Java and click on the “Uninstall†button:
Step 4
Clicking there will display the following. Click on the Yes button to complete the action.
4. Disable Java content in the Java control panel
Step 1
This option allows us to access the Java control panel and from there perform certain administrative tasks, to access this panel we go to the next route.
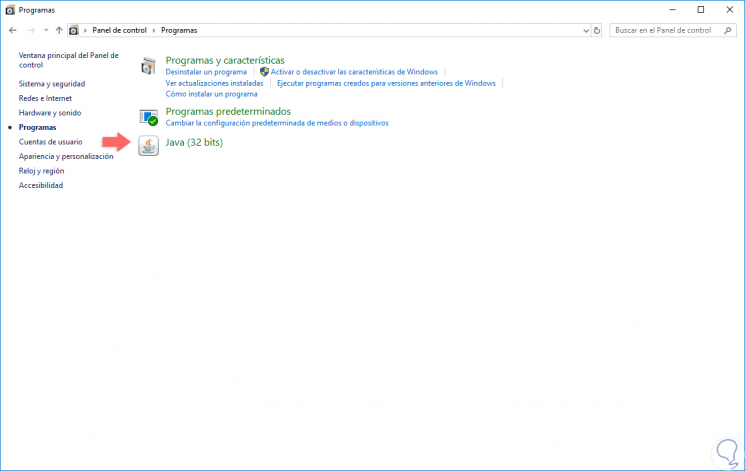
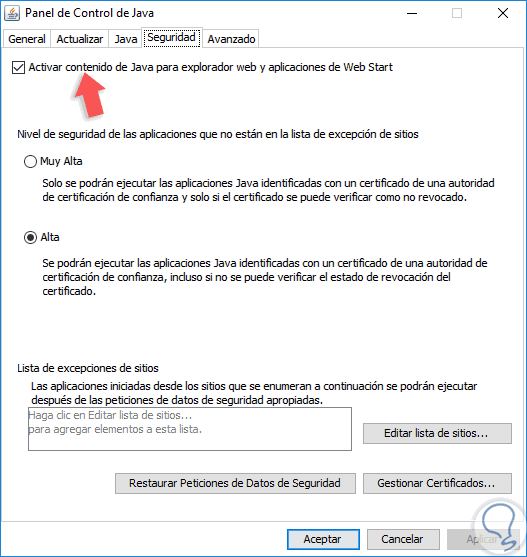
Step 2
There we click on the line "Java (32 bits)" and in the window we will go to the "Security" tab. There we will deactivate the box “Activate Java content for web browser and Web Start applicationsâ€. Finally, click on Apply and Accept to save the changes.
5. Use Windows 10 Troubleshooter
In some specific cases the antivirus plays a vital role in the performance of the normal functions of various applications and Java can be one of them. To correct this, we can use any of the following options:
Step 1
If we have an antivirus such as Avast, ESET, etc., we can go to the icon located in the taskbar and from there disable it temporarily while the Java installation is running.
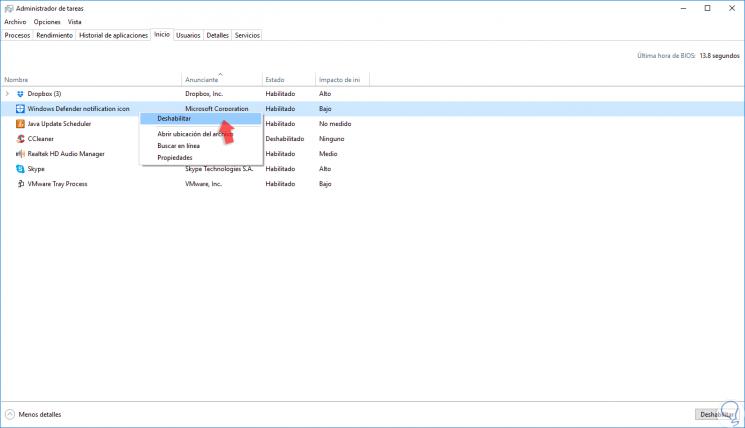
If we use the Windows 10 integrated antivirus, Windows Defender, we can go to the Task Manager and disable it from startup so that it does not run with the system boot and allows us to perform the process without failures.
Step 2
As we know, Windows 10 has a utility designed to analyze and correct, or provide solutions, to the daily problems of Windows. This tool, called "Microsoft Program Install and Uninstall", can be downloaded for free at the following link:
Step 3
When executing this tool we will see the following:
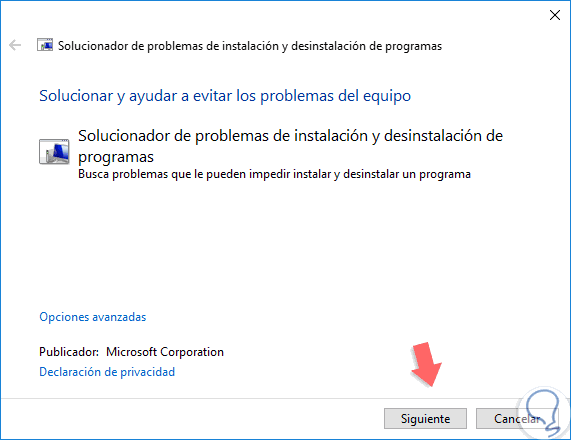
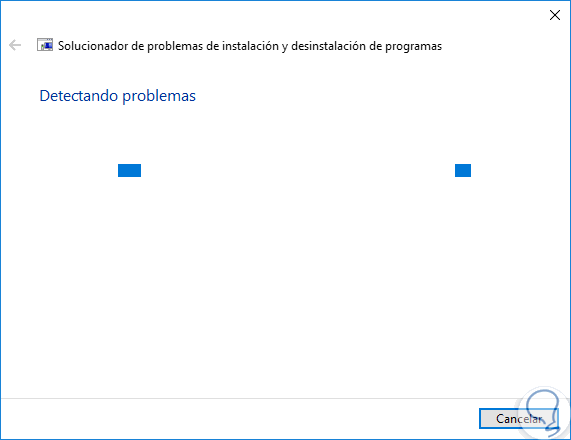
Step 4
There we click on Next and we will see that the analysis of possible failures in the system begins:
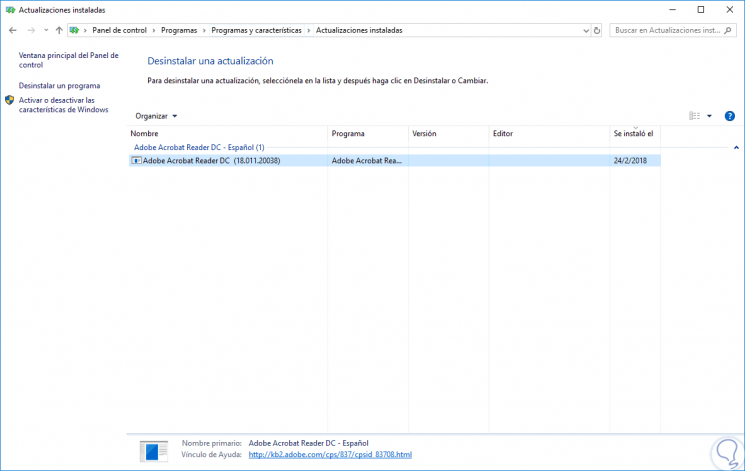
6. Remove update KB2918614 from Windows Update from Windows 10
Step 2
This update based on 64-bit systems, has generated failures at the Java level on various computers, so its immediate uninstallation is recommended.
To achieve this, we will use the following key combination and execute the appwiz.cpl command and press Enter or OK..
+ R
appwiz.cpl
Step 3
In the window displayed, click on the "View installed updates" line and, if we have it, we must locate it there, select it and click on "Uninstall":
With any of these practical solutions we will be able to correct this Java error in Windows 10 and be able to carry out the installation process correctly without any problem and take full advantage of it.