One of the most important hardware elements in any computer is the keyboard because thanks to it we can enter the information in the files . But beyond this task (which is the main one), there are other additional ones that allow us to perform a better administration such as using various keyboard shortcuts to execute direct actions in the configuration of the file. This applies to one of the most used applications today such as Microsoft Excel ..
Excel is one of the most used Office applications by number of users on a daily basis, since these spreadsheets allow you to perform a large number of functions and apply different formulas in these documents, mechanically and directly. In this way, the managed data will be much easier to analyze and modify or take out new data in those cases where this is necessary.
Excel allows us to manage data in rows and columns in a simplified way, and with the keyboard we can adjust the height and width of the rows to have a better perspective of the data worked..
TechnoWikis will explain how to adjust the dimensions of the row with the keyboard, so that you can.
1. Adjust width and height of rows in Microsoft Excel with the keyboard
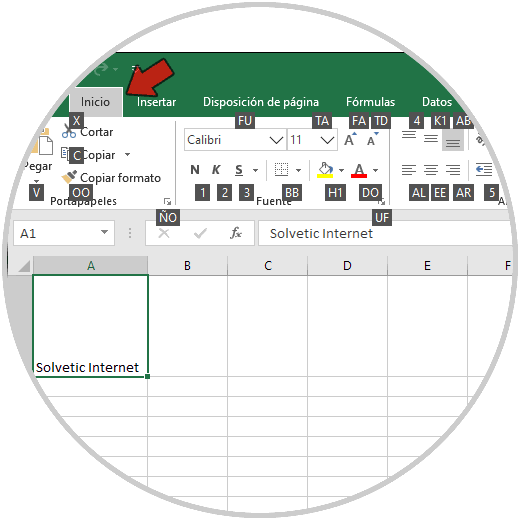
One of the advantages of this method is that we no longer require strange combinations to edit the rows, since only with the Alt key will the various work options be displayed in the document. Therefore, when you press the Alt key you will observe the following:
Alt
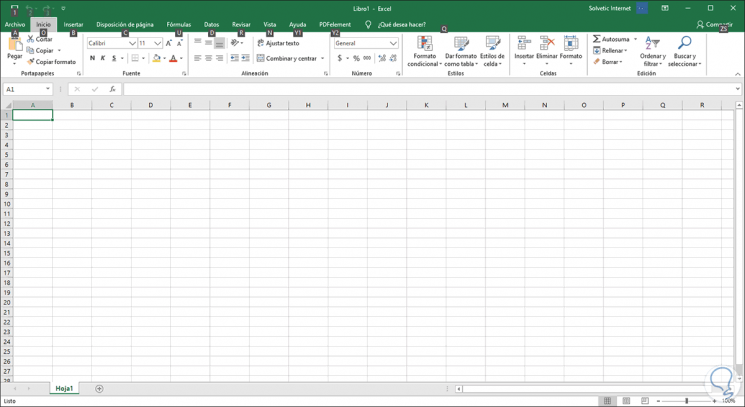
An alternative will be displayed in each menu to combine and thus carry out this action..
2. How to automatically adjust column width in Excel
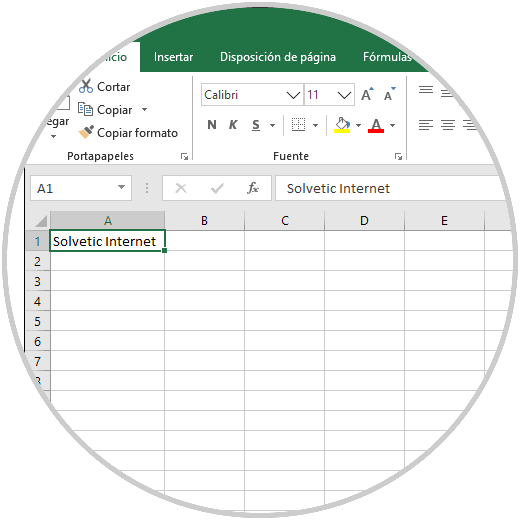
In general, if we want to automatically adjust the column width in Excel using the mouse, just double click on the edge of the column header and it will be adjusted.
Step 1
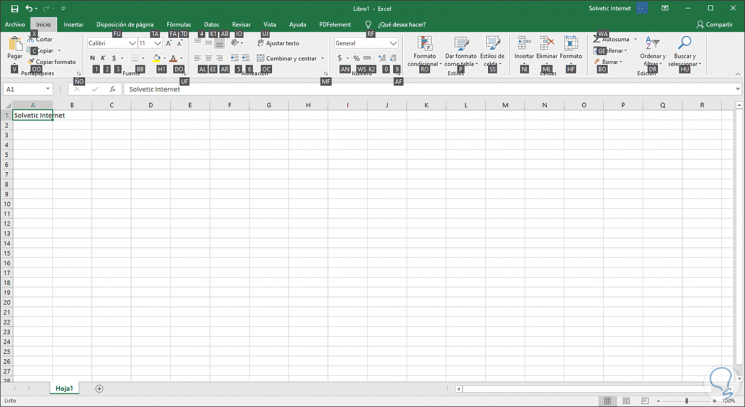
But if you want to use the keyboard first you must select the cell to adjust, then press the Alt key and use the O key to go to the Start menu and we will see the following:
Step 2
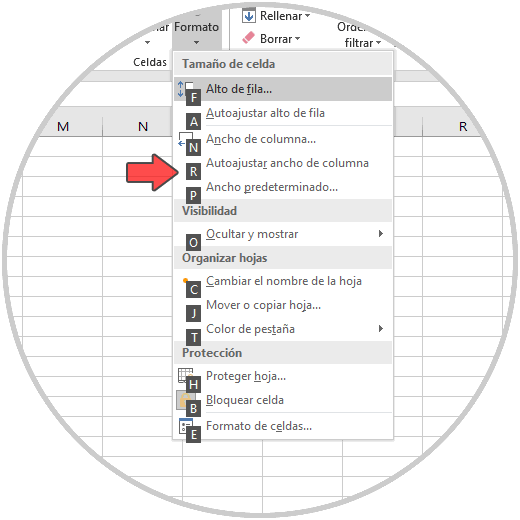
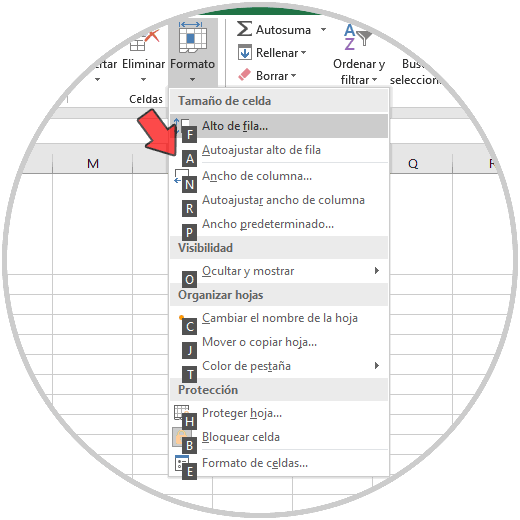
There we will locate the Format option which is in the Cells group and use the HF keys to display the available options:
+ F H + F
Step 3
Finally we press the R key to automatically adjust the column width in the Excel sheet:
R
3. How to adjust the height of the row automatically in Excel
Step 1
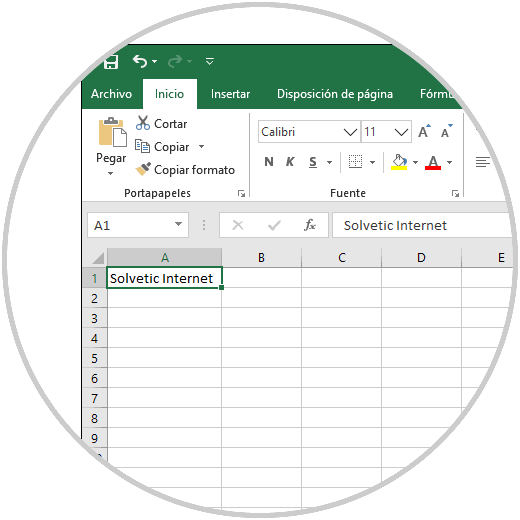
Now, if any of the rows of the spreadsheet is poorly distributed, we can adjust its height with the keyboard using the Alt key and then the O key to go to the Start menu:
Step 2
We use the HF keys to access the format menu in the Cells group and in the options displayed we will see this:
+ F H + F
Step 3
Simply press the A key so that its height is automatically adjusted in the selected row:
TO
4. Manually adjust row height and column width in Excel
Step 1
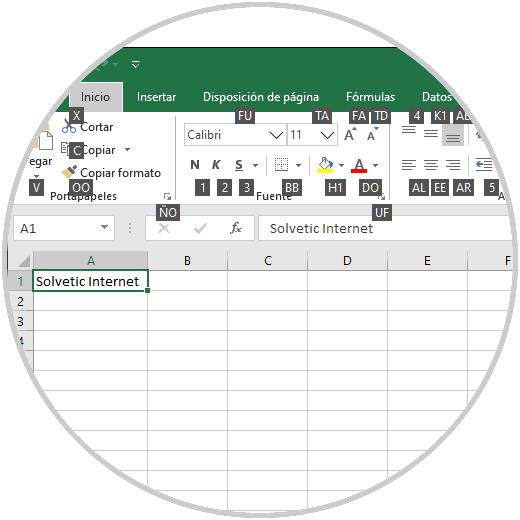
This option allows us to use our keyboard to access the options for manually adjusting the height and width dimensions of the row, for this we again select the cell and use the Alt + O keys to go to the Start menu:
Step 2
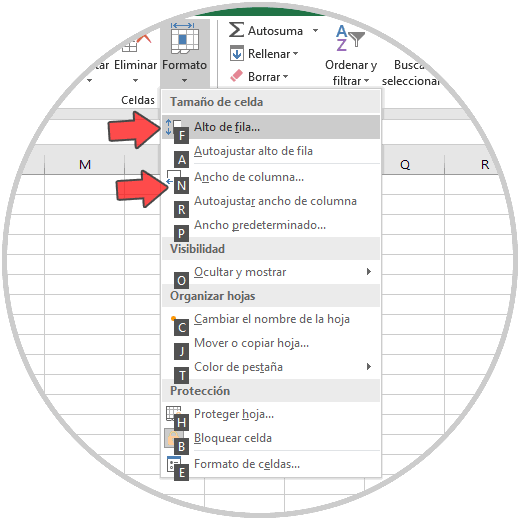
There we use the HF keys to access the cell format options and in the available options we have the following alternatives:
- Use the F key to access the manual row height adjustment
- Use the N key to access the manual row width adjustment
Step 3
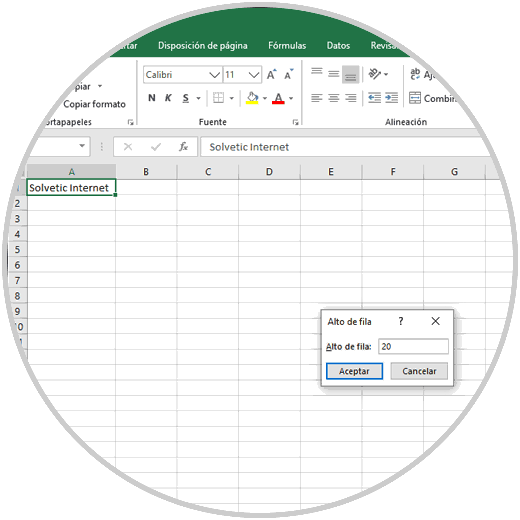
Pressing the F key will display the following pop-up window where we enter the desired height:
F
Step 4
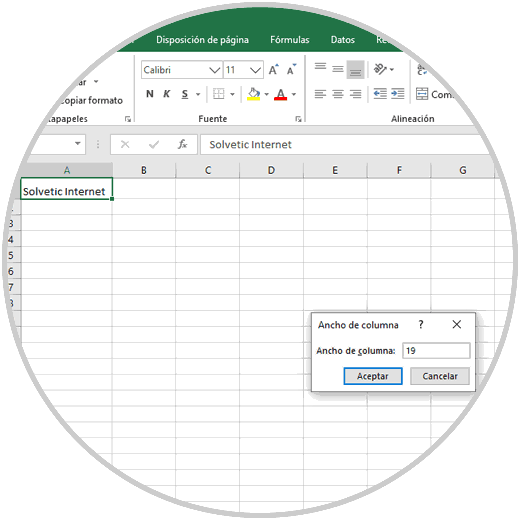
By pressing the N key we can enter the width settings:
N
It's that simple to use the keyboard in Excel to adjust the height and width of the rows in the document worked. In addition to these shortcuts we have just seen, you can count on much more to perform different actions quickly and easily directly from the keyboard.