Most users of Office suites like other people, such as friends or coworkers, to help us with the tasks of data feeding and file editing especially if Excel is involved . This is a very practical alternative because the saying "unity makes strength" is applied, and that is why sharing can help us to reinforce this saying. For this Microsoft has integrated within its latest edition Microsoft Excel 2019 the option of sharing a file with more users so that each one contributes their knowledge or responsibility there and thus manage the data in a much more organized way..
It is not necessary that we resort to what we used to do in a process of sending the file by mail to each user as this could incur inappropriate editions or security failures.
Editable permissions
But with this new sharing function we can forget about these errors since we will be able to grant permissions to other users as:
- Comment the cells or the data stored there.
- Edit the content of the book's pages.
Requirements
To use this function, the following is required:
- Log in with our Microsoft account in Office 2019.
- Save the document in OneDrive so that it is available for all users to assign.
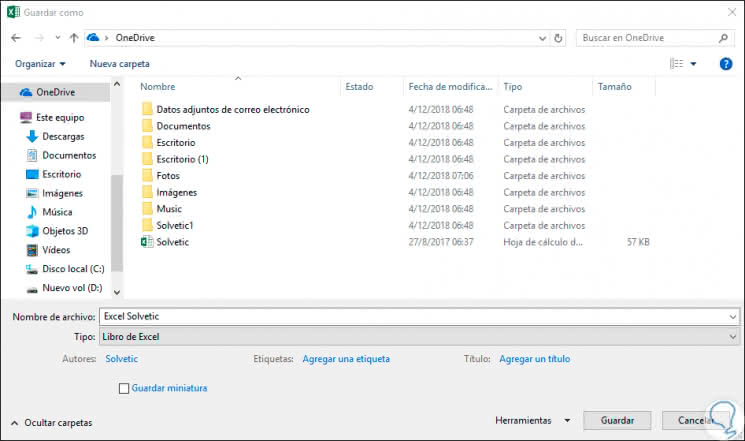
To save our file in the cloud, OneDrive, we must click on the Save button (if it is the first time that the book will be saved) or on the Save As button (if it has already been saved), then, in the expanded window we will select the OneDrive option and there we will assign the desired name:
TechnoWikis will explain in detail in the following steps how you can share a file in Excel 2019 and thus not have headaches in future changes. Something to keep in mind is that the moment we share an Excel 2019 file by default certain actions are restricted on it, unless we authorize the edition, some of the restrictions are:
Restrictions when sharing
- Carry out data validation
- Use matrix formulas
-
- Run macros
- Create tables and reports of dynamic tables and some more.
With this in mind we will see how we can share the file and from there enjoy the help of our colleagues..
To stay up to date, remember to subscribe to our YouTube channel! SUBSCRIBE
1. How to share a file in Microsoft Excel 2019
Step 1
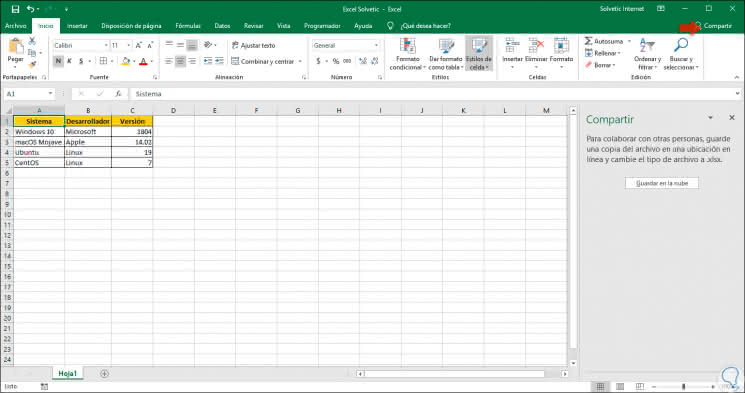
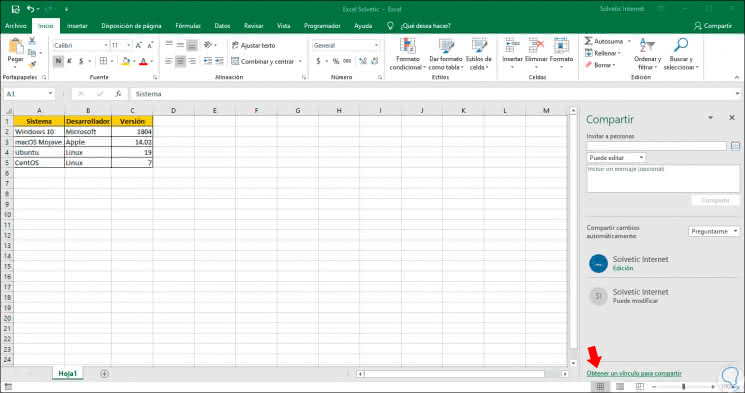
To carry out this process, we open the Excel book to share and click on the option "Share" located in the upper right corner of the menus, we can see that if the Excel workbook is not in the cloud we are asked to carry out that homework:
Step 2
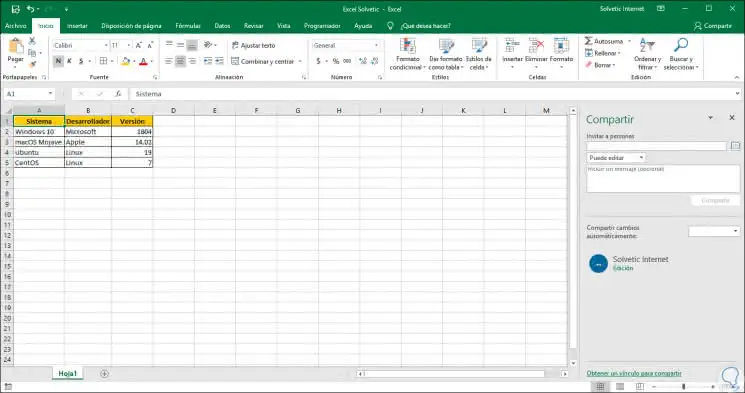
Once we save the document we can see in the lower part of this as well as the integrated sharing options in Excel 2019:
Step 3
There we find the following options to configure so that our task is carried to perfection as TechnoWikis wishes:
- In the Invite people field we must enter the name of the users with whom the file is to be shared or their e-mail.
- In the lower part the assigned permission level will be available, there the options are Can edit (allows all users to make changes in the book) or Can visualize (file editing is restricted).
- In the lower field we can add a message if we wish.
Step 4
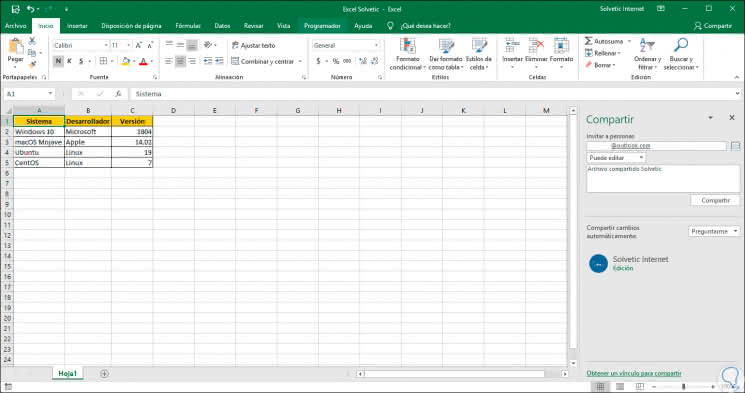
Microsoft Excel 2019 adds an additional option called Share changes automatically, this allows us to be aware of any changes made to the file in real time, the available options are Ask Me, Always or Never. To share the Excel 2019 file we have two options that are:
- Click on the "Share" button which will automatically do the task for us and send a link to the entered accounts.
- If you want to do this manually, you must click on the line "Get a link to share" located at the bottom and this copy and send it by the desired medium, email, chat, etc.
Step 5
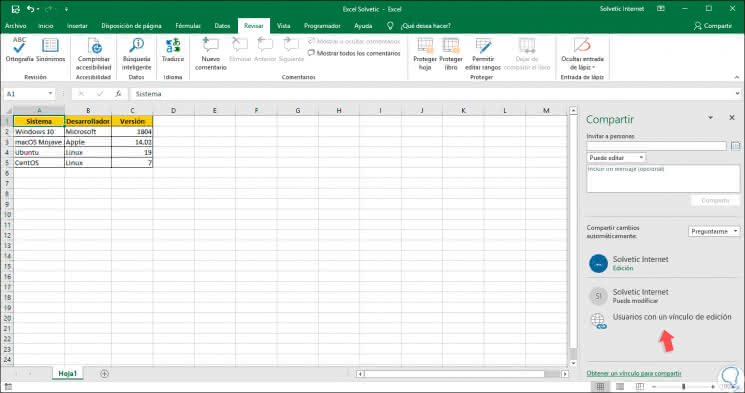
Once the file is shared it will be possible to see in the field of the owners the user that has been added as well as the permission granted:
Step 6
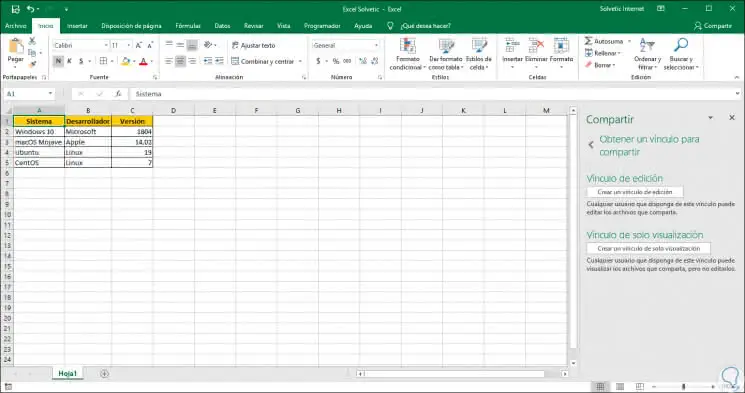
If we choose to use the manual form, in TechnoWikis we know that many users like to do more personal things, we can click on the mentioned line and the following window will be displayed where we have two types of links:
- Get a link so that users can edit.
- Get a link so you can only view the file.
Step 7
There we select the most appropriate link and the following will be displayed:
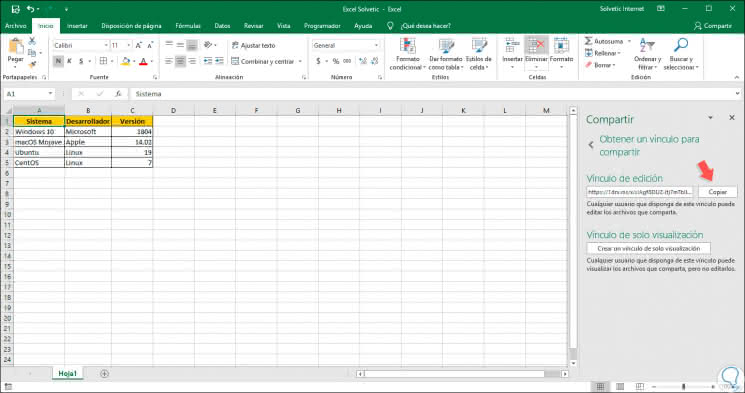
Step 8
We will click on the "Copy" button and this link will be sent to the desired user. If we choose this method we will see the line "Users with edit links" in the "Owners" field:
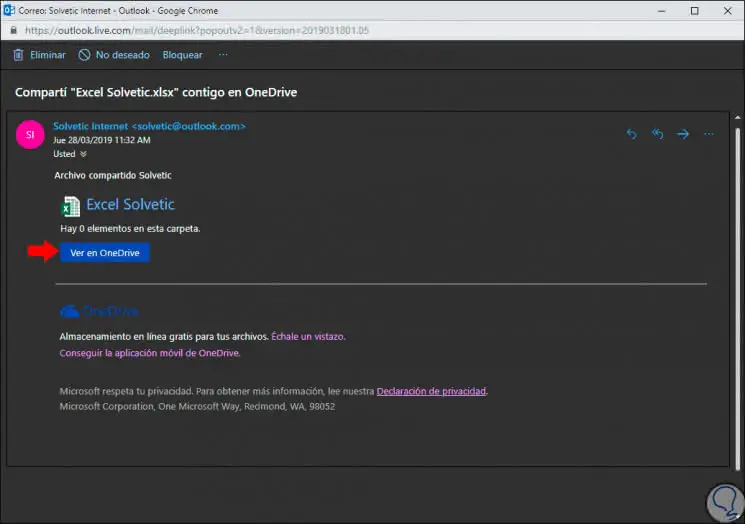
Step 9
When we use this method the user or users that we have determined will receive in their email the respective invitation to edit the Excel file 2019. There you must click on the "OneDrive" button and as if by magic you will be helping us to edit the selected book .
2. How to share a file using the legacy method in Microsoft Excel 2019
For TechnoWikis it is important, it has always been and always will be, to offer each of its visitors the best alternatives to execute a task, for that reason we will explain the other method that Excel 2019 offers us to share a book. This is done using the legacy method which allows us to host the file in the local network so that others have access to it. For this method it is important to clarify that OneDrive does not apply, so we must use a shared path on our computer with the syntax "\ server_name \ folder_name".
Step 1
This method involves going to the "Review" tab and using the options that Microsoft gives us to execute this, but oh surprise of Microsoft, in Excel 2019 these buttons are hidden, so we must become magicians to detect them, but TechnoWikis will do this act of magic for you.
For this we must go to the File / Options menu and in the expanded window we will go to the section "Quick access toolbar", there, we go to the field "Commands available" and select the option All commands where we will first place the line "Share book (inherited)":
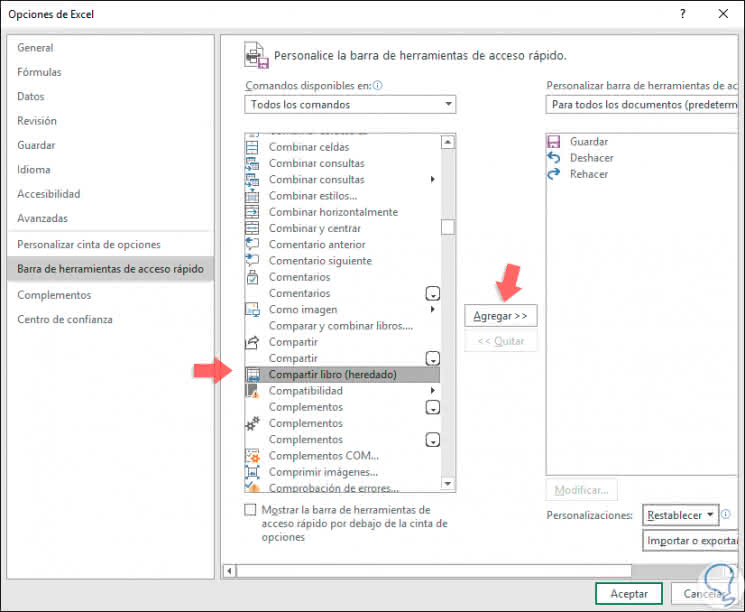
Step 2
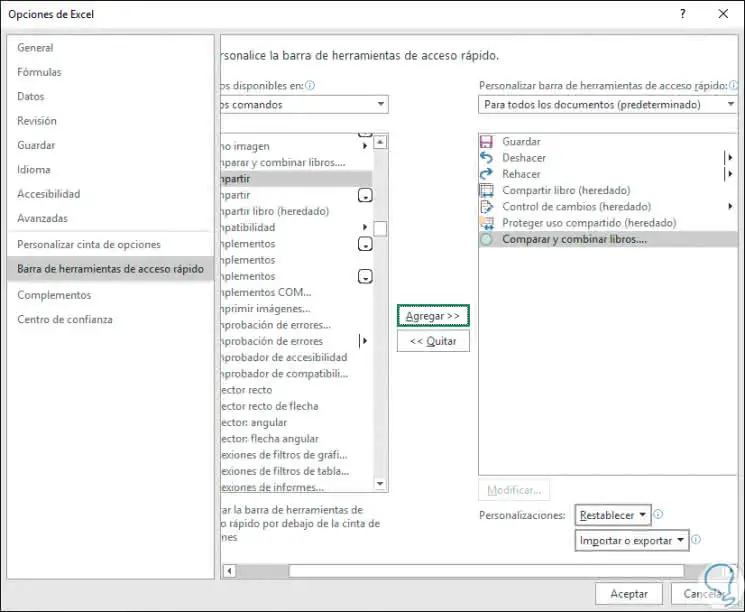
We click on the "Add" button and this process will be repeated with the following lines:
- Change control (inherited).
- Protect shared (inherited).
- Compare and combine books.
Step 3
We add all these options to the Excel 2019 quick access bar:
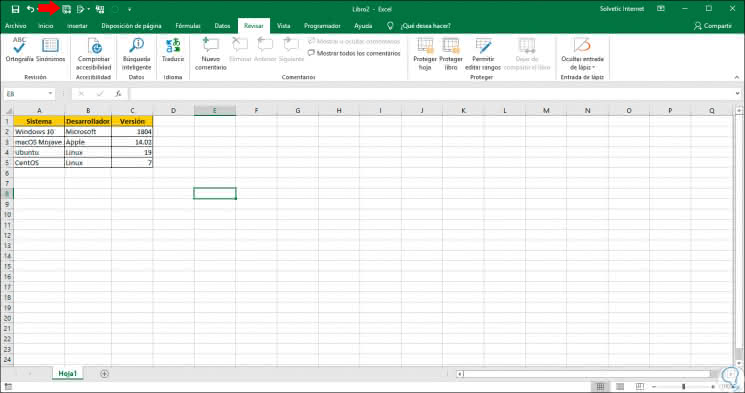
Step 4
We click on OK and now we will see these options in the quick access of the Excel 2019 sheet at the top:
Step 5
We will click on the button "Share book (inherited)" and in the opened window we activate the box "Use the previous characteristic of shared books instead of the new co-authorship experience":
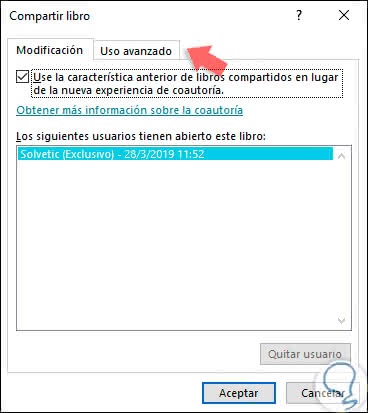
Step 6
The co-authorship function is what TechnoWikis explained to you in detail in the initial process using OneDrive and the "Share" function. From the tab "Advanced use" we will be able to make changes or actions such as:
- Define how long the change history has been saved.
- Configure printers or filters
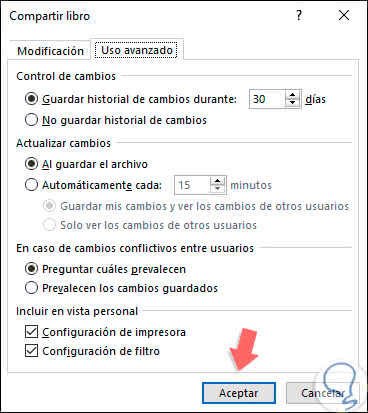
Step 7
Once these processes have been defined, we must simply click on "Accept" to be applied, the following message will be displayed:
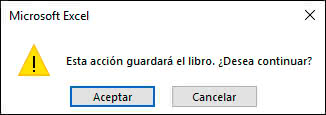
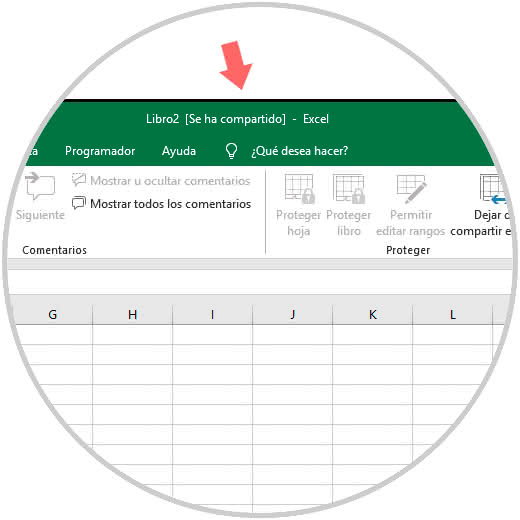
Step 8
Click OK and now we can see in the upper part that there is the legend "It has been shared" next to the file name:
Step 9
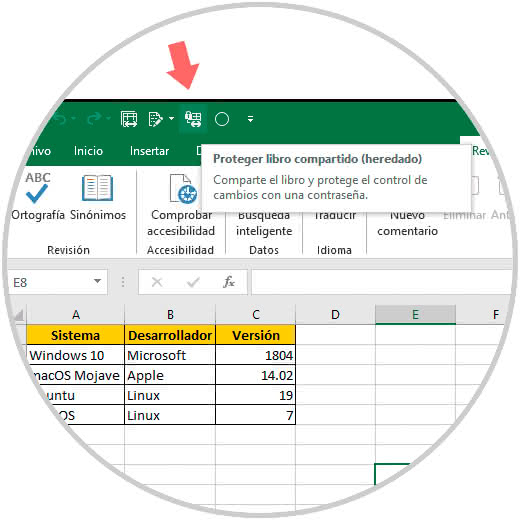
From this point all users can access the file and work on it. As our objective is the security of the information registered in the Excel sheet, it is possible to protect the book that we have shared, for this we click on the button Protect shared book (inherited) in the quick access bar:
Step 10
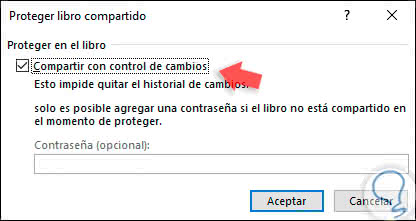
In the window that opens, we will activate the "Share with change control" box. Click on OK to save the changes
Step 11
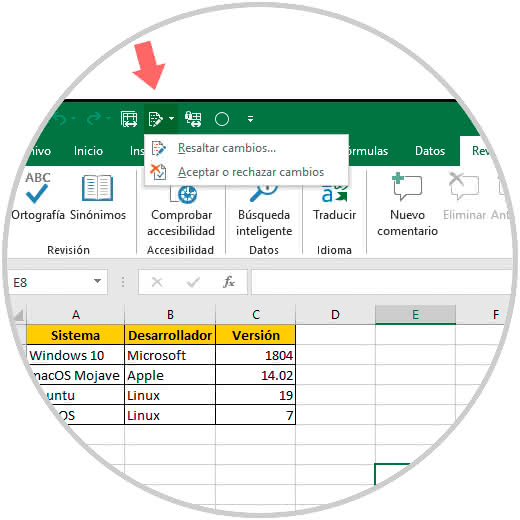
To better manage the changes that are made to this file, we click on the "Change control (inherited)" button and select the most appropriate option:
Step 12
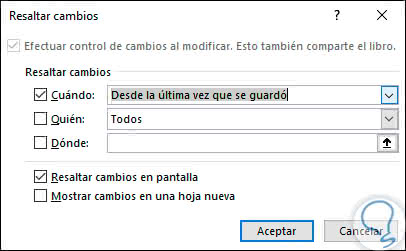
By validating the changes it will be possible to define under which criteria we will validate this:
Step 13
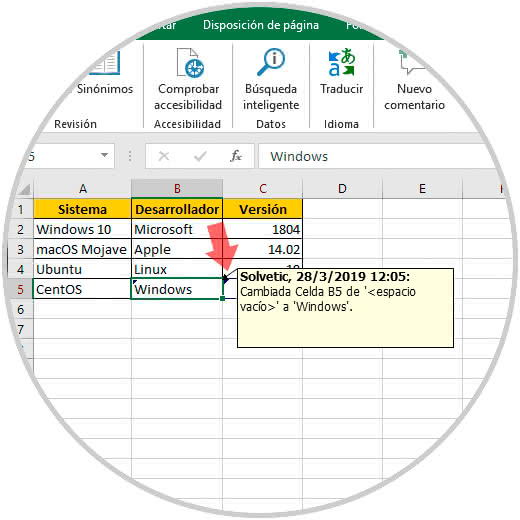
Based on the selected criteria the changes will be highlighted and when we move the mouse over the cell we will see details such as the date of the change and what change was made:
Step 14
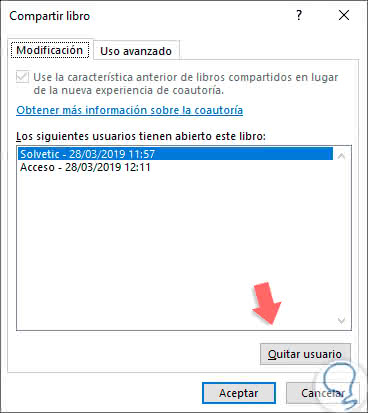
It will be possible for several users to have the shared book open and we want to eliminate some of them. For this we click again on the button "Share book (inherited)" and in the "Modification" tab select the desired user and click on the "Remove user" button:
Step 15
In case the selected user is currently working and editing the Microsoft Excel book, a message will be sent indicating that the unsaved changes of that user will be lost.

Step 16
When it is no longer necessary to share the Excel 2019 book, we can stop sharing it using any of the following options:
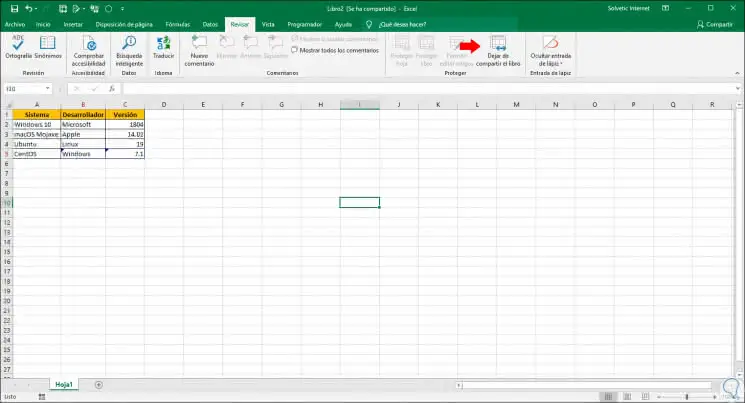
- From the Review menu go to the group "Protect" and there click on the option "Stop sharing the book".
- Clicking again on the button "Share book (inherited") and there deactivating the box "Use the previous feature of shared books instead of the new co-authorship experience".
Step 17
When using any of these methods we will see the following message:
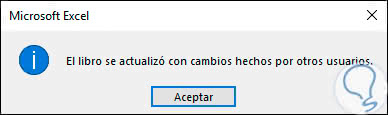
TechnoWikis has clearly explained the options to share an Excel 2019 book and from there use one of the most important activities of the human being: teamwork.