Windows 10 is a system developed to scale the needs of its diverse and varied users, but, although new updates are released every day to improve these aspects, we are not exempt from some errors that can affect the level of optimal and adequate use of the system in general and one of these is a critical point are associated to aspects of the network since one failure there is synonymous with serious errors since without a network we would have practically an empty system..
Now, at the network level, we have countless options to implement and one of them is to use proxies in Windows 10 and remember that a proxy is basically an intermediate device which is used in the communication of two other computers in the network Thus, there will never be a direct connection between the first and last equipment which in many cases is synonymous with privacy and security .
Now, in Windows 10 we can find certain errors before:
Windows 10 cannot detect proxy settings
This error is an indication that some value in the Roxy configuration is wrong and should be edited.
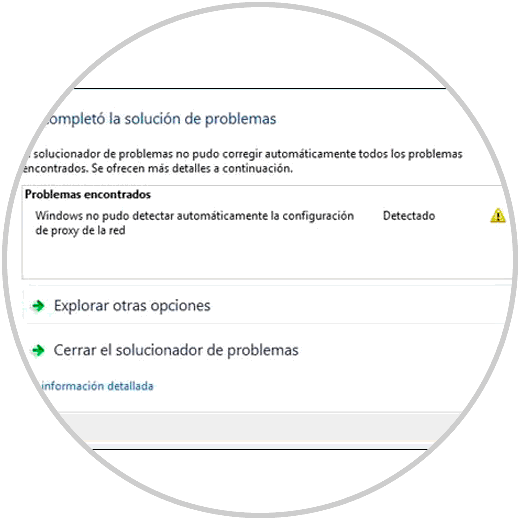
Windows could not automatically detect the proxy server
This proxy-level error refers to some type of error in the network configuration.
Windows will not save proxy settings
This error refers to a problem generated when trying to save the configuration created at the proxy level.
Windows proxy settings keep changing
With this error the proxy settings keep changing constantly and the proxy setting is not allowed.
Windows 10 proxy settings are not saved, change
This error prevents users or administrators from being able to edit and save the proxy settings.
Now, TechnoWikis will give a series of tips on how to solve these errors in a practical way..
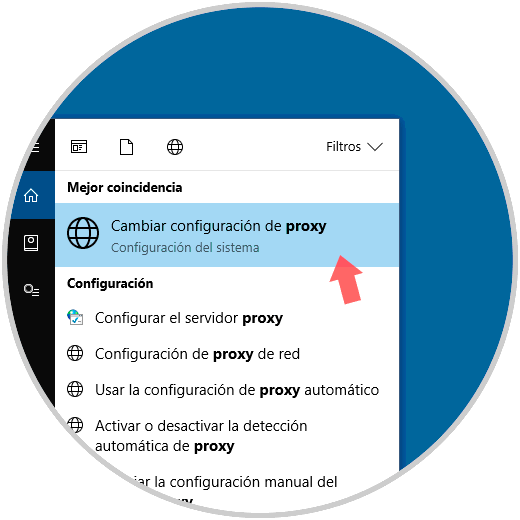
1. Verify proxy settings in Windows 10
Step 1
The first option to use is to verify the proxy settings that we have in Windows 10, for this, we go to the Windows 10 search box and there we enter the term “proxy†and in the options displayed we will select “Change proxy settingsâ€:
Step 2
Another option to access these settings is to go to the "Start / Settings" menu:
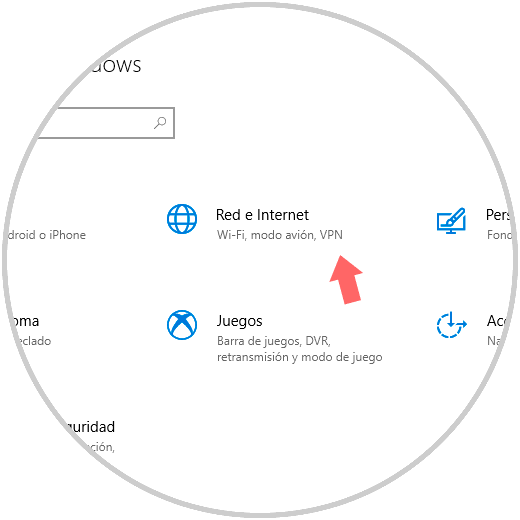
Step 3
There we click on the "Network and Internet" option and in the new window we will go to the "Proxy" section:
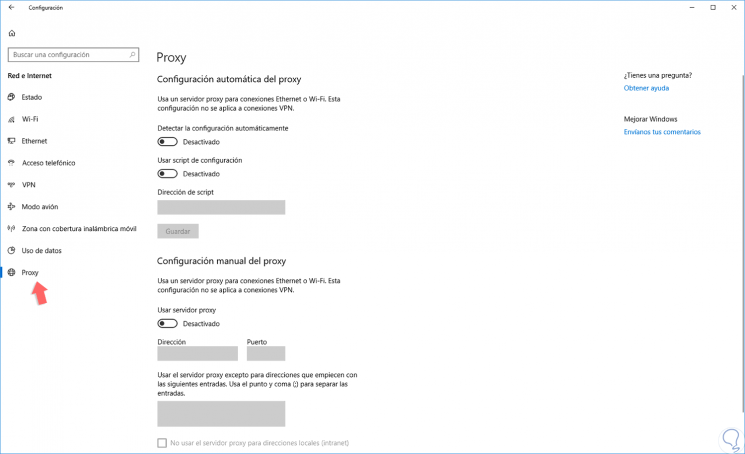
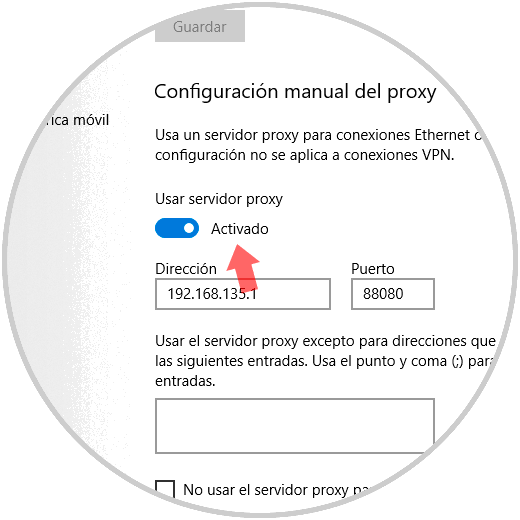
Step 4
There, first, we will verify that the proxy server is chant, for this we must click on the switch in the “Use proxy server†section and we must confirm that all proxy credentials provided by the provider are correct:
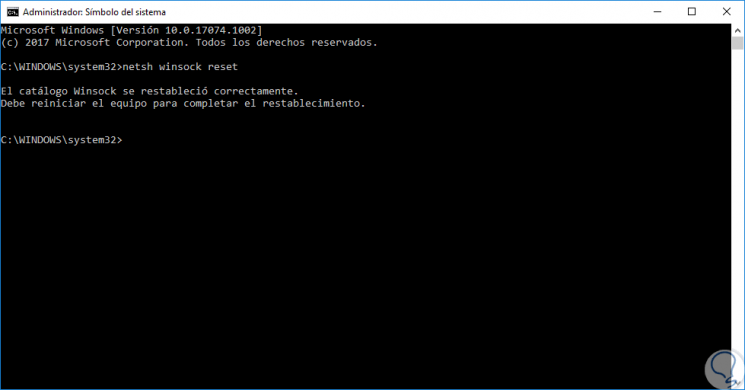
2. Reset the network socket in Windows 10
Another option available to correct this problem is to reset the network socket using the netsh command
. For this, we must access the command prompt as administrators and there execute the following command. There we proceed to restart the system to apply the changes.
netsh winsock reset
3. Verify proxy settings using inetcpl in Windows 10
Step 1
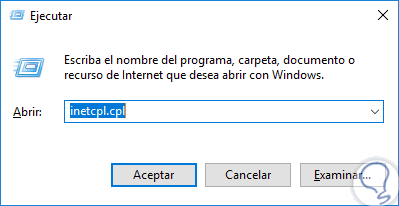
Windows 10 offers us a command to access the proxy settings in Internet Explorer, for this, we use the following key combination and execute the command “inetcpl.cplâ€:
+ R
Step 2
Click on OK and in the window we will go to the "Connections" tab:
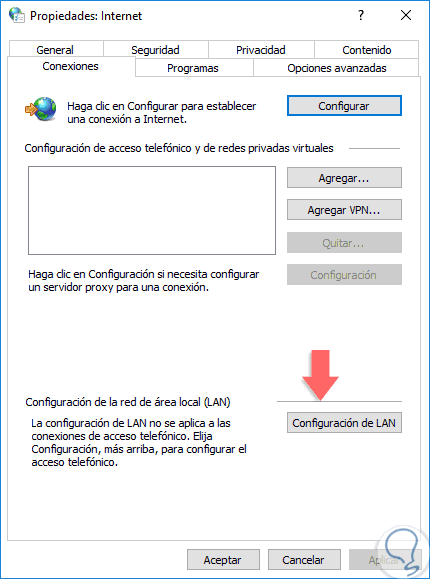
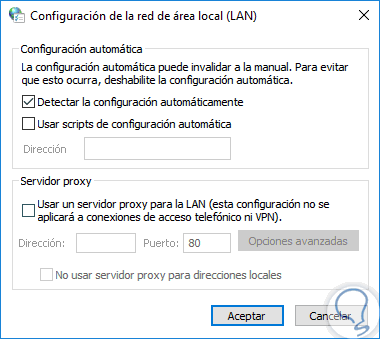
Step 3
There we click on the "LAN Configuration" button and in the window we must verify that the proxy configuration is correctly:
4. Execute a TCP / IP reset in Windows 10
The TCP / IP protocol remember that it is a set of protocols designed to allow communication between computers in a network.
Occasionally, this protocol may present some type of error so, with a restart, we will reload its configuration and thus it will be possible to recover the optimal use of the proxy..
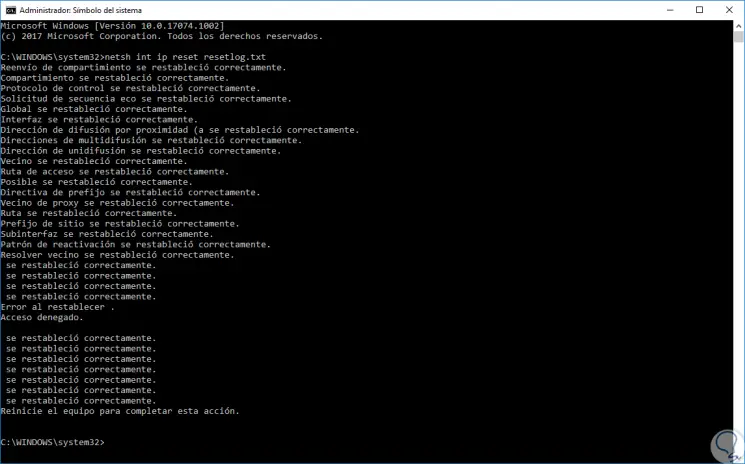
For this, we must access the command prompt again as administrators and there execute the following command. There we proceed to restart the computer to apply the changes.
netsh int ip reset resetlog.txt
5. Use System Restore in Windows 10
Since the option to restore the system in Windows is correctly configured, it will be possible to restore the computer to an earlier state, that is, allow the computer to return to an earlier date where everything was working in the ideal way.
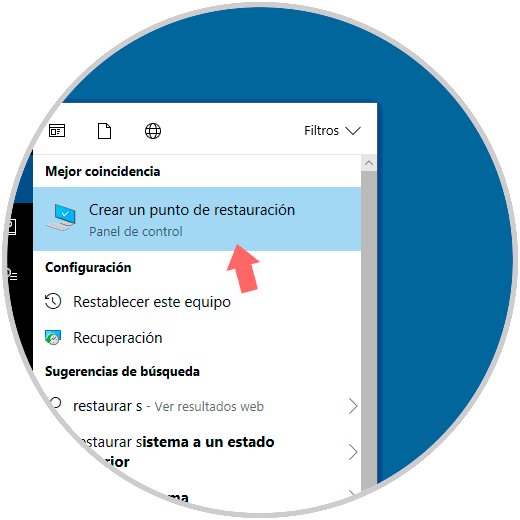
Step 1
To access this option we will enter the term "restore" in the Windows 10 search box and there select "Create a restore point":
Step 2
The following window will be displayed:
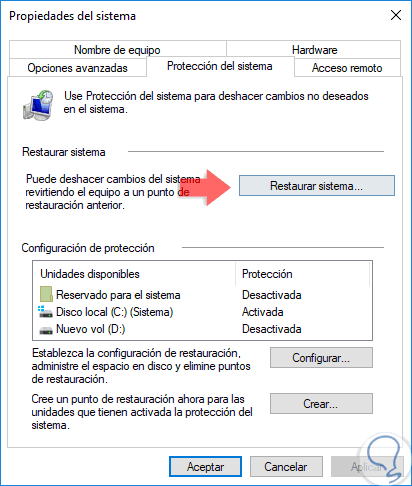
Step 3
There we click on "System Restore" and the following assistant will be displayed:
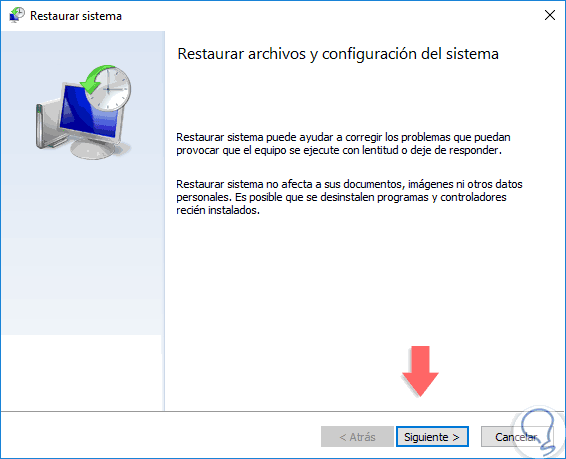
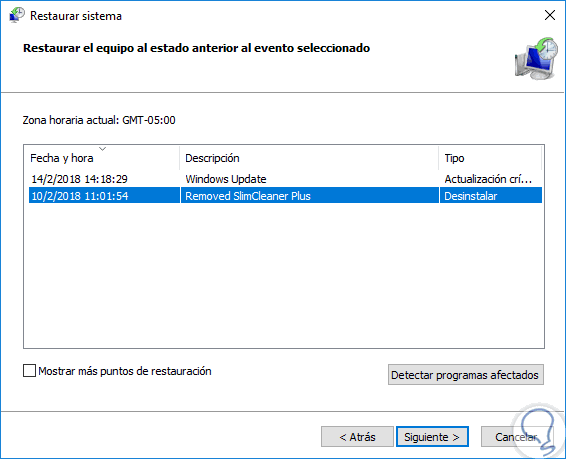
Step 4
Click on Next and in the next window we will select the date to which the equipment will be restored. Click on Next again and wait for the system to execute the action.
6. Use the SFC scan in Windows 10
Windows includes a tool called System File Checker which has been developed to repair missing or damaged system files. This command will be useful to verify if it solves the proxy problem in the system.
Step 1
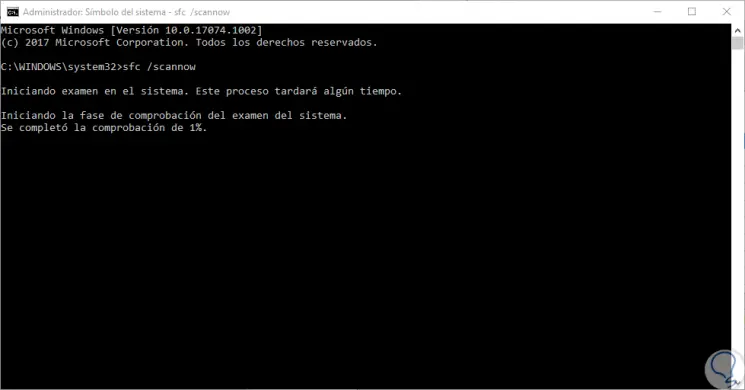
To do this, we access the system command again as administrators and there we will execute the following line:
sfc / scannow
Step 2
Press Enter and we will see the following:
Step 3
Once the process is finished, it is ideal to execute the following DISM (Image Manager) command, thanks to which many problems associated with the system can be solved:
DISM / Online / Cleanup-Image / RestoreHealth
7. Reset Internet settings in Windows 10
Step 1
In case the previous solutions do not give us a clear solution, we can resort to resetting the internet configuration, to achieve this, we will go to the next route.
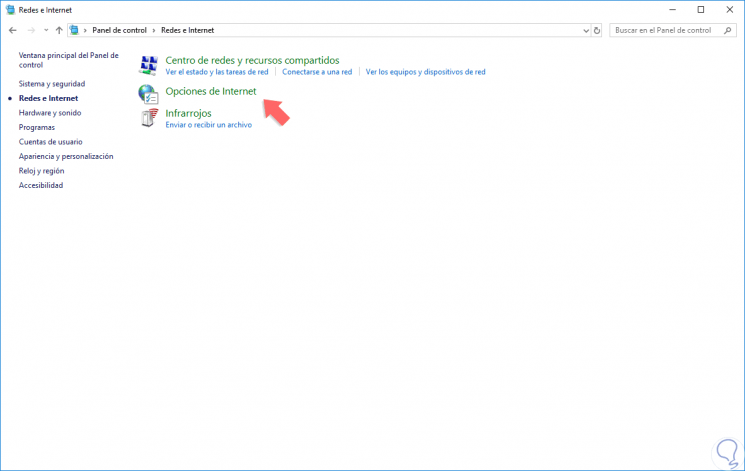
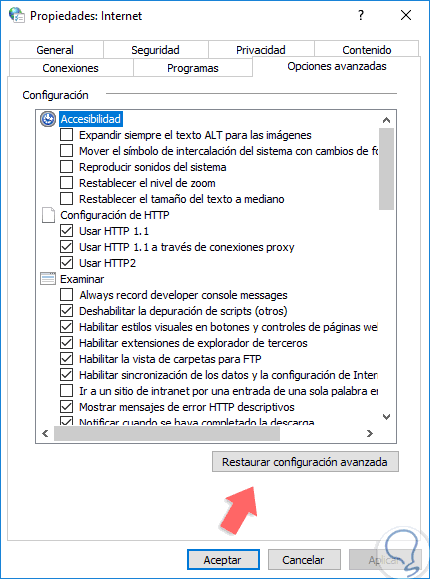
Step 2
There we click on the "Internet Options" line, in the window we will go to the "Advanced Options" tab and we will see the following. There we must click on the "Restore advanced settings" button to complete the action.
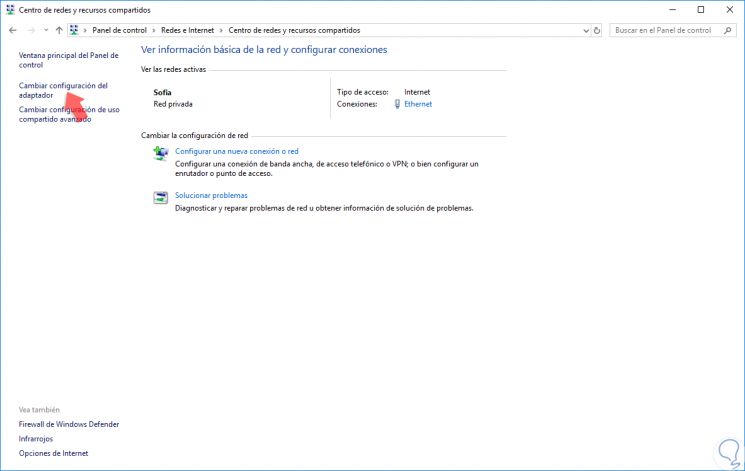
8. Restore the network adapter in Windows 10
We can restore the configuration of the network adapter because it often creates internal conflicts that directly affect the behavior of the proxy.
Step 1
We can go to the following route:
- Center network and sharing
Step 2
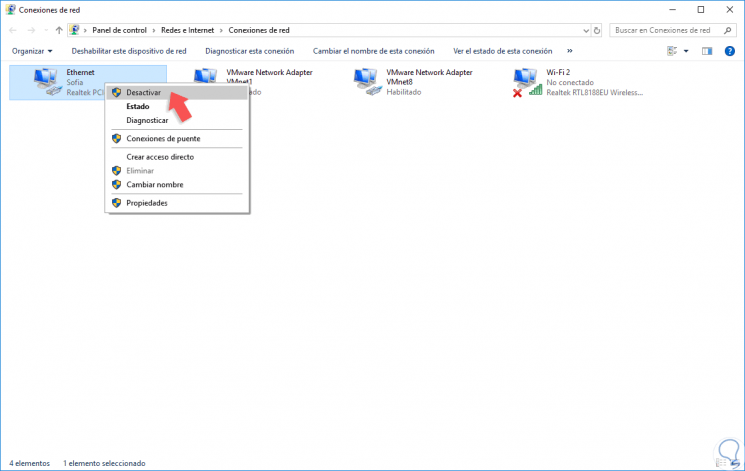
There we click on the “change adapter configuration†line located on the left side and the following window will be displayed where we will right click on the current network adapter and select the “Disable†option. Then, we can right click on the adapter again and select “Activateâ€.
9. Activate the option to use DNS automatically in Windows 10
Step 1
Sometimes, proxy failures are associated with errors with the DNS of the network, for this case we can activate the option to use the DNS automatically and for this we will go to the next route.
Step 2
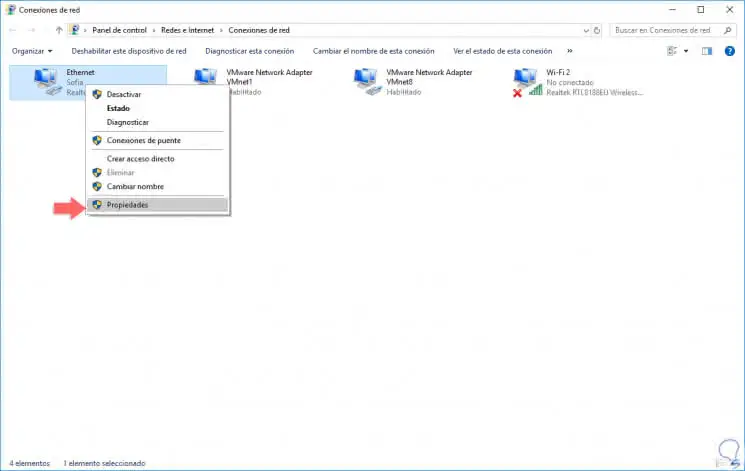
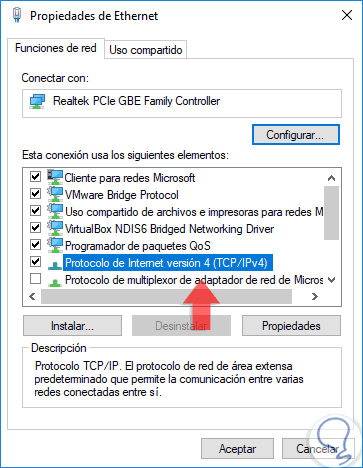
There, we will right click on the current network adapter and select the “Properties†option:
Step 3
In the window that will be displayed, we will locate the line “Internet Protocol version 4†and we will see the following:
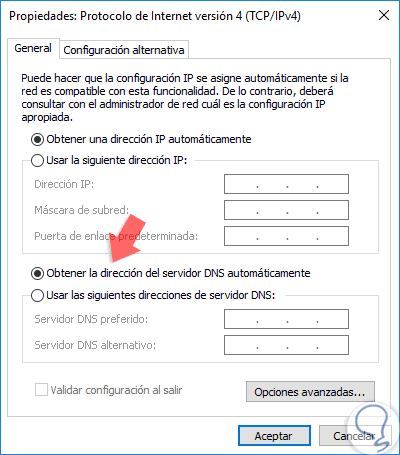
Step 4
There we will click on the "Properties" button and the following will be displayed. There we must activate, if it is not, the box “Obtain DNS server address automatically†and click on OK to apply the changes.
10. Run the Troubleshooter in Windows 10
Windows includes a tool called Problem Solver which is responsible for carrying out an exhaustive analysis of various system components and, in case of failures, looking for a solution autonomously or deploying various options.
Step 1
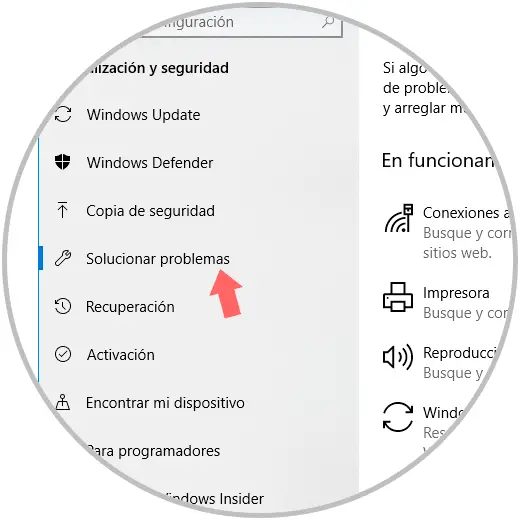
To access it, we will go to "Start / Settings / Update and security" and there we go to the "Troubleshoot" section:
Step 2
There we will locate the option called “Network adapter†and when clicking on it the following will be displayed:
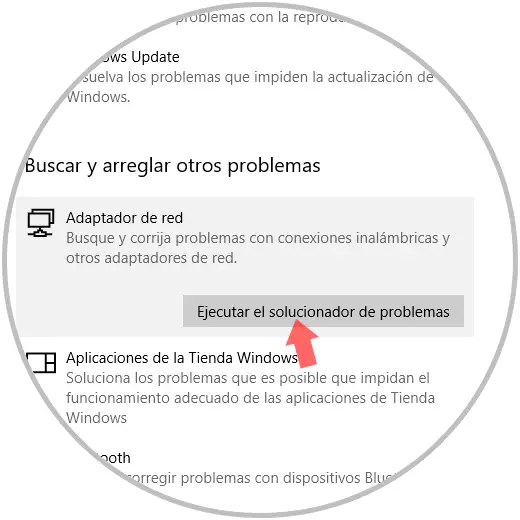
Step 3
Click on the "Run the troubleshooter" button and the analysis process will begin there:

We have seen that, although there are errors at the proxy level, we also have a number of options to solve them ideally.