Microsoft Word 2016 is a powerful tool developed by Microsoft with a practical and simple approach when creating high-impact documents thanks to its various tools included..
Within the way we can create a high impact document we have the images which are multimedia elements that help to represent an idea in a global way and today in TechnoWikis we will learn how to edit images in Word 2016 without resorting to editing programs which are complex Sometimes not to mention its high costs.
1. Insert an image in Word 2016
Step 1
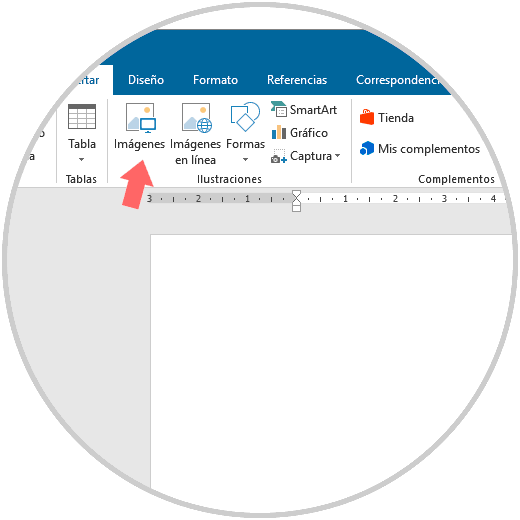
To insert the image to be edited in Word 2016 we go to the “Insert†menu and click on the “Images†button located in the “Illustrations†group:
Note
It is also possible to insert images online using the search engine itself or using the image URL.
Step 2
Once we click there, we will go to the location of the image to work and click on the Insert button to add it:
2. Change the Image Format in Word 2016
Step 1
Once we insert the image, it is time to proceed with the edition of the image, for this we right click on the selected image and select the line “Image formatâ€:

Step 2
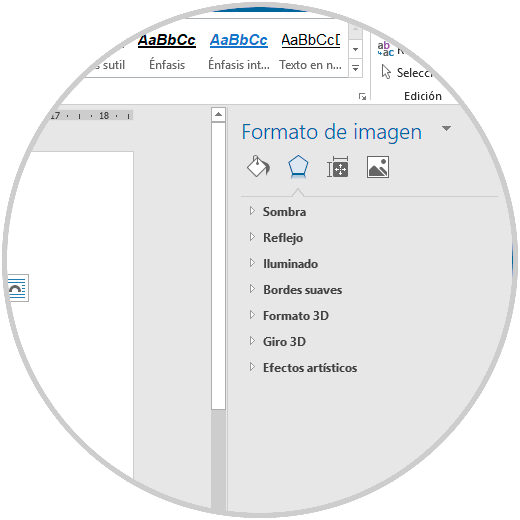
On the right side we will see the following editing options. As we see it is possible to apply effects such as shadows, reflections, 3D effects, etc.
In addition, at the top we find several tools each with ideal utilities to improve and edit the current image..
Step 3
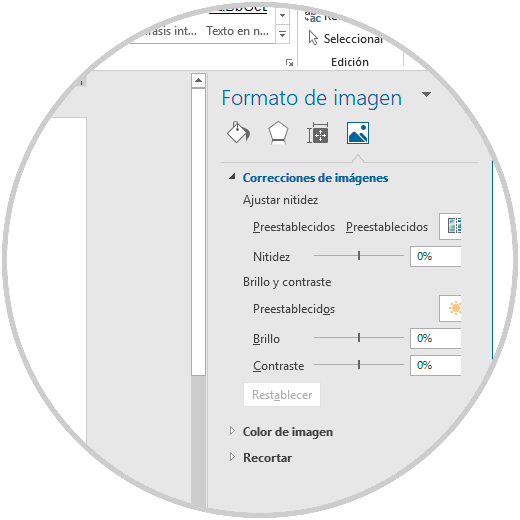
It is important to mention that all the changes that are applied to the image will be seen in real time. First, we will adjust the image to correct some kind of imperfection, for this, click on the last icon of the image format and click on the “Image corrections†line where we will see the following:
Step 4
There we can define settings such as brightness, contrast or sharpness using the slider to the desired percentage. In case the changes are not the desired ones, we can click on “Reset†and thus leave the image to its default values.

3. Adjust the color in Word 2016
A theme that is frequently worked on the images are the colors of this since these are the basis of the image.
Step 1
At this point Word 2016 offers us a fairly wide range of color-level options with a single click, to access these options, we select the image and we can see that a new menu called “Format†is created, we will click there and we will we go to the “Adjust†group where we display the “Color†button options and we will see the following:
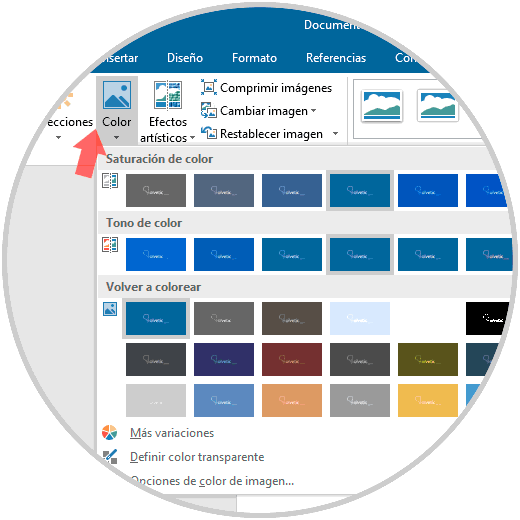
Step 2
By default, we have a series of options associated by categories such as saturation, hue or simply applying a custom color.
Step 3
But beyond this, we can see that we have options such as:
More variations
This option allows us to select an additional range of colors for the image.
Define transparent color
This option allows the selected pixels to be transparent:

Image color options
This option opens the side panel where we can make adjustments such as saturation, sharpness, brightness, etc.
4. Apply effects to the image in Word 2016
Undoubtedly, the effects create a very high impact on an image no matter how simple it can be since we can add a background, an enhancement, etc.
Word 2016 is not far behind and therefore adds the artistic effects which allow us to play with the image in multiple ways.
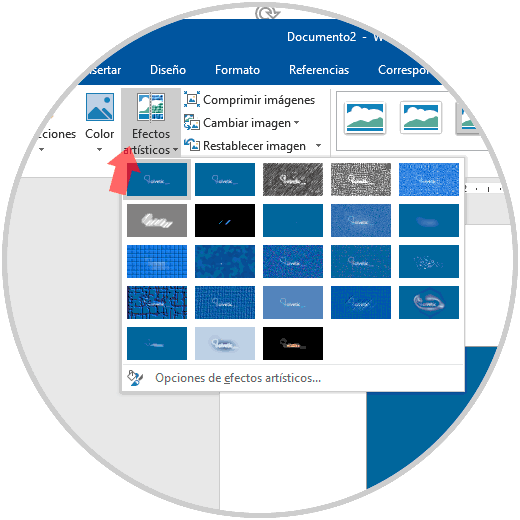
Step 1
For this, we select the image, go to the “Format†menu and in the “Adjust†group we display the “Artistic Effects†button options where we will see the following:
Step 2
Just click on the desired effect and see how it alters the image in question:
5. Save as image in Word 2016
Word 2016 gives us the possibility to save a photo or image in a compatible format of images in the operating system.
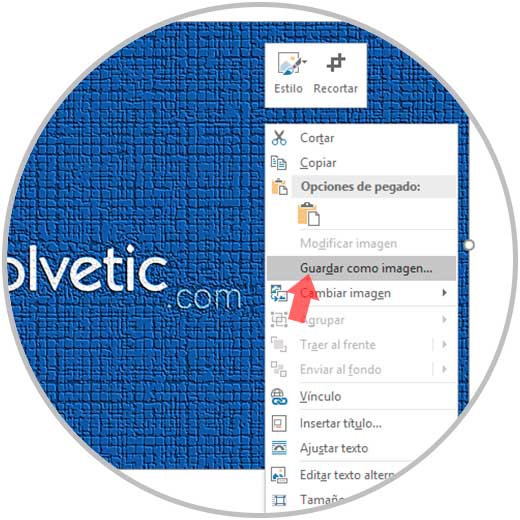
Step 1
For this, once we apply the desired changes, we must right click on the image and select the option “Save as imageâ€:
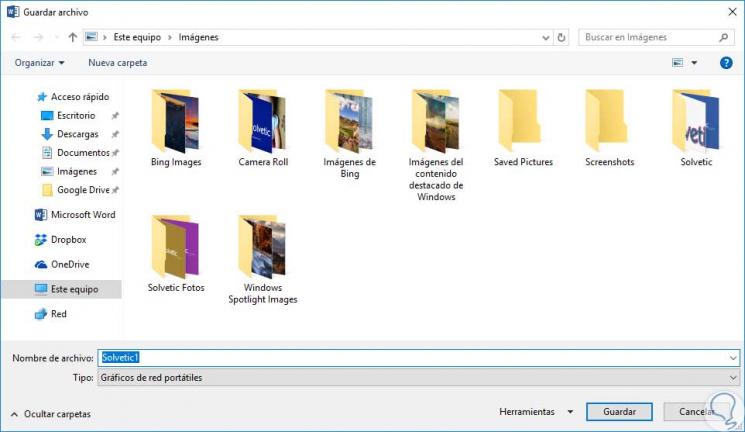
Step 2
In the displayed window, we can save the image as PNG, JPEG, GIF, etc.
We can see how Microsoft Word 2016 is a useful application not only to create documents but to work on the images that go in that document..