Microsoft Word , in its editions 2016 and 2019, is integrated with numerous utilities that are available to give us, as frequent users, the best solutions and alternatives when working with text and other objects that can be added to optimize the presentation of the document ..
For none of us is it a secret that one of the ways we can make professional presentations in Word 2016 or 2019 is by integrating images into the document. This is really useful since an image can have a greater impact than many words. Well, in Microsoft Word we have a function called "Group" which gives us the opportunity to integrate an image and a text into one, this can help us attach descriptions, titles or other features to an image and thus highlight even more its content.
TechnoWikis will explain in detail how to perform this process in Microsoft Word and this task will be done in the same way in both Word 2016 and Word 2019..
To stay up to date, remember to subscribe to our YouTube channel! SUBSCRIBE
Group images and text in Microsoft Word 2019, 2016
Step 1
The first step is to go to the "Insert" menu, and in the "Illustrations" group, click on "Images" in order to insert the desired image in the Word document:
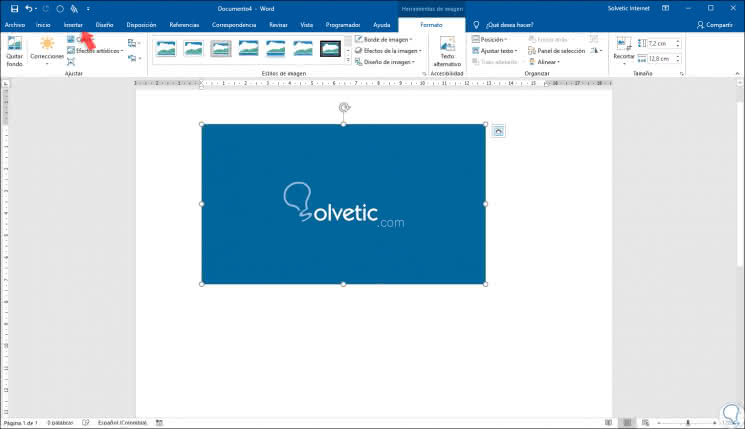
Step 2
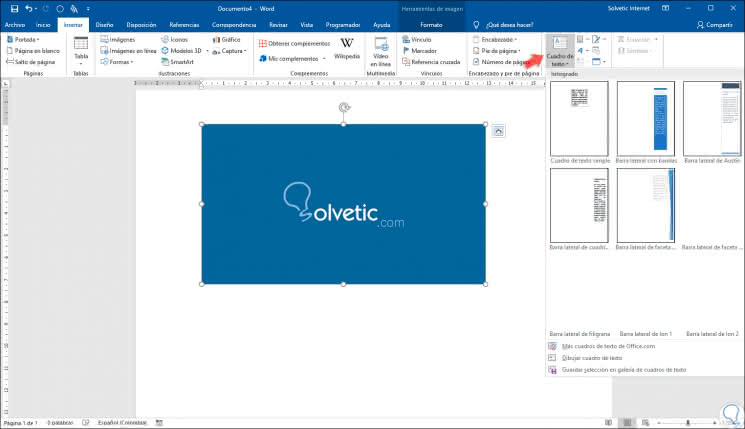
There we can define the desired dimensions for this image. After this process we go back to the menu "Insert" and in the group "Text" we click on the option "Text box", the following options will be displayed:
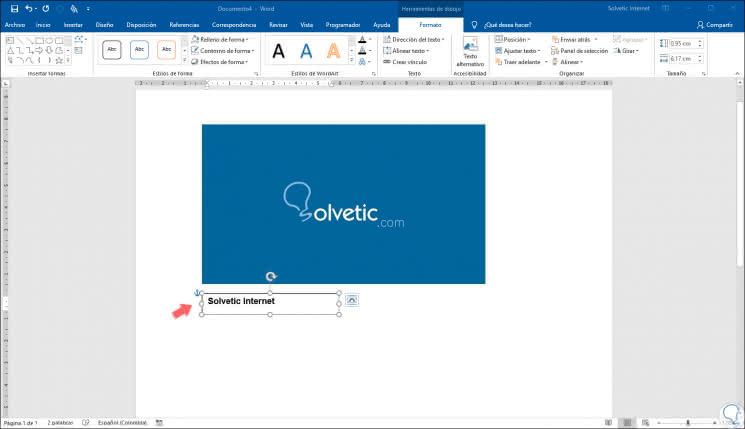
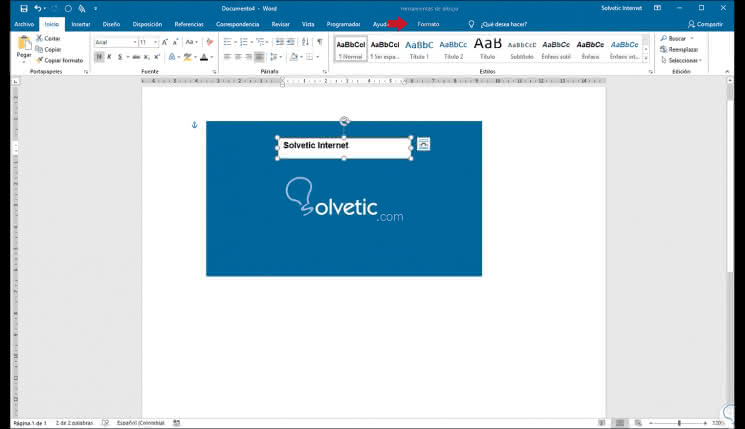
Step 3
There we click on the option "Simple text box" and then enter the desired text as well as the dimension of this:
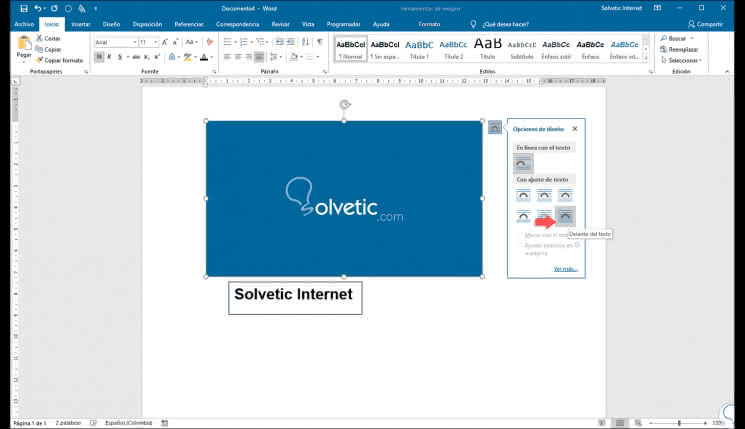
Step 4
There we can click on the context menu of the text and in the various options displayed we will select "In front of the text":
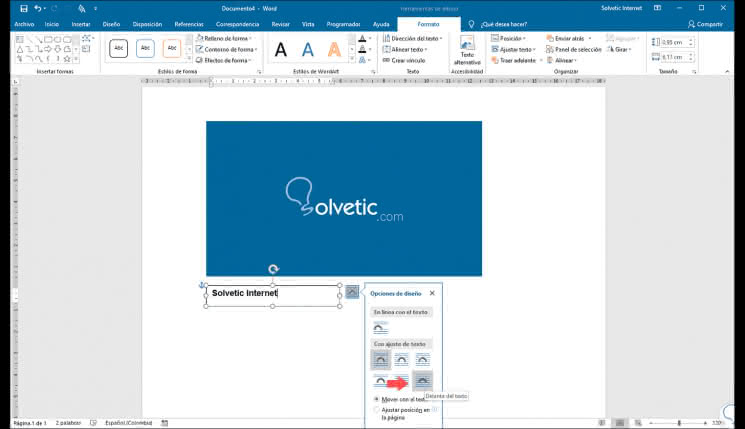
Step 5
By doing this, it will be possible to move the text box within the image that we have selected:
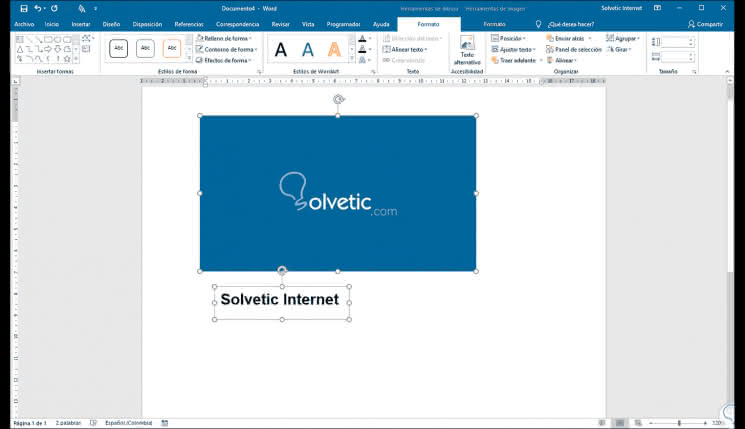
Step 6
We see that the text box by effect presents a fill and an outline for presentation reasons. We can omit it, for that, we go to the menu "Drawing tools / Format" and there we define the following.
- In the Outline form option, we select No contour.
- In the Fill shape option, we select No fill.

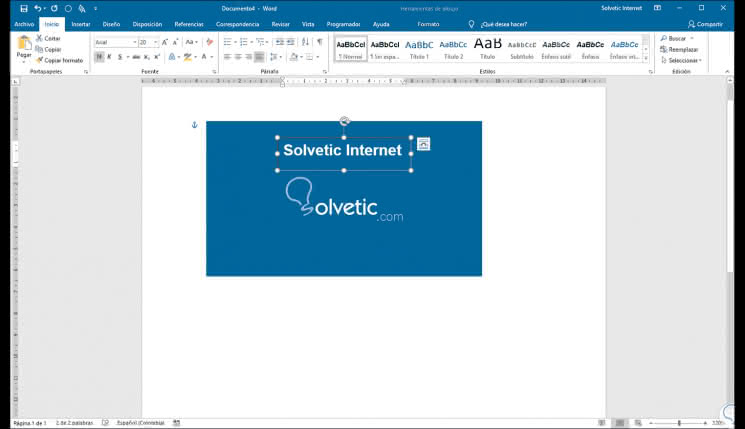
Step 7
Once this is done we can see the new appearance of the text box, as always, it is possible to define font color or size of the same. There it will be possible to place it in the desired position within the image.
Step 8
Now, in order for the whole grouping process to work as expected, we select the image and click on its contextual menu to select the option "In front of the text":
Step 9
Once this is done, we select the text box and using the Shift key, we click on the image so that both are selected:
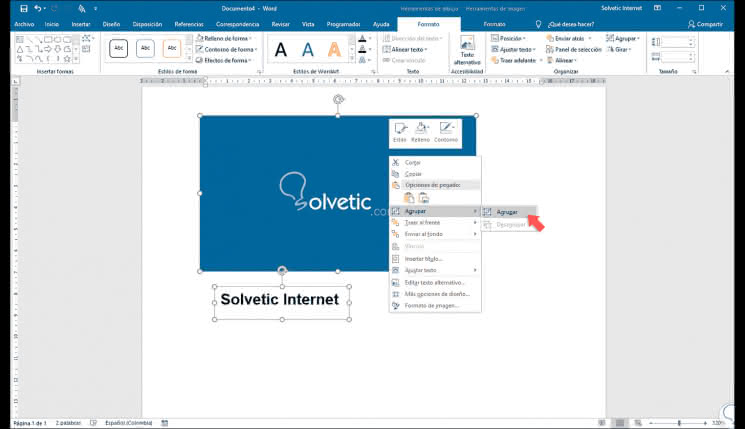
Step 10
Once selected, we right click on any of them and select the option Group / Group:
Step 11
As a result, we will see that both the image and the text box have been unified:

Thanks to this simple process it will be possible to integrate images and text in Microsoft Word 2016 or 2019.