Microsoft Word gives us a wide group of options to work with the elements that we can use there, this implies not only text but images, tables, forms, audio, etc., and each presentation can have a different focus based on the type of recipient and theme worked. One of the options that we can use the most is the function of grouping elements, that is, we can unite text, shapes and images in a single object so that when it moves, everything moves together and not each piece separately, it is a simple process that TechnoWikis will teach you in this tutorial..
There are various tasks that we can perform within our Word documents, such as leaving an image fixed in Word so that it does not move while we edit the document. Once we have photo and text files, what we can do is group photos and videos in Word and thus be able to move them together when we edit. We will see how to do it in today's tutorial.
To stay up to date, remember to subscribe to our YouTube channel!
SUBSCRIBE ON YOUTUBE
How to Group Shapes, Pictures, and Text in Word
Step 1
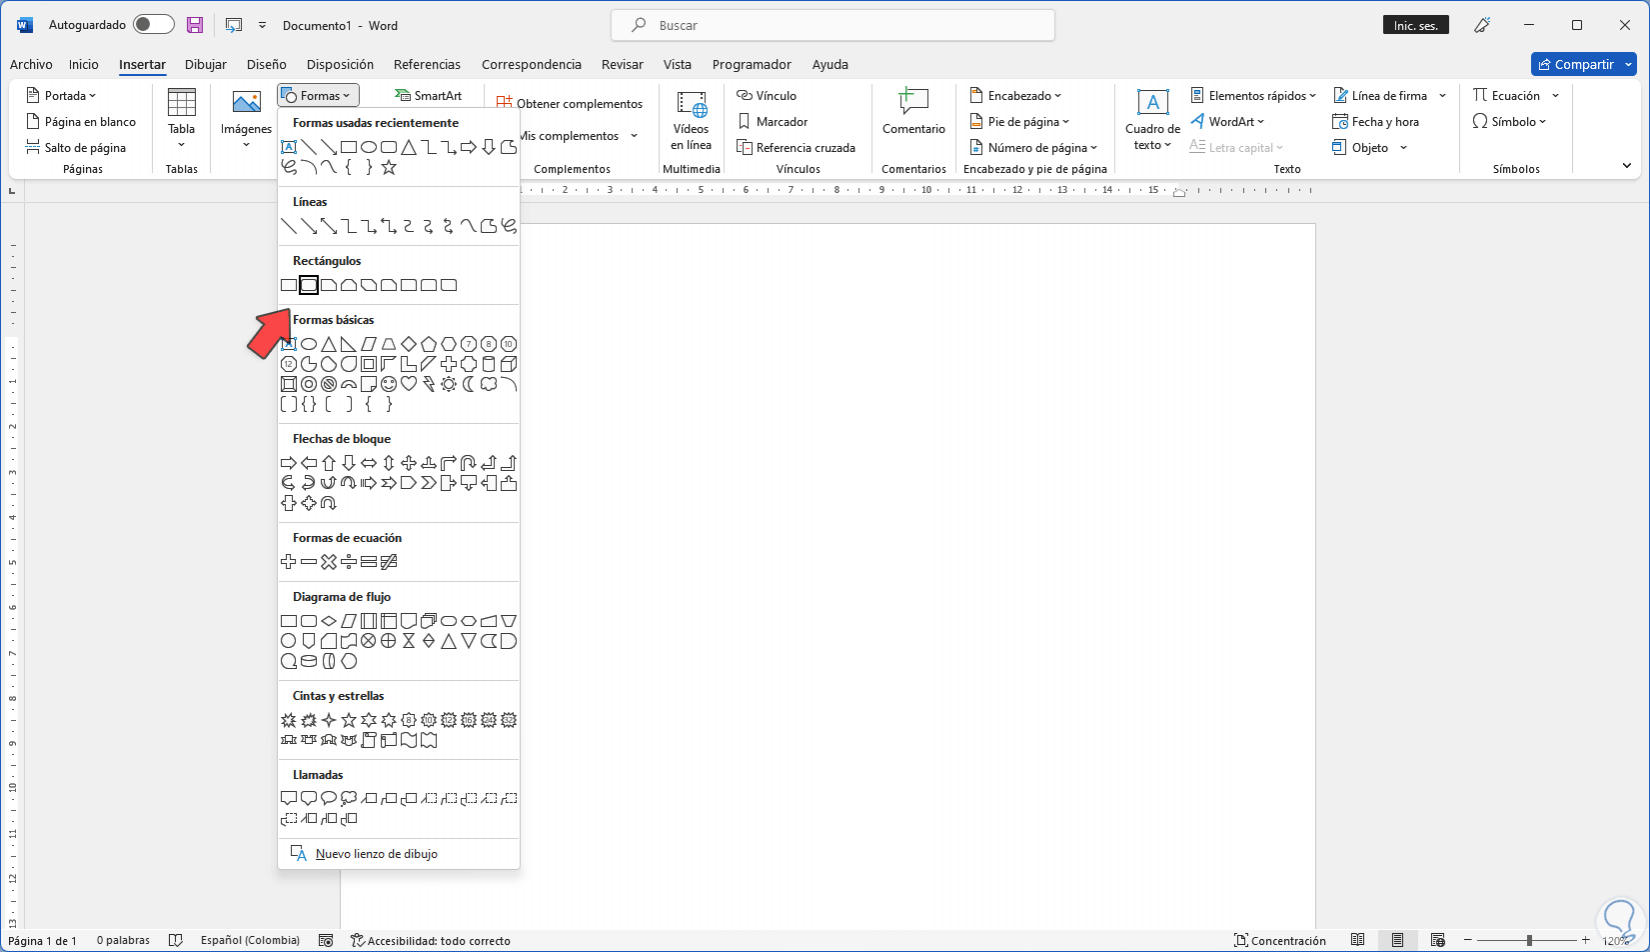
We open Word and we will go to the menu "Insert - Shapes - Rectangle: rounded corners":
Step 2
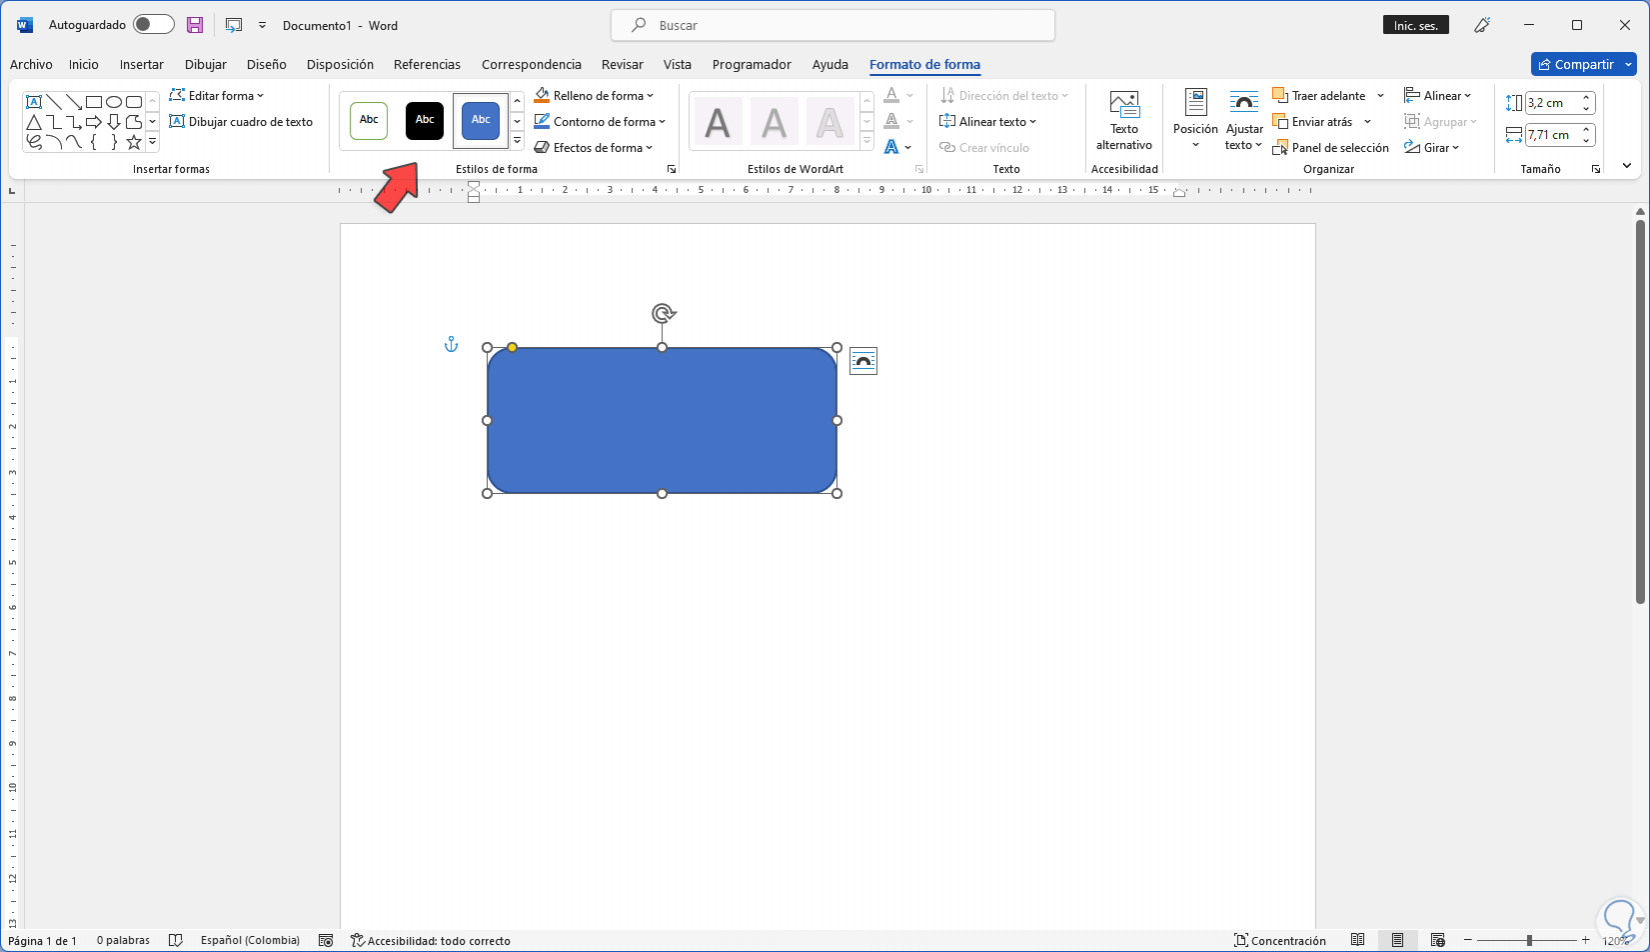
We adjust the dimension of the rectangle and it is possible to change the color if desired from "Shape style":
Step 3
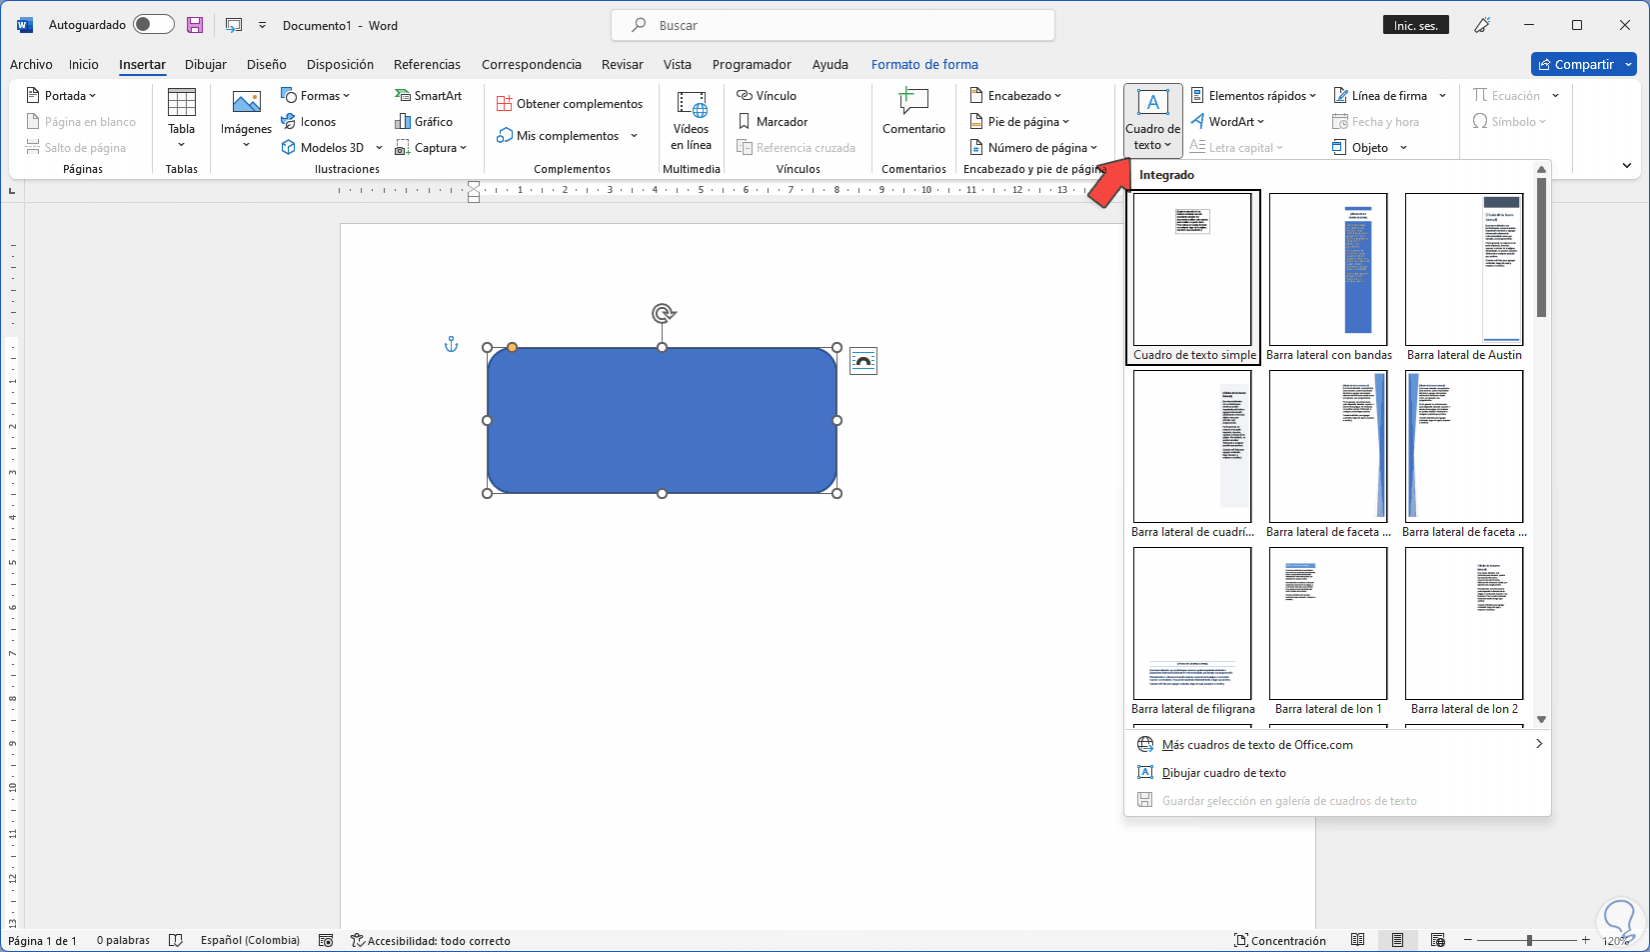
To add text it is possible to go to "Insert - Text box - Simple text box":
Step 4
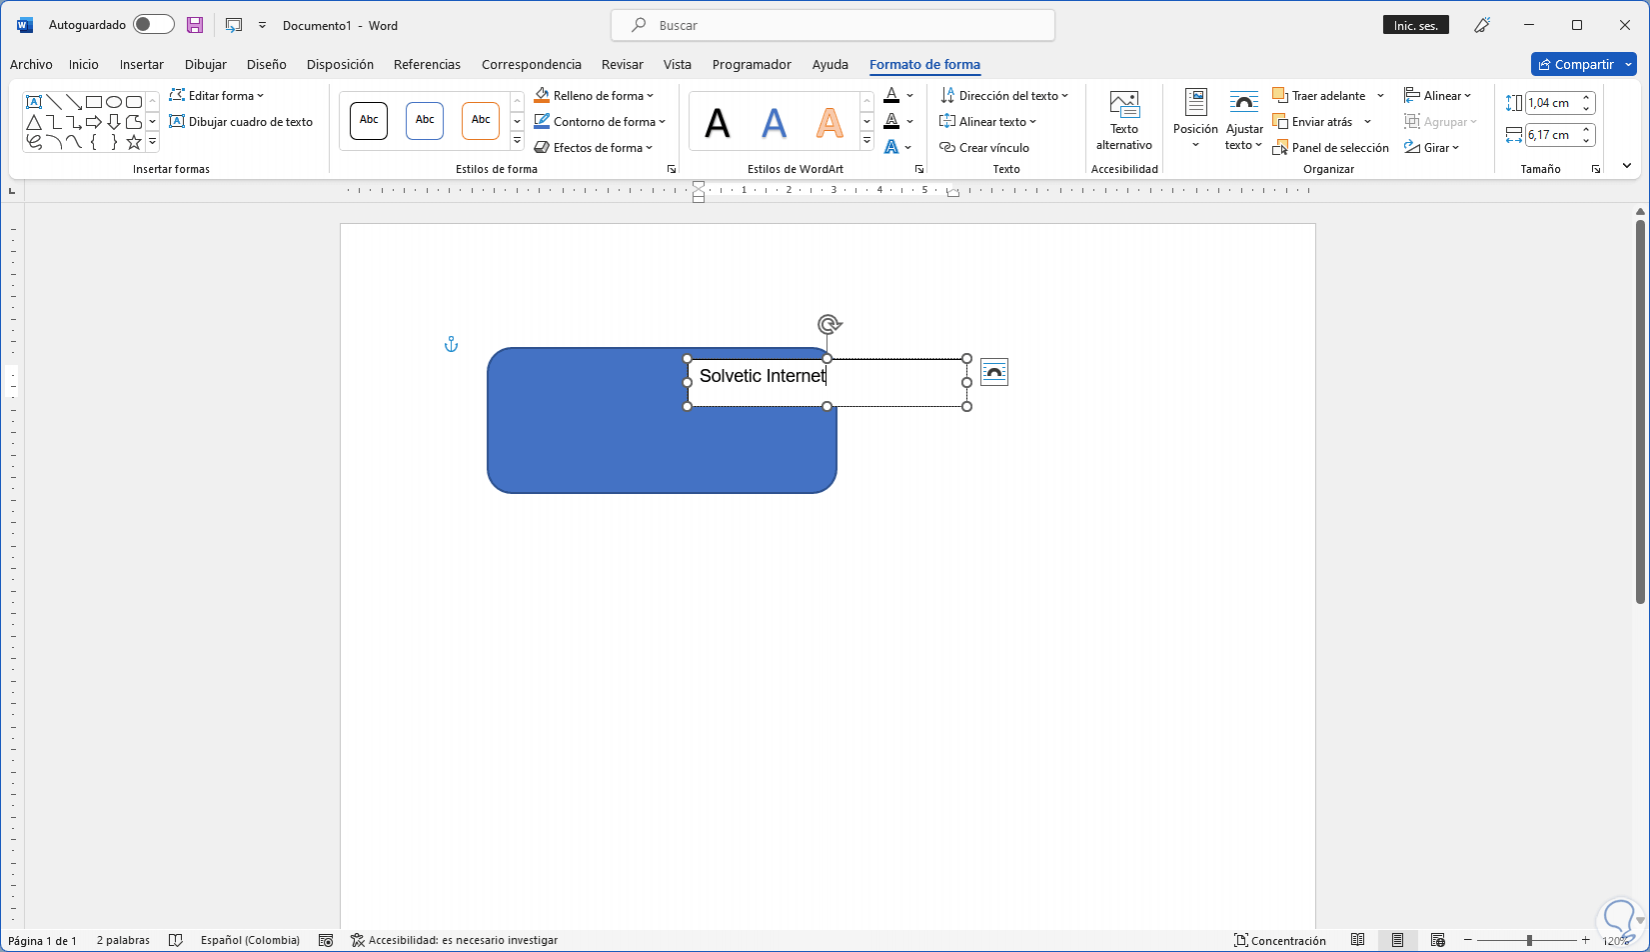
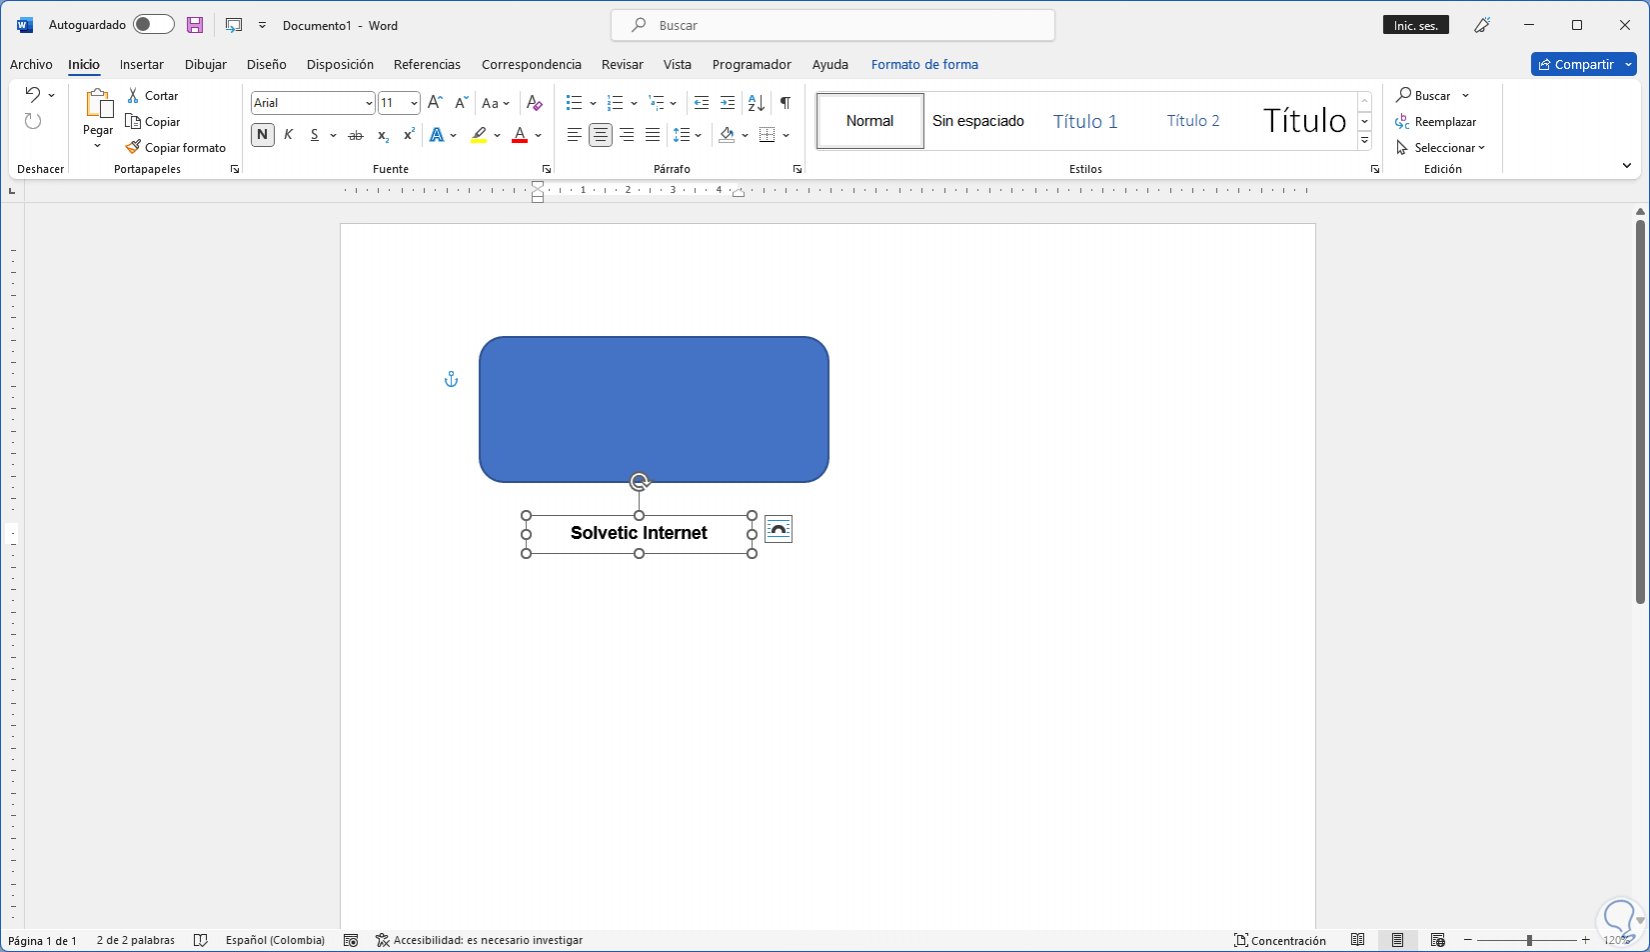
Enter the desired text:
step 5
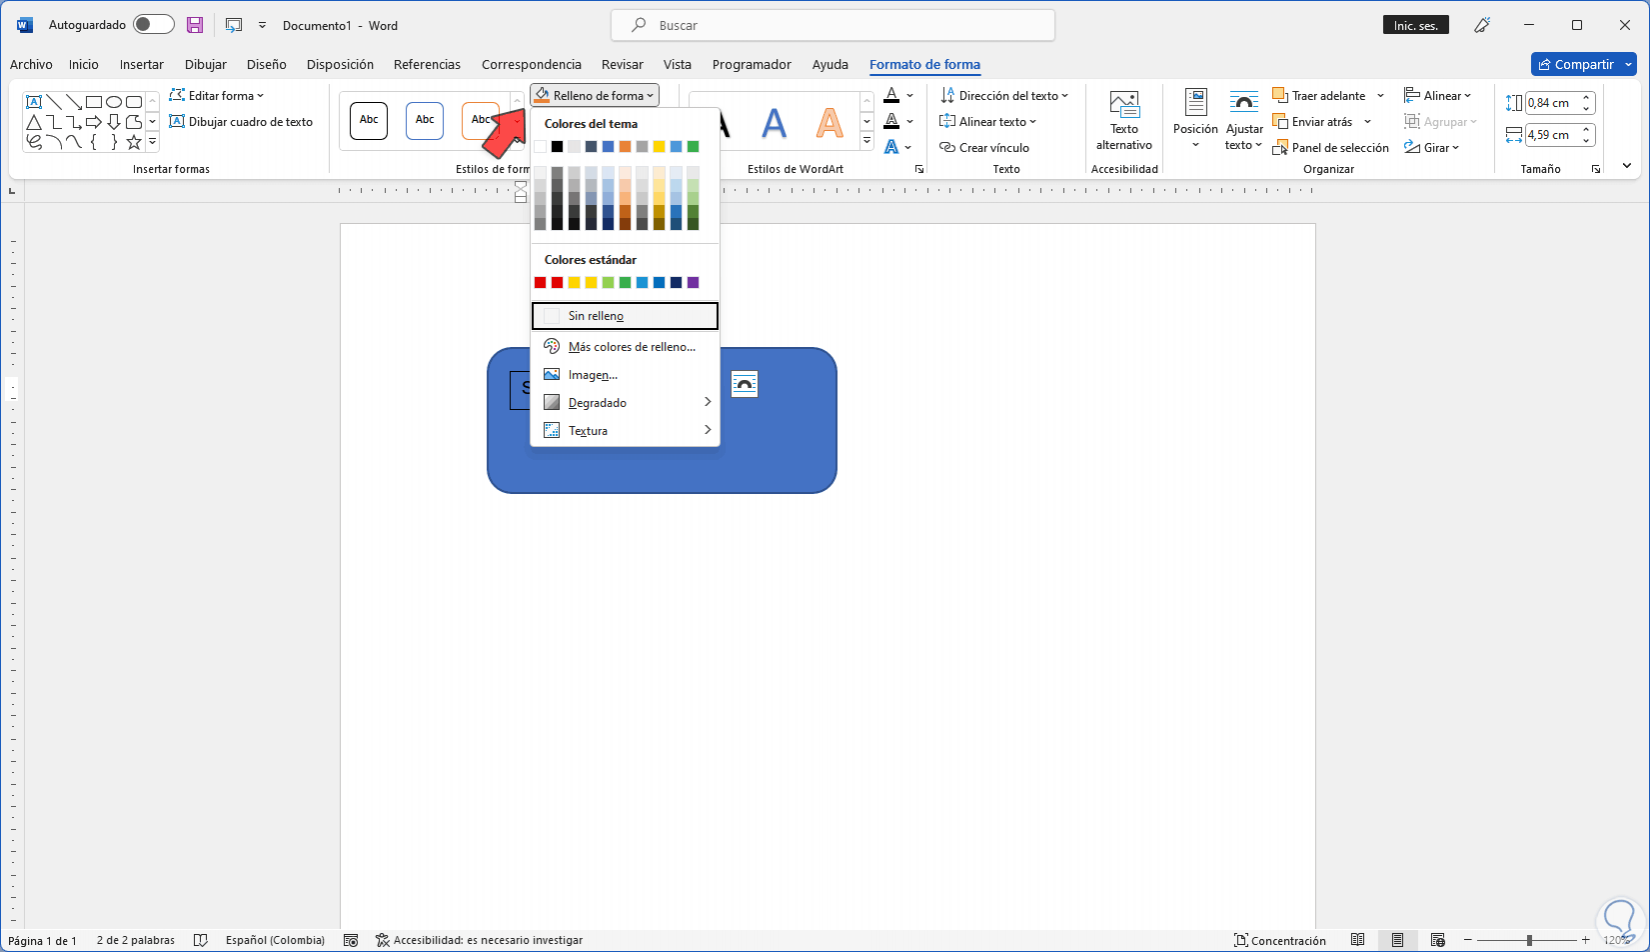
We fit that text in the shape and it is possible to go to "Format shape" and there click on "Shape fill" to select "No fill":
step 6
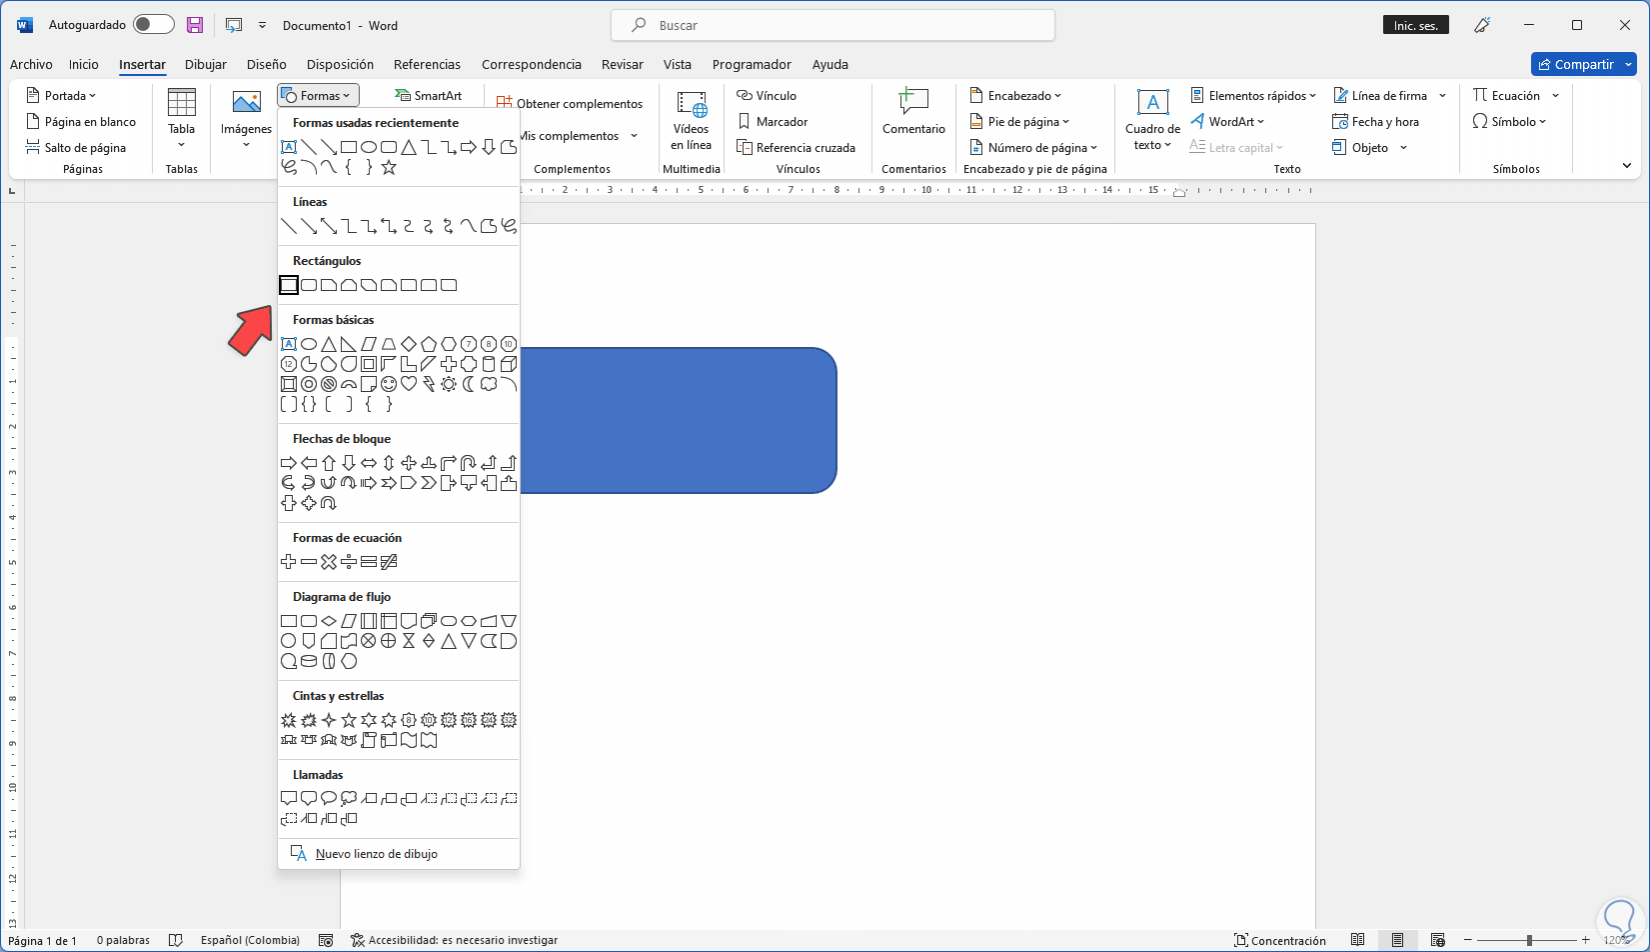
Alternatively we can go to the menu "Insert - Shapes - Rectangle":
step 7
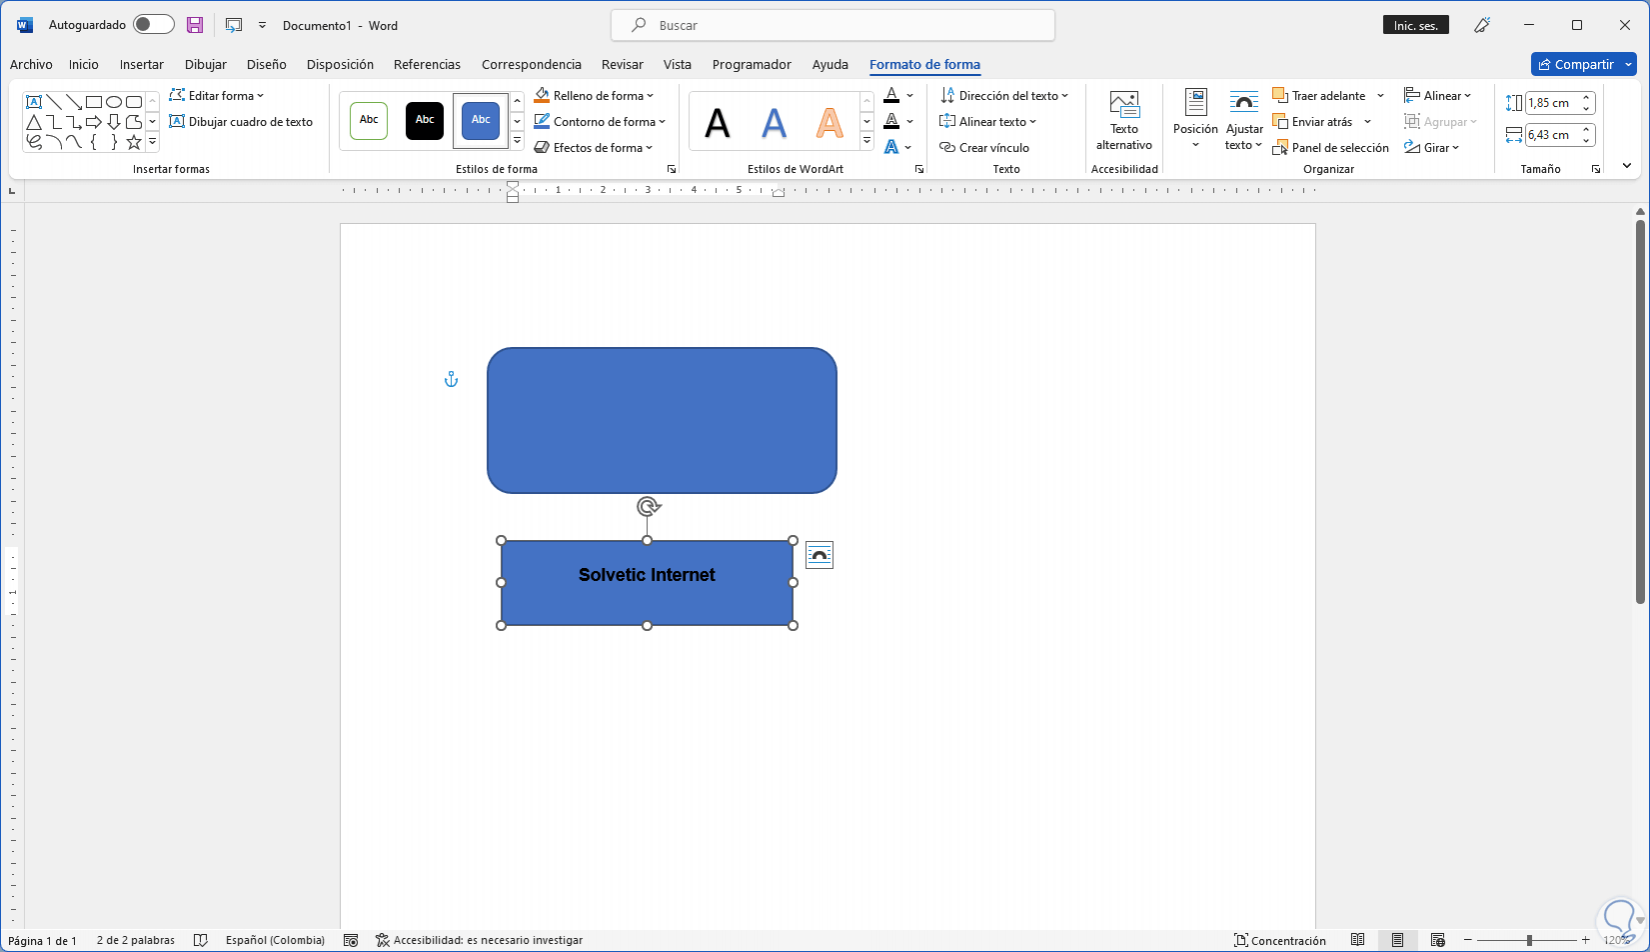
We adjust the dimension of the rectangle and enter the desired text:
step 8
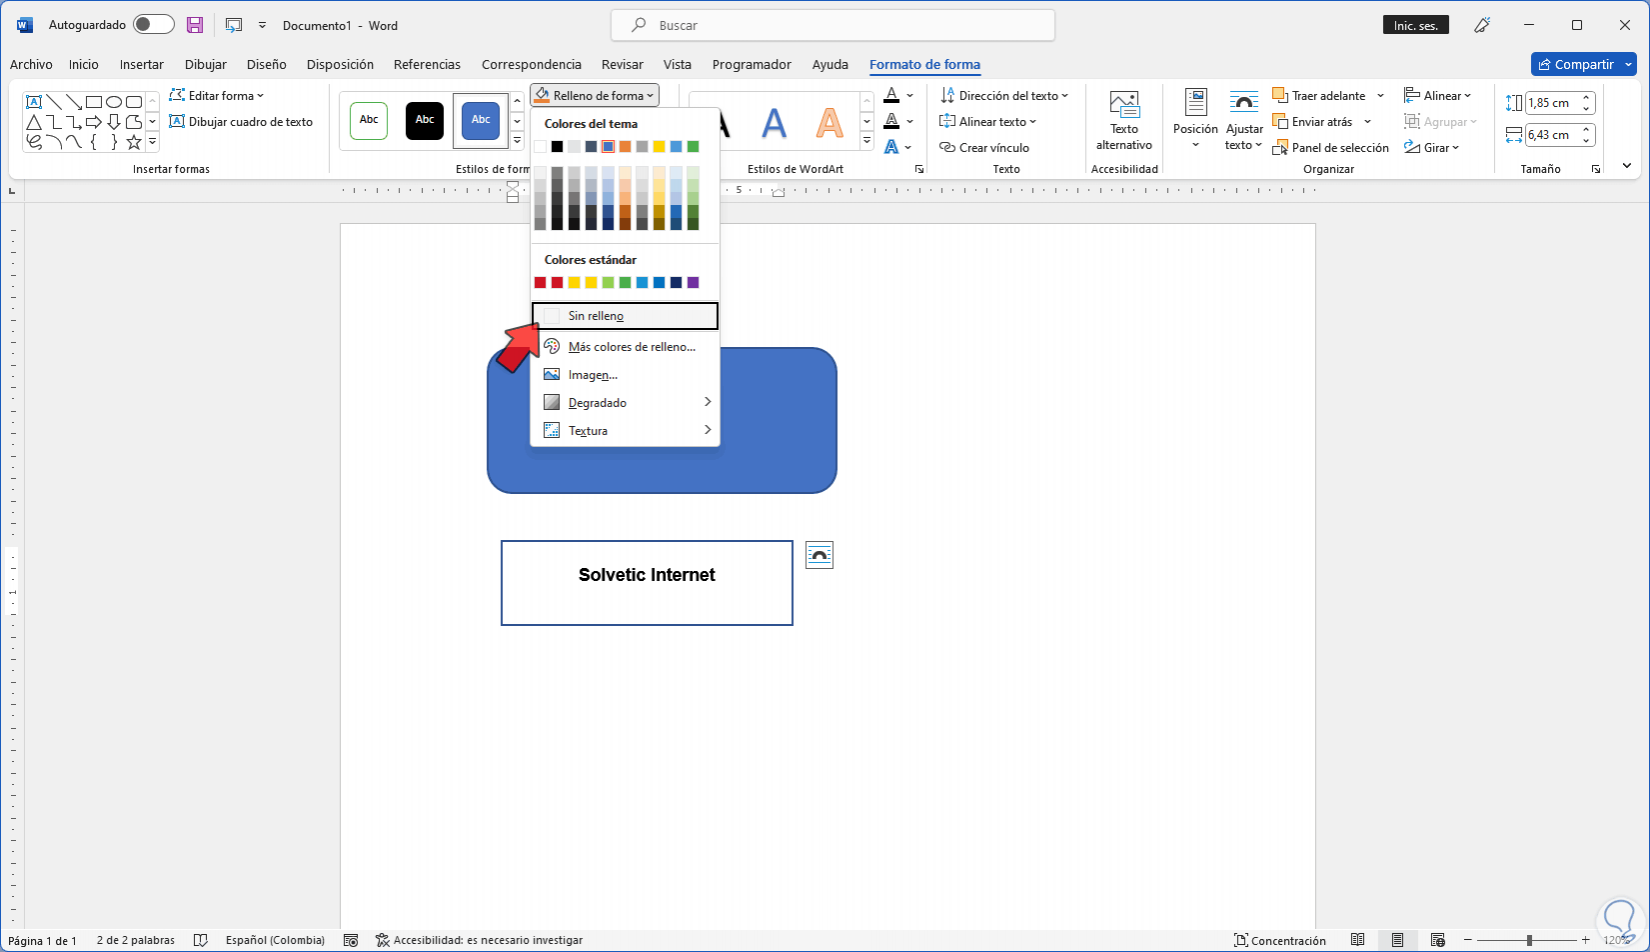
We select the text box and in the "Format Shape" menu we go to "Shape Fill" and select the "No Fill" option:
step 9
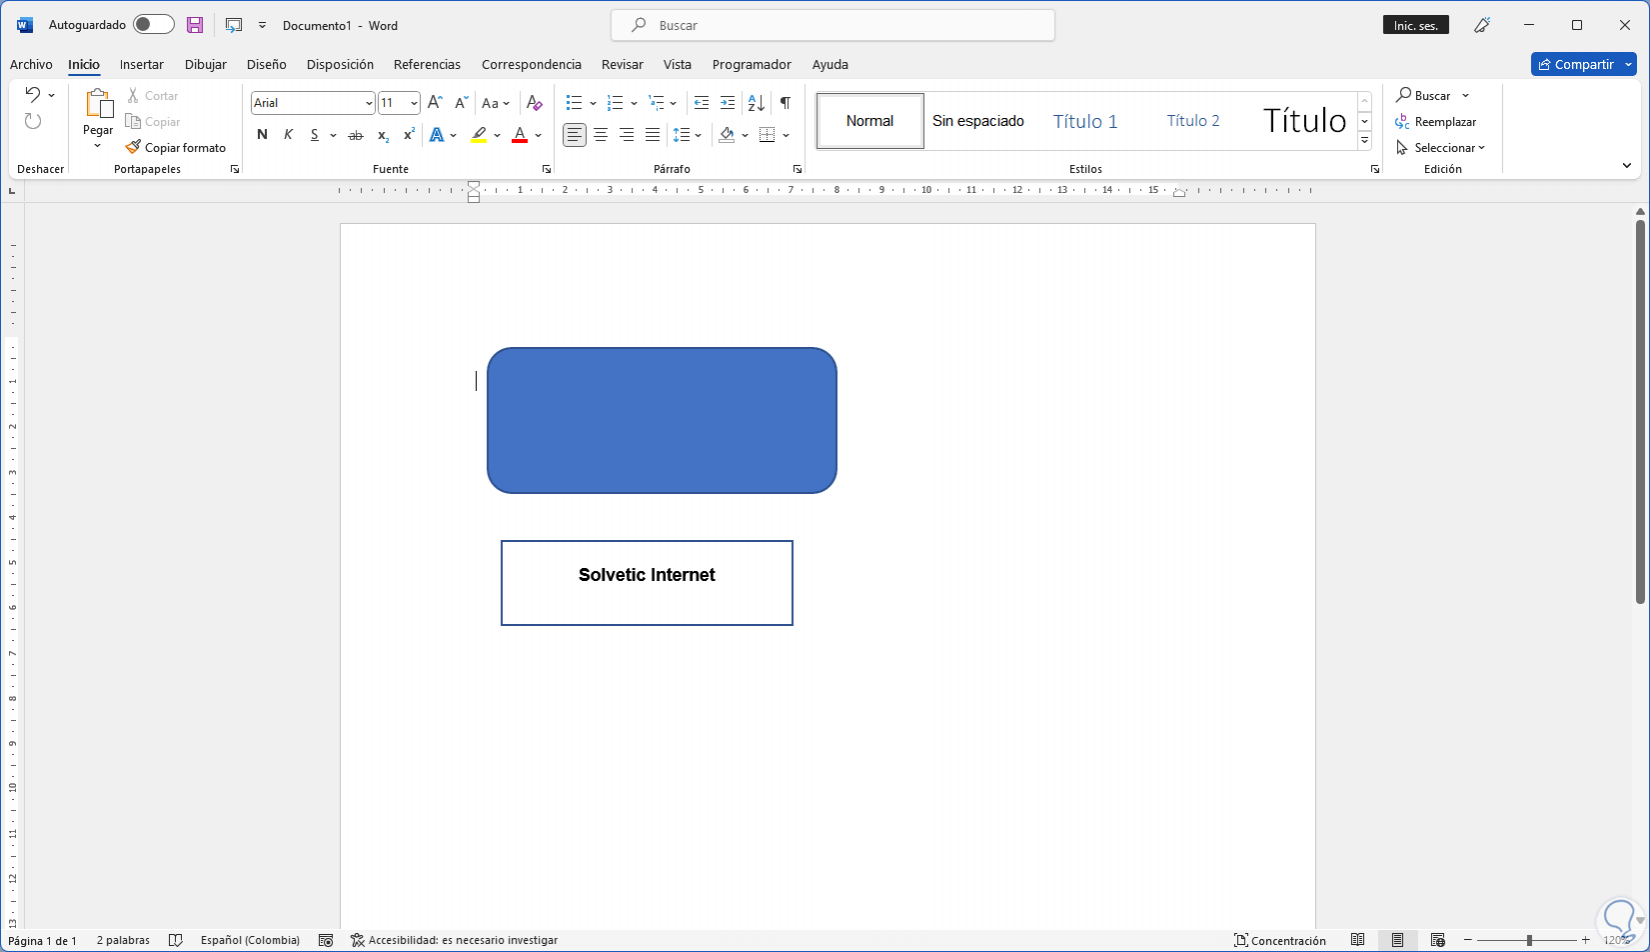
We will see the text box without background color:
step 10
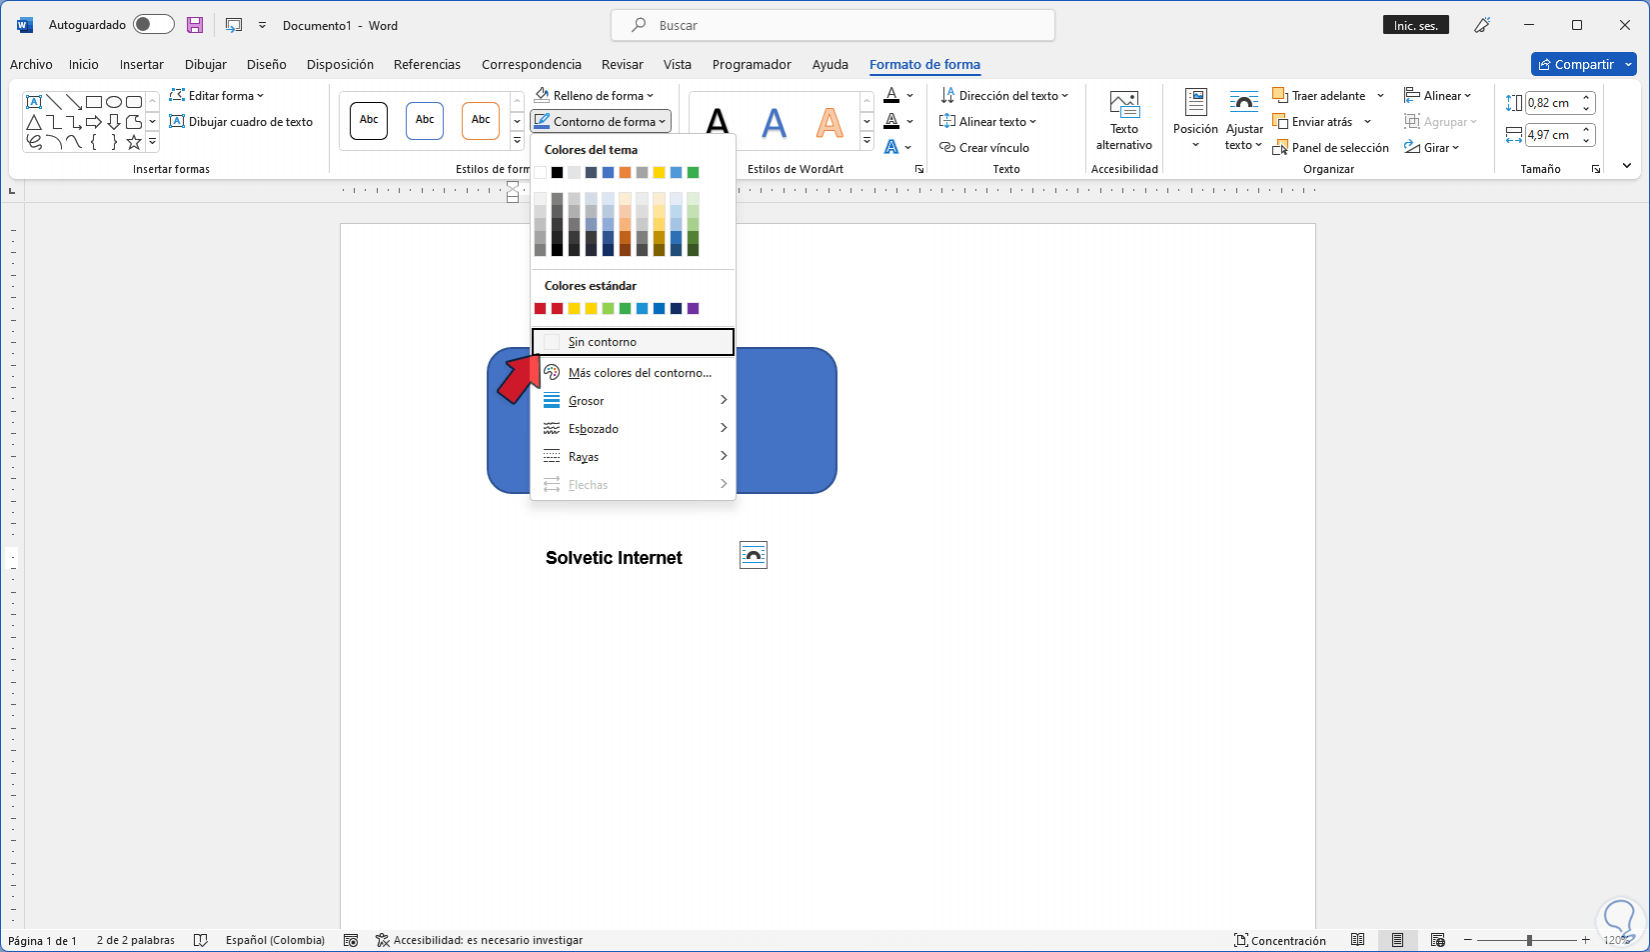
Adjust the shape of the text box and now in the "Format Shape" menu we go to "Shape Outline" and there we select the "No Outline" option:
step 11
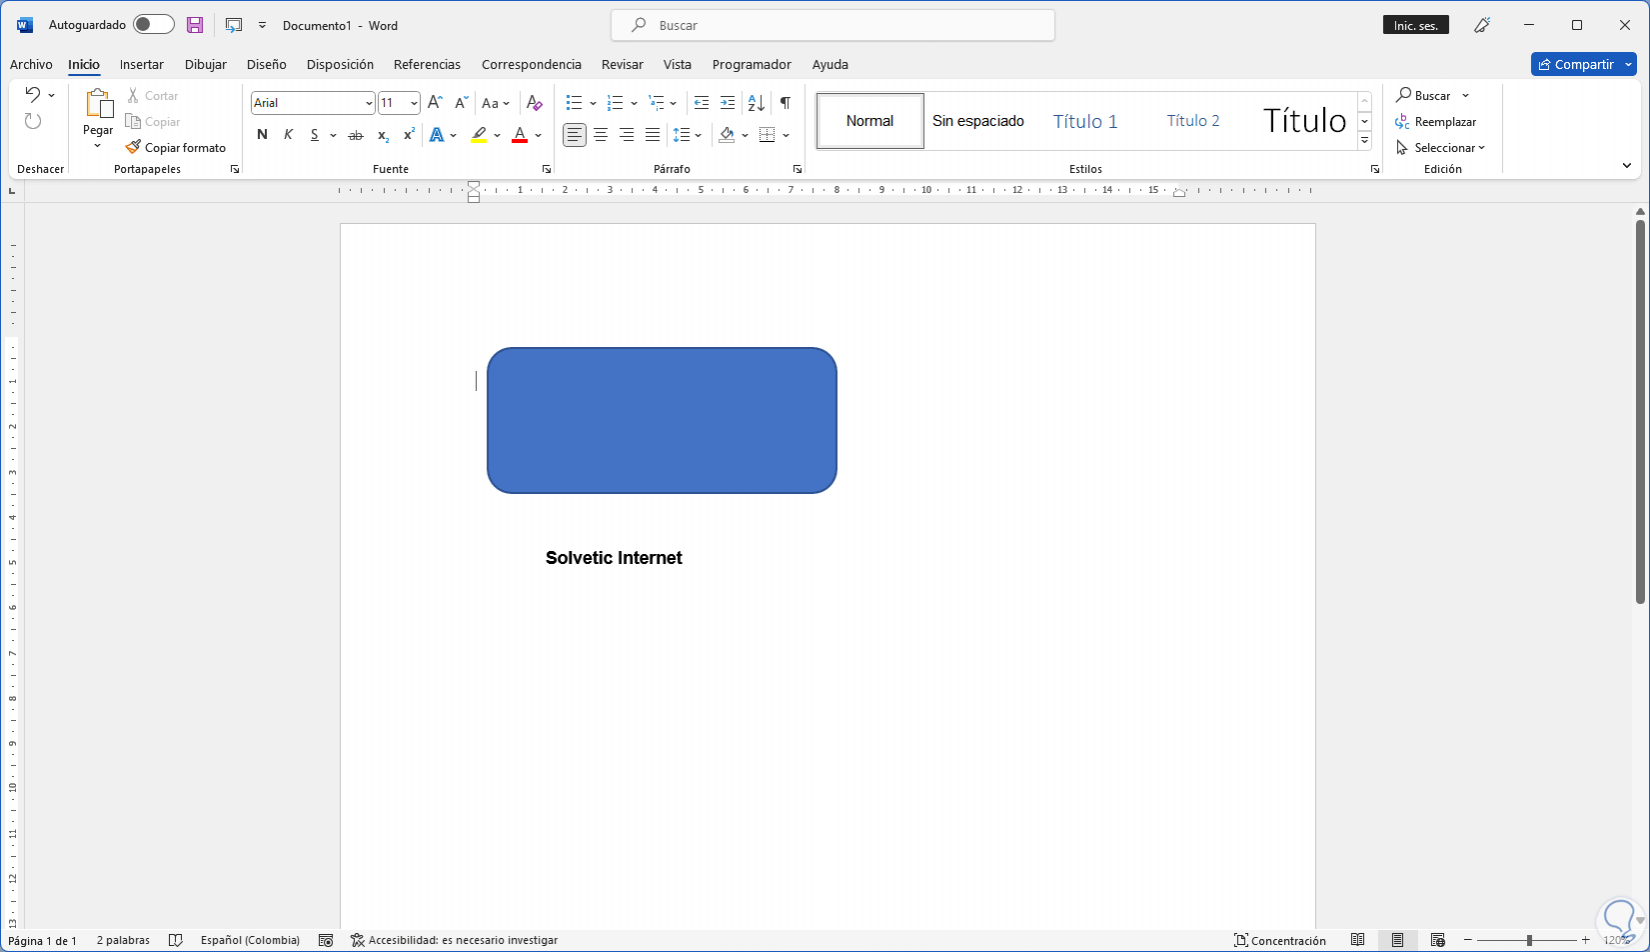
Now the text box will have no visible outline:
step 12
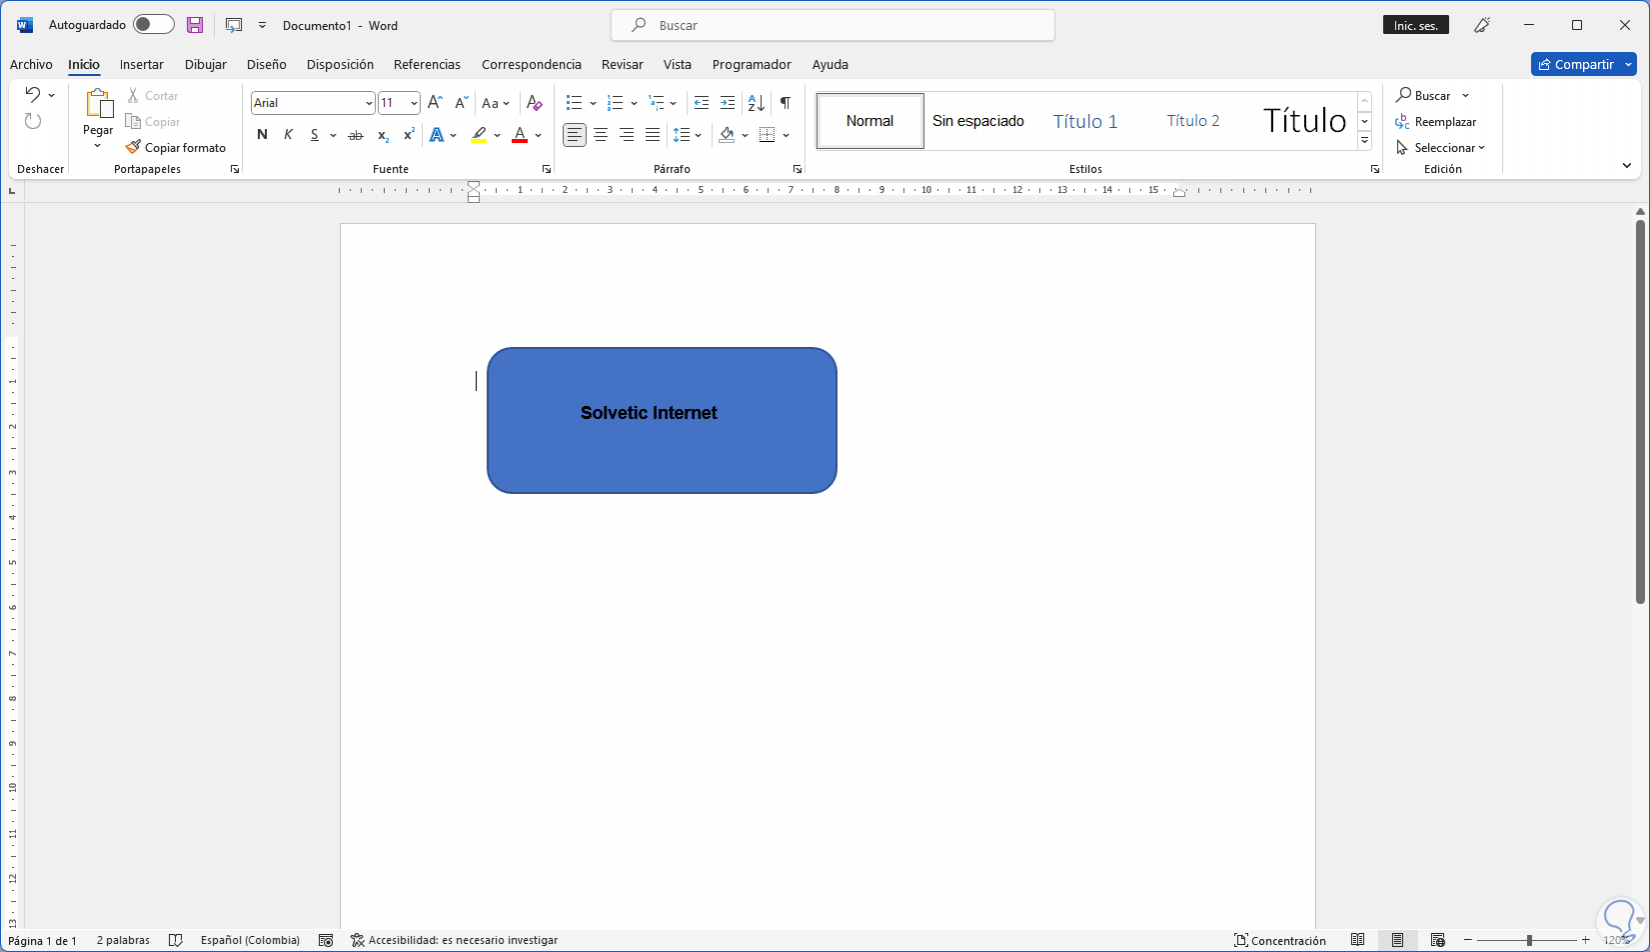
Move the text box to the created shape:
There it is possible to select the text box to perform editing work on the content.
Note
In case it is not visible, we right click on the text box and select the option "Bring to front".
step 13
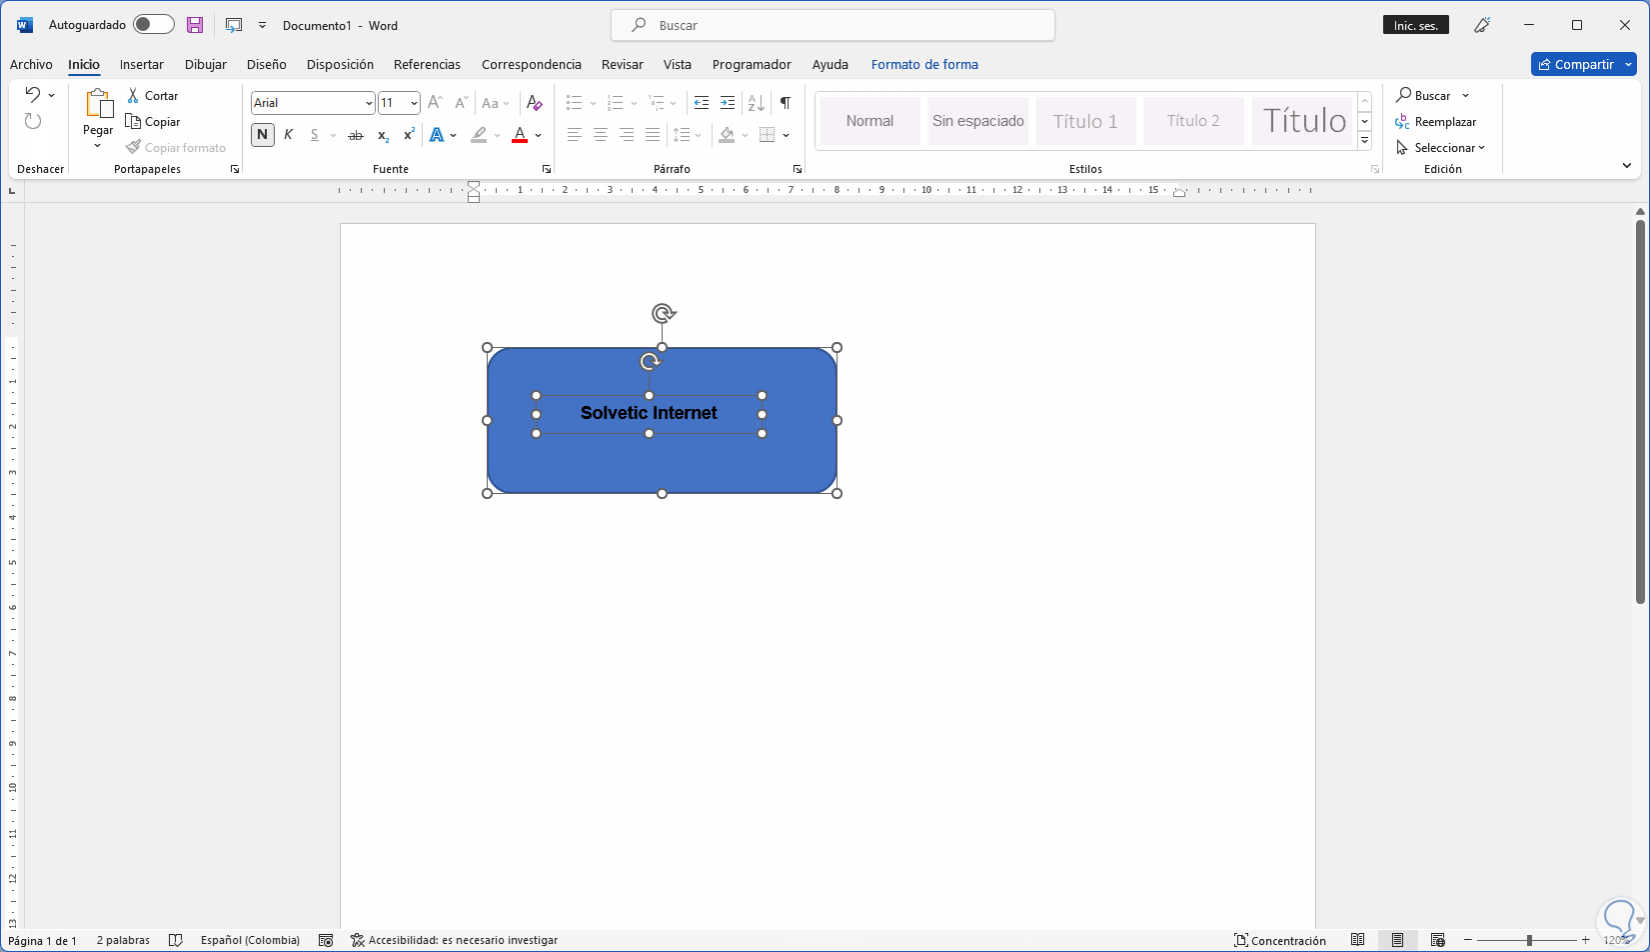
It is time to group both the shape and the text, for this we select the text box, press the Ctrl key and click on the shape to select both:
step 14
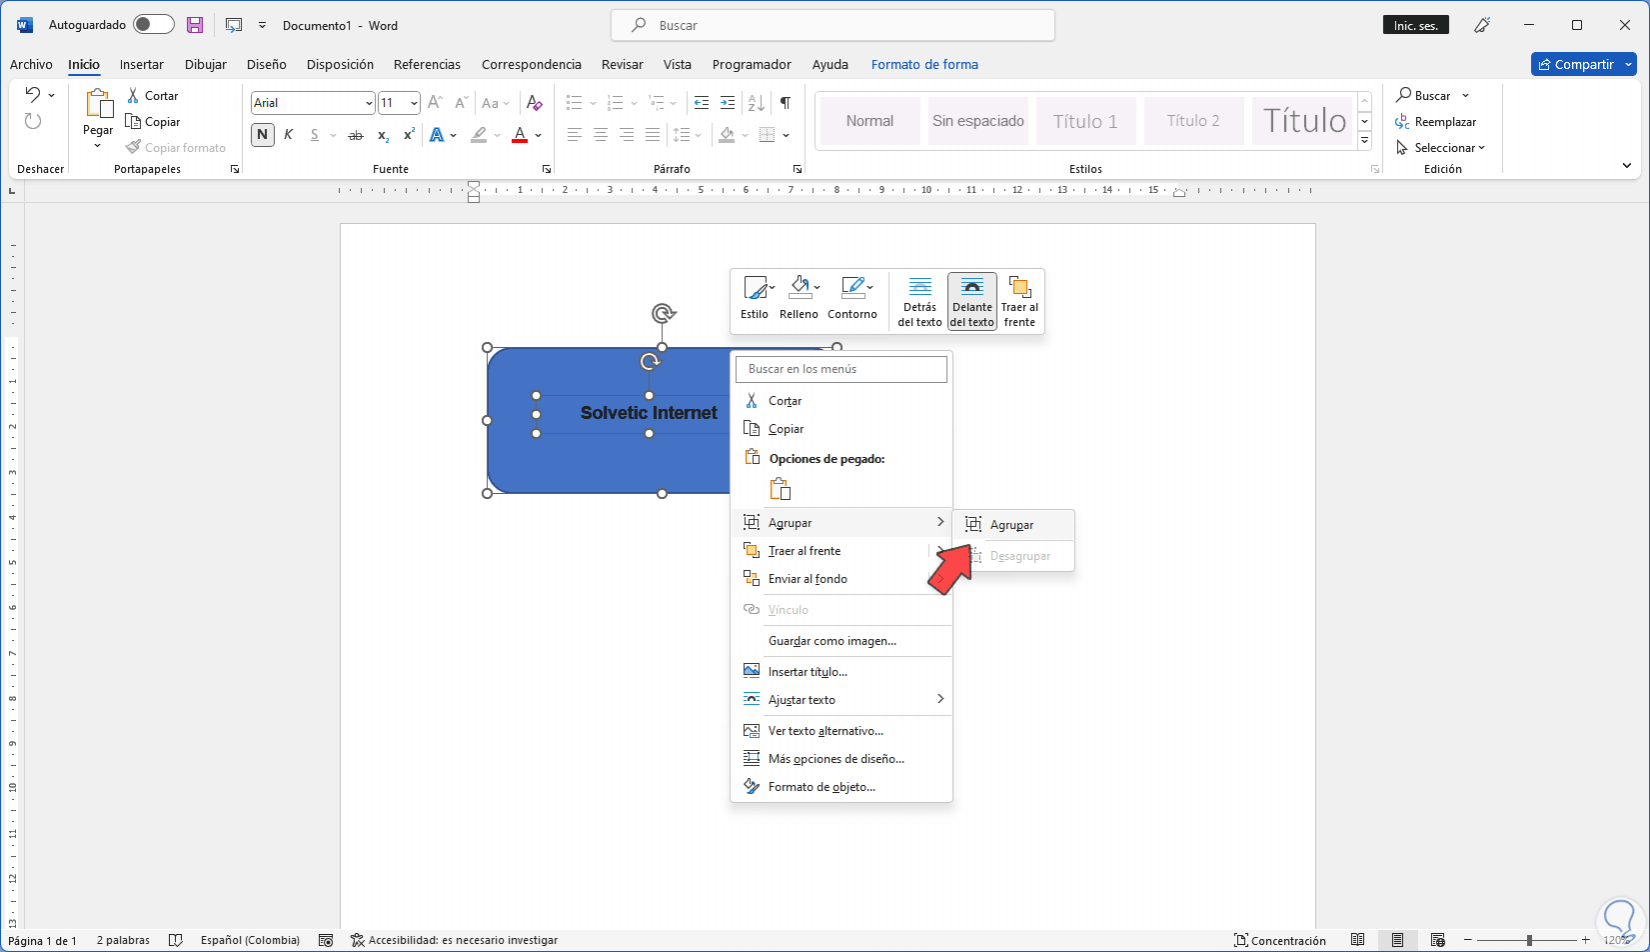
We right click and select "Group - Group":
step 15
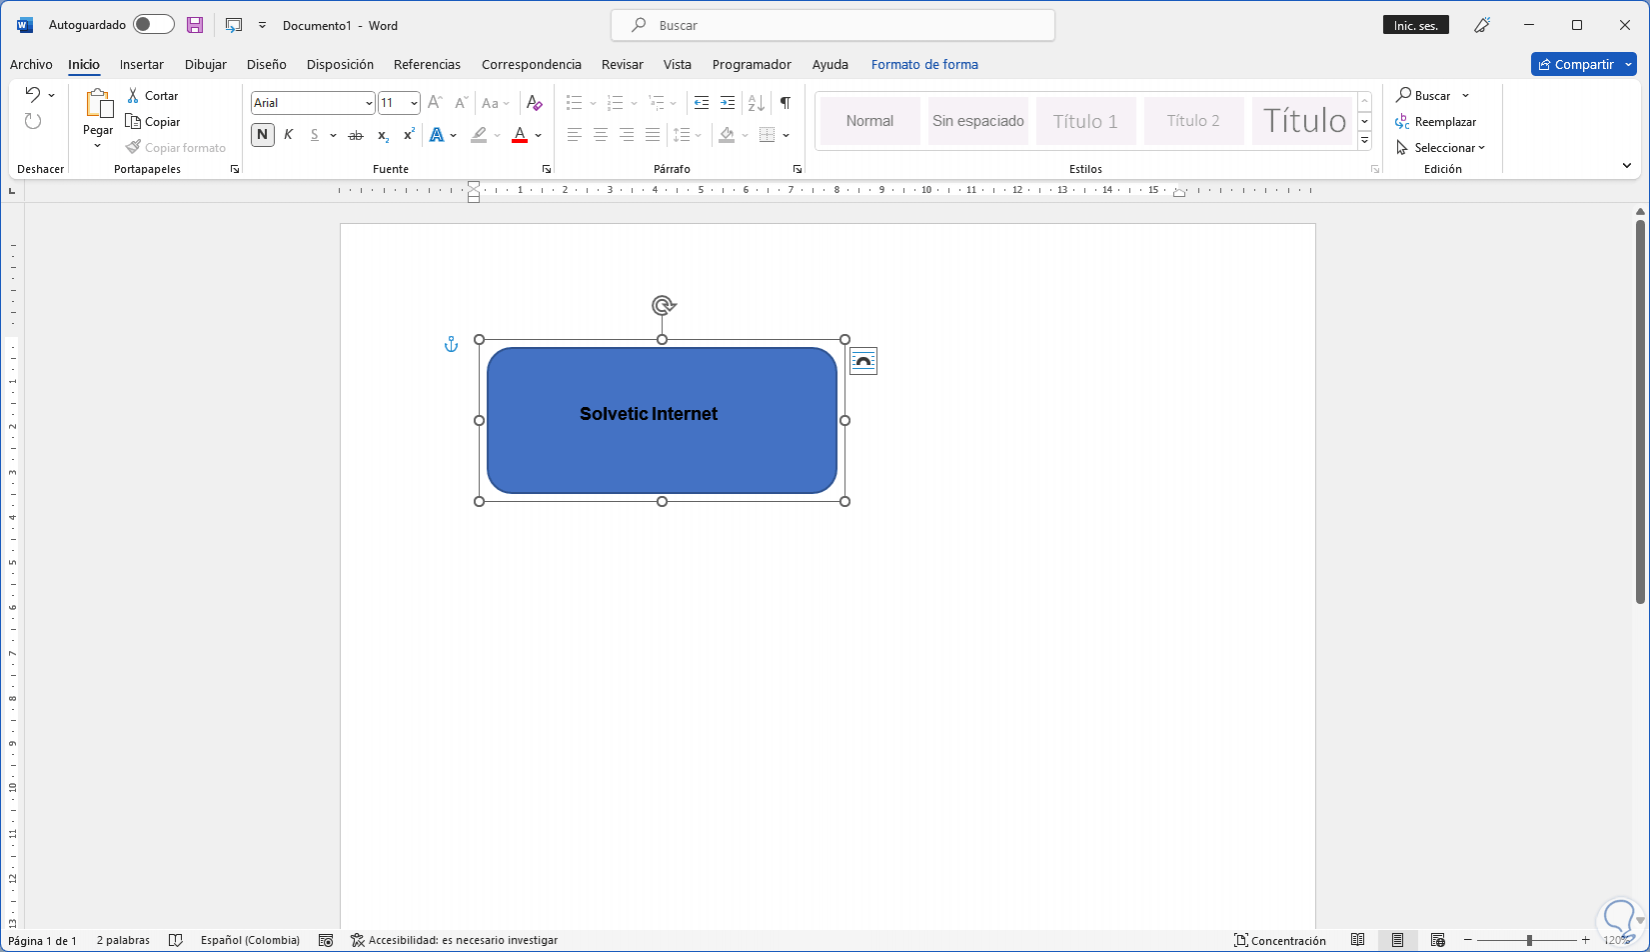
We will see that there is only one element left to select:
step 16
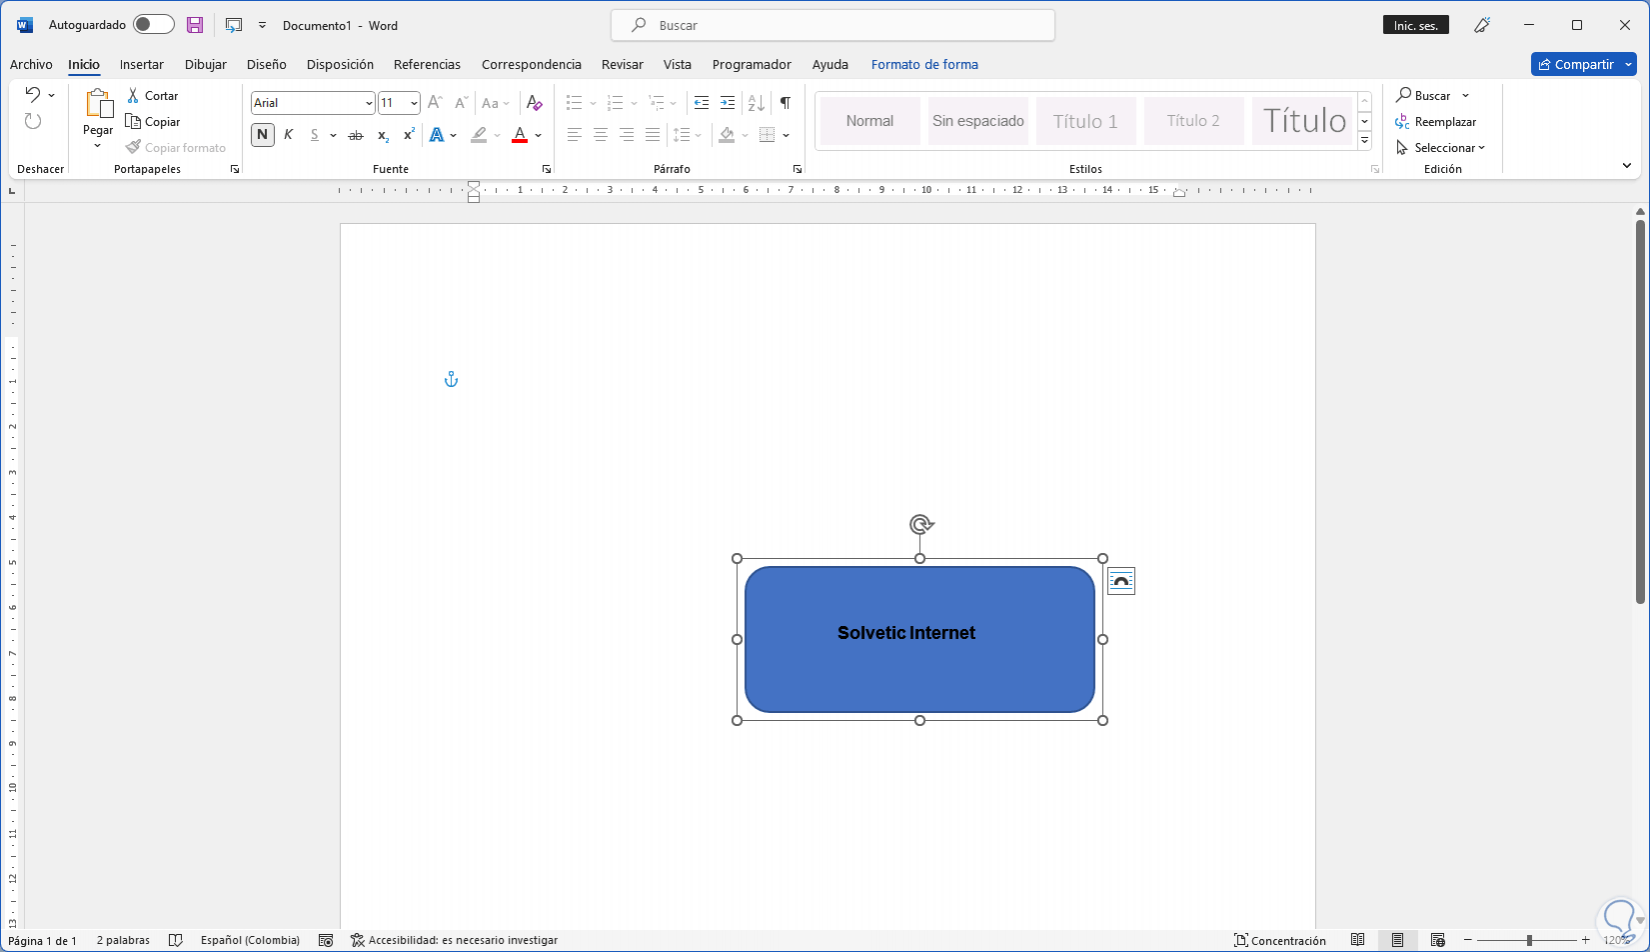
Moving the shape will move everything together:
step 17
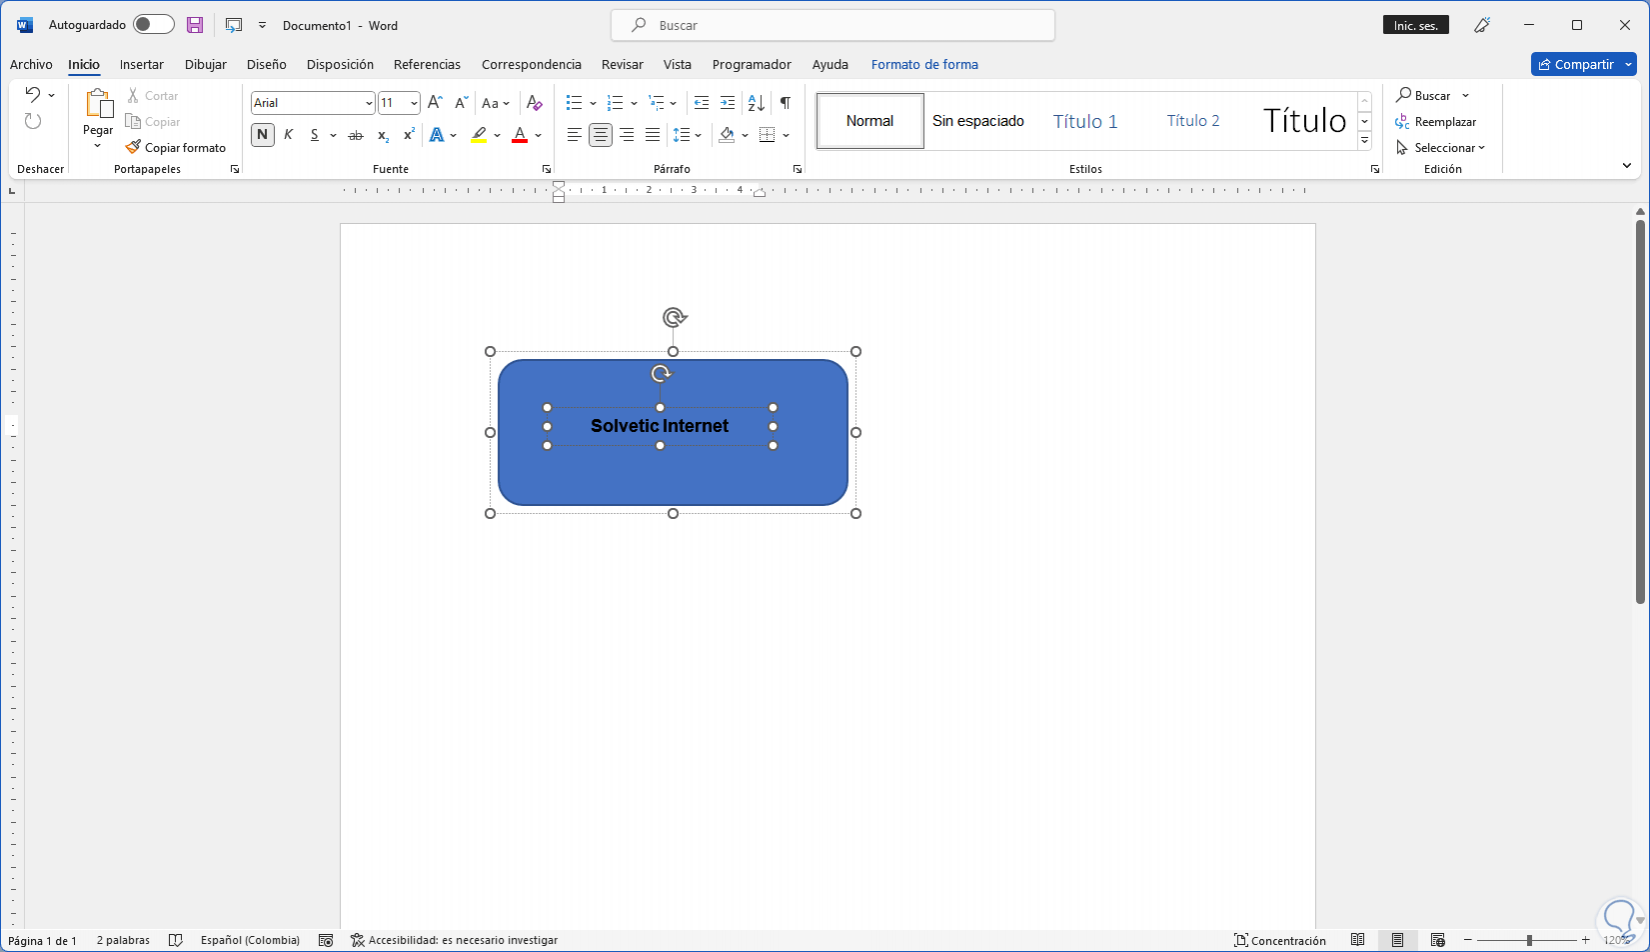
It is possible to select each item, but moving all was together:
step 18
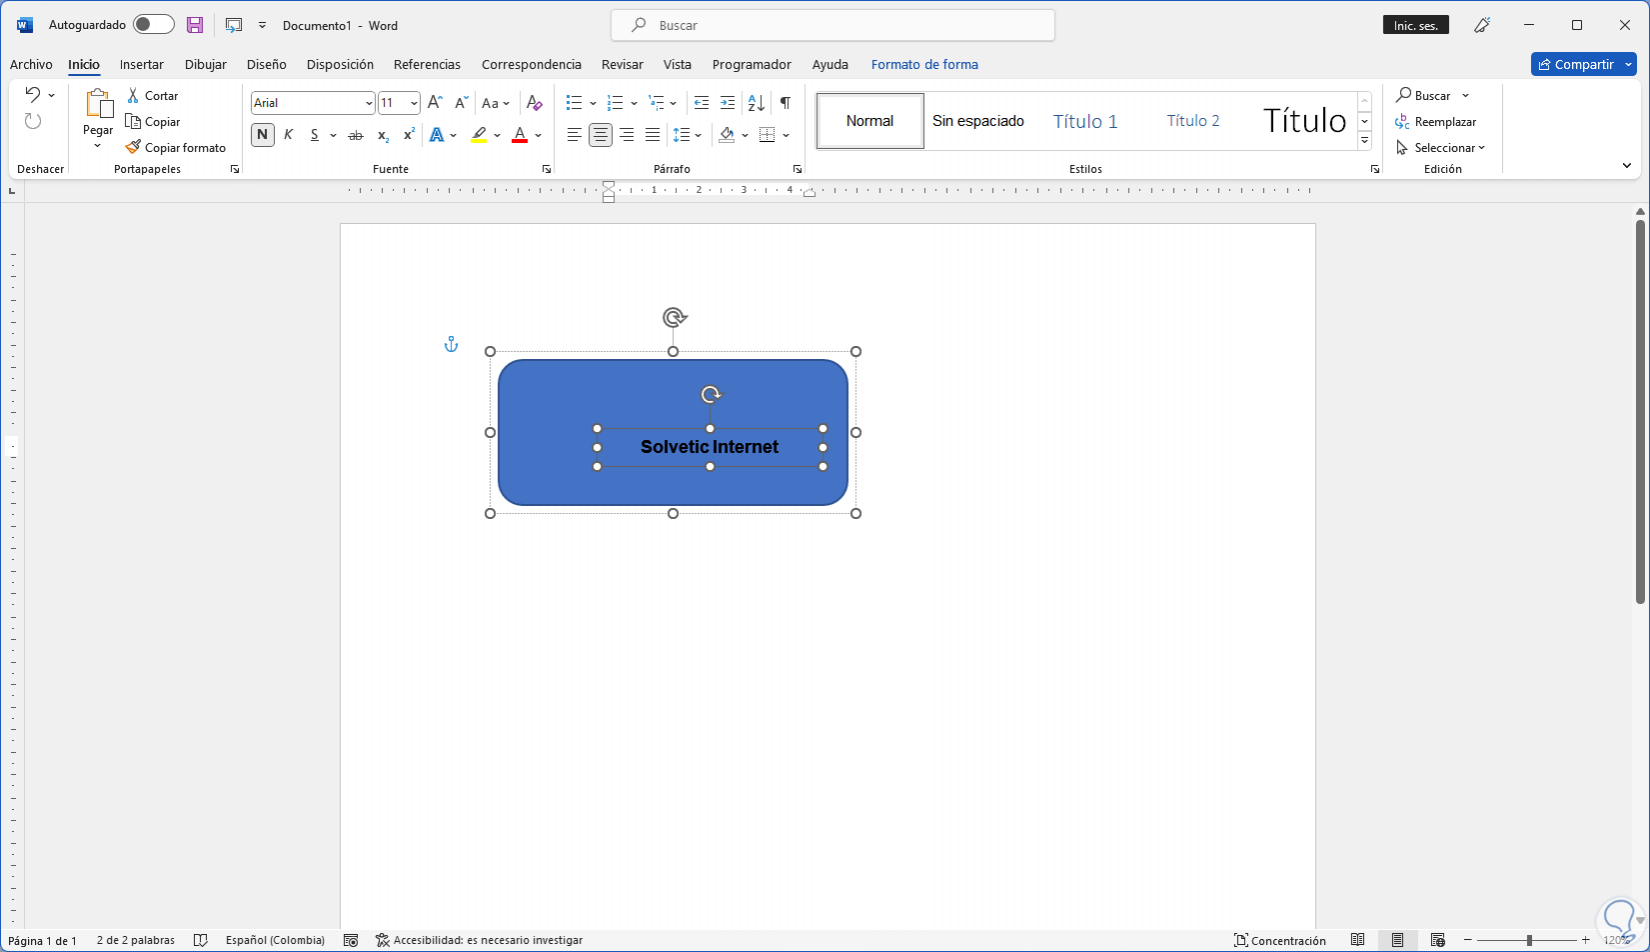
We can move the content internally, but clicking on the shape will move everything:
step 19
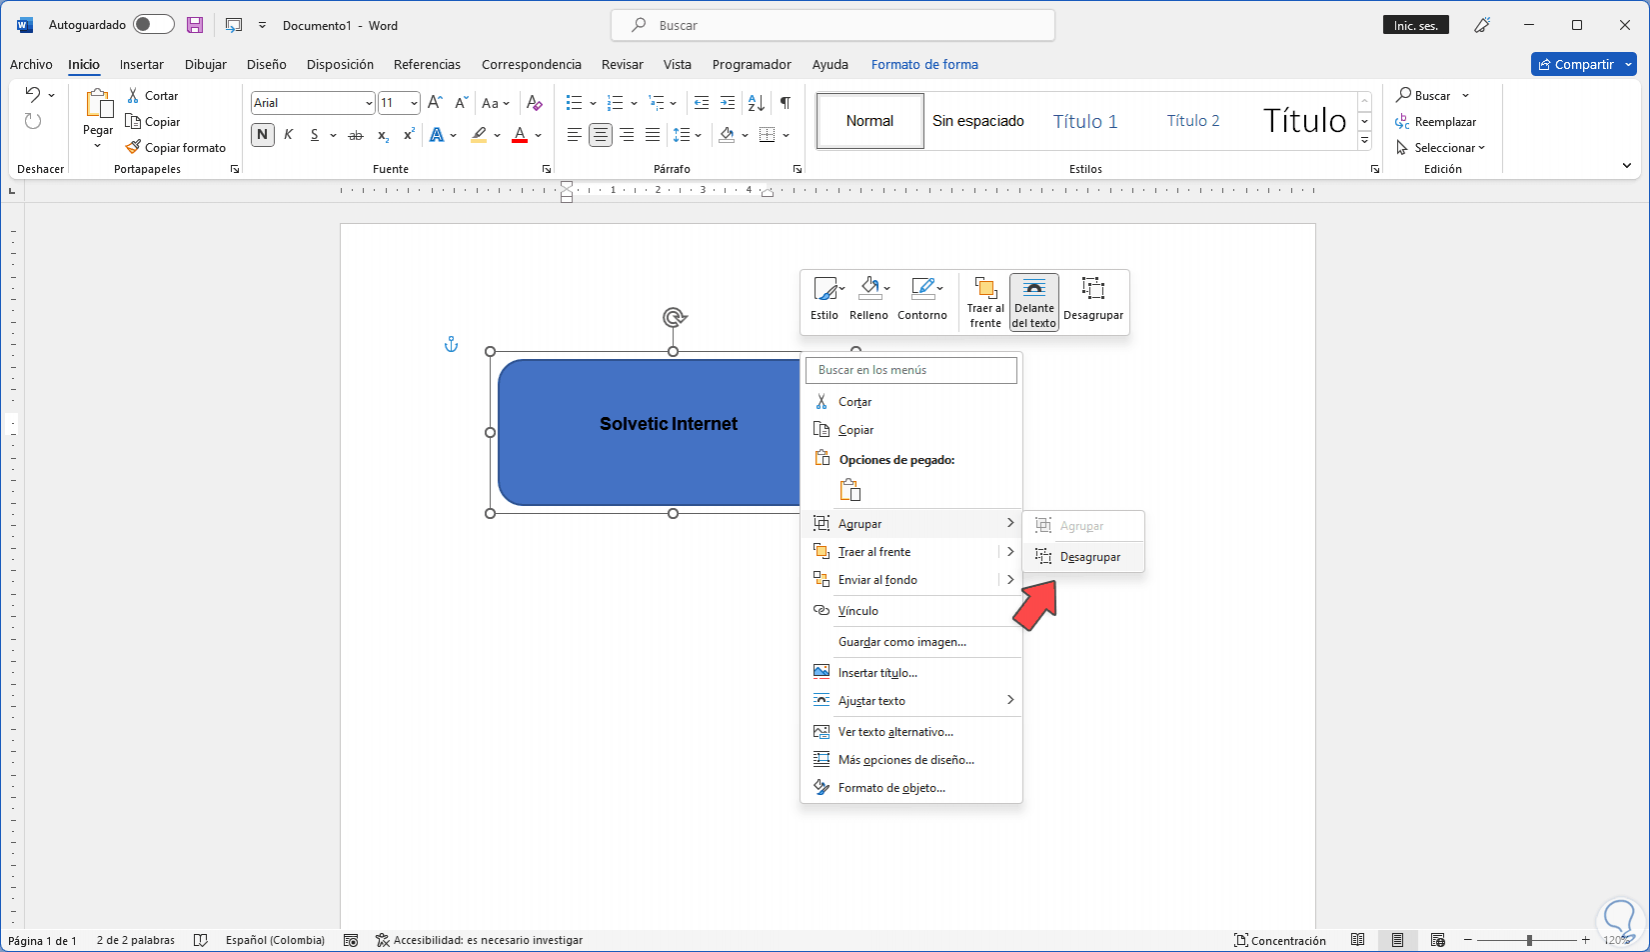
To leave everything independent, we right-click and select the "Group - Ungroup" option:
step 20
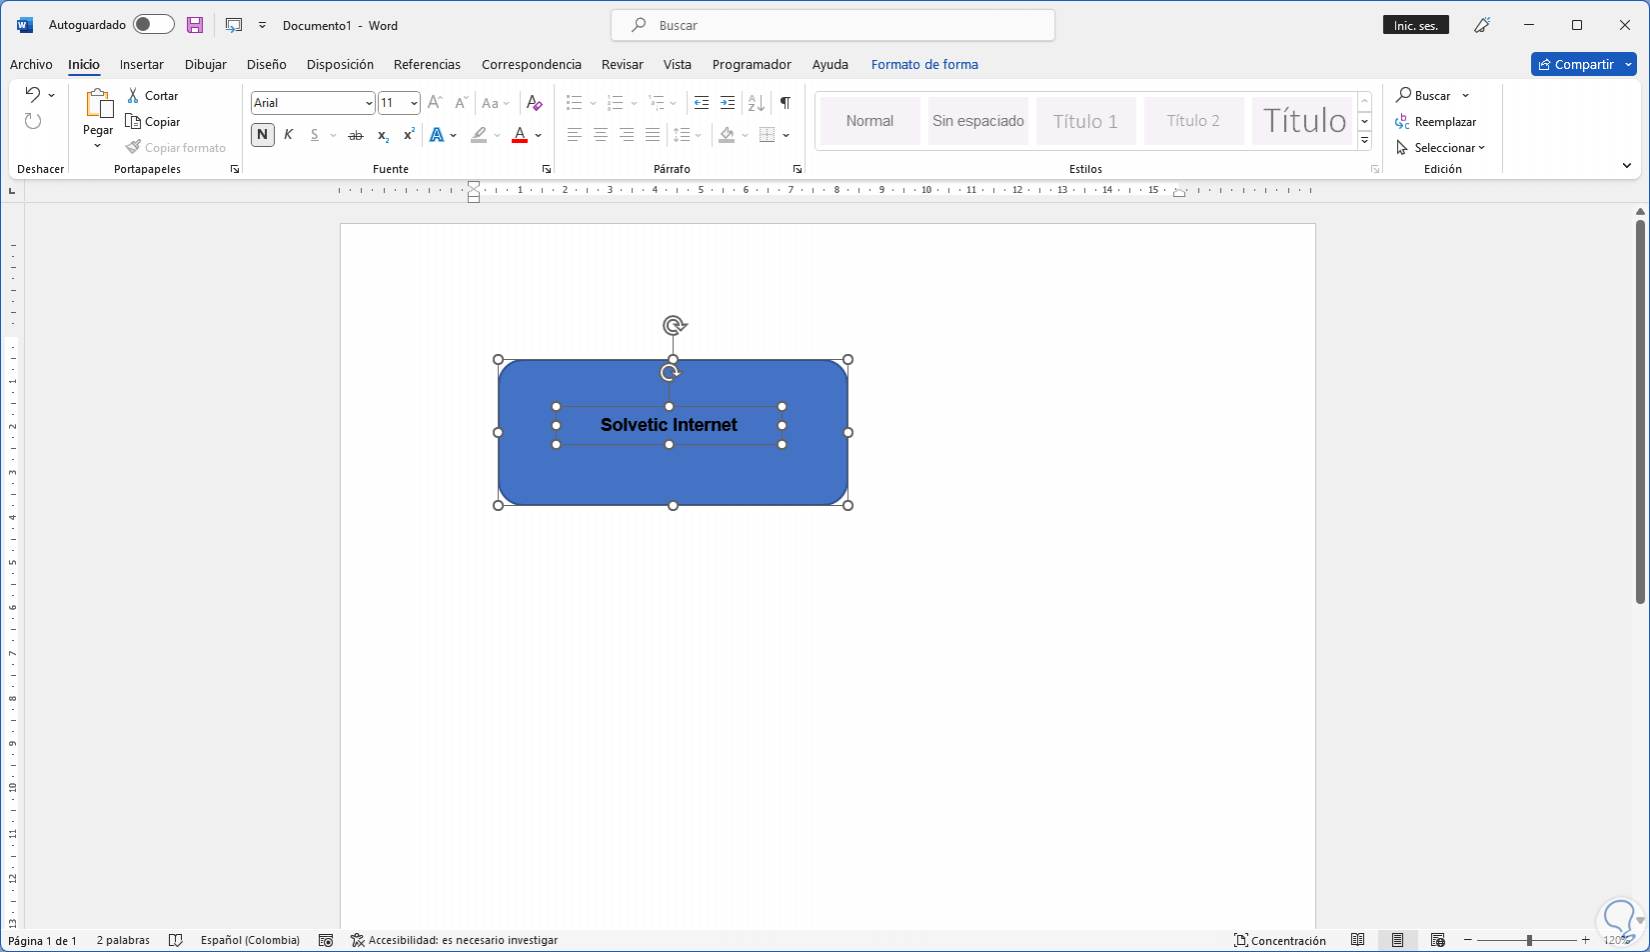
Each element will be individual:
step 21
There we can drag the text out of the shape:
This process is simple, but practical to group elements in Word and work more centrally on them..