One of the elements or functions that have always accompanied the Windows operating system, and incidentally to all operating systems with graphic interface, is the screen protector, from the classic pipe protectors to the protectors with custom text, these have accompanied us along these years..
The purpose for which the screen protectors were designed, were to protect the old ones, nowadays very few, CRT screens or monitors , since, if we left a still image on a monitor of this type for a prolonged time , this image it was physically recorded on it and could block it or begin to appear spots inside the monitor due to prolonged exposure of the image.
When using the screensaver , the images were modified or moved avoiding this, but with the passing of the years and the advancement of technology, the screensaver became a personalization element so that when the system hibernates we can see Something different from a black monitor..
Today in TechnoWikis we will learn to set, since it is disabled by default, and configure personal photos as a screen saver.
To keep up, remember to subscribe to our YouTube channel! SUBSCRIBE
Customize screen saver photos in Windows 10
Step 1
For this process, we will go to the "Start" menu and there we select the "Configuration" utility:
Step 2
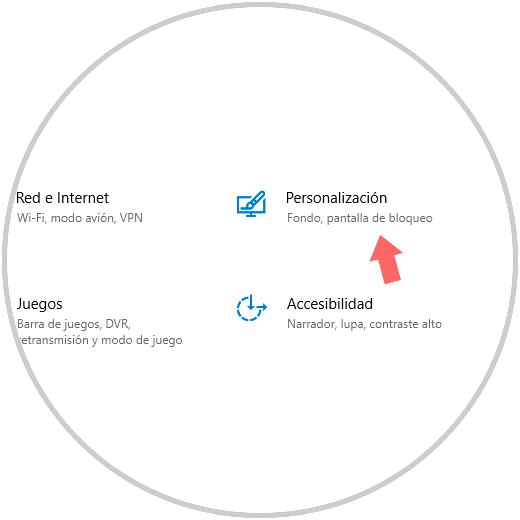
There we will go to the "Personalization" section and in the window we will go to the "Lock screen" section:
Step 1
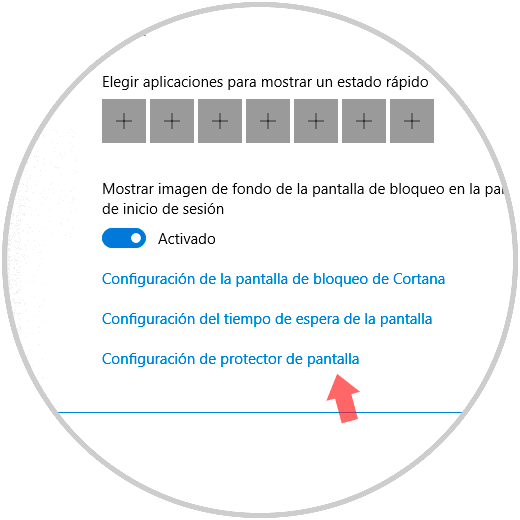
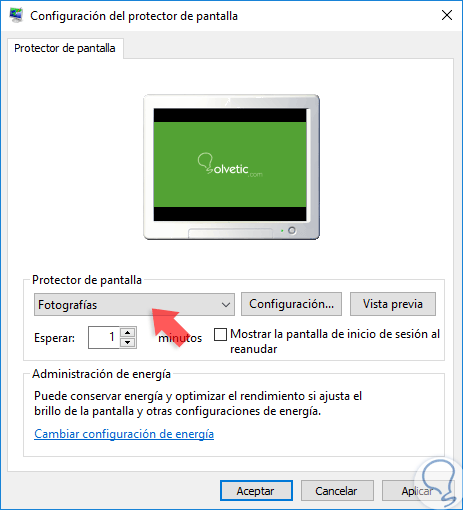
At the bottom we click on the "Screen saver settings" line and in the window we have the following options in the "Screen saver" field:
Step 2
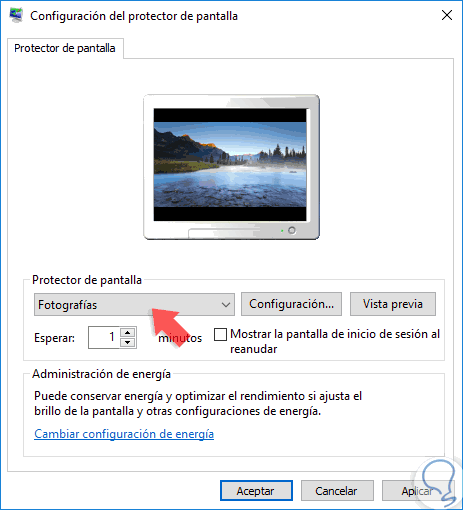
In this case we select “Photos†and the elements we have in the Images directory will be automatically taken:
Step 3
As we can see, at the bottom we can define how long the screen saver has to be activated and activate the respective box if at the moment of accessing the equipment the login screen has to be displayed where it will be necessary to enter the respective credentials.
If we want to preview what the protector will look like, click on the "Preview" button..
Step 4
As we mentioned, this function takes the photos from the Windows 10 Images folder and the customization process is simple.
For this, click on the "Settings" button and we will see the following:
Step 5
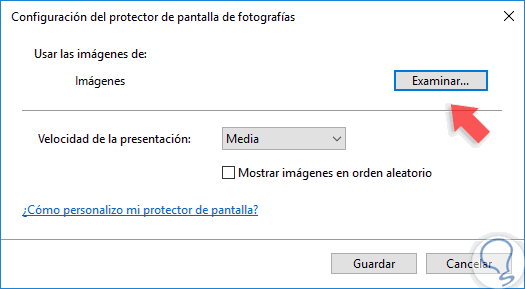
There we see the origin of the images and we can define the speed with which they will be executed, to add our own photos, click on the "Browse" button and select the desired folder:
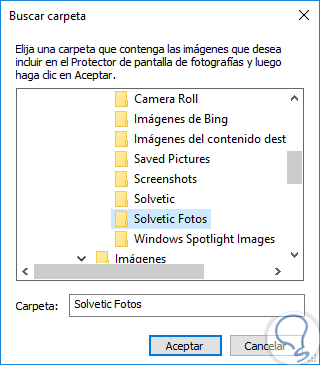
Step 6
Click on OK to apply the changes:

Step 7
If we wish, we can activate the “Show images in random order†box to make it more dynamic.
Finally, click on “Save†again and in this way we have
Our custom screensaver in Windows 10.