One of the most versatile and used multimedia elements in the world is the images which we find by millions and in numerous formats. Just there, in the format, it is where the quality and attribute of the image is different, since although the image we see with the naked eye is the same, it can have a different size. Which is a sensitive issue when we must send an email , insert an image on a website or related tasks where optimal quality is required but with a light size..
We know multiple traditional formats such as JPG, PNG , etc., but a new format called WebP is being built and today we will analyze what it is and how to use it in Linux environments.
What is WebP?
WebP is a new image format which has been developed in order to offer a greater amount of compression without loss of image quality or with a slight loss of quality, which makes it ideal when we handle image themes at the development or web level.
When using the WebP format, webmasters and web developers have the ability to manage smaller images with better attributes which is reflected in a much shorter loading time of websites. Speaking with results, WebP lossless images are 26% smaller if we compare them with the PNG format and WebP loss images are 25 to 34% smaller than JPEG images in an SSIM quality index..
Lossless WebP compression makes use of predictive coding in order to encode an image, this being the same method used in the VP8 video codec to compress frames into videos. This type of predictive coding makes use of the values ​​in pixel blocks in order to predict the values ​​in a block, and then encode only the difference between them.
From this point of view, a WebP file is composed of VP8 or VP8L image data, and an RIFF-based container. The WebP format has native support in Google Chrome and in the Opera browser, as well as in many other current tools and software libraries..
When using the WebP format, a lightweight libwebp encoding and decoding library is included as well as the cwebp and dwebp command line tools to convert images to the WebP format.
For this example we will use Ubuntu 17.10 . In this case, the webp package is available in the official repositories of this distribution, so it will be possible to install it using the APT package manager as follows:
sudo apt install webp
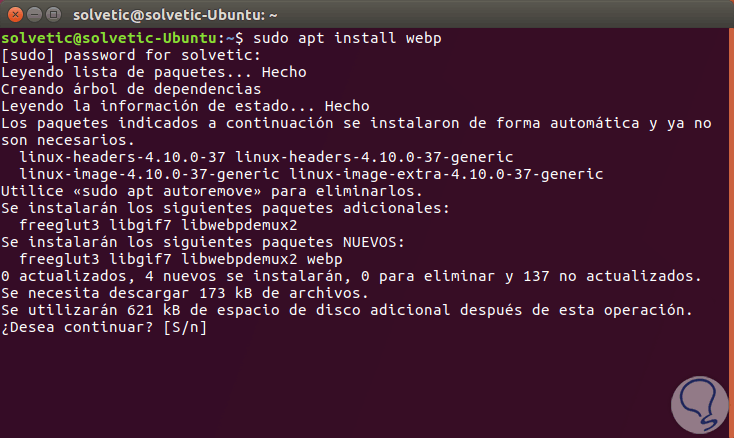
Enter the letter S to confirm the download and installation of the application. In the case of other Linux distributions, it is possible to download the webp package from the official Google Analytics repository using the wget command like this:
wget -c https://storage.googleapis.com/downloads.webmproject.org/releases/webp/libwebp-0.6.1-linux-x86-32.tar.gz
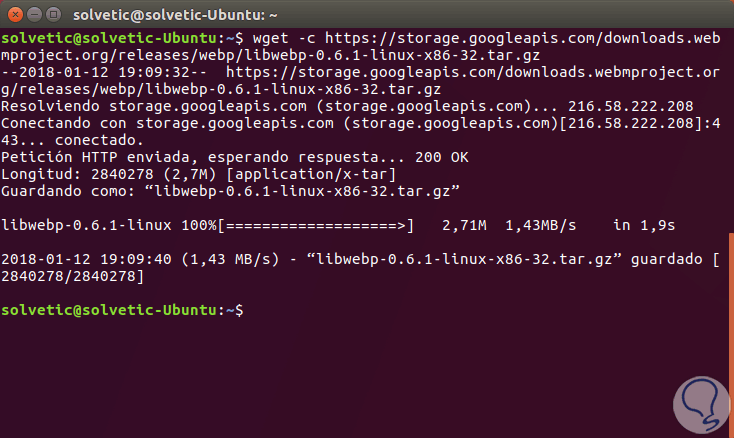
Then we can execute the following lines:
tar -xvf libwebp-0.6.1-linux-x86-32.tar.gzcd libwebp-0.6.1-linux-x86-32 / cd bin / ls
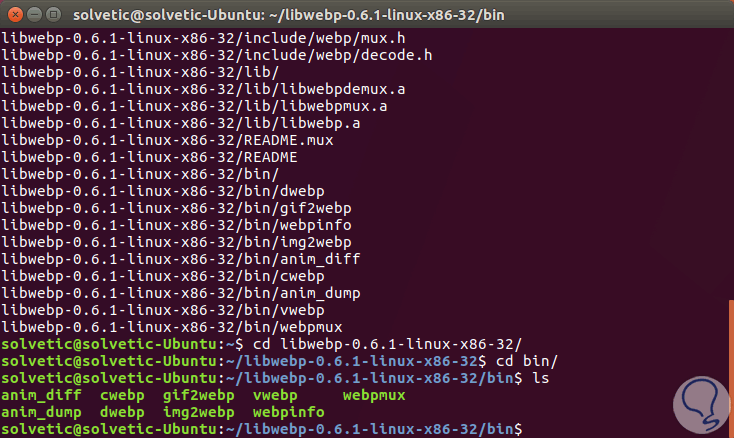
We can see that this precompiled library (libwebp) contains several elements to add web coding or decoding to multimedia elements and has several web utilities such as the following.
It is a tool to show the difference between the selected animation images
It is a tool to dump the difference between the chosen animation images
Refers to a web coding tool
It is a webp decoder tool
It is a tool that allows you to convert GIF images to webp
It is a group of tools to convert a sequence of images into an animated web file
Refers to a webp file viewer
It is used to view information about a web image file
Thus, to convert an image to webp, it is possible to use the cwebp tool, using the –q parameter which defines the output quality and –o which specifies the output file using one of the following options:
cwebp -q 60 TechnoWikis.jpg -o TechnoWikis.webp./cwebp -q 60 TechnoWikis.jpg -o TechnoWikis.webp
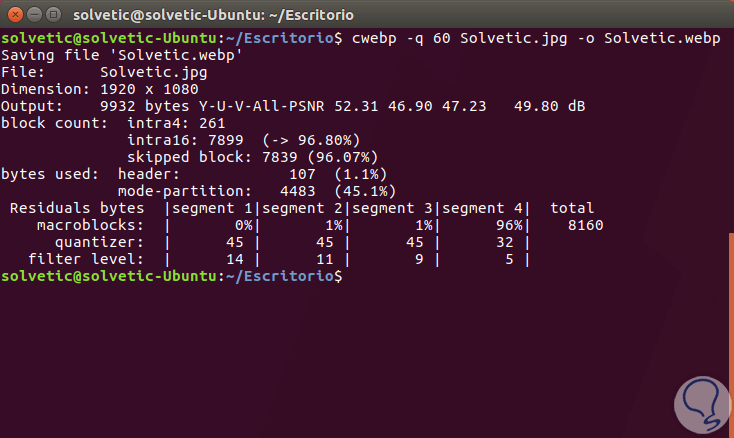
If we want to visualize the WebP image, we can execute the following line:
vwebp TechnoWikis.webp
If we want to see all the WebP options we can execute the following line:
cwebp –longhelp
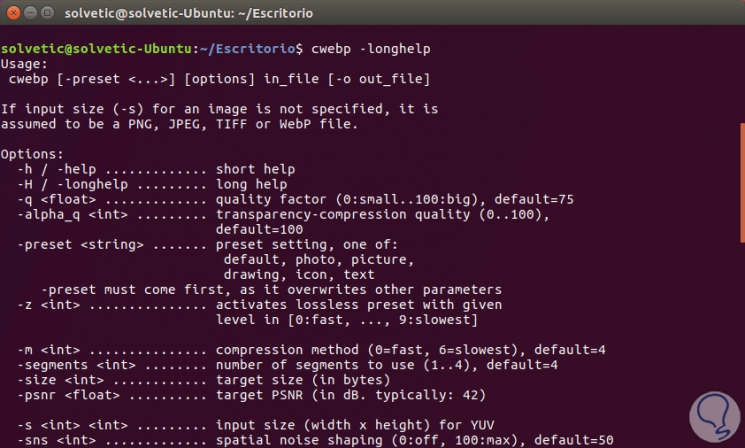
We can see how simple and useful it is to establish this new image format and thus maximize its benefits.