When using Microsoft operating systems we have the opportunity to use multiple options when searching for files and folders, either from the search box, using Cortana, using the command prompt and more..
One of the most common is to use File Explorer by entering the desired term in the search box:

This is useful, but it presents a detail that at some point can represent some type of error in the search process and is that by default Windows 10 stores all the search history that we perform.
If we wish to disable this search record , we have the following options that will be analyzed by TechnoWikis today..
To keep up, remember to subscribe to our YouTube channel! SUBSCRIBE
1. Disable search history using the Record Editor
Step 1
To access the editor we use the following key combination and execute the regedit command.
+ R
Step 2
There we will go to the following route:
HKEY_CURRENT_USER \ Software \ Policies \ Microsoft \ Windows \ Explorer
Step 3
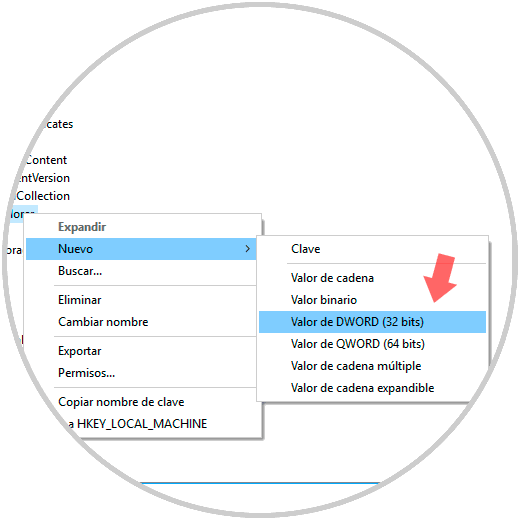
There we will right click on the Explorer key and select the option New / DWORD value (32 bits):
Step 4
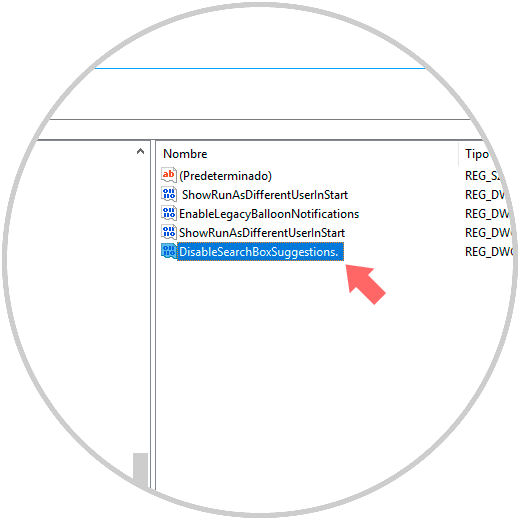
This new value will be called "DisableSearchBoxSuggestions":
Step 5
This value will be edited by double clicking on it and setting its value to 1. Click on OK and we can exit the Windows 10 registry editor.

We can close the session or restart the system to apply the changes.
2. Disable search history using Group Policy Editor
Remember that this editor is available in the Enterprise and Pro editions of Windows 10 but not in the Home edition.
Step 1
To access it we can use the following key combination and execute the
gpedit.msc command
. + R
Step 2
In the displayed window we go to the following route:
Step 3
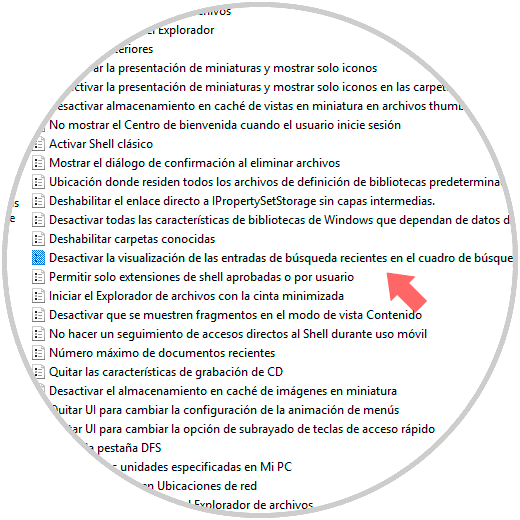
There we must locate a policy called "Disable the display of recent search entries in the search box of" File Explorer ":
Step 4
We will double click on it and in the displayed window we activate the “Enabled†box. Finally click on Apply and Accept to save the changes.
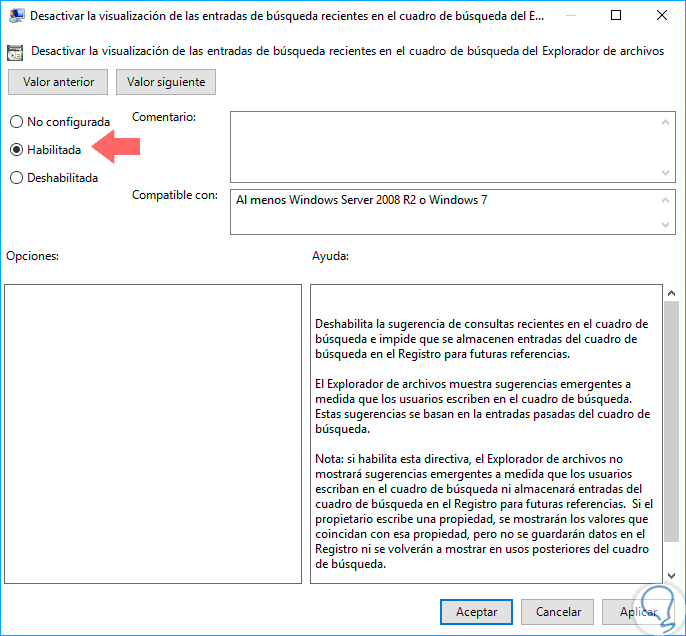
This will disable the recent search in Windows Explorer..