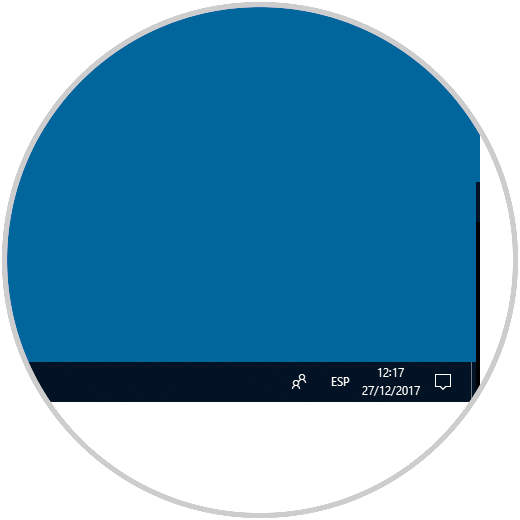
Windows 10 offers us the possibility of accessing in a much more agile way multiple system elements such as network, volume, language, etc., thanks to the notification area or also called the system tray:
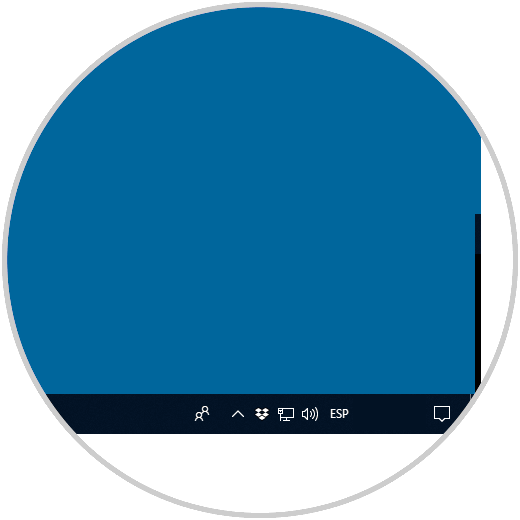
We can see in the lower right side the multiple access options , but it is ideal to understand that if we activate the Tablet mode this specific area will disappear since more space is required on the screen to execute all the operations available in Windows 10..
TechnoWikis will explain today two ways of how we can hide the notifications area since this one by default is not available when the tablet mode is not used in Windows 10.
To keep up, remember to subscribe to our YouTube channel! SUBSCRIBE
1. Disable the notification area using the Record Editor
Step 1
To access the editor we will use the following key combination and execute the
regedit command
. + R
Note
Remember that this option applies to all editions of Windows 10.
Step 2
In the displayed window we will go to the following route:
HKEY_CURRENT_USER \ Software \ Microsoft \ Windows \ CurrentVersion \ Policies \ Explorer
Step 3
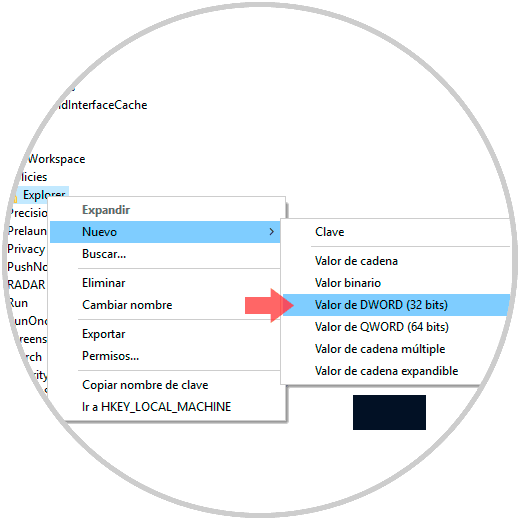
There we must right click on the Explorer key and select the New / DWORD Value option (32 bits):
Step 4
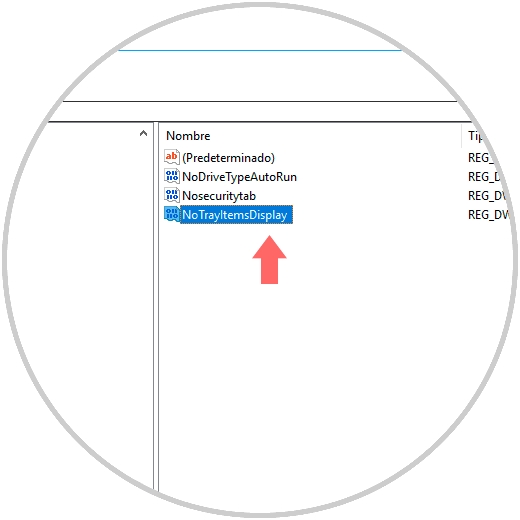
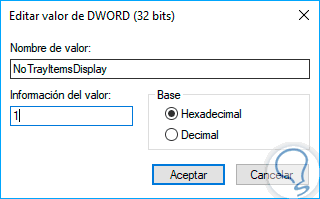
This new value will be called “NoTrayItemsDisplayâ€:
Step 5
Now, we will double-click on that value or right-click / Modify and there we set its value to 1. Click on OK to save the changes and we can exit the Registry Editor.
Then, we can restart the operating system, log out or restart the browser and we will see that the notification area has disappeared..
2. Disable the notification area using the Group Policy Editor
This option applies to the Pro and Enterprise editions of Windows 10
Step 1
To access it we will use the following key combination and execute the
gpedit.msc command
. + R
Step 2
Once we access we go to the following route:
Step 3
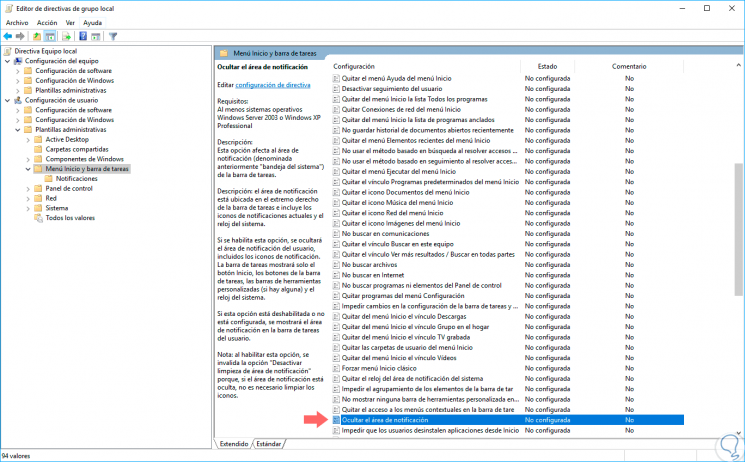
There we will locate a policy called “Hide the notification areaâ€:
Step 4
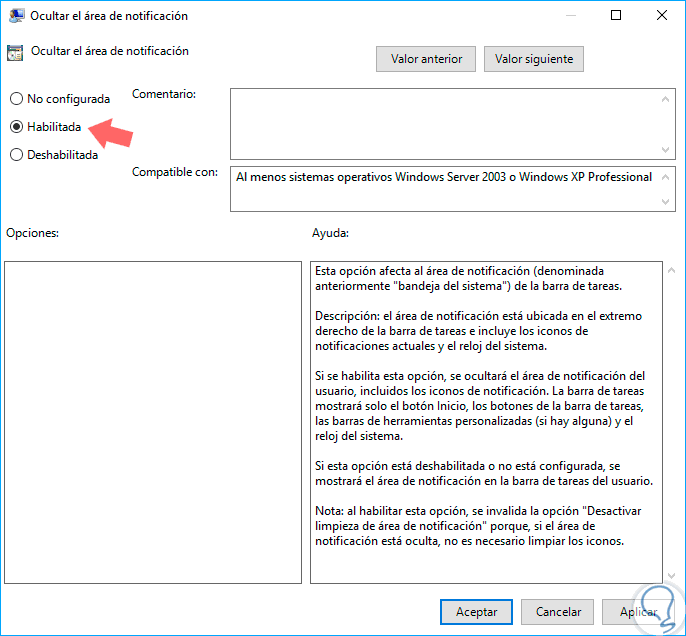
We double-click on it and in the displayed window we activate the “Enabled†box. Click on the "Apply" button and then click OK to apply the changes.
Step 5
Using any of these methods we will look like this in the notification area:
