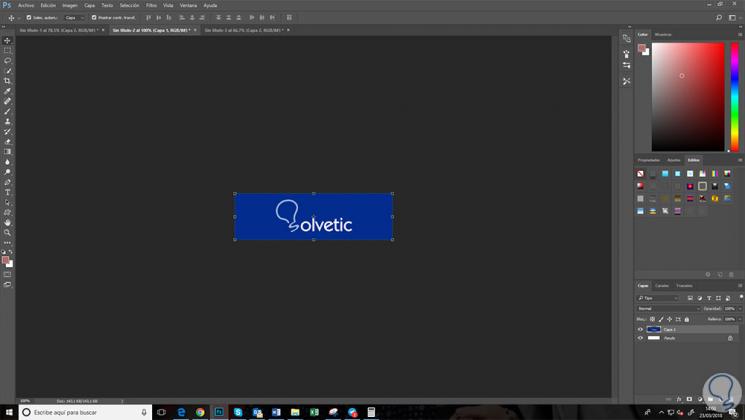
Normally we need to take screenshots of a certain area of ​​our screen for different reasons. In Windows 10 by pressing the "Print screen" button we can make a complete capture of what we are viewing at that particular moment on the screen of our PC..
But there is a possibility that you do not want to make a screenshot that collects everything you are seeing on the screen and that you only need a certain area of ​​it. In this case there are many possibilities such as making a full screen capture and modifying it with an image editing program or installing a program on our computer dedicated to making screenshots.
But it is true that in Windows 10 there is the possibility of making a screenshot of a certain area of ​​the screen without using third-party programs or modifying the image. And it is for this reason that today in TechnoWikis we will explain the steps to do it on your Windows 10 PC
For this you will have to do the following:
Step 1
When you are on the screen you want to capture, press the following key combination at the same time:
+ S + Shift + S
The screen you are currently viewing will be covered with a gray fog and that will mean that the screen is already prepared to make a partial capture of it..

Step 2
Once the screen is like this, select the area you want to capture with the mouse. When you release the mouse button it will be when you save the image to the “Clipboardâ€

Step 3
Now you will have to use an image editing program (Photoshop, Paint ...) Press the following key combination:
+ V Ctrl + V
The selected area will be pasted in the image editor and from there you can save or work with it as you need.

It's that simple to make a screenshot of an area of ​​it without the need to use third-party Apps in Windows 10..