Modern operating systems, although they have been developed following strict quality controls, are not exempt from presenting any error at both hardware and software level affecting our productivity and experience as users..
The reliability of the equipment with macOS allows us to carry out a series of support and control tasks to verify the status of the machine at the hardware level, this being one of the main problems of guarantee or use . Their components, such as hard drives or memory , are exposed to many external and internal factors that can affect their operability.
To this end Apple has developed the diagnostic tool which will be of vital help when analyzing the hardware components of the equipment and thus prevent failures or detect possibilities of error in order to take the necessary measures. It is important to clarify that in the equipment that has been built before 2013 the tool is called Apple Hardware Test, while in the most modern equipment it is Apple Diagnostics..
1. How to use the Apple Hardware Test tool
Step 1
To run this diagnostic tool on previous devices of 2013, we must restart the machine or turn it on and during this process press the D key.
At this point the system will start the loading process and after a few seconds we will see the following window:
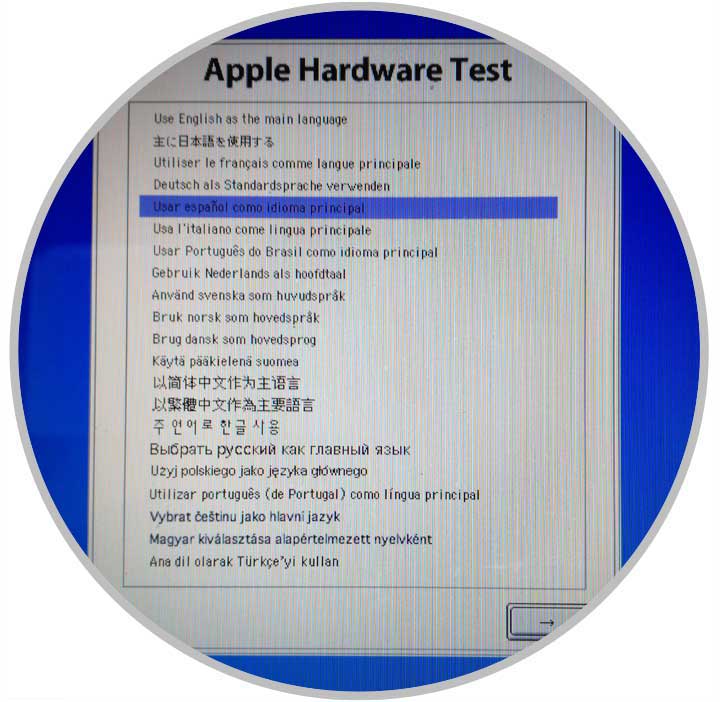
Once we select the language to use, click on the button below and we will access the following window:
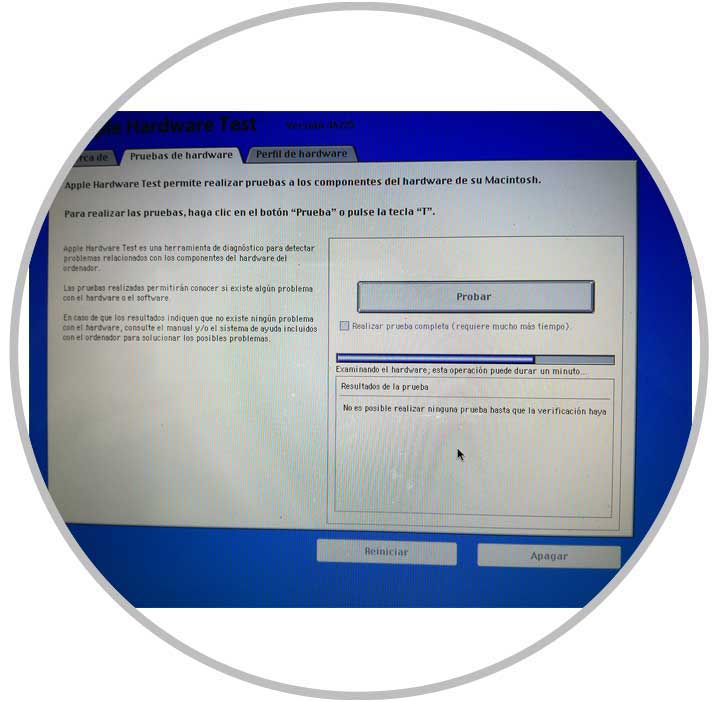
There we can see that the system automatically starts the hardware analysis process in search of some error.
To start the hardware validation tests in macOS click on the test button and, if we wish, we can check the box Perform complete test, so that the analysis is much more thorough.
By clicking on Test we will see that the analysis of the hardware components such as memory and cards begins:
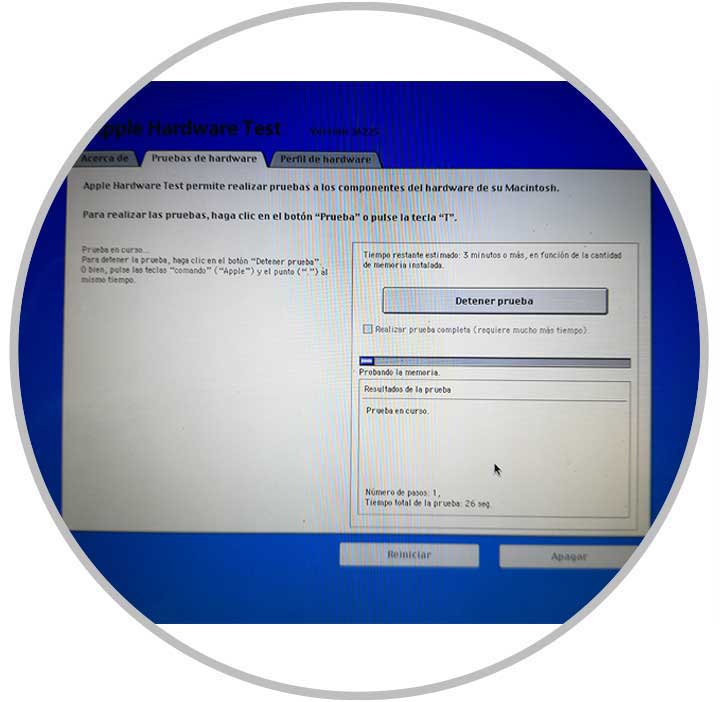
This process takes between 4 to 5 minutes and once finished we will see the results at the bottom of the tool:
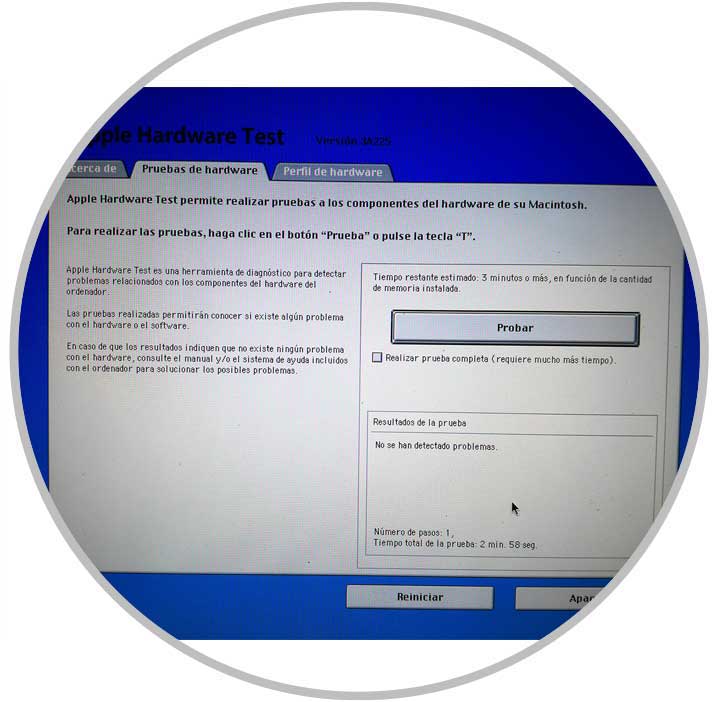
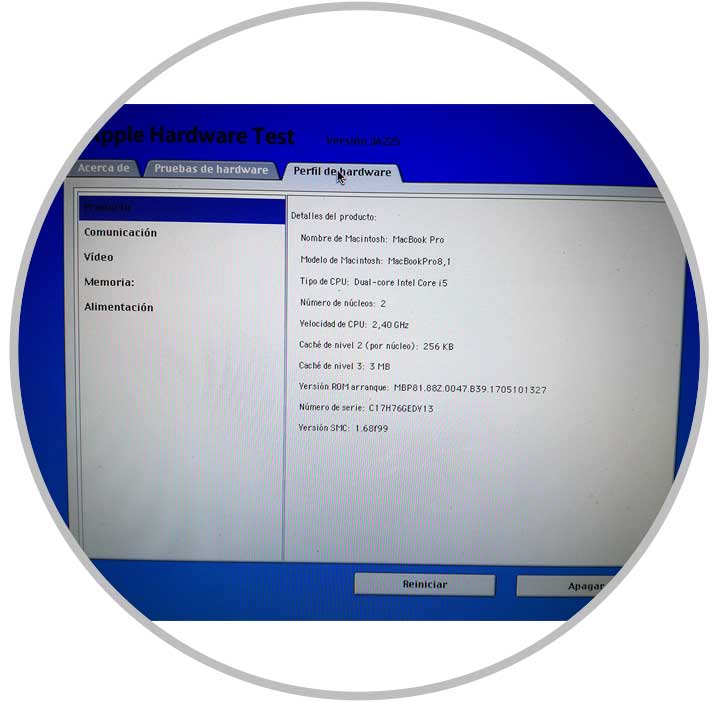
We can go to the Hardware Profile tab to know in detail the hardware elements that our team has. Finally we can turn off or restart the machine..
2. How to use the macOS diagnostic tool after 2013
For the equipment built after 2013 the process is as follows. Disconnect external devices such as USB hard drives and others.
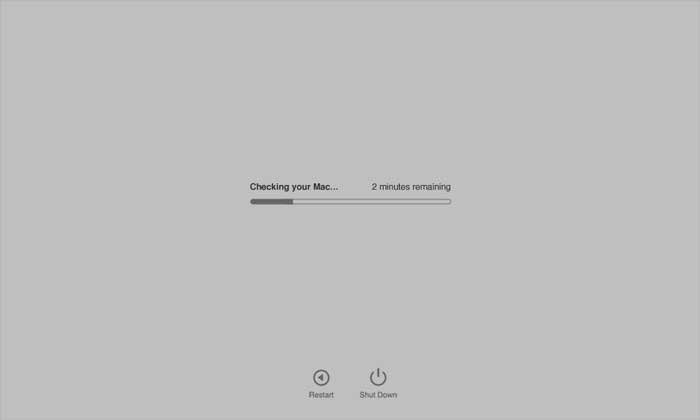
Restart or turn on the device by holding down the D key. In case the language is detected by the tool, we will see that the verification process begins. As in the previous process, this will take between 2 to 5 minutes.
The result will be identical to the following:
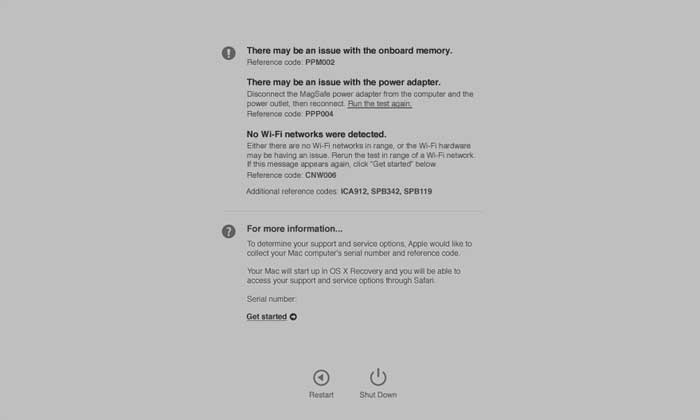
We can see that each error has a code associated, this code must be taken into account for a later process.
Once we have these results we can do the following
- Run the validation again by clicking on the option Run the test again or use the key combination ⌘ + R
- Get more detailed information by pressing the Start button or use the Command + G keys
- Restart or shut down the computer
In case of selecting the option for more information, the following window will be displayed where we will select the region where we are located:

By clicking on Send our serial and error code to Apple directly.
Some of the codes that are frequent in macOS systems are:
ADP000
No computer problems
CNW001, CNW003, CNW004, CNW005 or CNW006
Problems with Si-Fi at hardware level
CNW007 or CNW008
Si-Fi networks are not detected
NDC001, NDC003, NDC004, NDC005 or NDC006
Problems associated with the camera
NDD001
USB hardware issues
NDK001, NDK003 or NDK004
Keyboard failures
NDL001
Bluetooth level failures
NDR001, NDR003 or NDR004
Errors with the trackpad
NDT001, NDT002, NDT003, NDT004, NDT005 or NDT006
Problems with Thunderbolt
NNN001
It was not possible to detect the serial number
PFM001, PFM002, PFM003, PFM004, PFM005, PFM006 or PFM007
Faults with the System Administration Controller (SMC)
PFR001
Device firmware level failures
PPM001
Faults with the memory module
PPF001, PPF003 or PPF004
Fan errors
PPM002, PPM003, PPM004, PPM005, PPM006, PPM007, PPM008, PPM009, PPM010, PPM011, PPM012, PPM013
Failure at integrated memory level
PPP001, PPP002, PPP003
Errors with the power adapter
PPR001
Processor failures
PPT001
The battery was not detected.
In this way we can take a much more specific control over the possible hardware failures in our equipment and thus seek immediate solutions.