There are certain protocols that have been developed to facilitate the lives of administrators, users and anyone who has an impact on the IT world. The Telnet protocol (Teletype Network,) is one of the most used since since its implementation in 1964 it aims to be a protocol that acts as a command line interface towards direct communication with a remote device or server, since either for remote administration tasks or to provide some type of support or configuration of the device or the entire infrastructure of the device.
A connection through Telnet makes use of the Transmission Control Protocol (TCP) as it acts as a connection to transmit data with interconnected Telnet control between the devices. Perhaps one of its shortcomings is security is that we talk about a protocol created in 1694 where security was not as critical as it is today, but there are some defense mechanisms when using Telnet.
To understand a little what Telnet does, we must know that Telnet offers to each of the users a text-oriented interactive bidirectional system communication system that connects through a virtual terminal of more than 8 bytes, the syntax used For Telnet telnet hostname port, this allows the user to execute commands directly on the server through the available Telnet commands.
Telnet Tasks
With this, Telnet is useful in cases such as:
- Network and server administration
- Interaction with programs hosted on remote application servers
Windows Server 2019 is Microsoft's latest commitment to cover a wide range of corporate clients with a secure, reliable and scalable system, so Telnet is disabled by default in Windows Server 2019, or 2016, to avoid privacy failures and security, but for administration and connectivity reasons it may be necessary to use Telnet on Windows Server so now we will see how to activate it on Windows Server 2019 or 2016.
Most used commands with Telnet
Some of the commands we can use with Telnet are:
- Close: close the current Telnet session
- display argument: this option allows you to display the parameters for the current connection (port, terminal type and more)
- environ argument: It allows defining the variables for the operating environment in which we are
- logout: this parameter will close the current session in Telnet
- mode type: allows you to set the transfer mode (text file, binary file)
- open hostname: with this parameter another connection will be opened for the remotely selected host
- quit: so we will leave the Telnet client and all the connections active at the moment
- send argument: this parameter sends Telnet character sequences to the host
- set argument: Adjust the connection parameters
- unset: this value loads the default connection parameters
We also leave you the video tutorial to enable the Telnet command of Windows Server 2019 and 2016.
To keep up, remember to subscribe to our YouTube channel! SUBSCRIBE
1. How to activate Telnet on Windows Server 2019 or Server 2016
Step 1
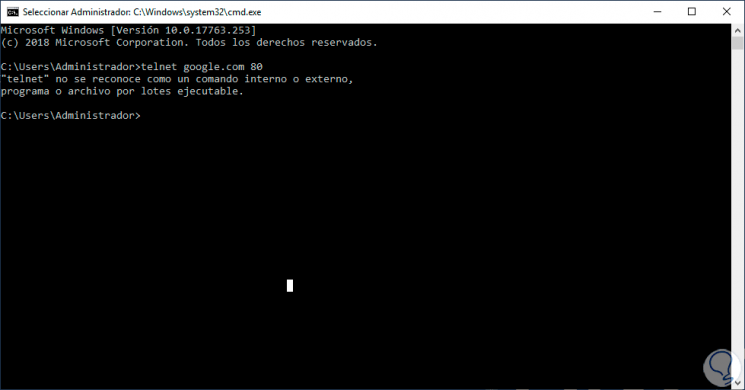
To verify that Telnet is deactivated in Windows Server we will execute the following:
telnet google.com 80
Step 2
The result will be as follows:
Step 3
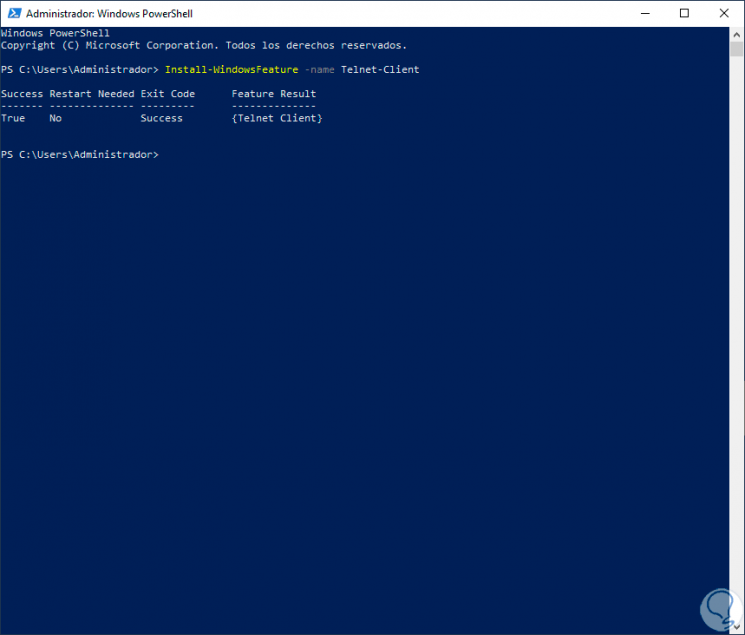
To enable the Telnet client we can access Windows PowerShell and there run the following line:
Install-WindowsFeature -name Telnet-Client
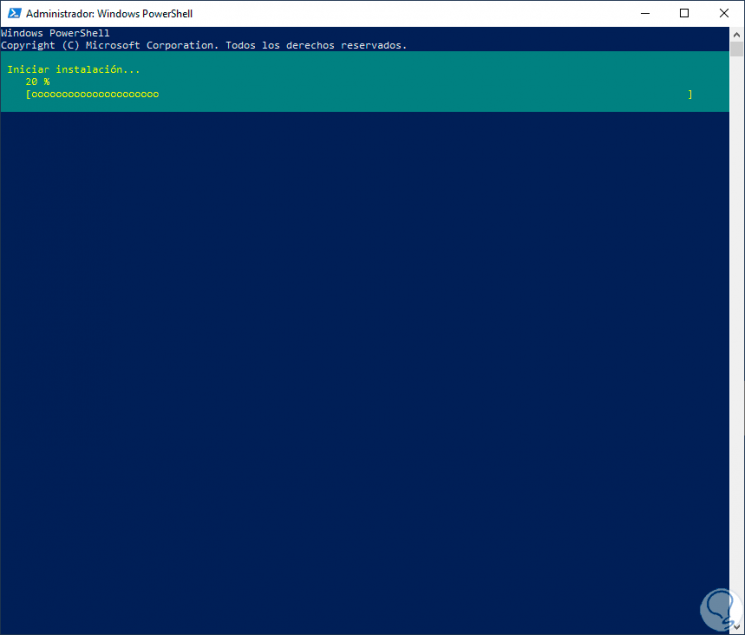
Step 4
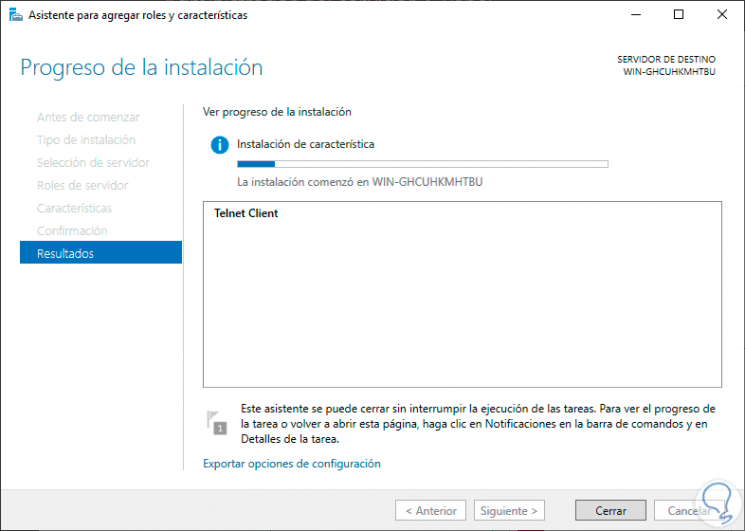
Press Enter and the process of installing Telnet on Windows Server 2019/2016 will take place:
Step 5
When this ends we will see the following:
Note
This operation is also possible from the command prompt of the command prompt by executing the following:
dism / online / Enable-Feature / FeatureName: TelnetClient
2. How to add Telnet in Windows Server 2019 or Server 2016
Step 1
Now, once this feature is enabled we must add it from the server administrator, for this we access this functionality:
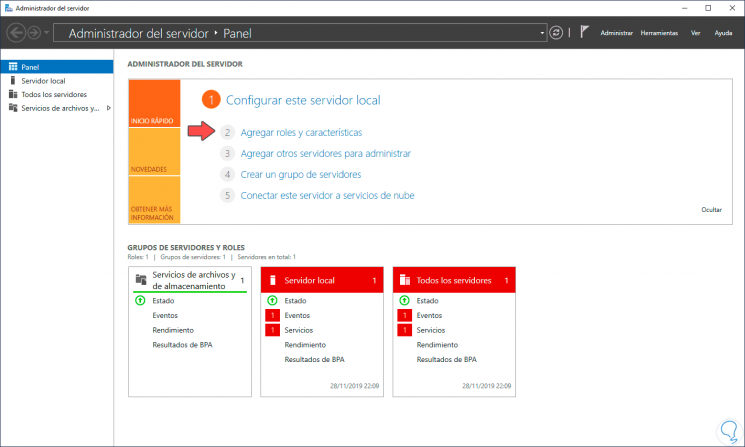
Step 2
We click on the “Add roles and features†line and the following will be displayed:
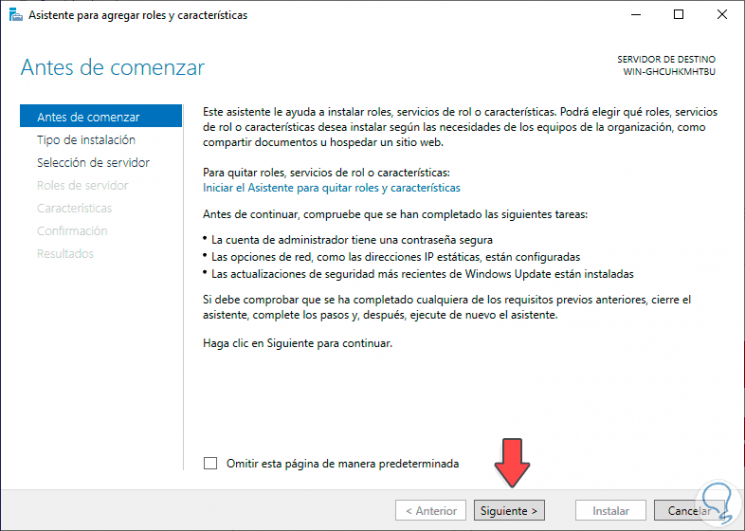
Step 3
We click on Next and in the next window we activate the “Feature or role based installation†box:
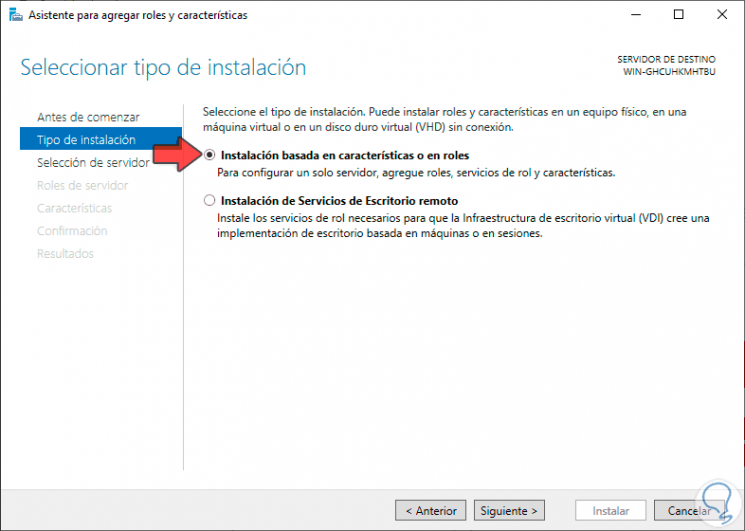
Step 4
In the following window we select the destination server:
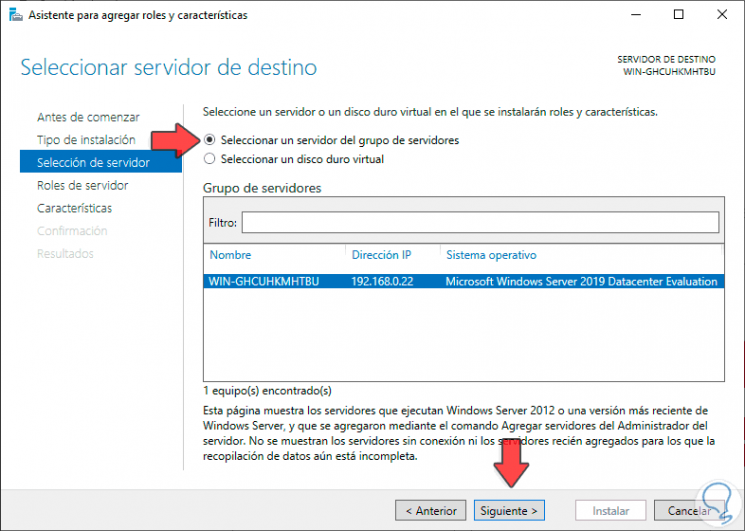
Step 5
We click on Next and we will access the role window, in this case we click on Next since we will not install any role:
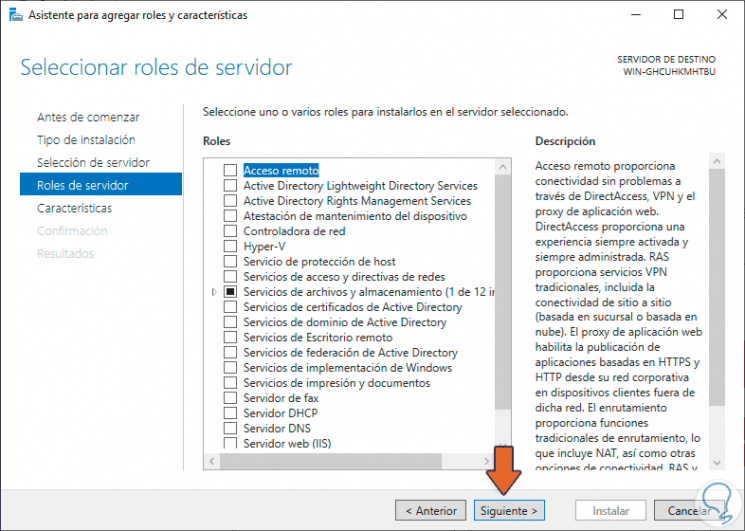
Step 6
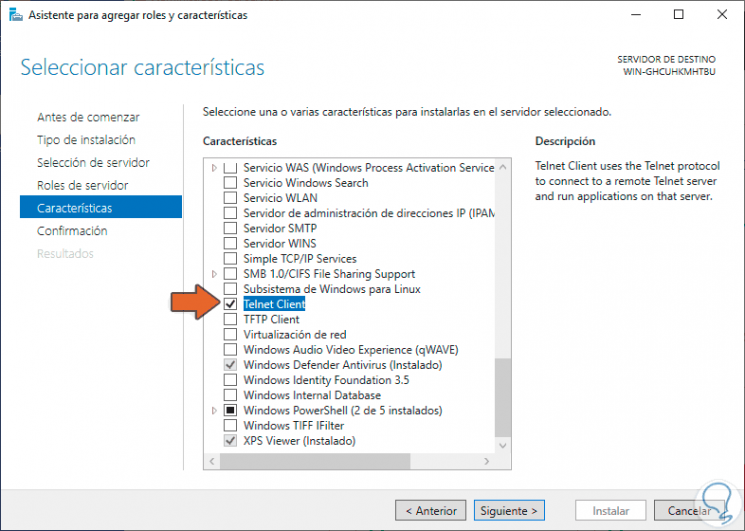
Click on Next and in the “Characteristics†window we activate the “Telnet Client†box:
Step 7
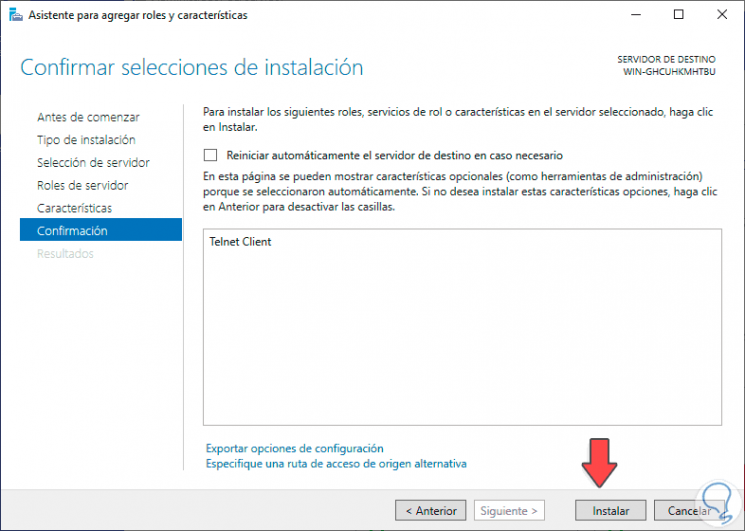
Click Next and we will see a summary of the feature to be installed:
Step 8
To give way to the installation click on the "Install" button:
Step 9
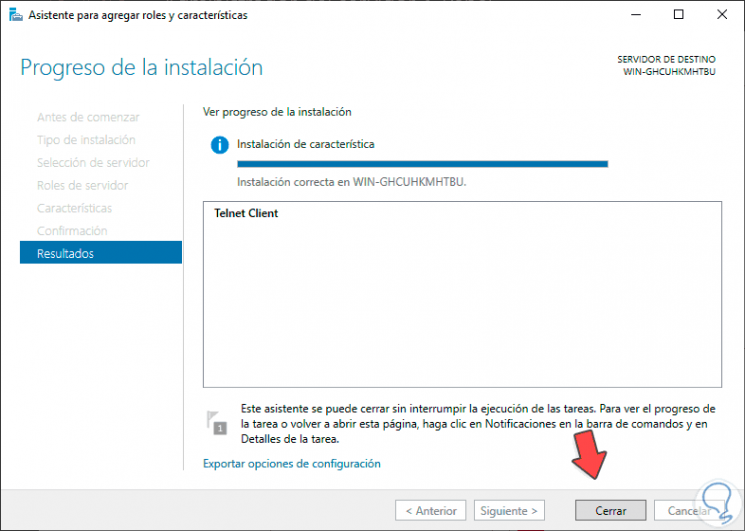
When this is over we will see the following. Click Close to exit the installation wizard.
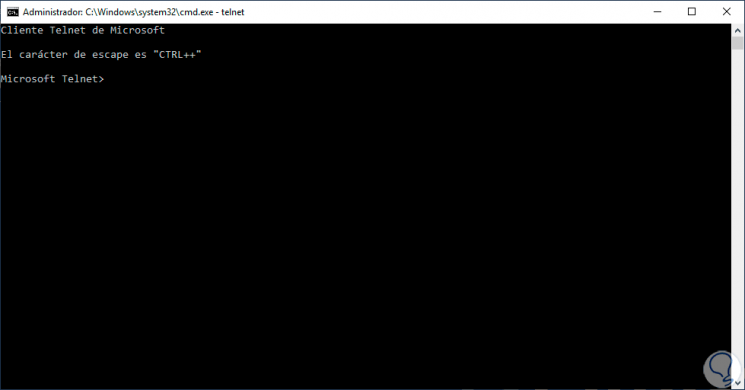
Step 10
To verify that it has been installed correctly, we access the command prompt and execute “telnetâ€, this will allow us to enter the Telnet use console in Windows Server 2019 or 2019:
With TechnoWikis you have learned to enable the Telnet client in Windows Server 2019 or 2016 and thus have an additional connectivity option.