At present there are several browsers that allow us to access websites and each of them presents various functionalities based on their development, one of which is frequently named is Chromium which is an open source version of Google Chrome, the only one difference is that Chromium does not have all the exclusive codecs and other elements of Google Chrome..
There are giant differences between Chromium and Google Chrome so many users choose to remove it from the system and that is why TechnoWikis will explain how to remove Chromium entirely in Windows 10.
What is Chromium?
We can talk about Chromium as an open source browser project that has brought not very suitable consequences despite its initial good intention. Although at first it was a legitimate idea in browsers, it has ended up being used negatively by malicious browsers that seek to infect computers.
The bad thing about these behaviors is that they store user information when they perform searches with this stored virus. It has access to search history, invades intrusive ads and handles the opening of windows and pages without control.
For these reasons it is normal that we seek to uninstall Chromium on our Windows 10 computer.
The download of this browser is available in the following link:
Chromium
To keep up, remember to subscribe to our YouTube channel! SUBSCRIBE
1. Remove Chromium from the Control Panel in Windows 10
Step 1
The first method will be to go to the following route:
- Programs and characteristics
Step 2
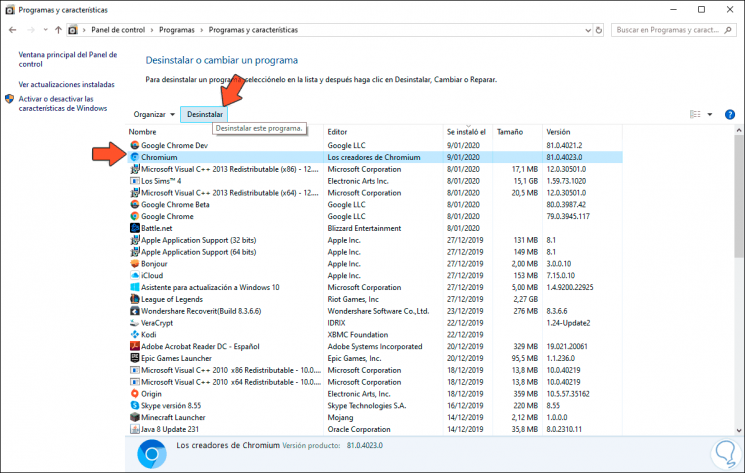
There we will locate the “Chromium†line and click on the “Uninstall†button located at the top:
Step 3
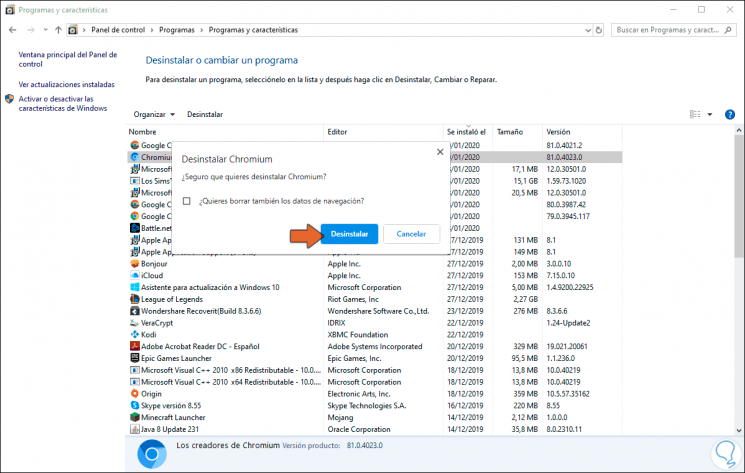
Clicking there will display the following message:
Step 4
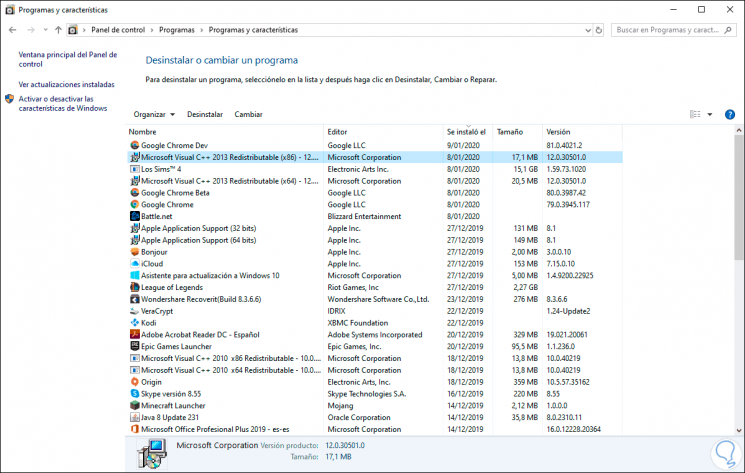
There we confirm whether or not we want to keep the navigation data, to follow the process we click on “Uninstall†and we will see that Chromium is no longer available there:
Note
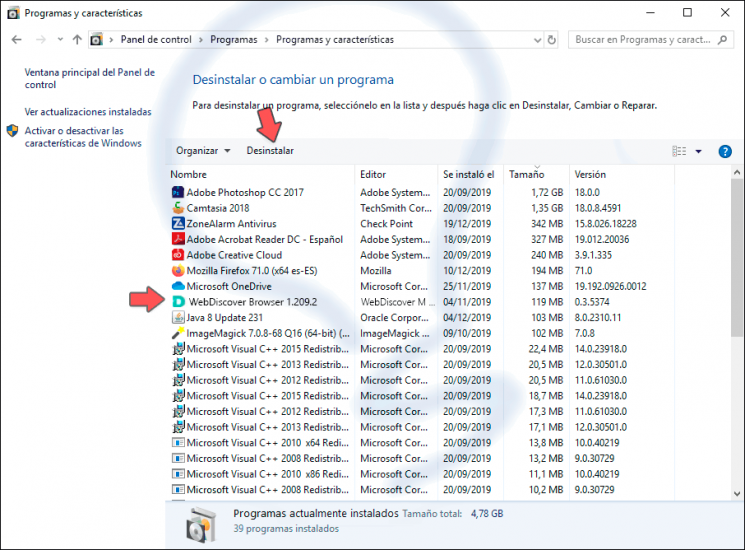
If you cannot find Chromium in the list of programs, try searching for "WebDiscover" and click on Uninstall. Sometimes Cromium is camouflaged and it is difficult to find it:
2. Remove Chromium from its installation path in Windows 10
This process is simple and works for most Windows 10 users.
Step 1
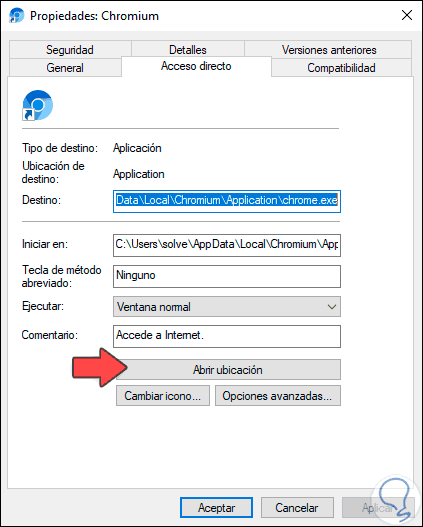
First, we right click on access to Chromium and select “Properties†and we will be located by default in the “Direct access†tab:
Step 2
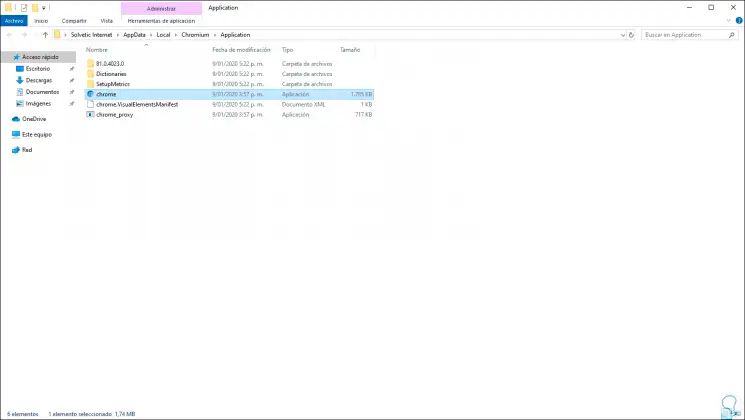
There we click on the "Open location" button and the following will be displayed:
Step 3
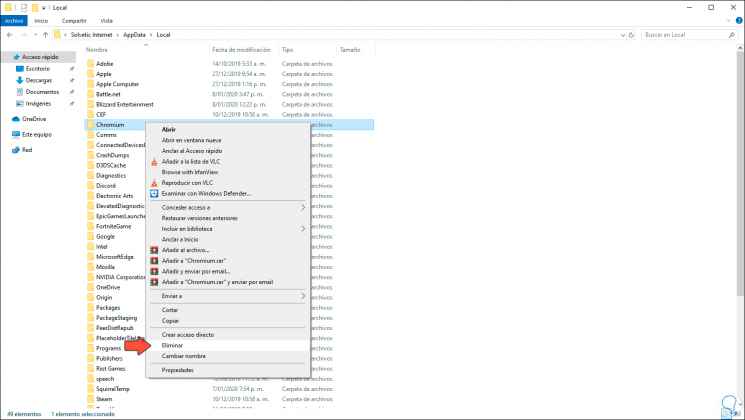
There we go to the browser title bar and click on "Local", followed by this, we proceed to delete the Chromium folder:
Step 4
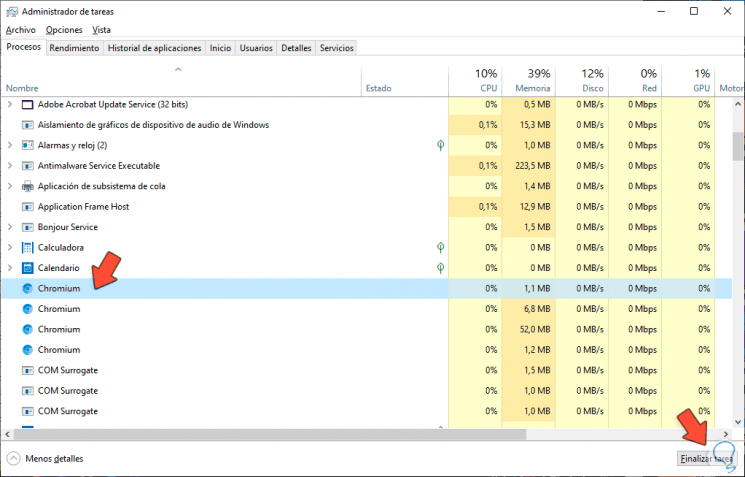
In some cases it is possible that when deleting the folder an error is generated, this is because Chromium can be running in the background, to validate this, we will go to the Task Manager and there we go to the section “Background processes â€And we locate Chromium services, select each one and click on Finish task.
After this we validate that it is possible to execute the deletion of the Chromium folder..
3. Remove Chromium advanced in Windows 10
This step involves completely deleting all Chromium records in Windows 10.
Step 1
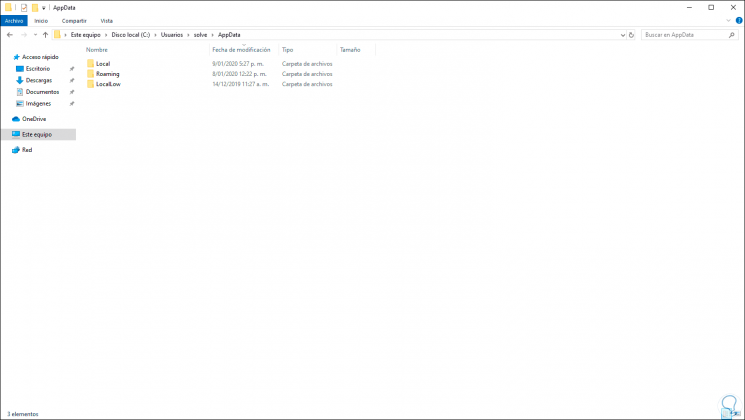
To do this we will first go to the following route in the browser:
C: \ Users \ user \ AppData
Step 2
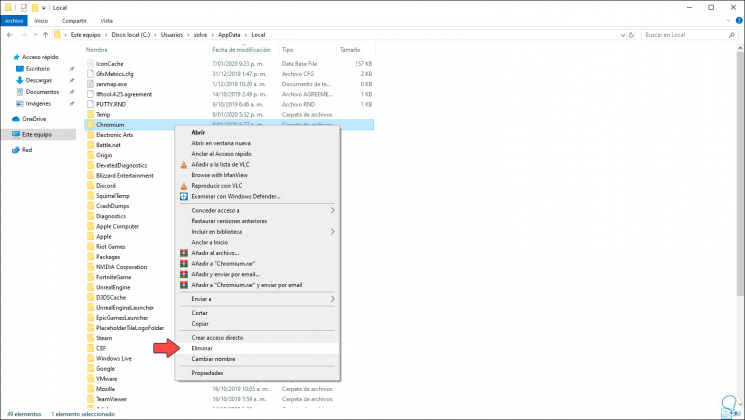
There we go to the "Local" folder and there we proceed to delete the "Chromium" folder:
Step 3
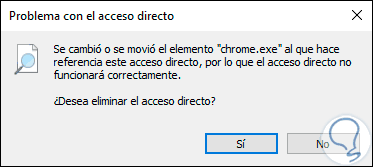
If we try to access Chromium from the desktop we will see the following:
With these options we will have different possibilities to be able to completely remove Chromium from Windows 10..