The remote desktop has been present for many years in the Windows operating system in order to offer users (both support and the end user) the possibility of having a reliable , safe and fully dynamic help mechanism . Remember that remote support allows us to support certain tasks from our place to another without having to physically go there, this implies saving both resources and money and in the same way constant support is offered which is ideal in a world where Errors may appear at any time..
Remote Desktop Advantages
The remote desktop in Windows 10 offers us advantages such as:
- Option to use a multisession.
- Total control of the equipment.
-
- File transfer
- Automatic reconnection in case of failures
- Option to start the computer in safe mode.
- Logout or change of remote user.
TechnoWikis will explain how to activate or deactivate the remote desktop in Windows 10 both at the command prompt level and with Windows PowerShell, this will help to enable it much faster.
To keep up, remember to subscribe to our YouTube channel! SUBSCRIBE
1. How to enable or disable Remote Desktop using Command Prompt in Windows 10
The command prompt console has been active in all editions of Windows and is a way of carrying out hundreds of support and information tasks.
Step 1
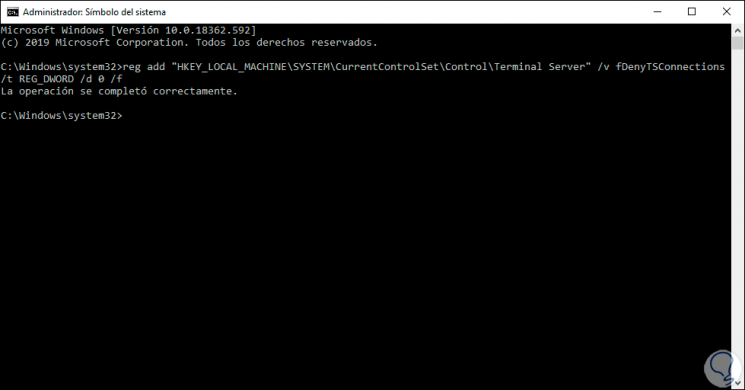
To do this, we will access the CMD console as administrators and execute the following line to enable the remote desktop:
reg add "HKEY_LOCAL_MACHINE \ SYSTEM \ CurrentControlSet \ Control \ Terminal Server" / v fDenyTSConnections / t REG_DWORD / d 0 / f
Step 2
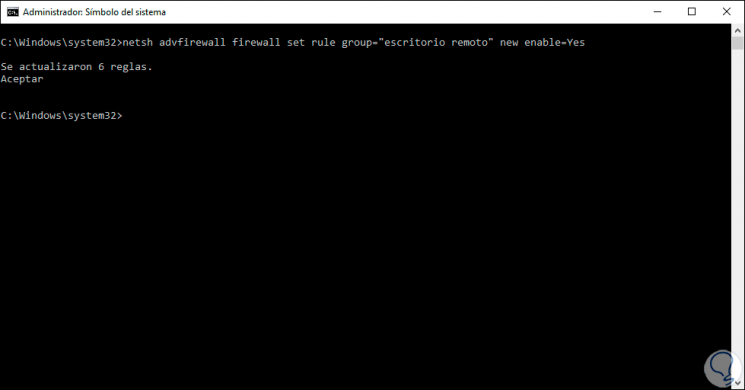
Now, we can execute the following command to activate the remote desktop in the Windows 10 Firewall, this allows for external connection permissions because the Firewall can detect this as an attack, for this we will use the following command:
netsh advfirewall firewall set rule group = "remote desktop" new enable = Yes
Step 3
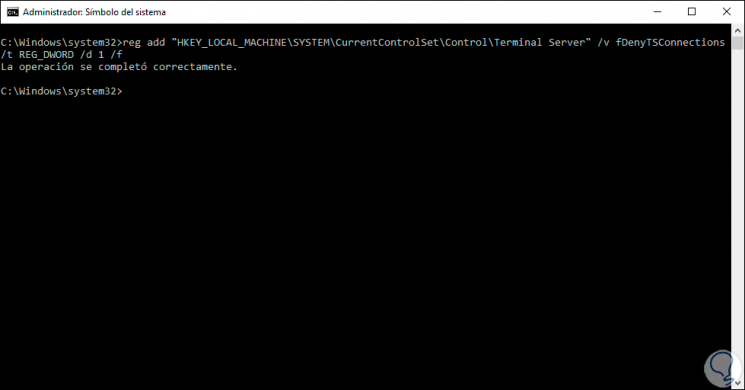
If our desire is to disable the remote desktop for security, we must access again as administrators to the command prompt and this time execute the following:
reg add "HKEY_LOCAL_MACHINE \ SYSTEM \ CurrentControlSet \ Control \ Terminal Server" / v fDenyTSConnections / t REG_DWORD / d 1 / f
Note
the value to apply the change is to modify the 0 by 1.
Step 4
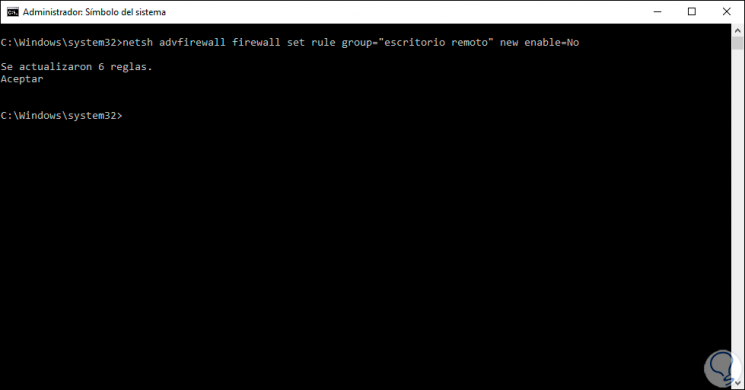
Like the previous step, if we want to disable the rules from the Firewall, we must execute the following:
netsh advfirewall firewall set rule group = "remote desktop" new enable = No
2. How to enable or disable Remote Desktop using Windows PowerShell
PowerShell is the update that Windows has decided to integrate into its operating system in order to offer administrator users much more comprehensive support tools
Step 1
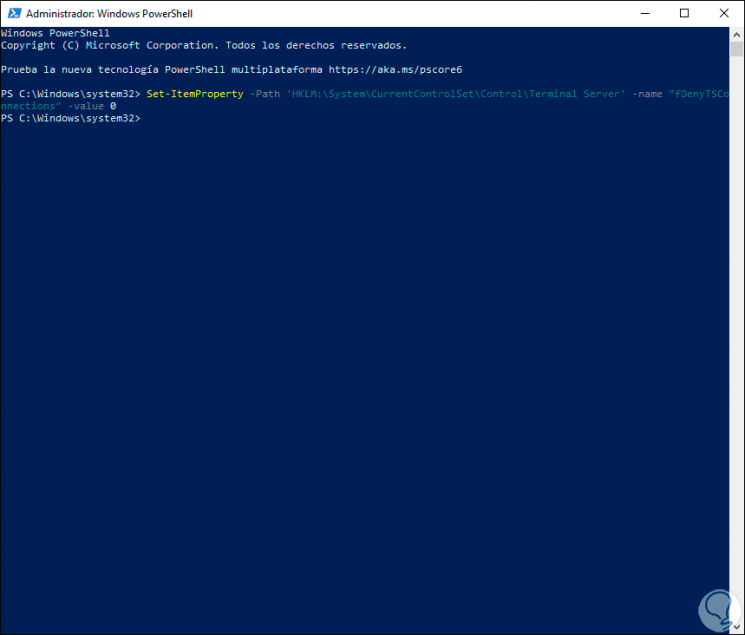
To use this console to activate or not the remote desktop we must access Powershell as administrators , if the idea is to enable it we will execute the following:
Set-ItemProperty -Path 'HKLM: \ System \ CurrentControlSet \ Control \ Terminal Server' -name "fDenyTSConnections" -value 0
Step 2
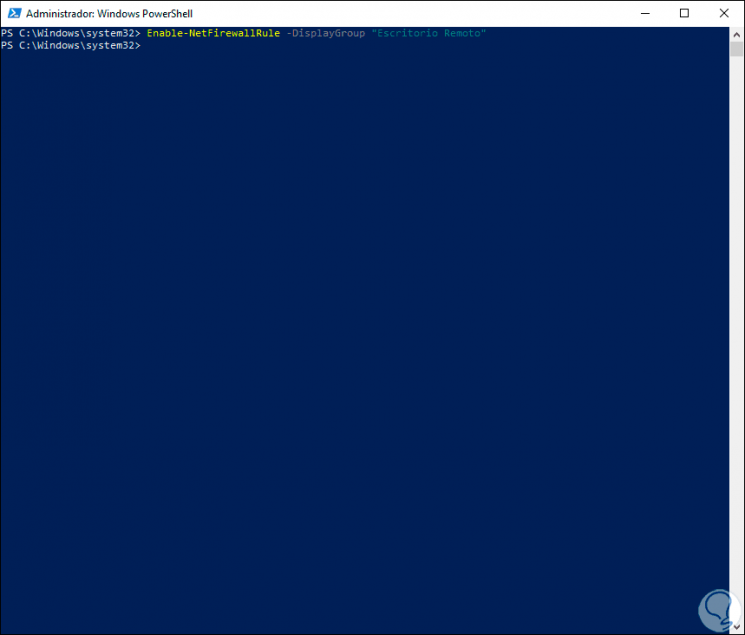
We can add the remote desktop rules in the System Firewall by running the following:
Enable-NetFirewallRule -DisplayGroup "Remote Desktop"
Step 3
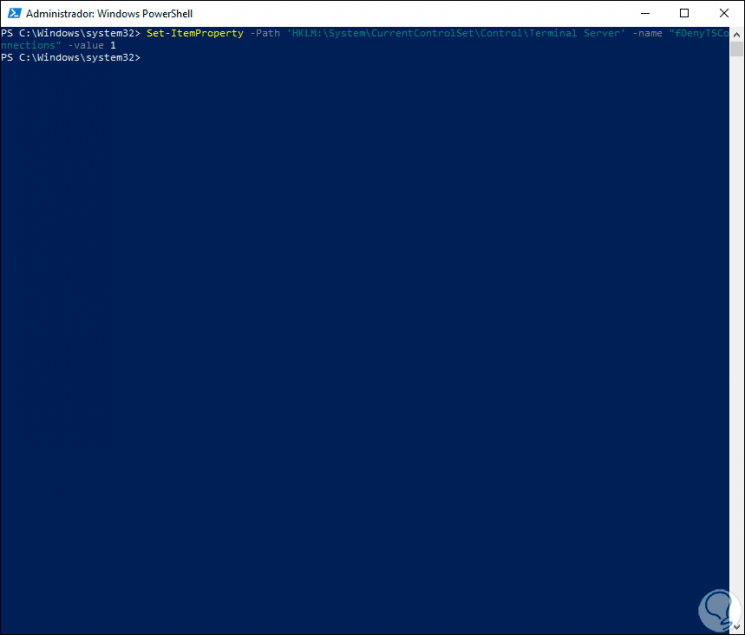
If we choose to disable the remote desktop in Windows 10 from Windows PowerShell we will run the following in the console. Like the previous step, the value that modifies the activation is 0 to 1.
Set-ItemProperty -Path 'HKLM: \ System \ CurrentControlSet \ Control \ Terminal Server' -name "fDenyTSConnections" -value 1
Step 4
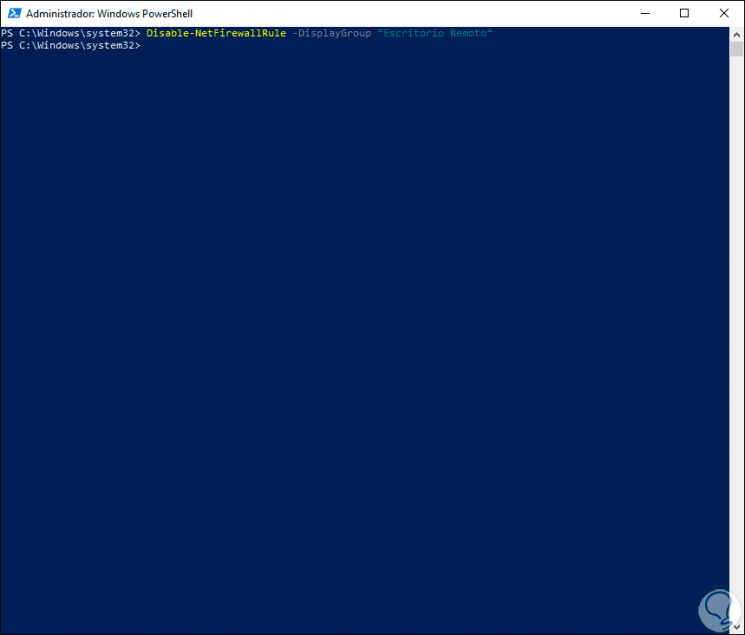
To update the rules and disable them from PowerShell we will execute the following:
Disable-NetFirewallRule -DisplayGroup "Remote Desktop"
With these simple steps we will be able to enable or not enable the remote desktop in Windows 10 and thus give or receive support..