Technology has advanced in giant steps so much that today we can see that one of the most used ways to dispose of documents in a secure and comprehensive way is using the cloud. This gives us access almost anywhere in the world to the files we upload and we can be sure of their integrity since they are on encrypted servers that meet the highest levels of security ensuring that the information is always there. Today we see applications such as OneDrive , Google Drive, etc., which allow you to host the files in a central location and synchronize them directly in the cloud, that is, any changes that are made locally automatically will be replicated to the file in the cloud..
One of the applications that has taken boom in this field is OwnCloud which has been developed as an open source software focused on being a collaboration platform for everything related to Linux cloud storage giving security and privacy of the information that is rise. That is why today we will see how to install Owncloud on CentOS
ownCloud allows us to host files in a central location giving a level of privacy as it prevents unauthorized access by other users, in addition to that, ownCloud provides us with a free desktop client and a free application for current mobile systems giving control Total access to files.
OwnCloud features
Among its most outstanding features we find:
- It allows to synchronize files and share data from all associated devices
- ownCloud is hosted only on our server or private cloud in order to guarantee access to data
- Available for Android or iOS and as an extra point, ownCloud can work together with Dropbox, Microsoft OneDrive and many more cloud platforms.
- Real-time synchronization between desktop and mobile devices.
- It allows to increase its functions through the installation of applications managed by the community.
- All data transfers are protected through SSL encryption, checksum, WebDAV optimizations and many more.
- It allows working with FTP, Swift, S3 or Dropbox to add external storage.
- It has an end-to-end or E2EE add-on encryption to fully encrypt the files.
Now we will learn how to install ownCloud on CentOS 8
1. Install LAMP CentOS 8
The first step will be to install the LAMP suite (Linux - Apache - MySQL - PHP), which will be essential for the operation of ownCloud.
Step 1
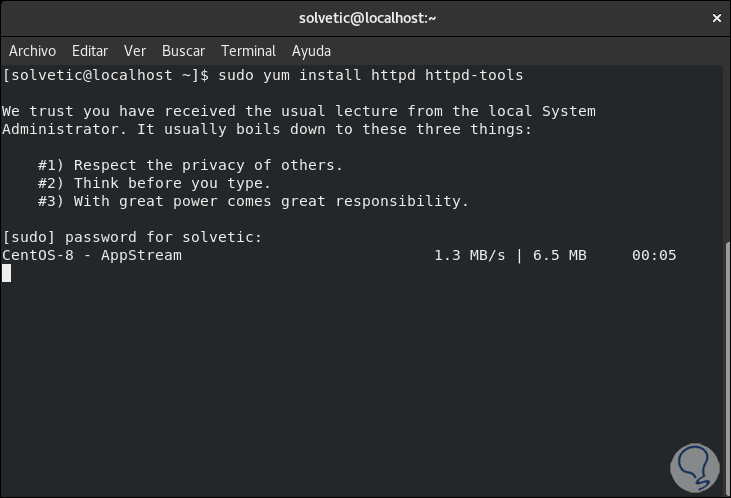
For this the first step will be to install Apache, for this we execute the following:
sudo yum install httpd httpd-tools
Step 2
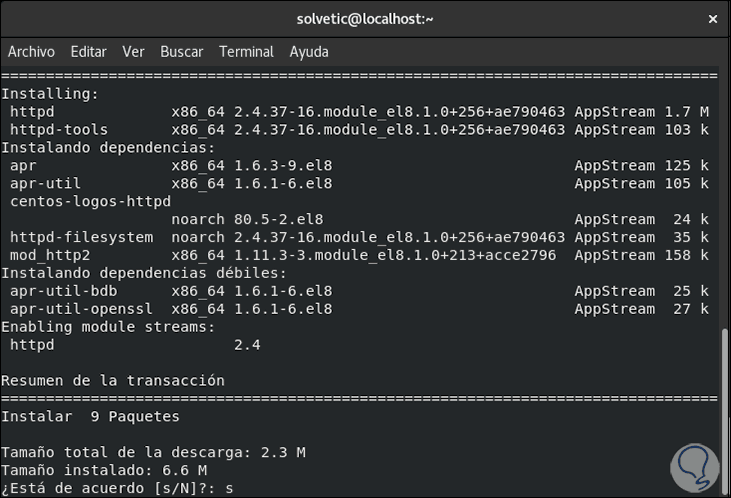
The following message will be launched which we must accept to proceed with the installation:
Step 3
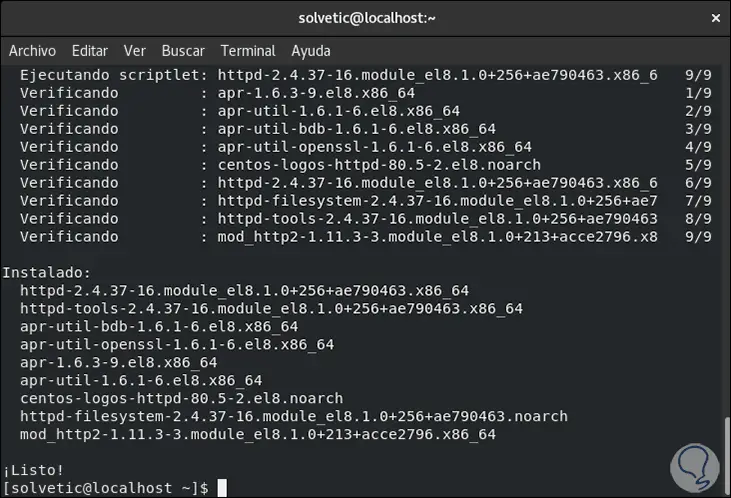
Once the installation is finished we will see the following:
Step 4
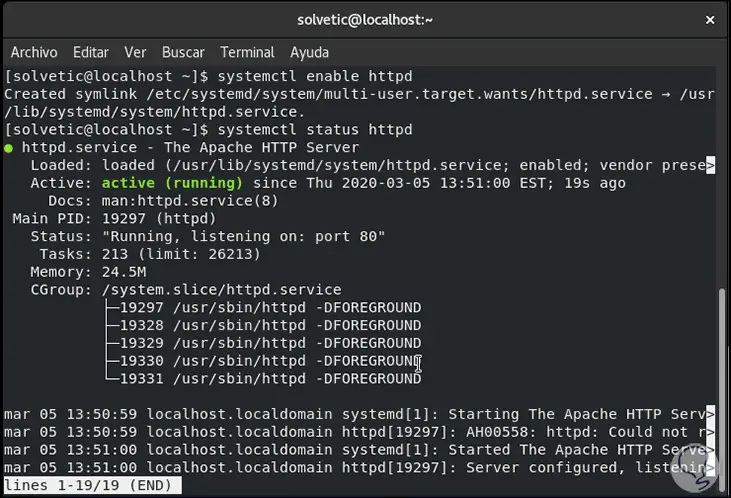
After this we will execute the following:
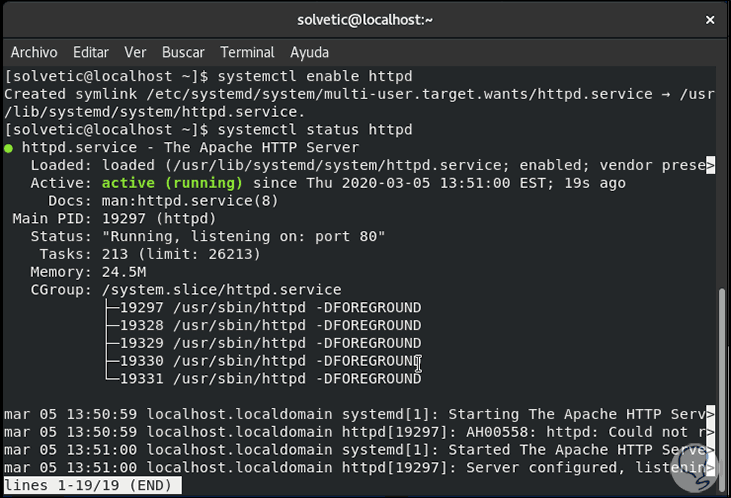
systemctl start httpd (start Apache) systemctl enable httpd (enable Apache) systemctl status httpd (validates Apache status in CentOS 8)
Step 5
After this we must allow external access to the server by executing the following:
firewall-cmd --permanent --zone = public --add-service = http firewall-cmd --permanent --zone = public --add-service = https systemctl reload firewalld
Step 6
The next step is to install MySQL on CentOS 8 for database management, for this we execute the following:
sudo yum install mariadb-server mariadb -y
Step 7
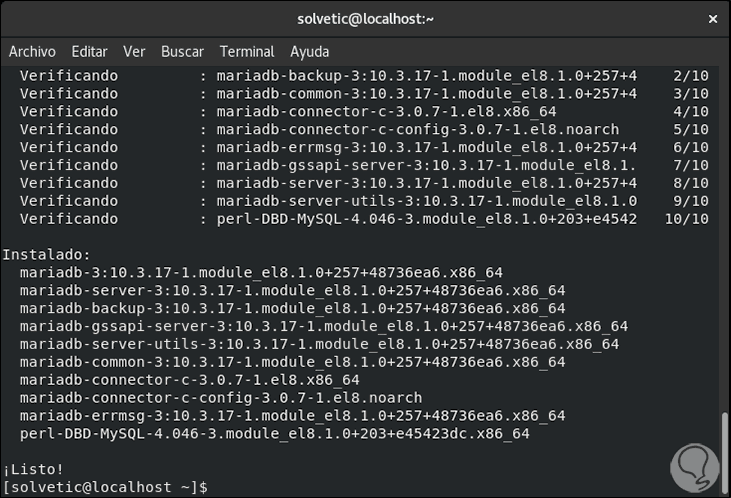
When the process is finished we will see the following:
Step 8
Now we execute the following:
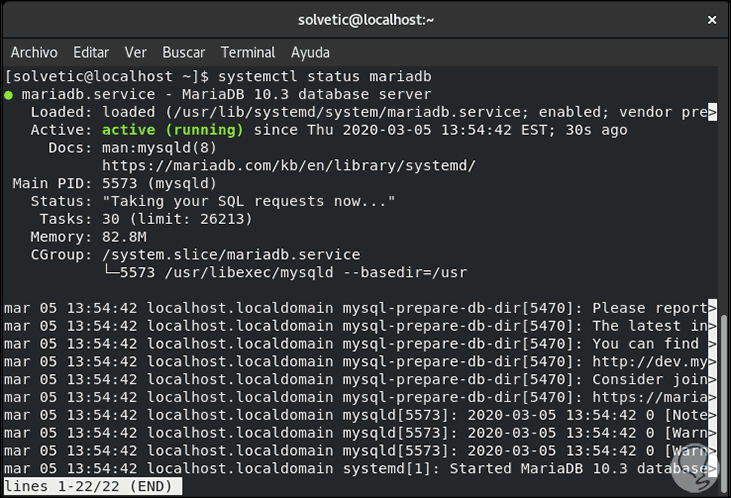
systemctl start mariadb (Start the database) systemctl enable mariadb (enable database) systemctl status mariadb (allows to see the status of the database)
Step 9
The next step will be to ensure the installation of MySQL, for this we execute the following:
mysql_secure_installation
Step 10
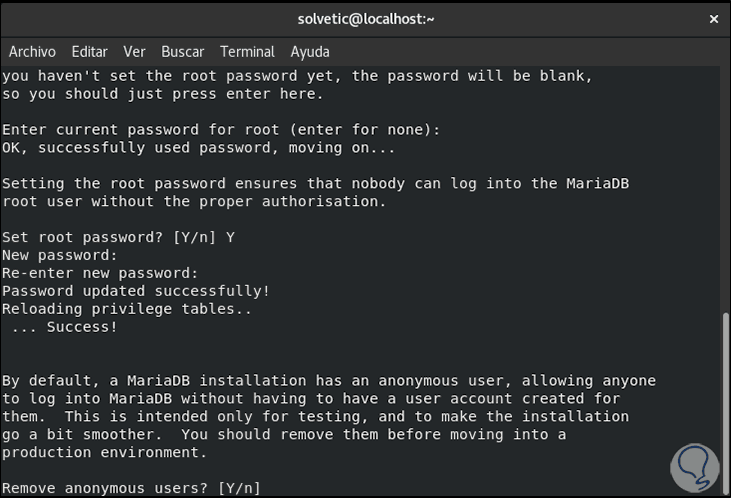
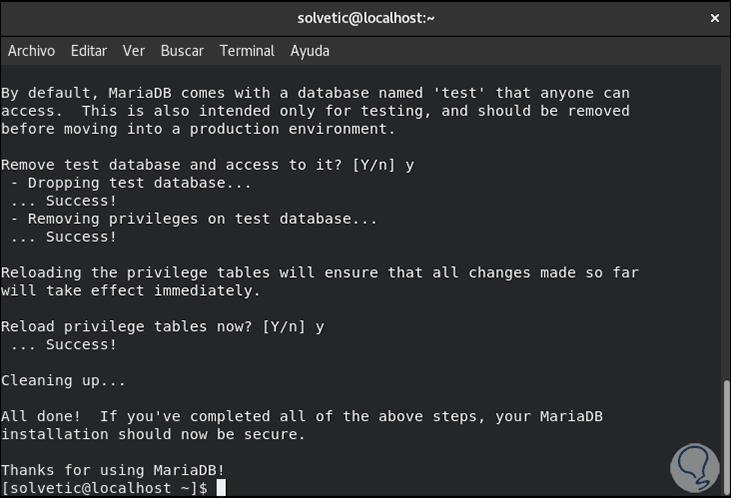
There we must validate a series of questions associated with the database:
Step 11
When this is completed we will see the following:
Step 12
Finally, we install PHP with the following command:
sudo yum install php
Step 13
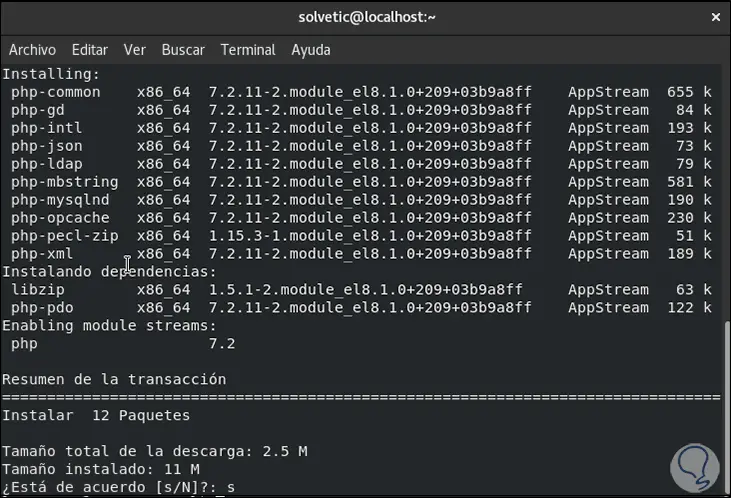
We are going to install a series of PHP plugins needed for ownCloud:
sudo dnf install php-curl php-gd php-intl php-json php-ldap php-mbstring php-mysqlnd php-xml php-zip php-opcache
Step 14
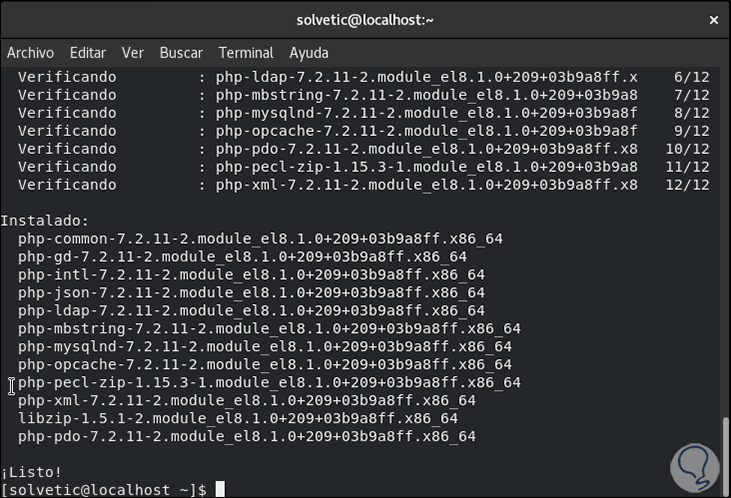
Enter the letter S to confirm and proceed with the download and installation:
2. Configure ownCloud database in CentOS 8
Step 1
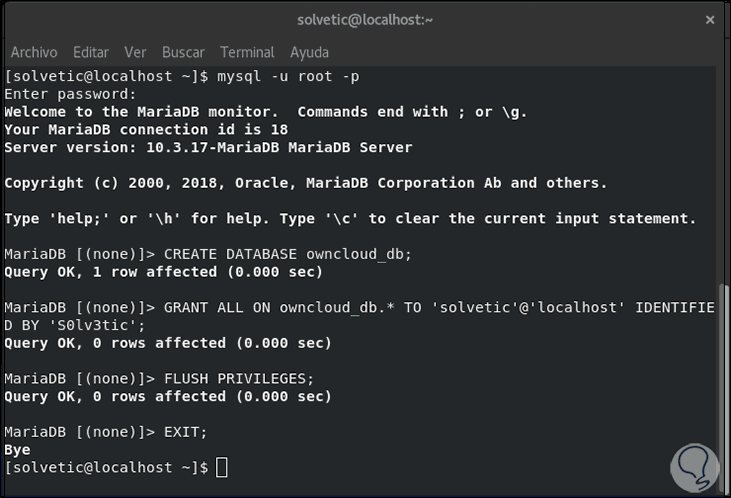
The next step will be to create the database where the files will be hosted in the cloud, for this we access MySQL with the following command:
mysql -u root -p
Step 2
There we enter each of the following lines:
CREATE DATABASE owncloud_db; GRANT ALL ON owncloud_db. * TO 'user' @ 'localhost' IDENTIFIED BY 'password'; FLUSH PRIVILEGES; EXIT;
3. Downloading ownCloud in CentOS 8
Step 1
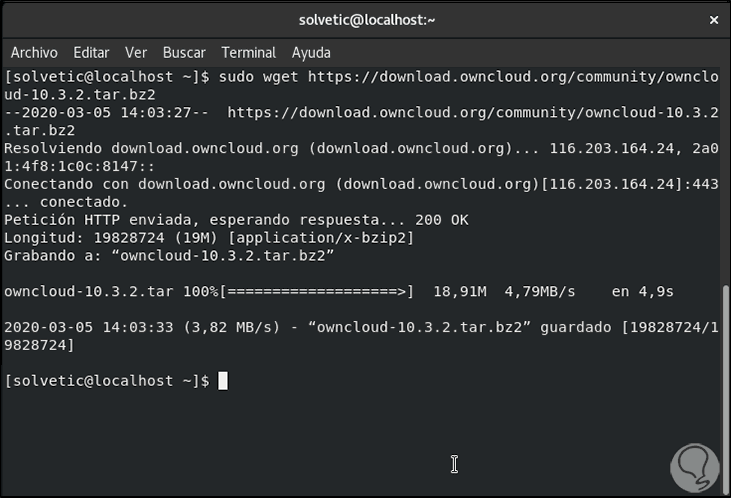
We proceed to download ownCloud in CentOS 8 by running the following command:
sudo wget https://download.owncloud.org/community/owncloud-10.3.2.tar.bz2
Step 2
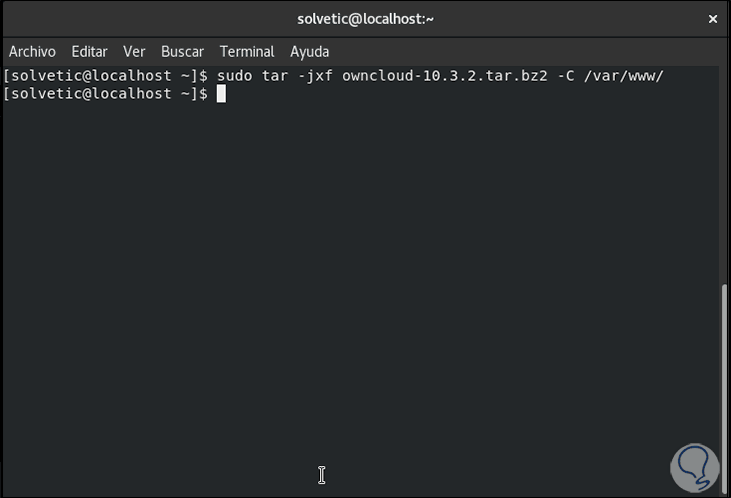
Now let's extract this content in the / var / www / directory:
sudo tar -jxf owncloud-10.3.2.tar.bz2 -C / var / www /
Step 3
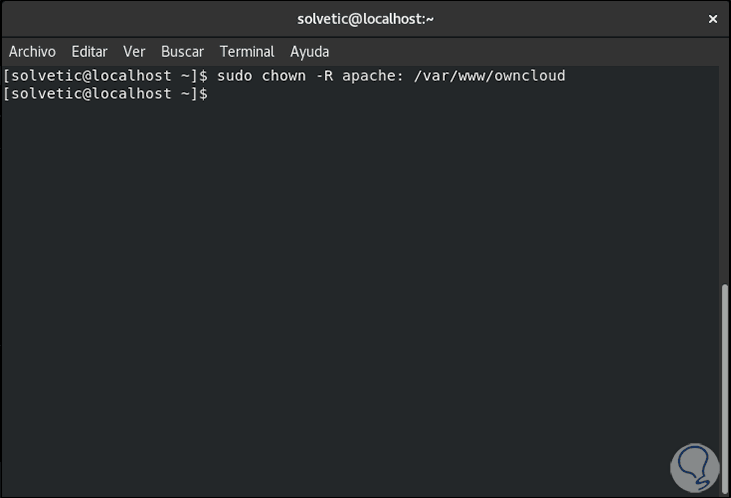
We configure Apache permissions in that directory:
sudo chown -R apache: / var / www / owncloud
4. Configure Apache for ownCloud in CentOS 8
Step 1
We will create an Apache configuration file in order to access ownCloud, for this we enter the following:
sudo nano /etc/httpd/conf.d/owncloud.conf
Step 2
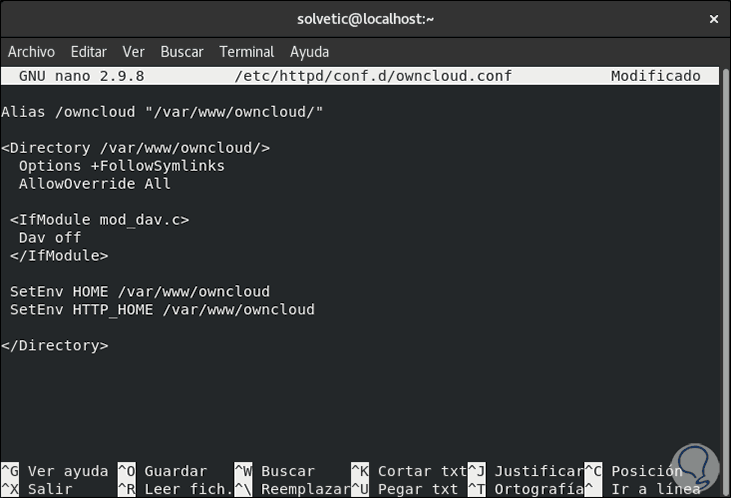
There we enter the following data:
Alias ​​/ owncloud "/ var / www / owncloud /" <Directory / var / www / owncloud /> Options + FollowSymlinks AllowOverride All <IfModule mod_dav.c> Dav off </IfModule> SetEnv HOME / var / www / owncloud SetEnv HTTP_HOME / var / www / owncloud </Directory>
Step 3
We save the changes using the following key combination:
+ O Ctrl + O
We leave the editor using:
+ X Ctrl + X
Step 4
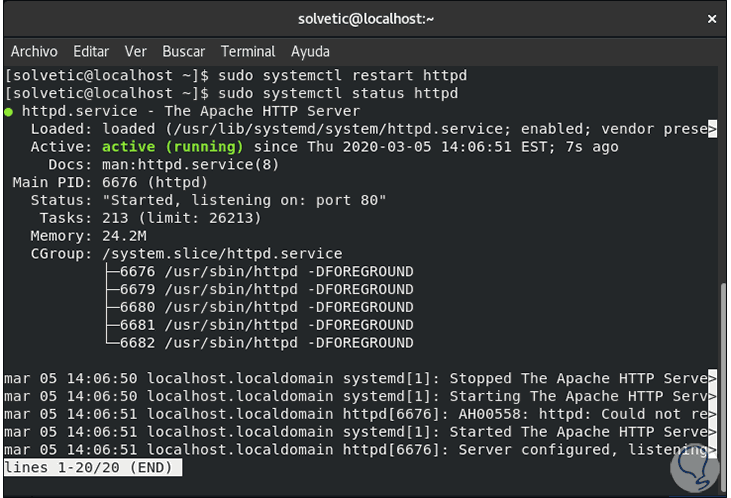
We restart and check the Apache service with the following commands:
sudo systemctl restart httpd sudo systemctl status httpd
Step 5
In case SELinux is enabled and running, we will use the following command in order to enable the Apache web server to write to the ownCloud directory:
sudo setsebool -P httpd_unified 1
5. How ownCloud works in CentOS 8
Step 1
To complete the configuration of ownCloud we will go to a browser and enter the following syntax:
http: // ip-server / owncloud
Step 2
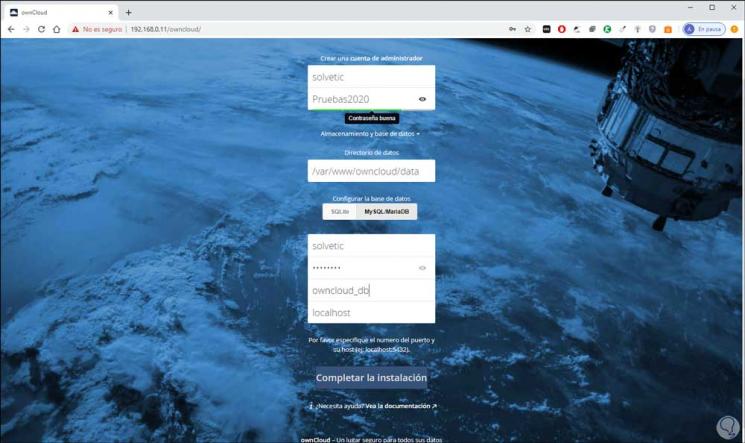
There we define the following:
- Assigning ownCloud administrator name and password
- In the "Configure the database" field, select "MySQL MarÃa DB"
- At the bottom we enter the name of the table, user and password that we have assigned in MySQL
Step 3
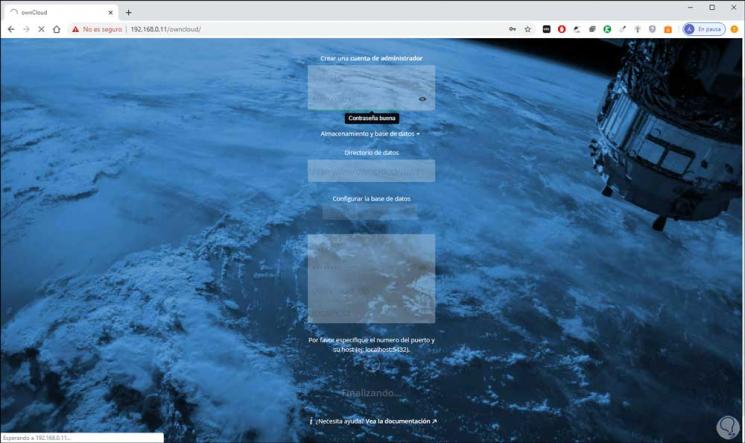
We click on the "Complete installation" button to follow the process:
Step 4
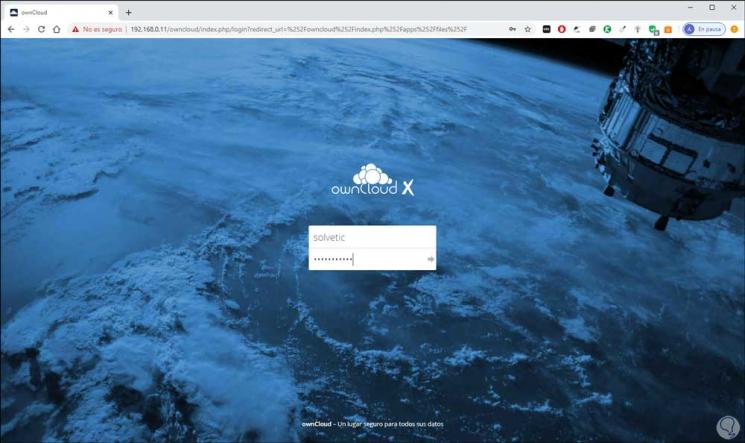
When this is finished we must enter the username and password that we have assigned:
Step 5
When accessing ownCloud we will see the following:
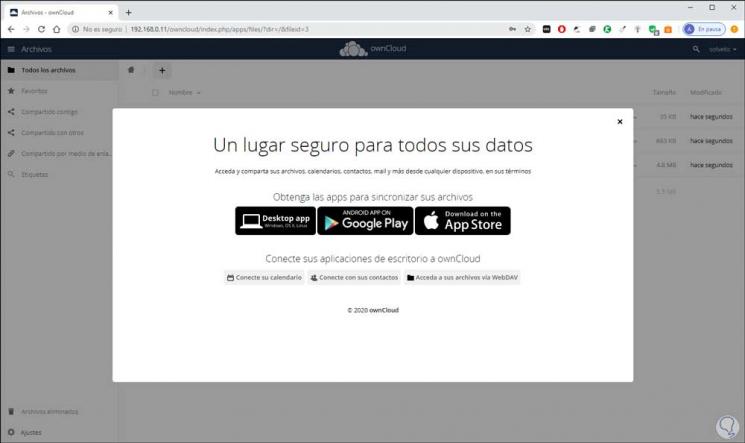
Step 6
We can close this window to see the general environment of OwnCloud:
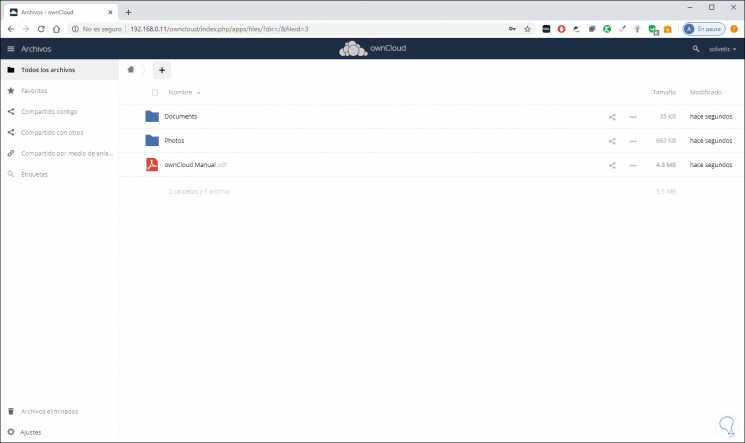
Step 7
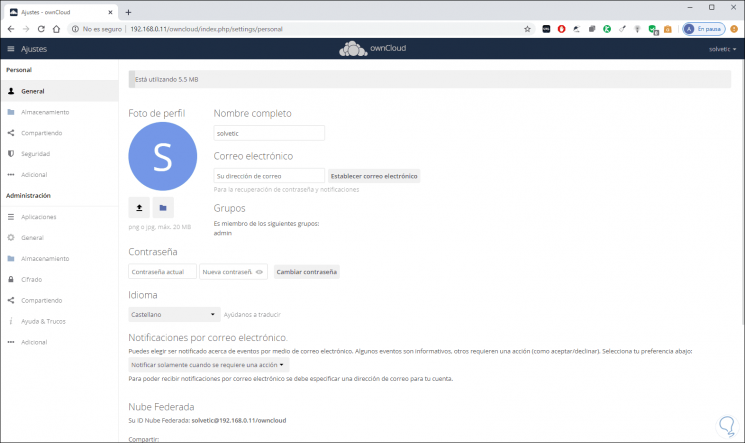
We can access the settings and these are composed of two sections that are:
Personal
In the Personal section we can edit variables such as:
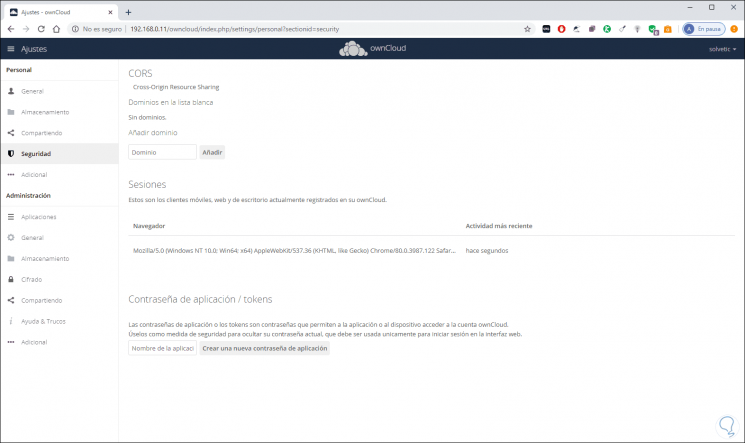
Security
In security we can add domains, view sessions or establish applications:
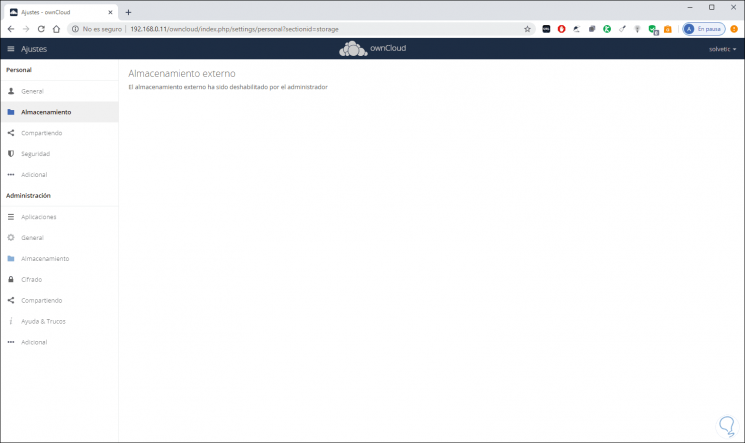
Storage
Some settings such as storage are controlled by the administrator:
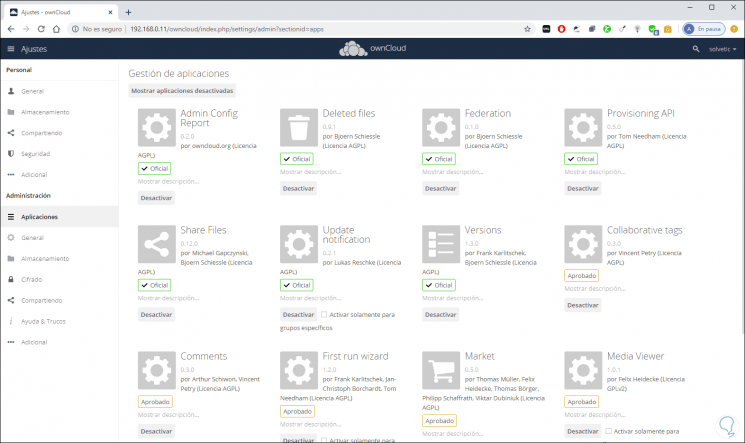
Administration
In the Administration section we can find the Applications section where we can extend the functionality of ownCloud:
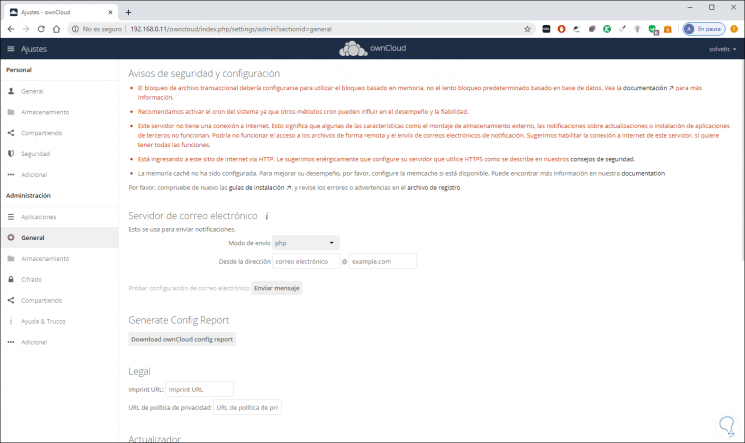
generate
In General we can configure:
- Download the ownCloud configuration report
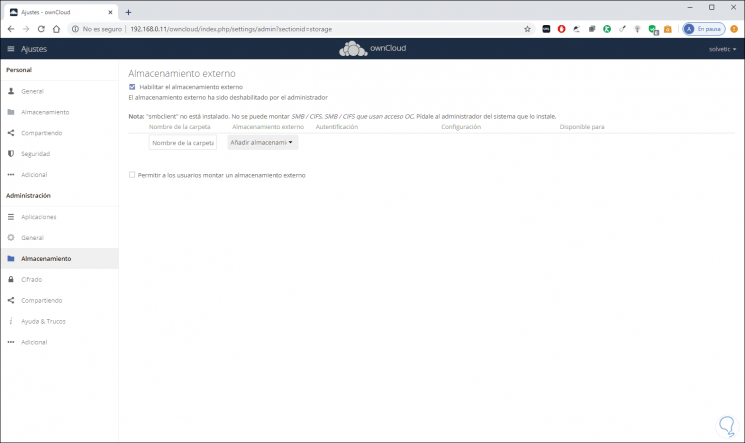
Step 8
We can activate external storage to increase file hosting capacity:
Step 9
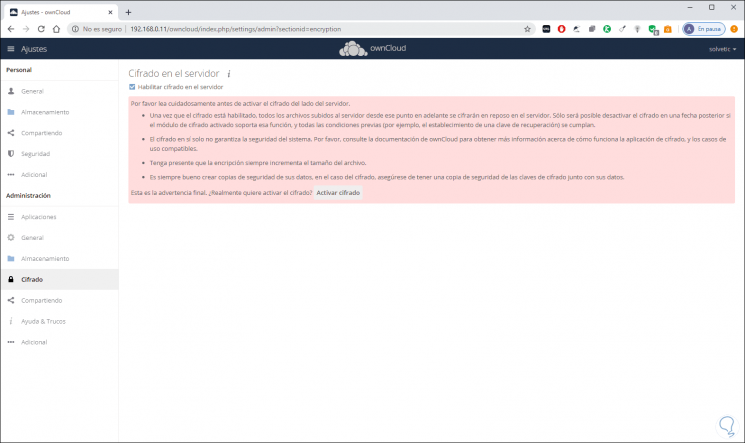
In the Encryption section we can enable encryption to increase security in ownCloud:
This is the method to install and configure ownCloud on CentOS 8 and in the process have a mechanism for hosting in the cloud in a secure and dynamic way..