Linux is one of the most dynamic operating systems today since they allow you to install and configure numerous applications and programs to further extend the system's own functionality and one of the most popular segments in Linux is development, especially when it comes to create websites. In this case it is not enough to have the idea of ​​the site but to have the appropriate set of tools so that everything goes perfectly and there comes into play the CMS (Content Management System - Content Management System) which integrates the PHP code as well as the themes and accessories necessary to make a website the best it can be..
In the CMS world we have different alternatives to use and Joomla! is one of them. So today we will see how to install Joomla in Ubuntu 20.04 or how to install Joomla in Ubuntu 19.04. Joomla! It is a completely free and code CMS with which we can carry out the tasks of publishing web content. Since Joomla! It is based on a web application framework based on the view-controller model which is compatible with all CMS and this results in the ability to create content online without any problem.
Joomla environments
Joomla! It can be used for environments like:
- Websites or portals based on the community, schools or communities.
- Magazines, newspapers and online publications.
- Corporate websites or portals, as well as intranets and extranets.
- Nonprofit or government websites.
Joomla uses
If we want to use the core of Joomla! Framework, as developers, it will be possible to create:
- Inventory control systems.
Without further words we are going to see how to install Joomla Ubuntu 19.04, 19.10 or 20.04 and thus get the most of its benefits..
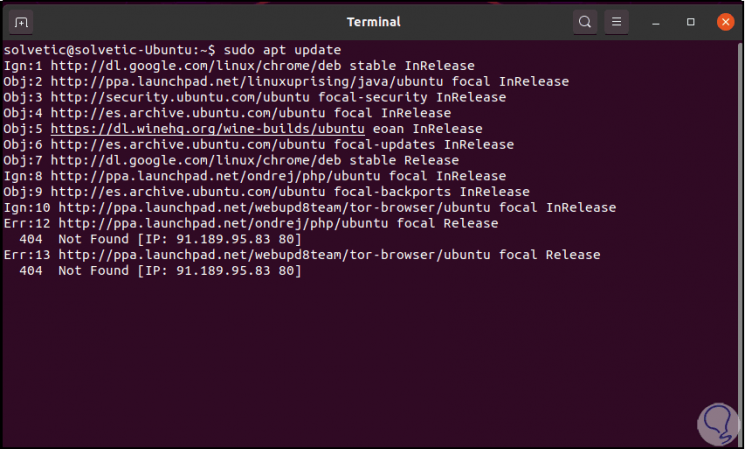
1. Update Ubuntu packages
The first step to take will be to update the Ubuntu packages with their respective application, for this we execute the following:
sudo apt update -y && sudo apt upgrade -y

2. Install Apache and PHP Ubuntu
Next, we will install Apache and PHP 7.3 because Joomla! it is written in PHP and stores the data in MySQL in the back-end, Apache is required since we will have access through a browser.
Step 1
For this we will first install Apache by running the following:
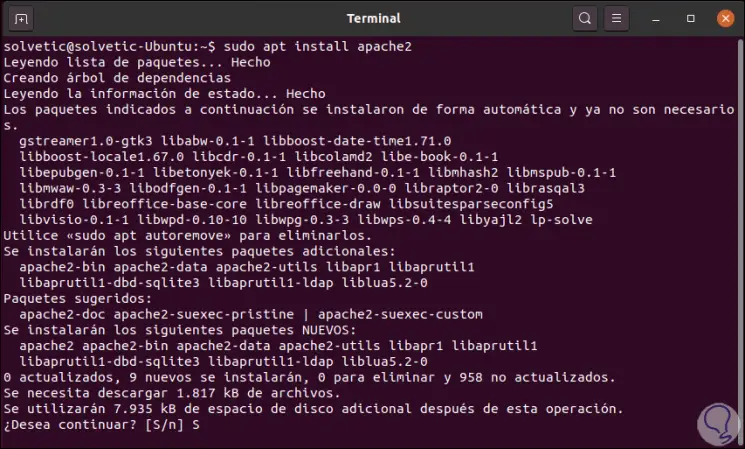
sudo apt install apache2
Step 2
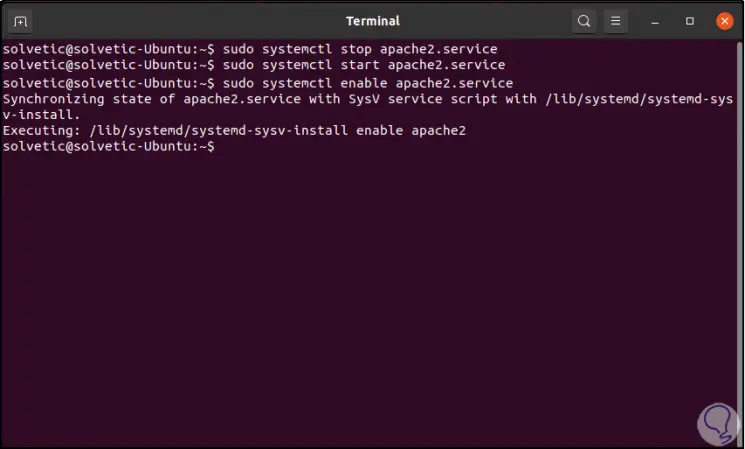
We enter the letter "S" to confirm the download and installation of Apache in Ubuntu, now we are going to start and enable the Apache service in Ubuntu with the following commands:
sudo systemctl stop apache2.service sudo systemctl start apache2.service sudo systemctl enable apache2.service
Step 3
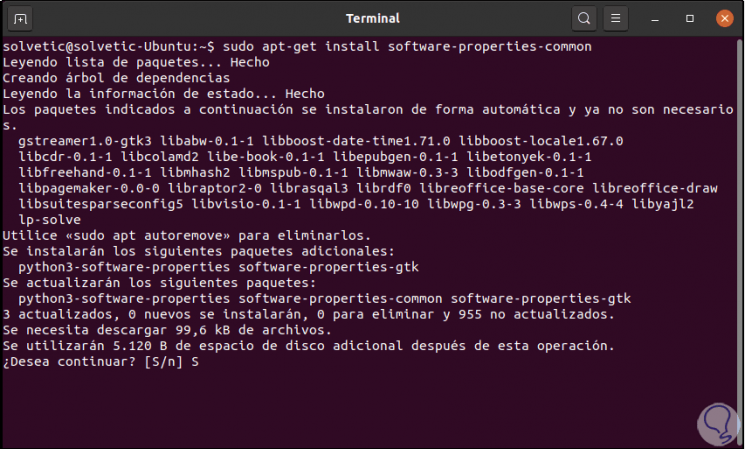
The next step will be to install PHP 7.3 and for this we must make use of a repository since PHP 7.3 will not always find it in the official Ubuntu repositories, for this we first execute the following command:
sudo apt-get install software-properties-common
Step 4
We enter the letter S to confirm the download and installation, after this we add the repository with the following command:
sudo add-apt-repository ppa: ondrej / php
Step 5
Press the Enter key to confirm the action and proceed to update the repositories:
sudo apt update
Step 6
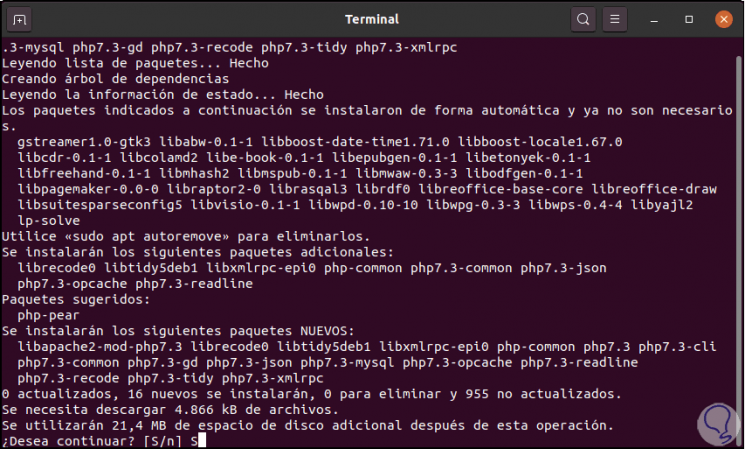
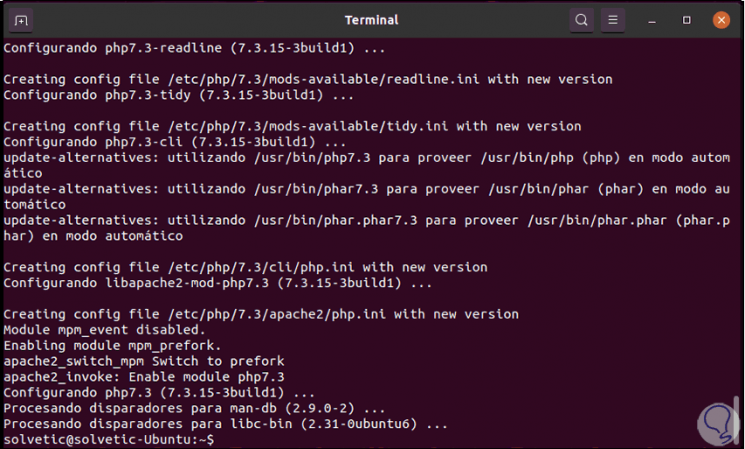
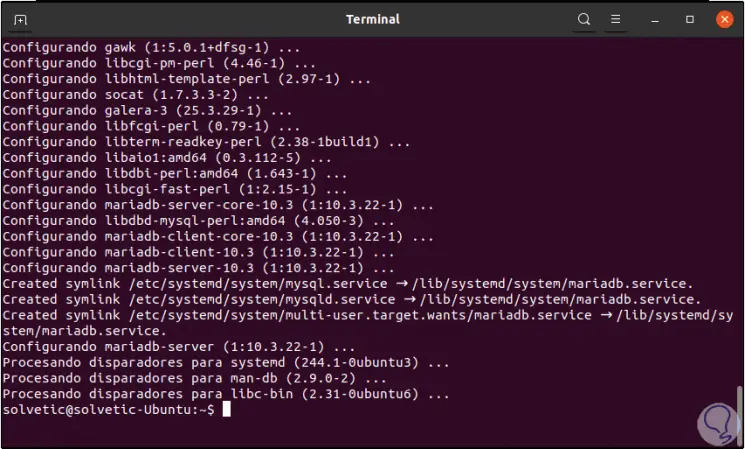
After this we will install the PHP 7.3 plugins with the following command:
sudo apt-get install php7.3 libapache2-mod-php7.3 php7.3-cli php7.3-mysql php7.3-gd php7.3-recode php7.3-tidy php7.3-xmlrpc
Step 7
Again we enter the letter S to confirm the download and installation:
Step 8
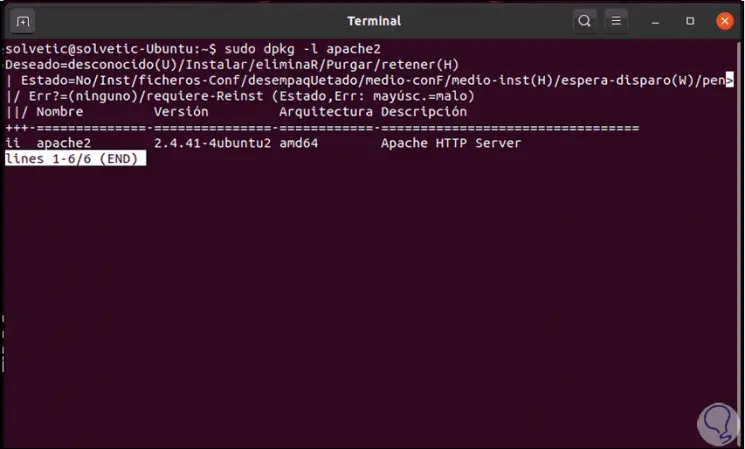
If we want to know the version of Apache we can execute the following line:
sudo dpkg -l apache2
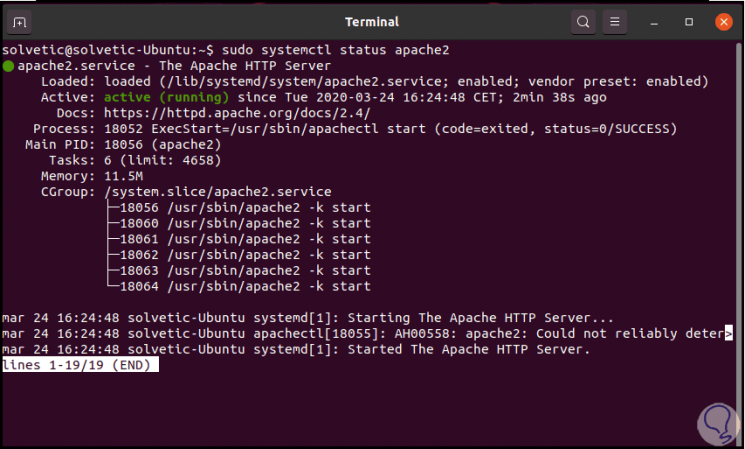
Step 9
We must validate that Apache works correctly and for this we check its status with the following command:
sudo systemctl status apache2
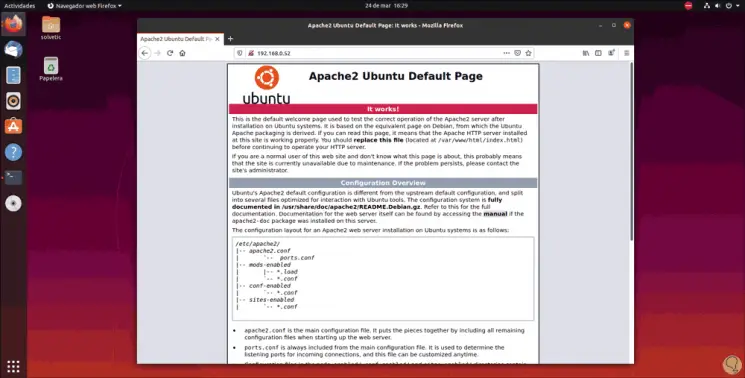
Step 10
From the team itself we can access a browser and in a new tab enter the following:
http: // IP_team
Step 11
As a result we will see the following:
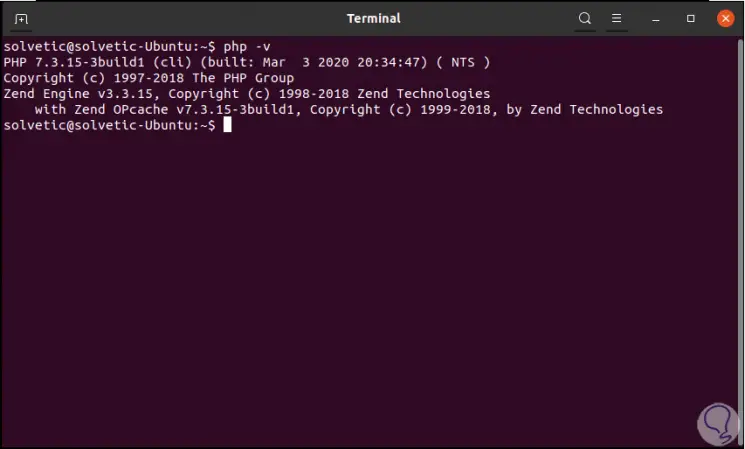
Step 12
To check the PHP version we execute the following:
php -v
3. Install MariaDB Ubuntu
Since Joomla! you need a database on the server in order to store your data, you will need to install a relational database server.
Step 1
For this we will use MariaDB which can be installed with the following command:
sudo apt install mariadb-server
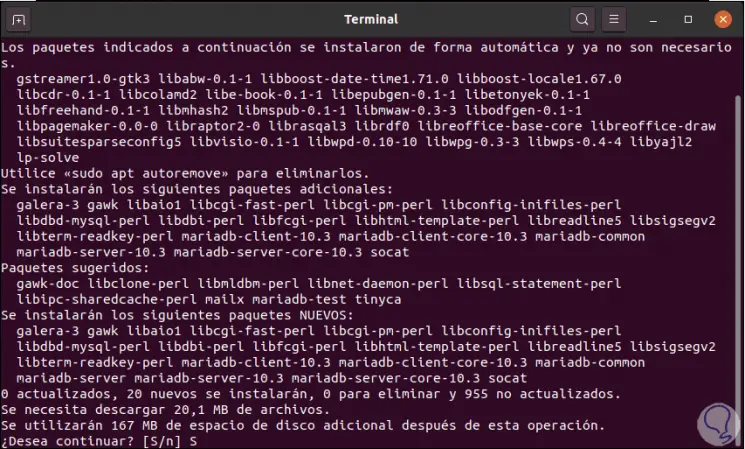
Step 2
We enter the letter S to confirm the task and install MariaDB in Ubuntu 19.04, 19.10 or 20.04:
Step 3
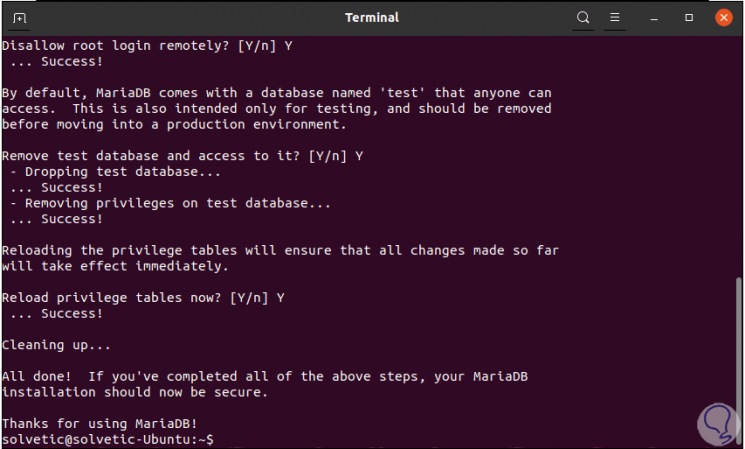
By default the installation of MarÃaDB is not secure, we must add security by executing the following command:
sudo mysql_secure_installation
Step 4
There we assign the root password and enter the letter "Y" for each displayed question:
4. Create Joomla database
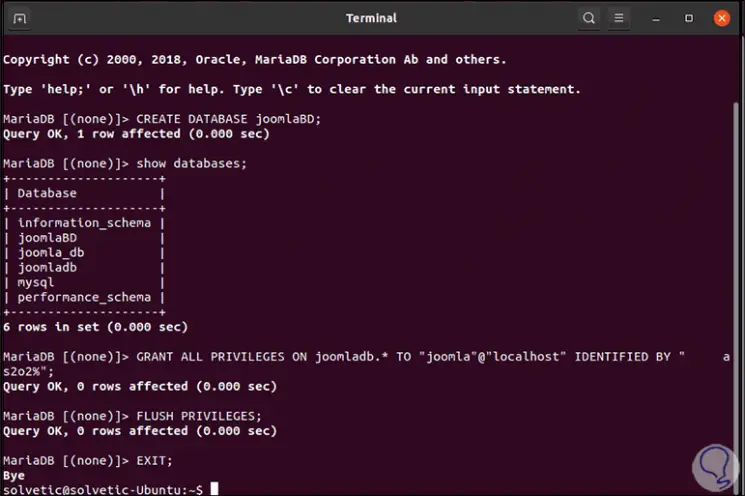
Step 1
We are going to create the database where the Joomla! Objects will be housed, for this we access MariaDB with the following command:
sudo mysql -u root -p
Step 2
There we will execute the following lines:
CREATE DATABASE "Database name"; GRANT ALL ON “database * TO“ user â€@†localhost â€IDENTIFIED BY“ PASSWORD â€; FLUSH PRIVILEGES; EXIT;
Step 3
Also, we can use the command "show databases" to list the current databases in MariaDB:
5. Download Joomla! for Ubuntu
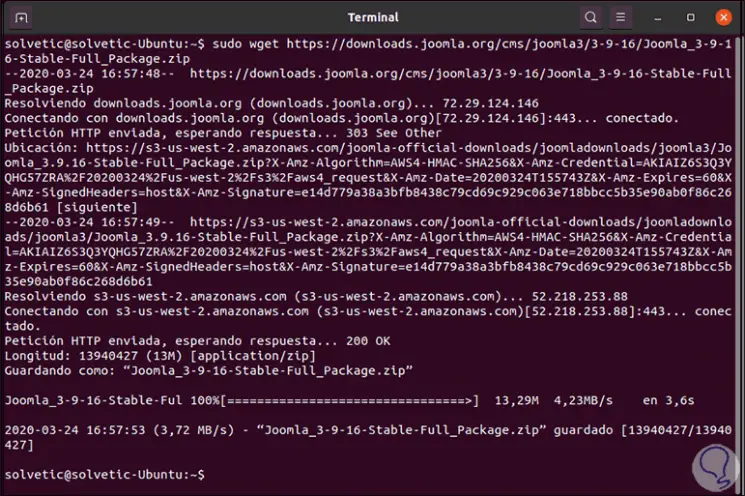
Step 1
Once the database is created we will download Joomla! from the official link where we find the latest version available:
Joomla
Step 2
The current version is 3.9.16 and for download we run:
sudo wget https://downloads.joomla.org/cms/joomla3/3-9-16/Joomla_3-9-16-Stable-Full_Package.zip
Step 3
Let's create the directory for Joomla !:
sudo mkdir / var / www / html / Joomla
Step 4
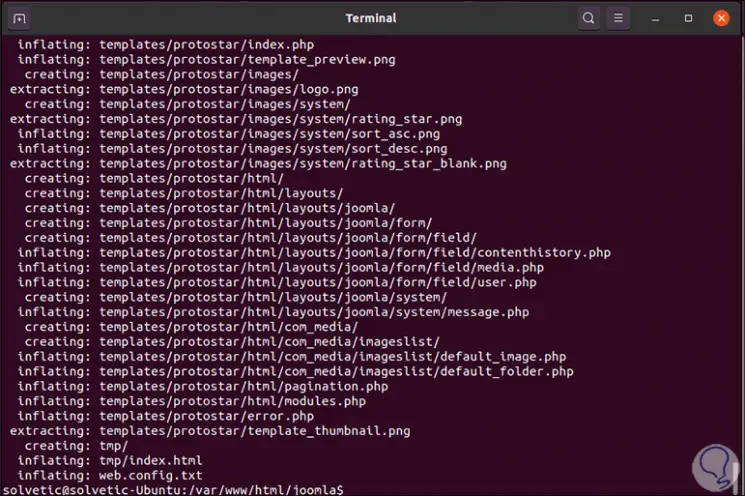
We extract the file to said directory:
sudo unzip Joomla_3.19-16-Stable-Full_package.zip -d / var / www / html / Joomla
Step 5
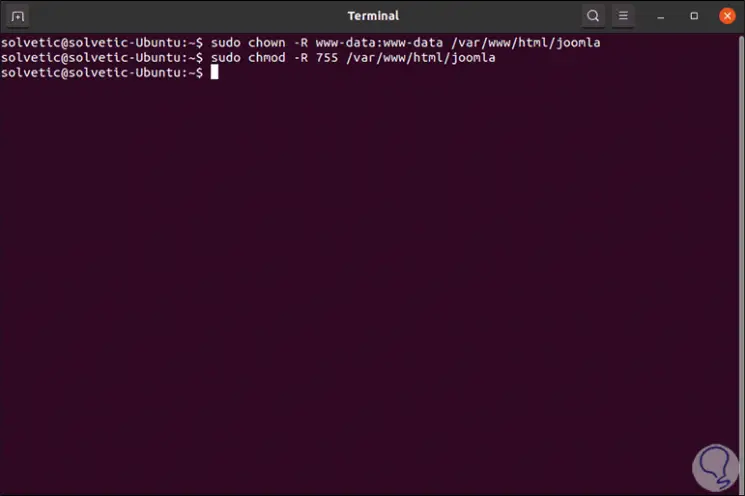
Now we are going to assign Apache permissions with the following commands:
sudo chown -R www-data: www-data / var / www / html / joomla sudo chmod -R 755 / var / www / html / Joomla
Step 6
We restart Apache to apply the changes:
sudo systemctl restart apache2 Apache configuration for Joomla!
Step 7
It is time to configure the Apache web server for the Joomla server web pages, in this case we must create a virtual host for Joomla which will be called Joomla.conf:
sudo nano /etc/apache2/sites-available/joomla.conf
Step 8
In this file we will paste the following:
<VirtualHost *: 80> ServerAdmin [email protected] DocumentRoot / var / www / html / joomla / ServerName domain.com ServerAlias ​​www. domain.com ErrorLog $ {APACHE_LOG_DIR} /error.log CustomLog $ {APACHE_LOG_DIR} /access.log combined <Directory / var / www / html / joomla /> Options FollowSymlinks AllowOverride All Require all granted </Directory> </VirtualHost> 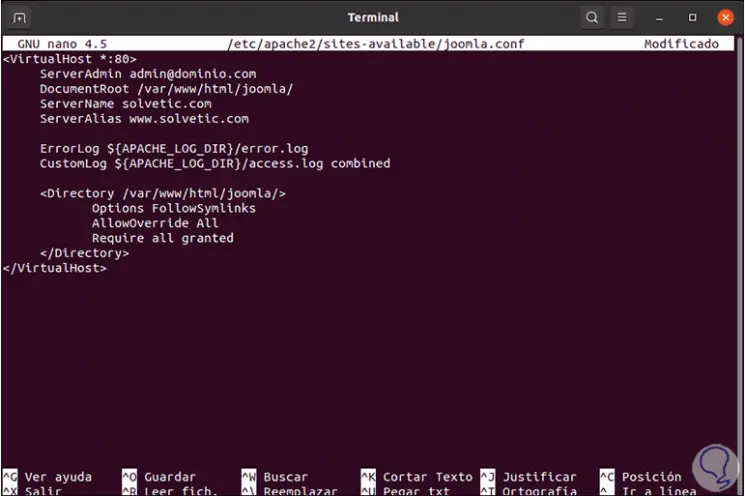
Step 9
We save the changes using the following key combination:
+ O Ctrl + O
We exit the editor using:
+ X Ctrl + X
Step 10
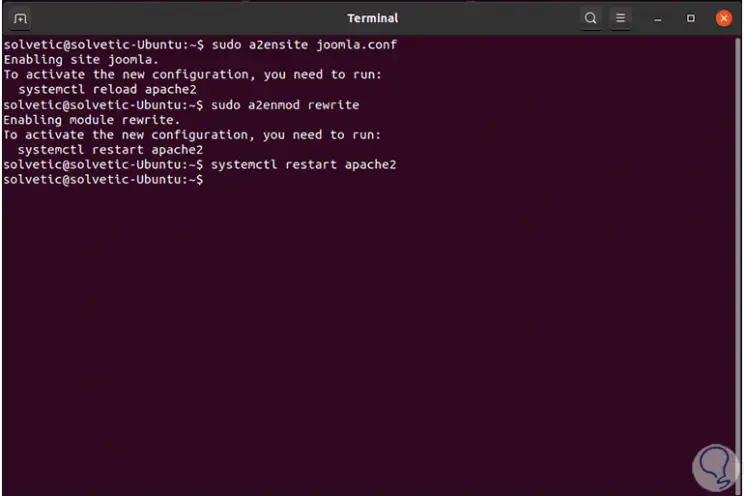
We enable the virtual host with the following commands:
sudo a2ensite joomla.conf sudo a2enmod rewrite
Step 11
We restart Apache:
sudo systemctl restart apache2
6. How to access the Joomla cpanel
Step 1
Once these steps are configured, we will be ready to access Joomla !, for this we go to a web browser and enter the following syntax:
http: // IP_Equipo / joomla
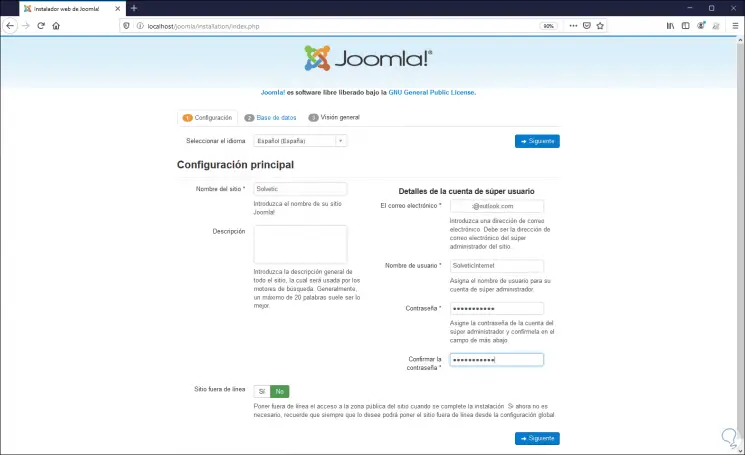
Step 2
In this initial window we must configure some aspects such as:
- Language to use in Joomla!
- Name of the site to create
- Option to add a description
- We enter the contact email
- We enter username and password
Step 3
Defined this we click on Next and we will see this:
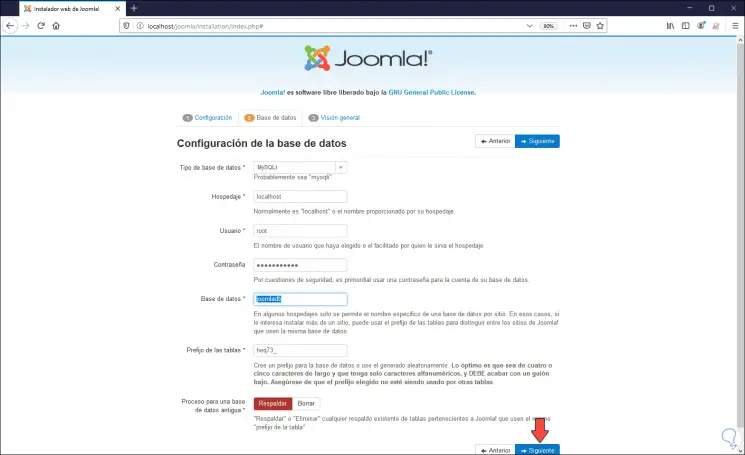
Step 4
Here we configure the following:
- Database type to use (we leave the default option)
- Hosting which must be "localhost"
- In the “Database†field we enter the base that we have created in MariaDB
Step 5
We click Next and we will see this:
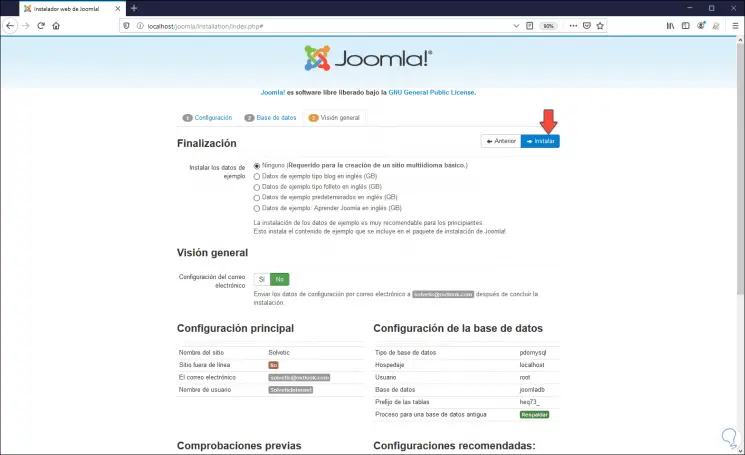
Step 6
There we access the parameters that have to be installed in Joomla !, at the bottom we find more details:
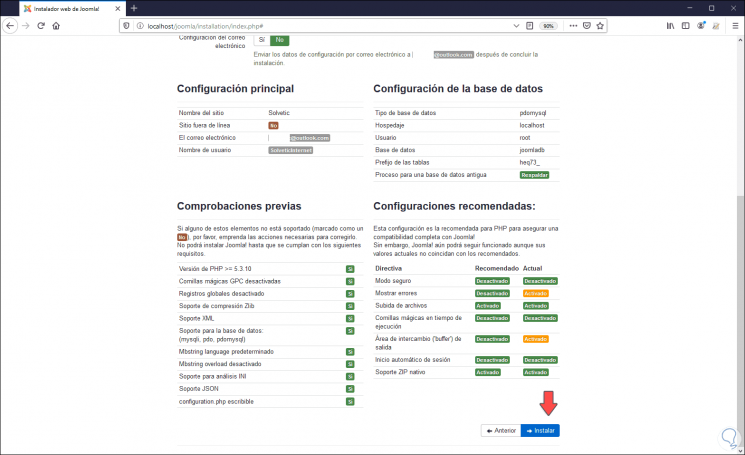
Step 7
Once this is verified, we click on “Install†to execute the respective process:
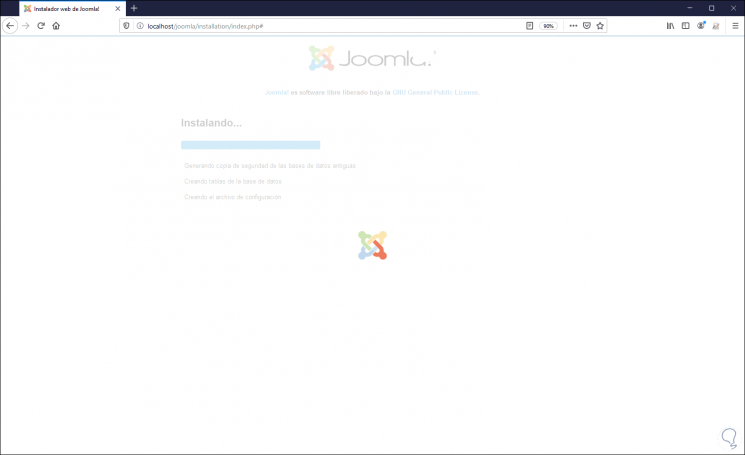
Step 8
When this ends we will see the following:
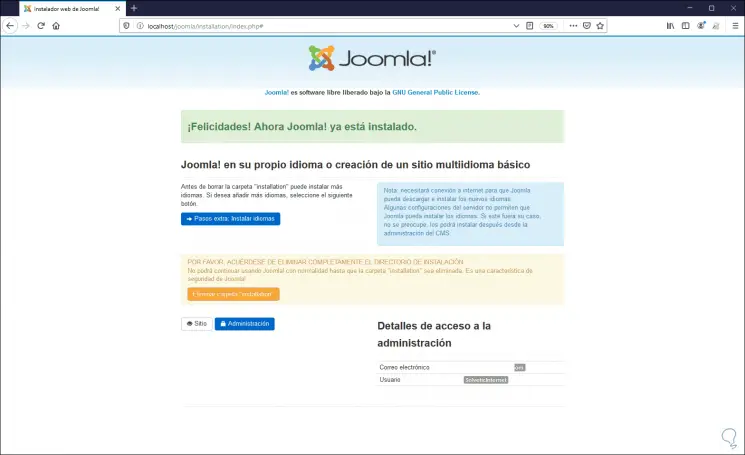
Step 9
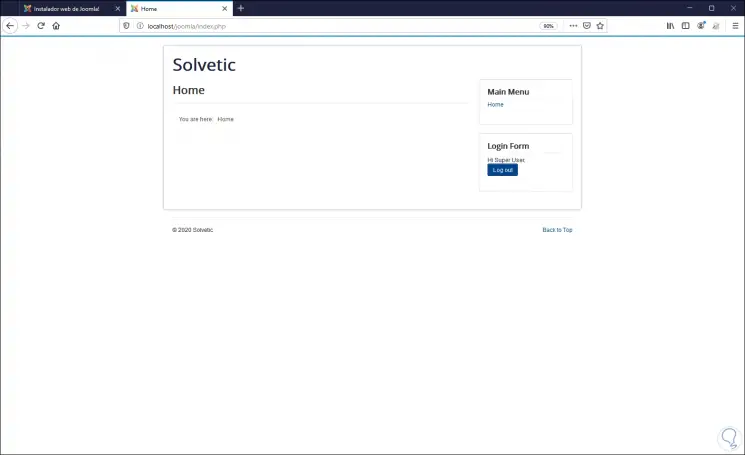
There we have two options that are to directly access the Site or the Joomla Administration, if we click on the Site we will see the following:
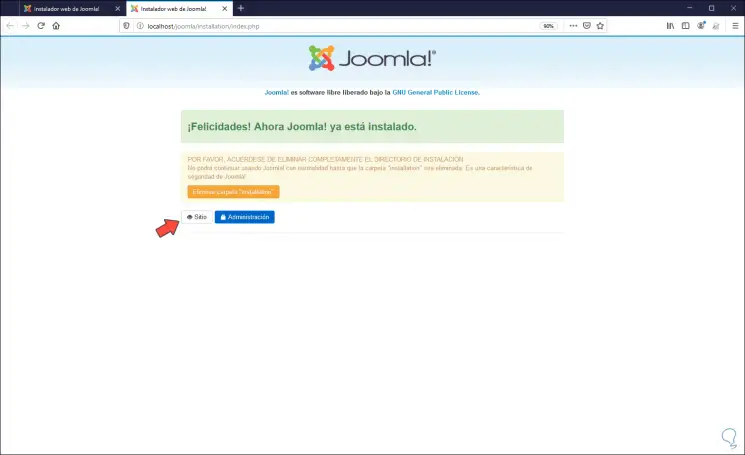
Step 10
For security it is recommended to delete the installation folder, we click there to access the global site:
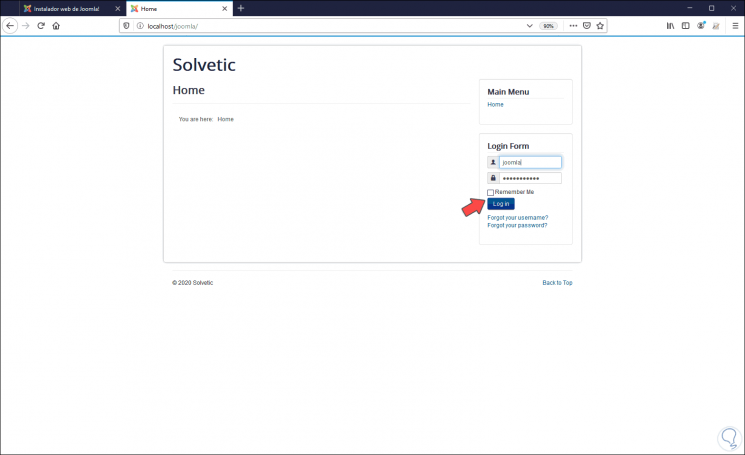
Step 11
When the user credentials are entered we access:
Step 12
If we go to the option "Administration" we will observe the following:
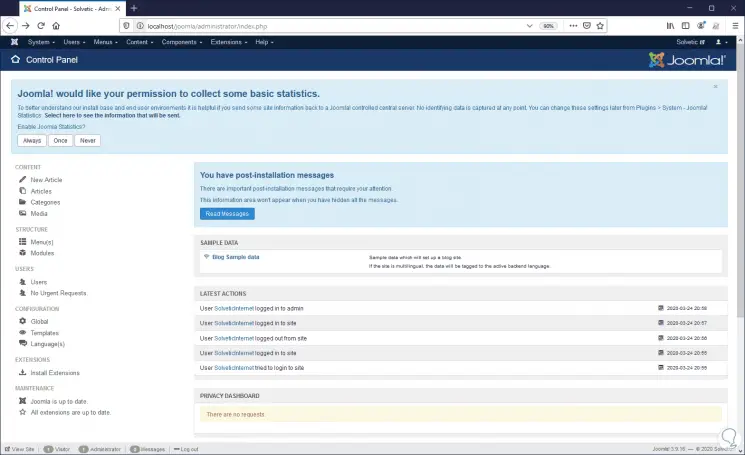
Step 13
From there we have all the global management of Joomla! and its parameters to configure them as necessary:
Step 14
If for some reason when trying to access Joomla! in the initial steps a domain error is generated you have the possibility to create a local domain in Ubuntu, for this we will first install Nginx with the following command:
sudo apt install nginx
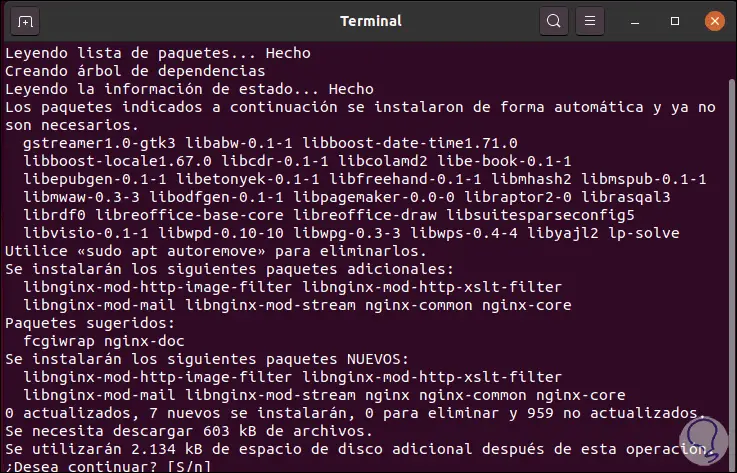
Step 15
We confirm the download and installation. After this we will go to the directory by executing:
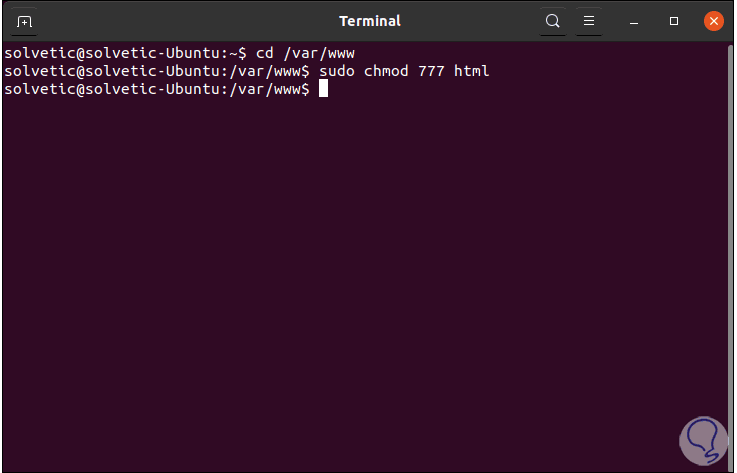
cd / var / www
Step 16
There we grant the HTML permissions:
sudo chmod 777 html
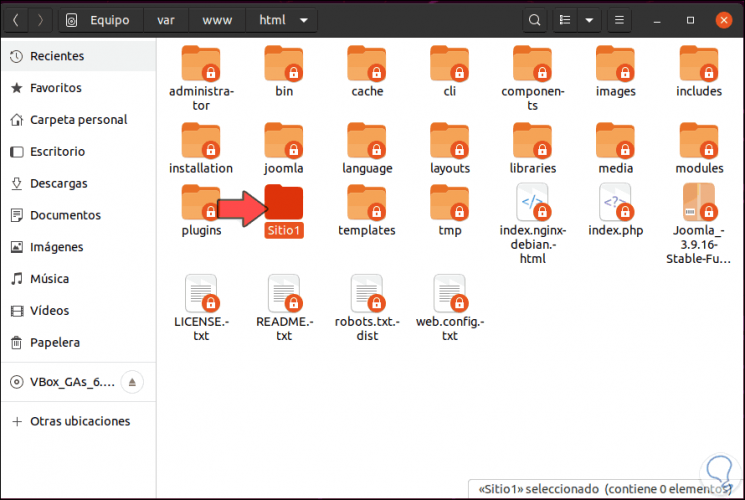
Step 17
Now we will go to the explorer and locate the path / var / www / html and there we will create the folder with the domain name, in this case "site1":
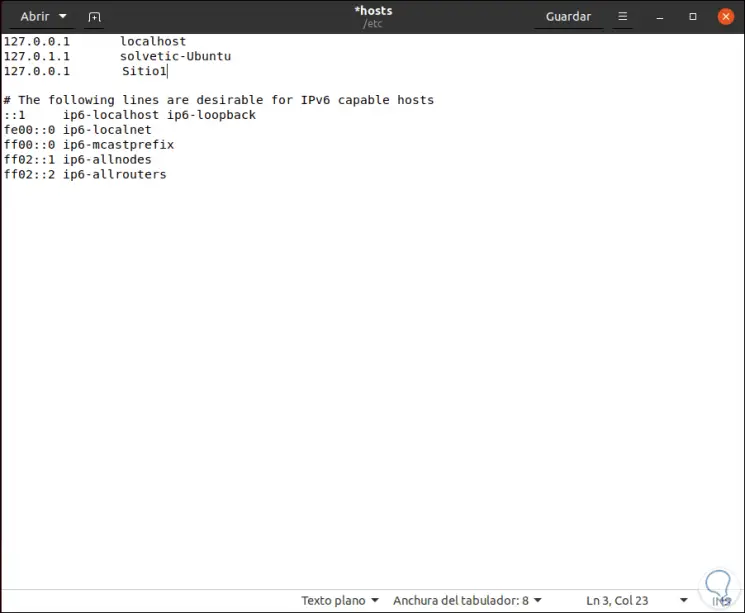
Step 18
The next step will be to edit the / etc / hosts file by running:
sudo gedit / etc / hosts
Step 19
In the displayed file we enter the following line:
127.0.0.1 Site1
Step 20
We save the changes and restart Nginx by running. After this we will be ready to use this domain together with Joomla !.
sudo service nginx restart
With TechnoWikis you have learned to install Joomla Ubuntu 19.04, 19.10 or 20.04 in a complete and comprehensive way to use each of its functions.