One of the situations that hundreds of users of an operating system are most concerned about is when they inadvertently (or perhaps voluntarily) delete one or more files from the computer and then need them. If they were moved to the trash on Windows or Mac, no problem because just go there and restore it. But if the trash was emptied, the problems will start because it is difficult to recover these objects..
Fortunately, our operating system does not remove 100% of all the objects in the trash since it houses them in a space on the hard disk where traditional reading tasks do not run. The good news is that with the right tools we will be able to access it and recover various elements with a high percentage of effectiveness for later use.
One of these practical and functional tools is AnyRecover and in this tutorial TechnoWikis will explain in depth how to use it to recover files on Mac..
What is AnyRecover
This is software that has been developed in order to be able to recover data that has been deleted, has been lost, or is simply inaccessible. It serves both for PCs and for macOS systems, hard drives and other devices that fulfill data hosting tasks such as USB sticks or external drives.
As we mentioned at the beginning, everything we eliminate is housed in a sector of the hard disk and that is why AnyRecover integrates an advanced deep scanning algorithm, that is, when executing the analysis action, it is generally searched for in the structure of data from the hard drive with the aim of recovering lost or deleted data with an effectiveness rate greater than 96%.
With AnyRecover it will be possible to recover
- Deleted files from the trash or trash
- Recover files that have been damaged by system failure
- Recover files from storage drives like internal or external hard drives
- Access data from lost partitions
- Access data from corrupt hard drives
- Recover data that has been deleted due to viruses or malware
- Helps to recover data that has been deleted during an operating system reinstallation process
If you want to download Anyrecover you can do it by clicking on the following link:
iMyFone AnyRecover Windows Data Recovery
Advantages
Among its great advantages we highlight the recovery compatibility of different formats such as:
- Documents: DOC / DOCX, XLS / XLSX, PPT and more
- Video: AVI, MOV, MP4, M4V, WMV, 3GP, MKV and more
- Photos: PG / JPEG, PNG, GIF, TIFF / TIF, BMP, PSD and more
- Email: PST, DBX, EMLX, EML
- Audio: MP3, WAV, AIF / AIFF, M4A, WMA and more
- Additional files like ZIP, RAR, SIT, ISO.
Let's see how to install and use iMyFone AnyRecover Mac Data Recovery ..
1. How to install AnyRecover on Mac
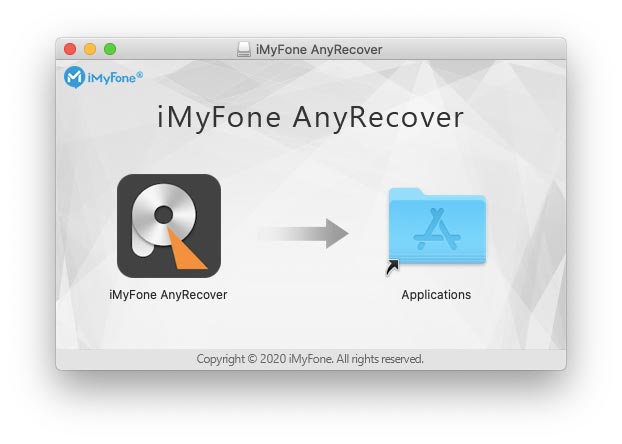
The first thing will be to download and run the file. In the displayed window we drag the utility to Applications:
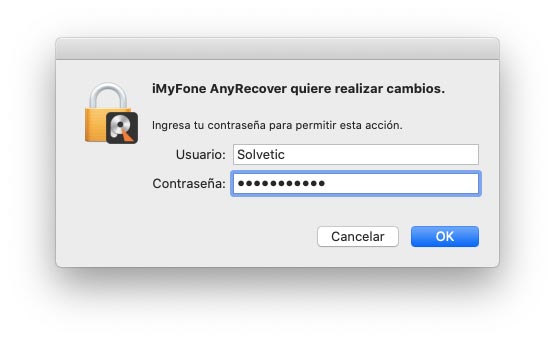
Next we enter the administrator password to allow the application to run:
2. How to recover deleted files on Mac with AnyRecover
Step 1
Once we enter the password, we access the AnyRecover console:
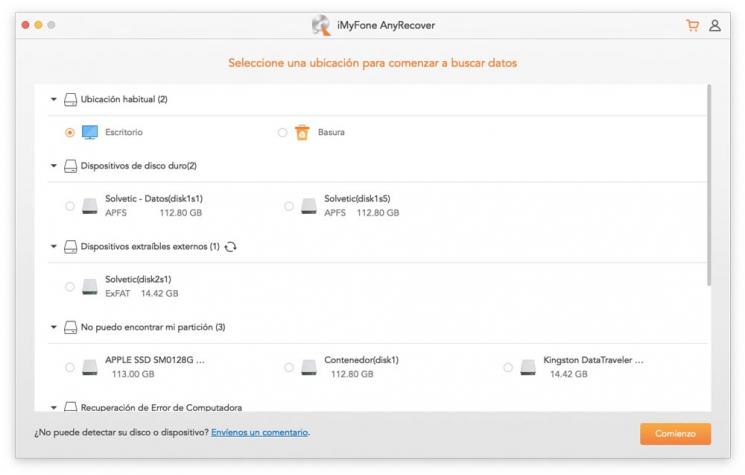
As we can see, there are the different options available to recover data. We can select from internal Mac disks to the trash or desktop items
Step 2
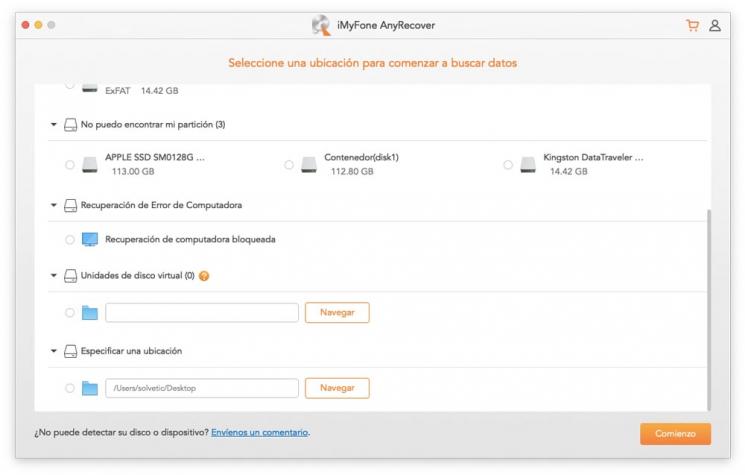
At the bottom we have additional options such as virtual drives or custom locations:
Step 3
In this case we select our local hard drive:
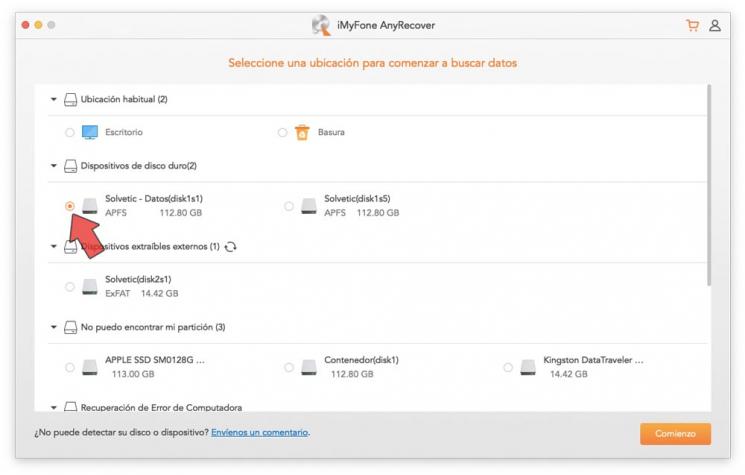
Step 4
To start the analysis and recovery process, click on the "Start" button:
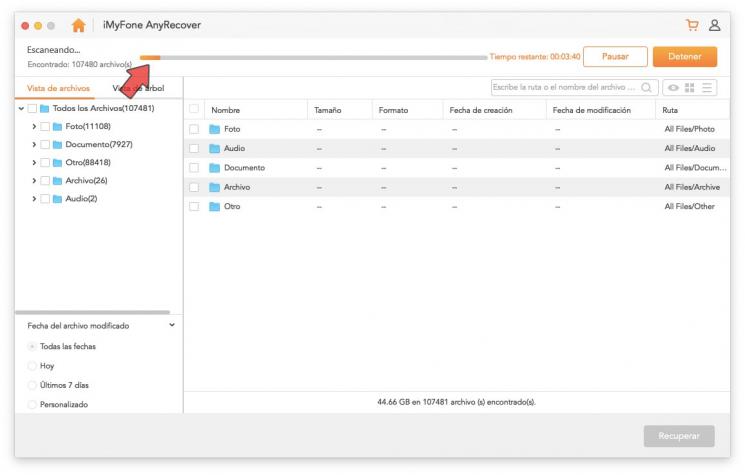
At the top we can see the number of items found and the remaining time. We can either wait for it to complete or stop it if necessary.
Step 5
Once the scanning task reaches its end we will observe the following message:
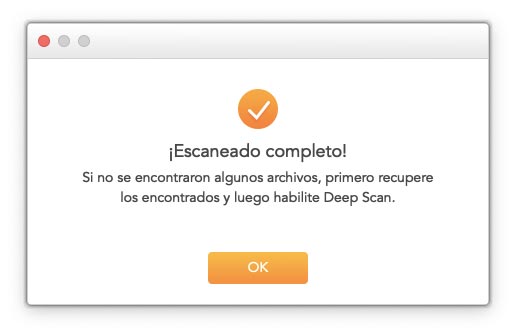
Step 6
We click OK to close the dialog box. Then we can navigate through the different categories to view the items that have been recovered:
Step 7
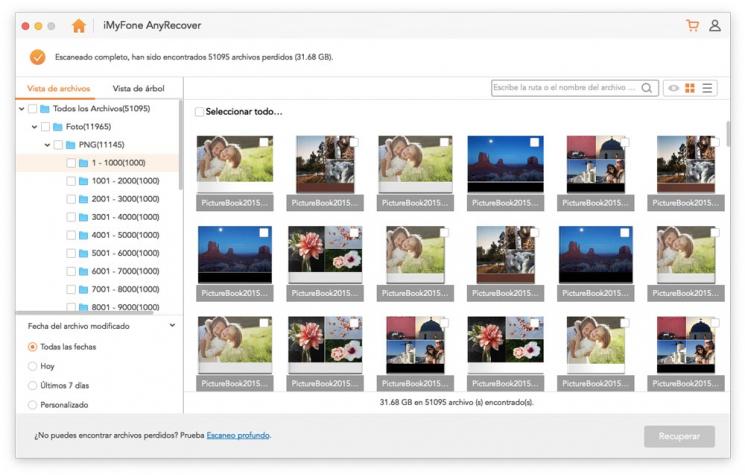
In the "File view" section we have a view of the recovered objects by type of extension (Photos, Videos, Email, etc.), in the "Tree view" section we have a view structured by folders.
In this section we have the opportunity to view the content of each recovered object and at the bottom we can see the total weight that has been recovered. In the upper right corner we can click on the eye icon to access the preview of the selected element:
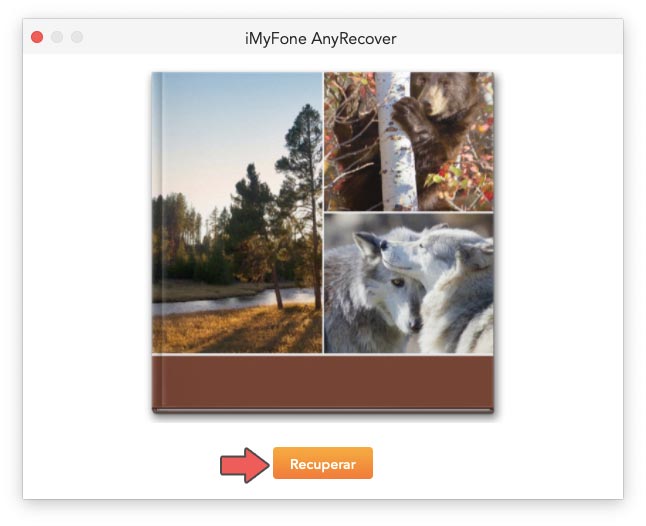
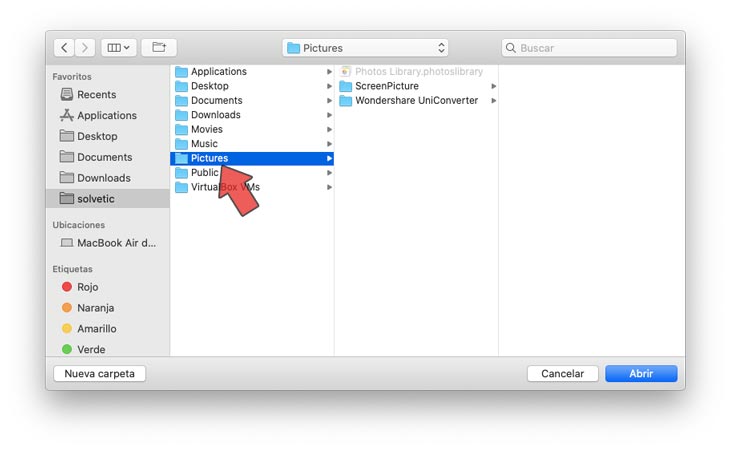
Step 8
If it is the desired object, we click on Recover and we will define where to save the file. We must be careful not to store it in the same folder from where it was recovered:
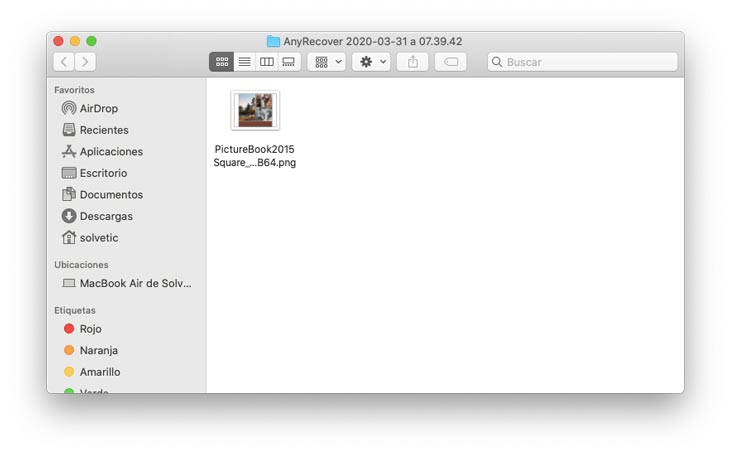
Step 9
There we save the item and we will see the following message:
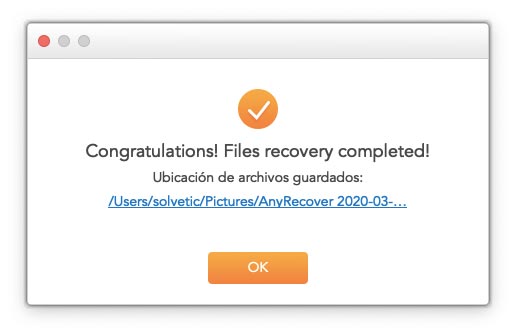
Step 10
We click OK and we can go to the path where we have defined that the object will be saved to dispose of it at any time:
We can see all the functionality that AnyRecover offers us on Mac to recover thousands of files in a safe, comprehensive and best of all with a high percentage of reliability.