The computer has become an indispensable element for most of us, and in many cases it is the main work tool. That is why the amount of information that we are storing is increasing as we save quantity of photos, documents, videos etc. But how many times have we deleted some of these files by mistake that we later wanted to recover?
Surely when this has happened to us, we have gone directly to the recycle bin in search of what we have deleted by mistake. However, this does not always work because we may not be able to recover this document as it has also been deleted from here or not available for any reason such as system failures, formatting, lost files, formatting errors, etc..
And that is when the question arises, what can I do? How can I recover my files? Quiet. You should not worry as we show you how to recover deleted files on Windows and Mac in a simple way thanks to the EaseUS Data Recovery Wizard program.
Main features EaseUS Data Recovery Wizard
- Lost partition data recovery
- Data recovery due to system failure
- Reinstallation or update failures
- File system or hard drive corruption
- Disconnecting the storage medium during the writing process
- Incorrect removal of the memory card
- Save lost files when the memory card cannot be read or accessed
Note
With the free trial version you will be able to recover 500 MB data. If you share the software on Facebook, Twitter or Google + you will have 2GB to recover.
1. How to recover deleted files on Windows with EaseUS Data Recovery Wizard


This program also serves to recover files that have been deleted on your PC with Windows operating system. In this case we can easily recover data from the PC, laptop, hard drive, SSD, USB memory, memory card, digital camera or other storage devices etc..
Step 1
The first thing we should do is download this program for our Windows PC in the link you will see below:
EaseUS Data Recovery Wizard Windows
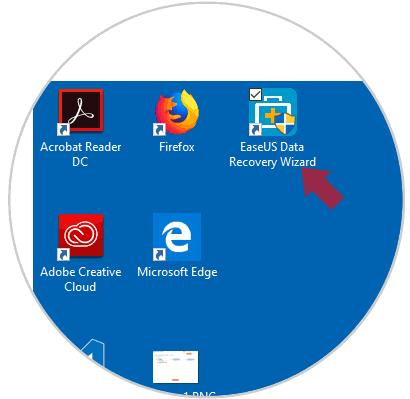
Once downloaded you will see how the icon appears on the desktop of your PC. Click on it to access the data recovery program.
Step 2
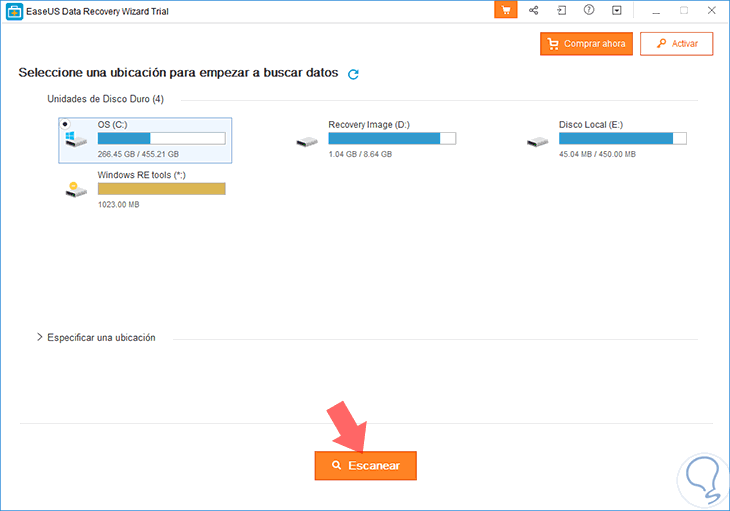
Select the disk drive on which you want to recover the data by selecting it. Once you have done it, press the scan button at the bottom of the screen.
Step 3
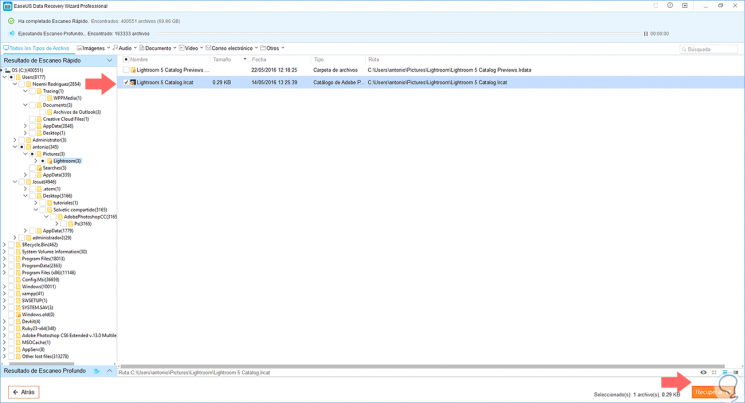
Now, in the new screen, several folders will appear in the left margin; which will contain the information deleted on your PC.
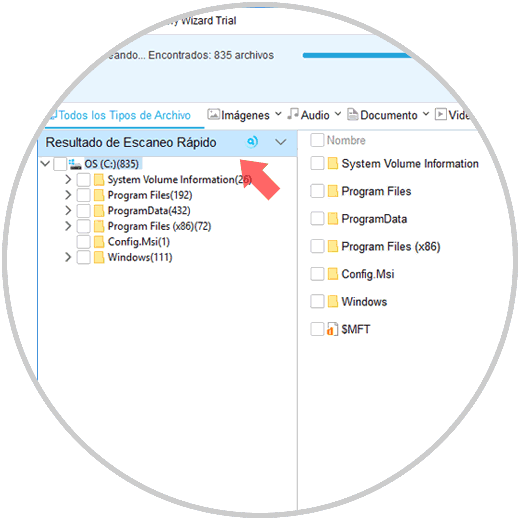
If you select one of them subfolders belonging to the first will appear. Find the folder in which the files you want to recover are located. You can see the information they contain in the main column of the screen..
Step 4
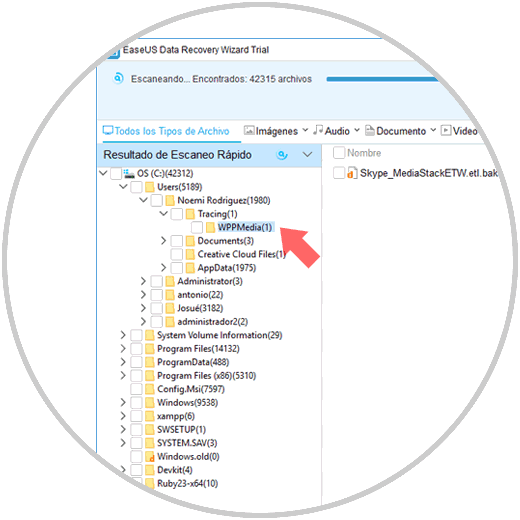
Once you have done so, check the box to select that folder. When you have marked it, click on “Restore†located in the lower right corner of the screen to retrieve the information.
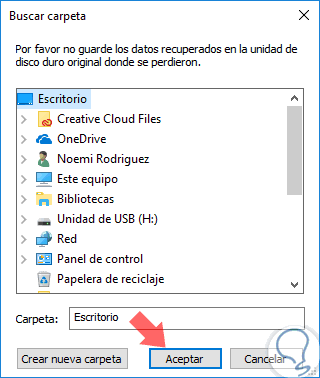
Step 5
You must choose the location where you want to restore the files on your PC. Select it and press "OK"
Step 6
The process may take a few minutes and will depend on the volume of the data to be recovered. When it is ready, the following message will appear on the screen of your PC and you will be able to use the deleted information again by searching for it in the location you selected in the previous step.

2. How to recover deleted files on Mac with EaseUS Data Recovery Wizard

This program offers us the recovery of deleted or formatted data from MacBook, iMac, memory card, hard drive, SSD, USB drive, SD card, digital camera, media player, etc.
The first thing to do is download the EaseUS Data Recovery Wizard through the following link.
EaseUS Data Recovery Wizard Mac
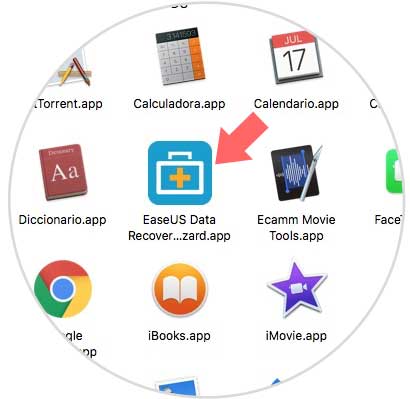
Once we have it downloaded to the computer, we have to move it to the applications folder. Once here, we can start using it.
Note
From macOS 10.13 (High Sierra) it has been detected that Mac users cannot access the system disk from third-party applications. In order to recover data from the system disk, you must first deactivate the "Integrity Protection System (SIP)" system function. To do this you must follow the instructions detailed below.
- Hold down the ⌘ + ⇧ + R keys
- Release the keys when the apple logo appears
- Indicate in the “Utilities†tab the “Terminal†option
- Enter the command "csrutil disable"
To keep up, remember to subscribe to our YouTube channel! SUBSCRIBE
Step 1
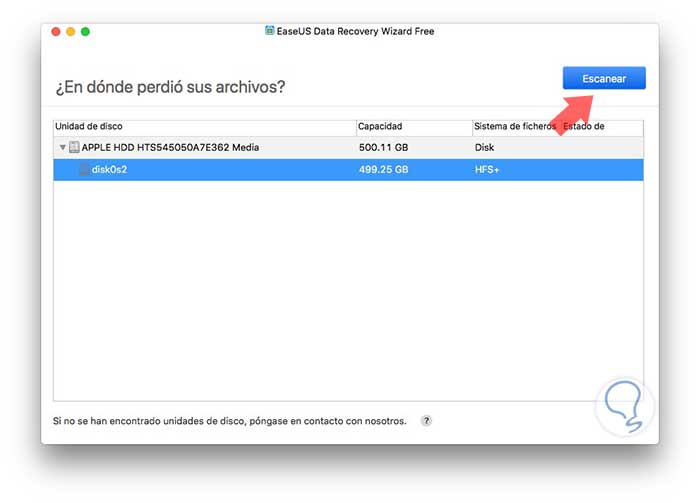
When we have done this, we can start using the program. First of all, access Mac applications and open it. We will see that in its main interface all the units of our Mac appear. In this
case we must select that drive from which we want to recover the files deleted by mistake.
Once selected, press on the "Scan" key located in the upper right corner.
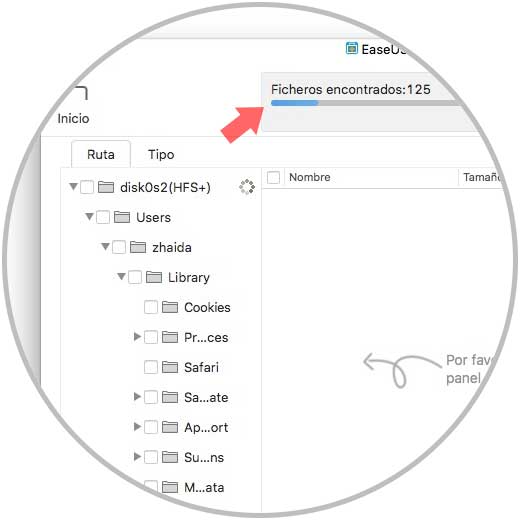
Step 2
At the top, we will see all the files that are being recovered from our system. In addition, on the right side will appear all the information ordered by units and folders.
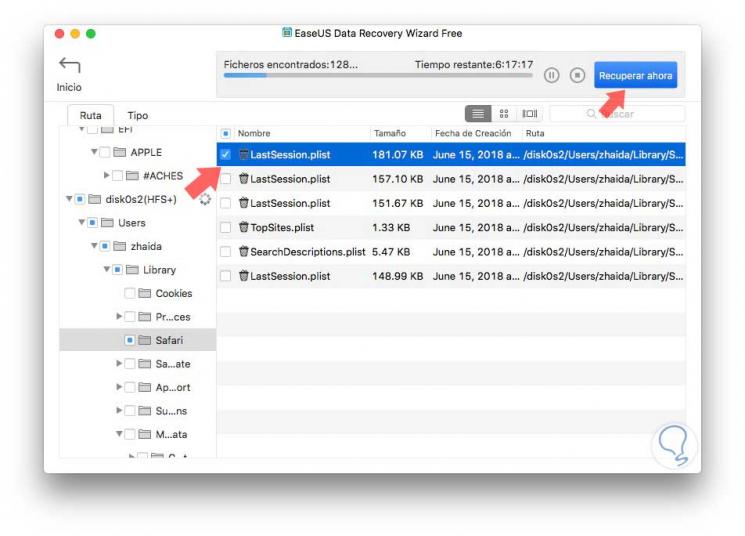
Step 3
Once the recovery process is finished, we have to select on the left side the section from which we want to recover these deleted files by mistake. We will see that we can display the different sections of the folders that have been recovered and filter results based on our needs and preferences. If we click on them, in the central part we will see what files it contains.

Step 4
To be able to recover them, it is enough that we select what we want to recover on our Mac and leave it marked with a blue tick. Once this is done, you must select “Recover Now†at the top and you will recover the selected files on your computer.
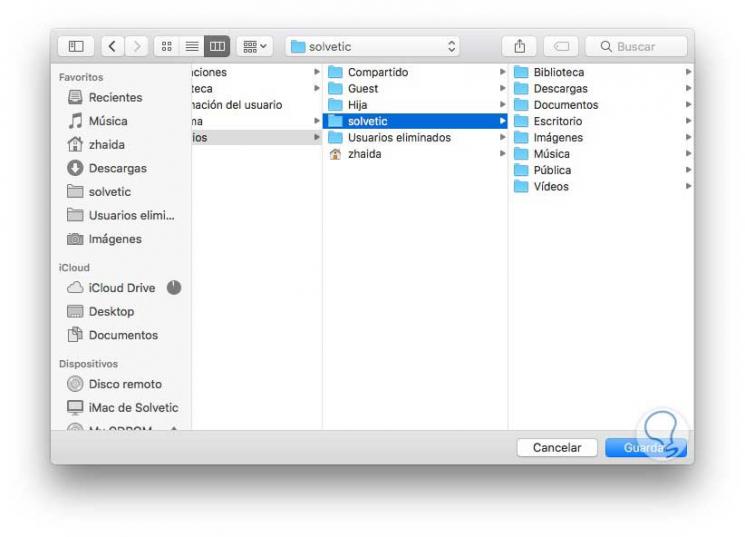
Step 5
Once we have selected what we want to recover, we have to select the location where we want the file to be recovered.
Step 6
Finally we will have to wait a few seconds, minutes and hours depending on the amount of files that we want to be recovered on our Mac. Once the process is finished, we will see a confirmation window.
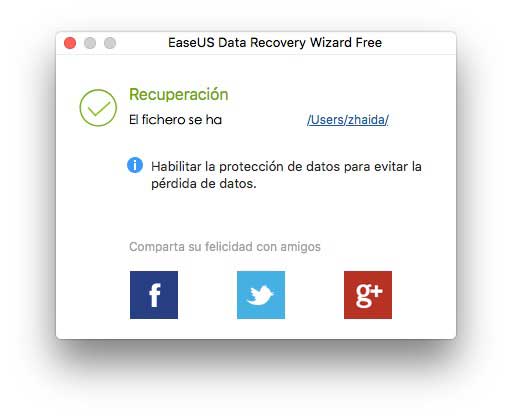
It will be that simple to recover and be able to use files, documents and images that you deleted by mistake or that you need again from your Windows 10 or Mac PC in a fast and intuitive way.