Remote support and interaction between friends, coworkers and family is a central point in new technologies where it seeks to combine security, compatibility and functionality in one place and that is why TeamViewer has been developed several years ago with the Aim in mind to provide users, free or paid, a tool that combines everything necessary to make real-time communication something that is 100% dynamic and simple for each person involved. In this case we will see the management of Teamviewer Ubuntu 20.04..
TeamViewer developers have strived to deliver an application that meets ISO 27001 certification standards while still being HIPAA and SOC2 compliant. Installing TeamViewer on Ubuntu is a good way to remotely support Linux systems.
TeamViewer advantages
This is why when installing TeamViewer Ubuntu we find the following advantages:
- Available for Windows, Linux and macOS.
- Integrates two-factor authentication for more security.
- It has a list of users and IP for more centralized control.
- Secure unattended access feature.
- Remote printing on macOS and Windows.
- Ability to control up to 200 devices.
- Device management and application customization.
- Access reports to managed devices.
- Compatible with connections to UHD or 4K displays.
- Pre-built software integrations for better administrative task performance.
- Allows screen sharing on iOS systems.
- Supports multiple simultaneous connections and more.
TechnoWikis will explain various methods to install TeamViewer in Ubuntu 20.04 and thus have one of the most popular remote management tools..
1. Install TeamViewer in Ubuntu 20.04 from official website
Step 1
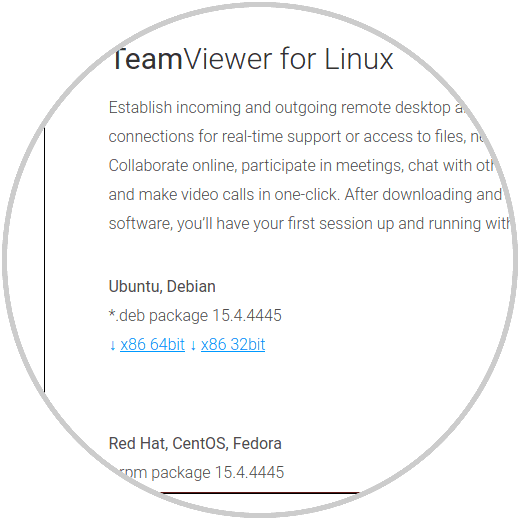
This method is perhaps one of the most common since it consists of downloading the .deb package and then following some simple instructions, in this case the first step to take will be to download the TeamViewer file at the following link:
TeamViewer
Step 2
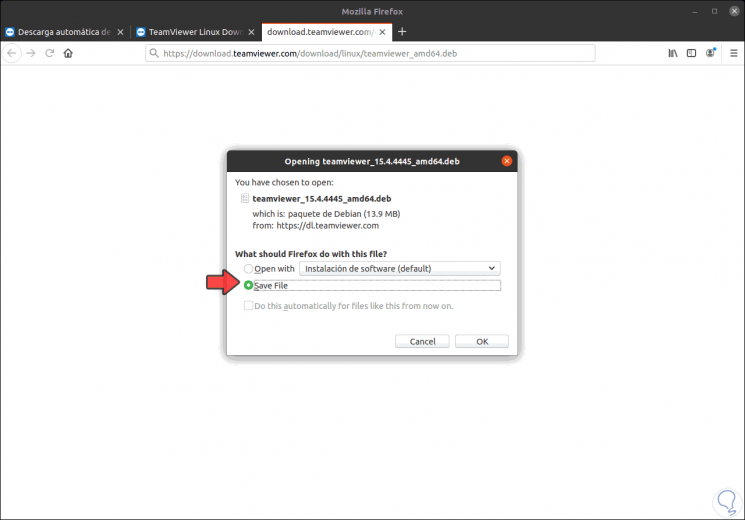
There we select the .deb file based on the architecture used (32 or 64 bits), in the pop-up window we select “Save Fileâ€:
Step 3
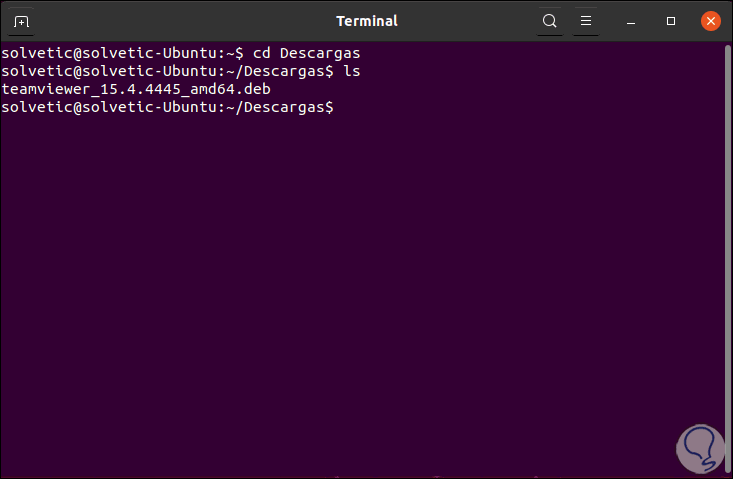
We click OK and wait for the file to be downloaded, it will be in the Downloads folder by default, so we must access the terminal and go to that folder using cd and with "ls" we validate the TeamViewer download in Ubuntu 20.04:
Step 4
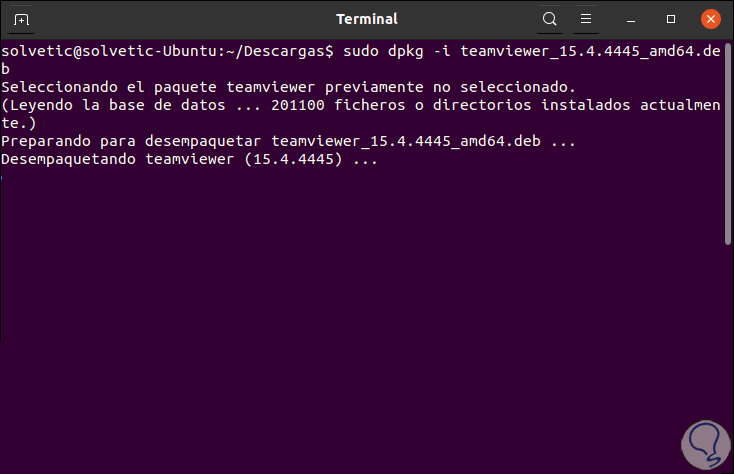
Once there we will execute the following command which launches the TeamViewer installation in Ubuntu 20.04:
sudo dpkg -i teamviewer_15.4.4445_amd64.deb
Step 5
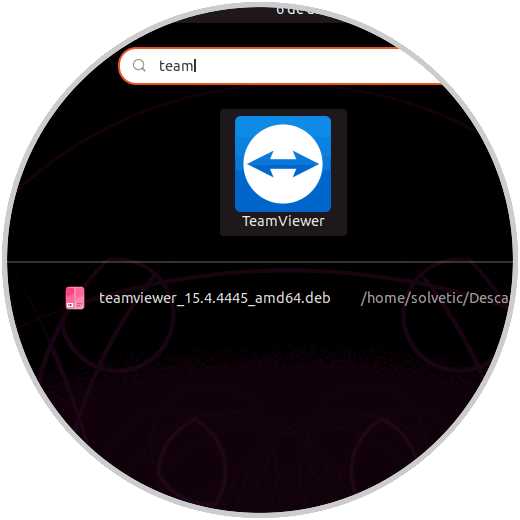
Once this command finishes its function, we can access TeamViewer:
2. Install TeamViewer on Ubuntu 20.04 with wget
The wget command in Linux is one of the most popular commands for downloading files from the Internet due to its performance and security functions.
Step 1
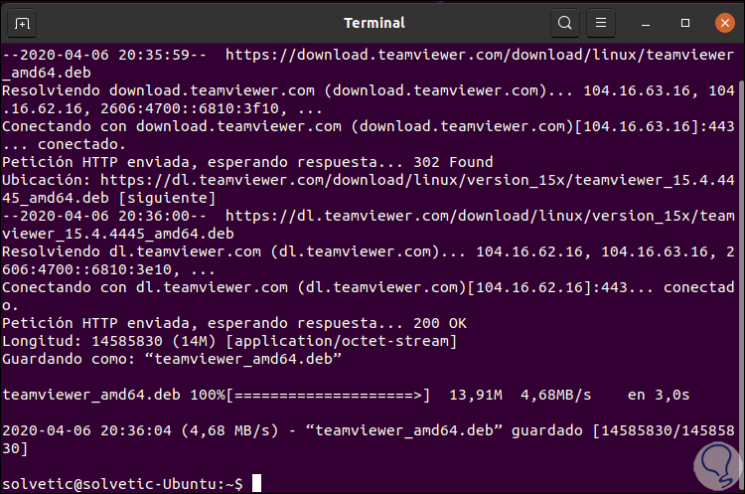
For this we are going to execute the following command which will download the latest stable version of TeamViewer:
wget https://download.teamviewer.com/download/linux/teamviewer_amd64.deb
Step 2
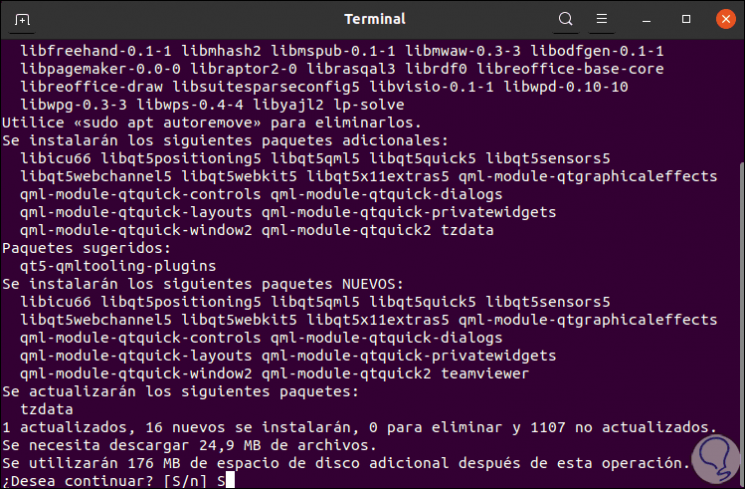
Once the download is complete, we will execute the .deb file with the following command:
sudo apt install ./teamviewer_amd64.deb
Step 3
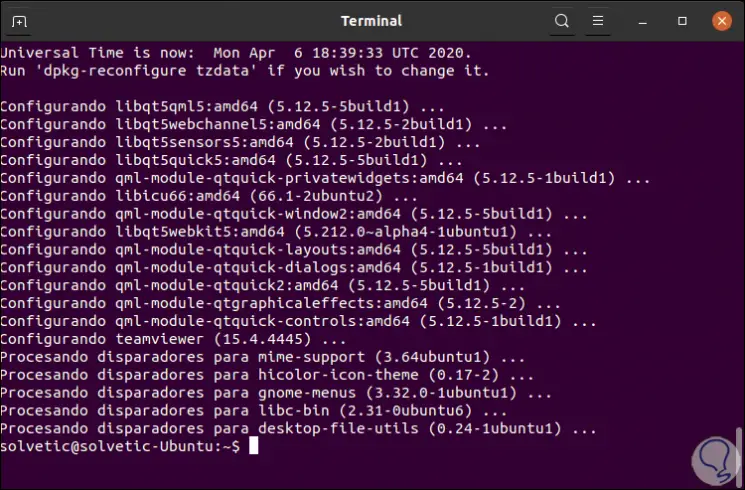
We enter the letter "S" to confirm the installation and when it comes to an end we will see the following:
Step 4
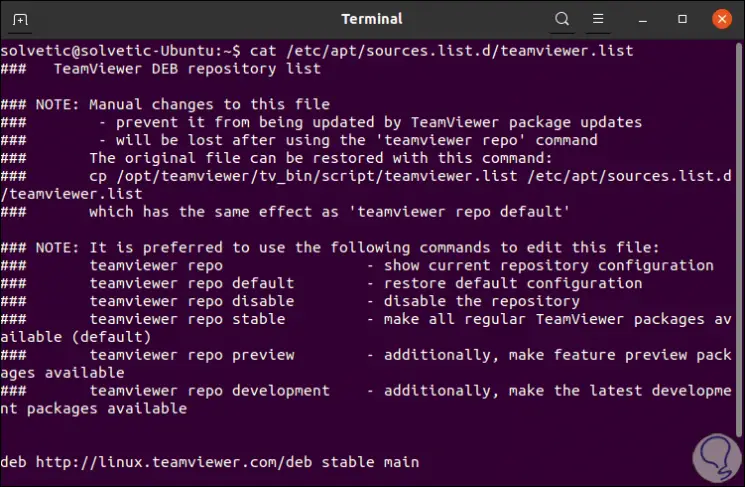
In this installation process, the official TeamViewer repository will be added to Ubuntu 20.04, with the cat command it will be possible to view the contents of the mentioned file.
This file validates that the TeamViewer installation can be updated automatically when a new version of TeamViewer is available through the Ubuntu 20.04 software update tool.
cat /etc/apt/sources.list.d/teamviewer.list
3. Install TeamViewer on Ubuntu 20.04 with gdebi
Step 1
The Gdebi utility has been developed as a useful tool to install .deb packages in Ubuntu, with it we can:
- Install .deb packages locally without using repositories or an Internet connection.
- Resolve package dependencies automatically simplifying administration
Step 2
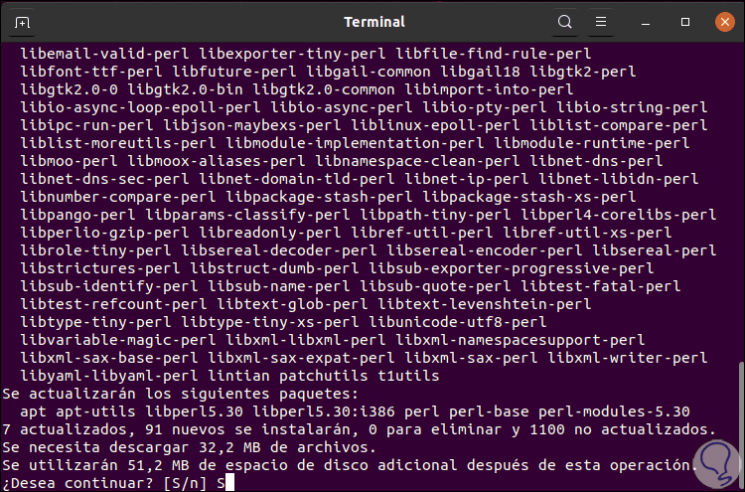
We proceed to install Gdebi with the following command:
sudo apt install gdebi
Step 3
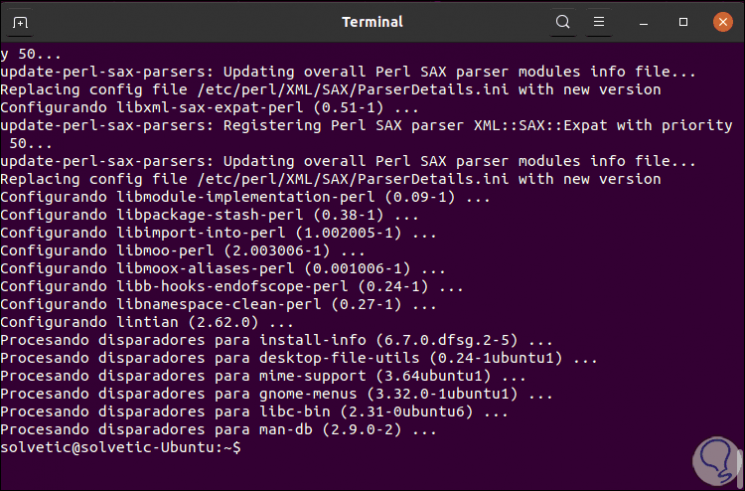
We enter the letter "S" to validate the installation of Gdebi in Ubuntu 20.04:
Step 4
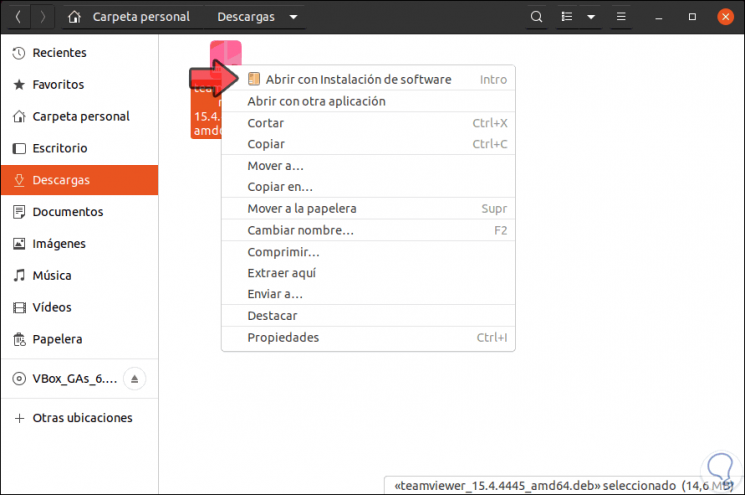
Once Gdebi is downloaded, go to the folder where the .deb file has been downloaded from the TeamViewer official site, right-click on it and select "Open with another application":
Step 5
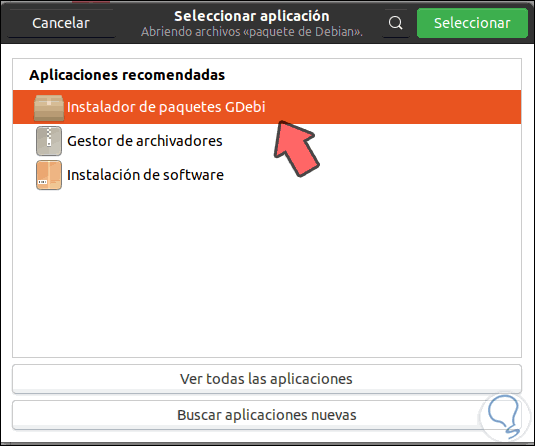
In the pop-up window we select "Gdebi Package Installer":
Step 6
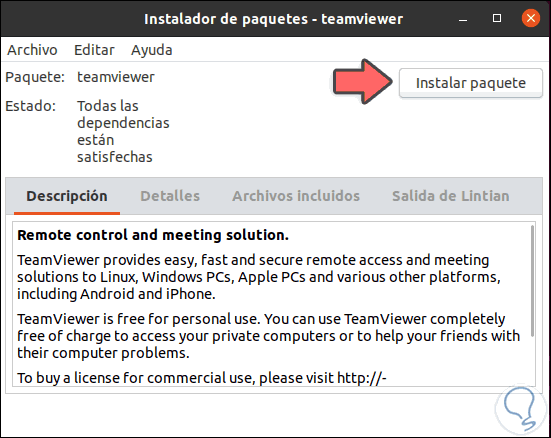
We click on "Select" and we will see the following wizard:
Step 7
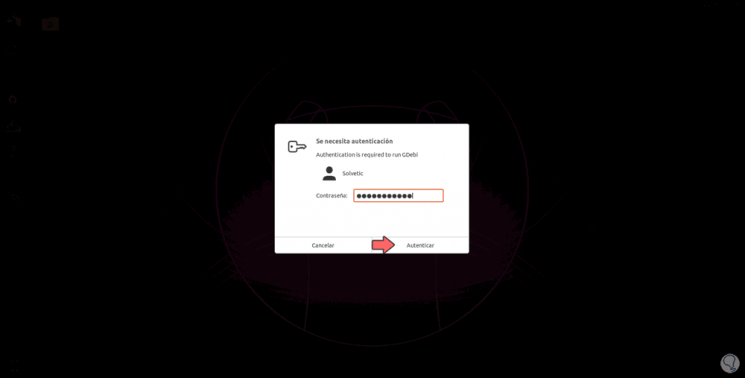
We click on the top button "Install package" and we must enter the administrator credentials:
Step 8
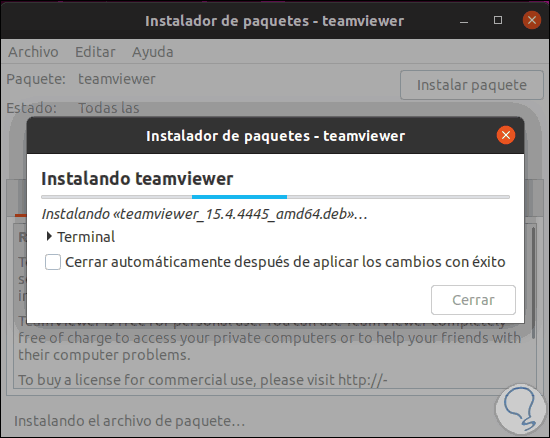
We click on "Authenticate" and the TeamViewer installation process will be given in Ubuntu 20.04:
Step 9
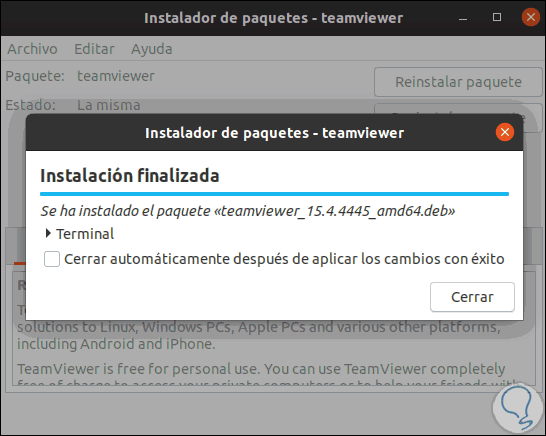
When the process ends we will see the following:
Step 10
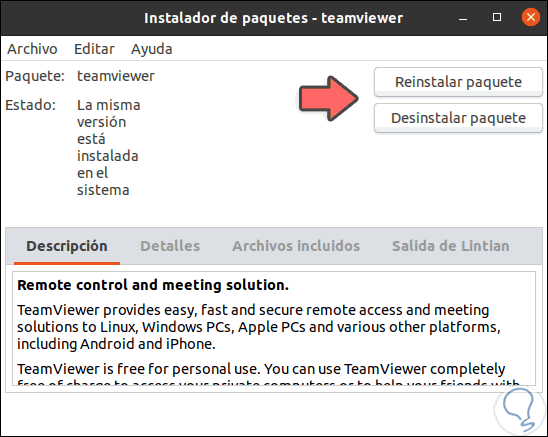
We click "Close" to exit the wizard and from the same Gdebi utility we can reinstall or uninstall TeamViewer:
Step 11
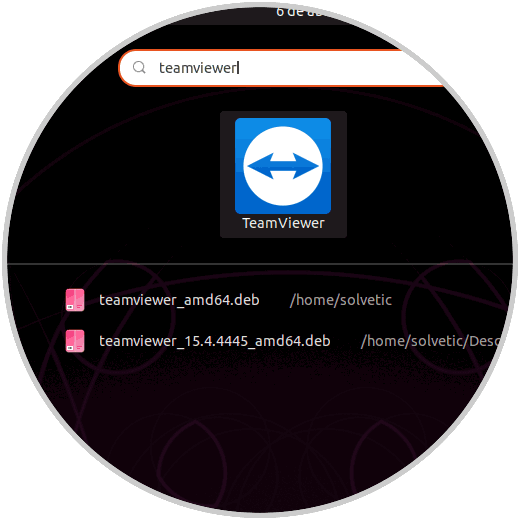
We validate that it is possible to access TeamViewer:
4. Use TeamViewer in Ubuntu 20.04
Step 1
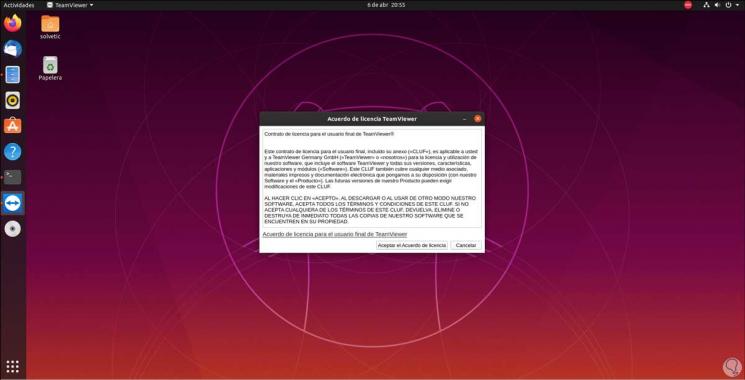
With any of the methods described, when we access TeamViewer we will see the following:
Step 2
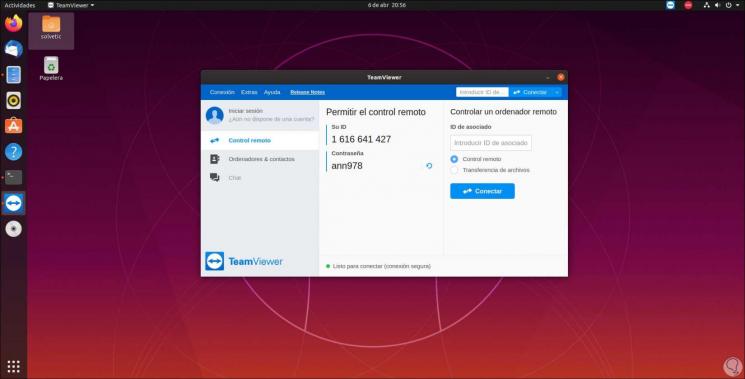
We accept the license agreement and with it we access TeamViewer and its different features:
With TechnoWikis you have learned to install TeamViewer in Ubuntu 20.04 in different ways, you choose the one that is best for you..