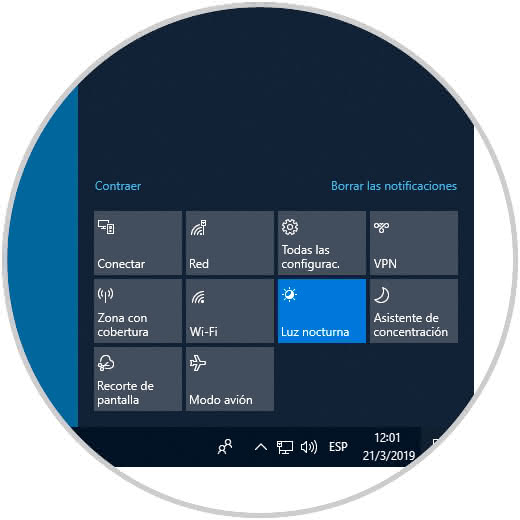
The Windows 10 Activity Center has been developed and integrated into the system as a central point from which it will be possible to receive notifications and access various general configuration elements such as the network, VPN , cuts and many more..
In the Windows 10 Activity Center , we can see that temporarily the notification will be superimposed in order to know in detail the sender of the same, we can close it manually or wait 5 seconds for it to close automatically.
In Windows 10 it is possible to add or delete the icons available in the Activity Center and now we will see how to perform this process in a practical way..
1. Add or remove icons from the Activity Center from Windows 10 Configuration
The Windows 10 Activity Center has an integrated option to simply enable or disable the icons of the application, if we wish to disable the icons of the Windows Activity Center application 10
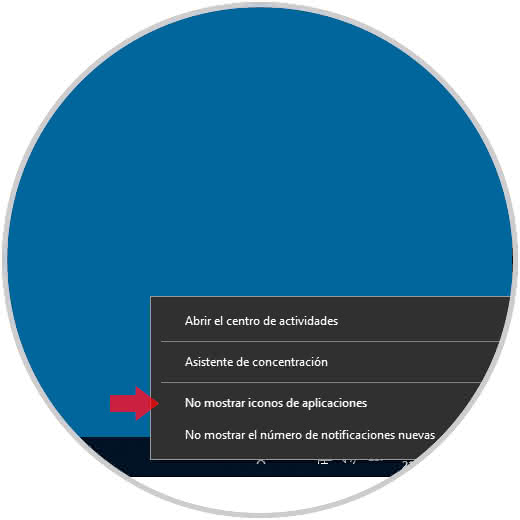
Step 1
We must right click on the icon of the Activity Center located in the lower right corner of the taskbar and in the options displayed select the option "Do not show icons of applications":
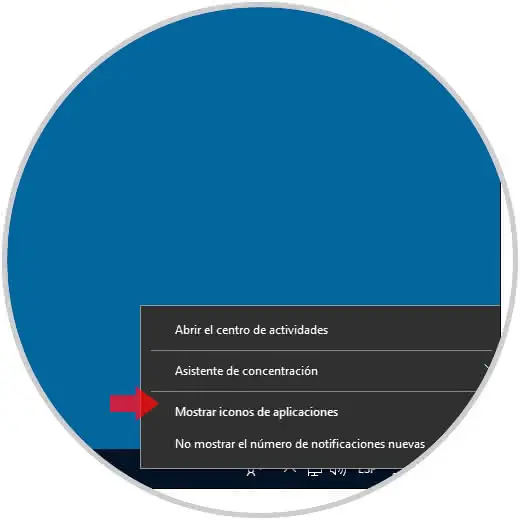
Step 2
When selecting this option we will no longer see any application icon that is overlapped when a new notification is received. If we want to see the notifications again, we must click again right there and this time select the option "Show icons of applications".
As an additional point it will be possible to activate the option Do not show the number of new notifications to avoid visualizing the balloon of the activity center indicating how many new notifications we have received.
2. Add or delete the Activity Center icons from the Windows 10 Registry Editor
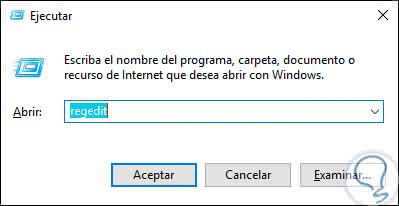
Step 1
Before using this method it is recommended to create a backup or restore point, then use the following key combination and execute the following command:
+ R
regedit
Step 2
Click OK or enter and in the displayed window we will go to the following route:
HKEY_CURRENT_USER \ SOFTWARE \ Microsoft \ Windows \ CurrentVersion \ Notifications \ Settings
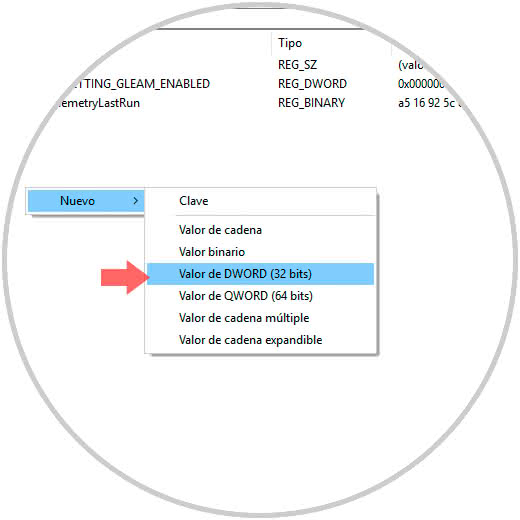
Step 3
On the right side we will click and select the option New / Value of DWORD (32 bits). This new DWORD value will be called NOC_GLOBAL_SETTING_GLEAM_ENABLED.
Note
If this value already exists, we can omit this step.
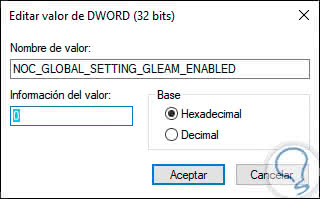
Step 4
Now we double click on this value and in the Value information field we assign the number zero (0). Click OK to apply the changes and you can exit the record editor.
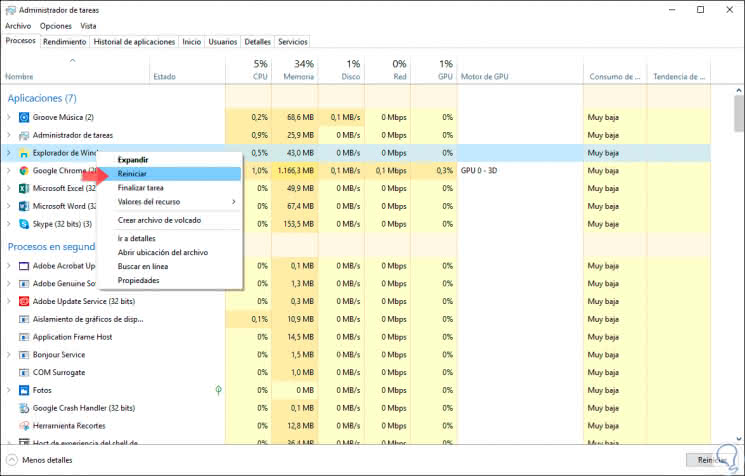
Step 5
Now we access the Task Manager and in the Processes tab we must restart the Windows Explorer using one of the following methods:
- Right clicking on it and selecting Restart.
- Select Windows Explorer and click on the Reset button located in the lower right corner.
Note
If you want to visualize the icons again, you must delete the DWORD value that has been created.
In this way it will be possible to add or remove icons in the Windows 10 Activity Center..