The use of multiple files in Windows 10 is something that we do on a frequent basis since these are part of our daily tasks there and that is why its administration and proper use is essential to achieve the best results..
One task we can face is the need to rename more than one file with the same name. This is useful to identify a pattern of activities, some special memory or simply to take better control of these, Windows 10 offers us the option to perform this task in multiple ways and we must keep in mind that the selected files will have the same name but will go successively, for example, text, text (1), text (2), etc., this is because we can not have two files with the same name in the system.
Now we will see how to perform this process in Windows 10..
To stay up to date, remember to subscribe to our YouTube channel! SUBSCRIBE
1. Rename multiple files using the File Explorer in Windows 10
Step 1
To perform this process, we must go to the folder where the files to be renamed are stored and we proceed to select them using one of the following options:
- Using the combination of keys.
+ E Ctrl + E
- From the browser's Start menu and select the "Select all" option.

Step 2
Once the files are selected, we proceed to change their name using one of the following options:
- Right clicking on any of them and selecting the line Rename
- Use the F2 key
Step 3
We will see that the first file is enabled for editing:

Step 4
There we enter the new desired name and pressing Enter the result will be that all the files of the selection have been renamed consecutively. It is as simple as using the Windows 10 File Explorer for the process of renaming the file name.

2. Rename multiple files using CMD in Windows 10
The symbol of the system in Windows 10 is a practical alternative to manage numerous processes and tasks of the system and one of these is the possibility of renaming files through this terminal.
Step 1
To execute this process using the command prompt we must go to the folder where the files are located and in the address bar enter the term cmd:

Step 2
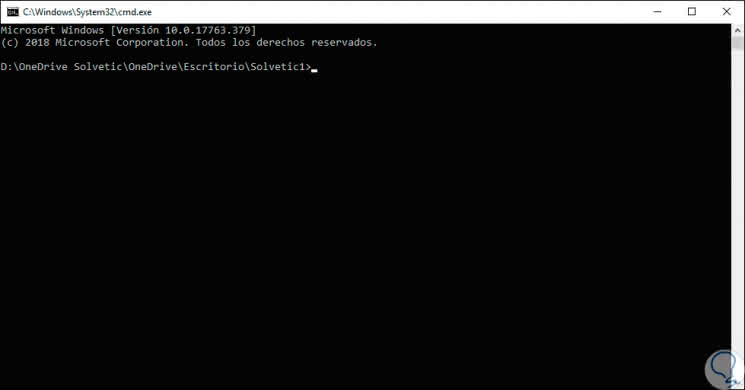
Press Enter and in this way we will access directly to this folder at the command prompt:
Step 3
If we want to rename a single file we must execute the following syntax:
ren "file.ext" "new_archivo.ext"
Step 4
Now, as the goal is to rename several files simultaneously we will execute the following:
ren * .ext ??? - new_name. *
Step 5
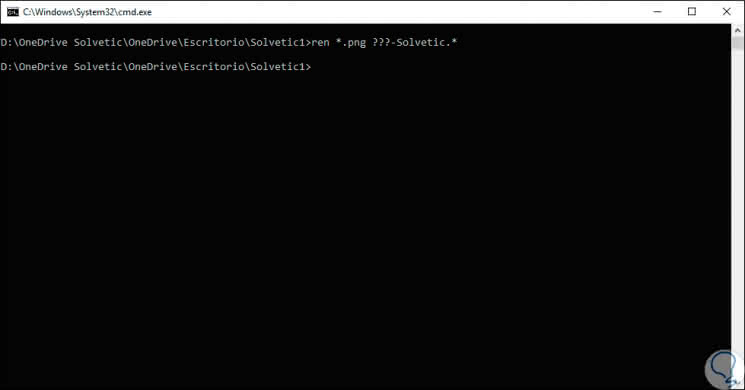
In this case we have some PNG files, for this we must execute the following:
ren * .png ??? - TechnoWikis. *
Step 6
When going to the folder we will see that the new name has been assigned:

Step 7
In the case of having a list of files with long names, it is possible to shorten them, for this we must make use of the following syntax:
ren *. * ?????. *
Step 8
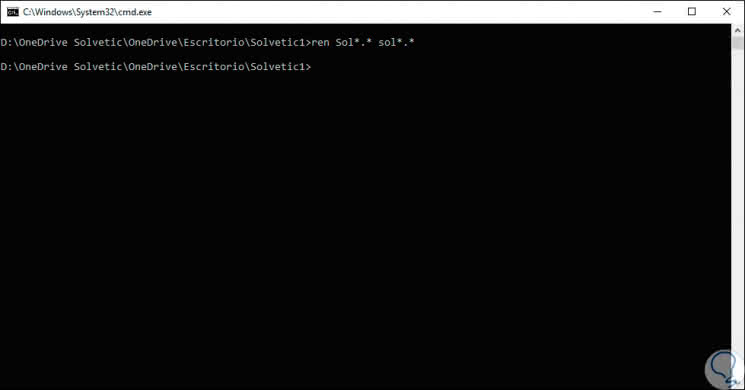
Some additional options of this command is the possibility to rename only part of the file, for this we execute the following syntax:
ren Sol *. * sol *. *
Step 9
In this case the files have been modified as indicated:

Step 10
Finally we can change the extension of the files by executing:
ren * .txt * .doc
3. Rename multiple files using PowerShell in Windows 10
Step 1
For this process it will be possible to directly access the PowerShell console from the folder where the files are, press the Shift key and when right clicking on a free space select the option Open the PowerShell window here:

Step 2
To rename different files we must use the following syntax:
Dir | % {Rename-Item $ _ -NewName ("new_name {0} .ext" -f $ nr ++)} Step 2
In this case we will rename these files as text, execute:
Dir | % {Rename-Item $ _ -NewName ("text {0} .txt" -f $ nr ++)} 
Step 3
The result will be:

Step 4
With Windows PowerShell it will be possible to shorten the names of the files, or to decrease part of the names with an N number of characters to use, for this we must use the following syntax:
Dir | Rename-Item -NewName {$ _. Name.substring (0, $ _. BaseName.length-N) + $ _. Extension} Step 5
If we want to delete part of the text in the selected folder we will use the following line:
Dir | Rename-Item -NewName {$ _. Name -replace "Name", ""} 
Step 6
If you wish to modify part of the text, the following line will be useful:
Dir | Rename-Item -NewName {$ _. Name -replace "text", "TechnoWikis"} 
Step 7
The result is:

Step 2
In case the text contains spaces, these can be eliminated with the following line:
Dir | Rename-Item -NewName {$ _. Name -replace "", "_"} Step 3
If we want to edit the extension of the current files, just execute the following:
Dir | Rename-Item -NewName {[io.path] :: ChangeExtension ($ _. Name, "doc")} 
Step 4
In this case the files have been modified to Word files:

Step 5
Finally, to rename files with a specific extension we must use the -filter parameter as well. This will execute that order only in the txt files without affecting all others.
Dir -filter * .txt | % {Rename-Item $ _ -NewName ("TechnoWikis {0} .txt" -f $ nr ++)} Thus it will be possible to rename multiple files in Windows 10.